Libby’s Pumpkin Cookies bake up soft, cakey, and warmly spiced, with that classic drop-cookie texture that stays tender for days. The pumpkin keeps the crumb moist without turning the cookies heavy, and the simple vanilla icing gives each one a sweet finish that sets the whole batch apart from a plain spice cookie.
What makes this version work is the balance: enough pumpkin for flavor and softness, but not so much that the cookies spread into a thin puddle. The spice blend leans into cinnamon, nutmeg, cloves, and allspice, which gives the cookies that familiar old-fashioned taste without one spice taking over. Creaming the butter and sugar first helps the cookies hold a little structure, and cooling them completely before icing keeps the glaze from melting off the tops.
Below, I’ve added the small details that matter most, including how to keep the cookies pillowy instead of dense and how to tweak the icing if you want it thicker for spreading or thinner for drizzling.
These stayed soft for days and the icing set just enough that I could stack them without making a mess. The cinnamon and cloves came through beautifully, and the cookies didn’t get flat at all.
Save these soft Libby’s Pumpkin Cookies for the days when you want classic pumpkin spice flavor and a smooth vanilla icing on top.
The Reason These Pumpkin Cookies Stay Soft Instead of Dry
The mistake that ruins a lot of pumpkin cookies is overmixing after the flour goes in. Once the flour is added, the dough only needs to come together. Stirring too long builds toughness, and pumpkin cookie dough doesn’t need that kind of help. This recipe also uses both baking soda and baking powder, which gives the cookies lift without making them taste cakey or hollow.
The other thing worth watching is the pumpkin itself. Use the full can as written, but don’t add extra just because the batter looks thick before the flour is folded in. Pumpkin brings moisture, but it also weighs dough down. The balance here is what gives you cookies that hold their shape, bake up tender, and still feel soft the next day.
What Each Ingredient Is Actually Doing in These Cookies
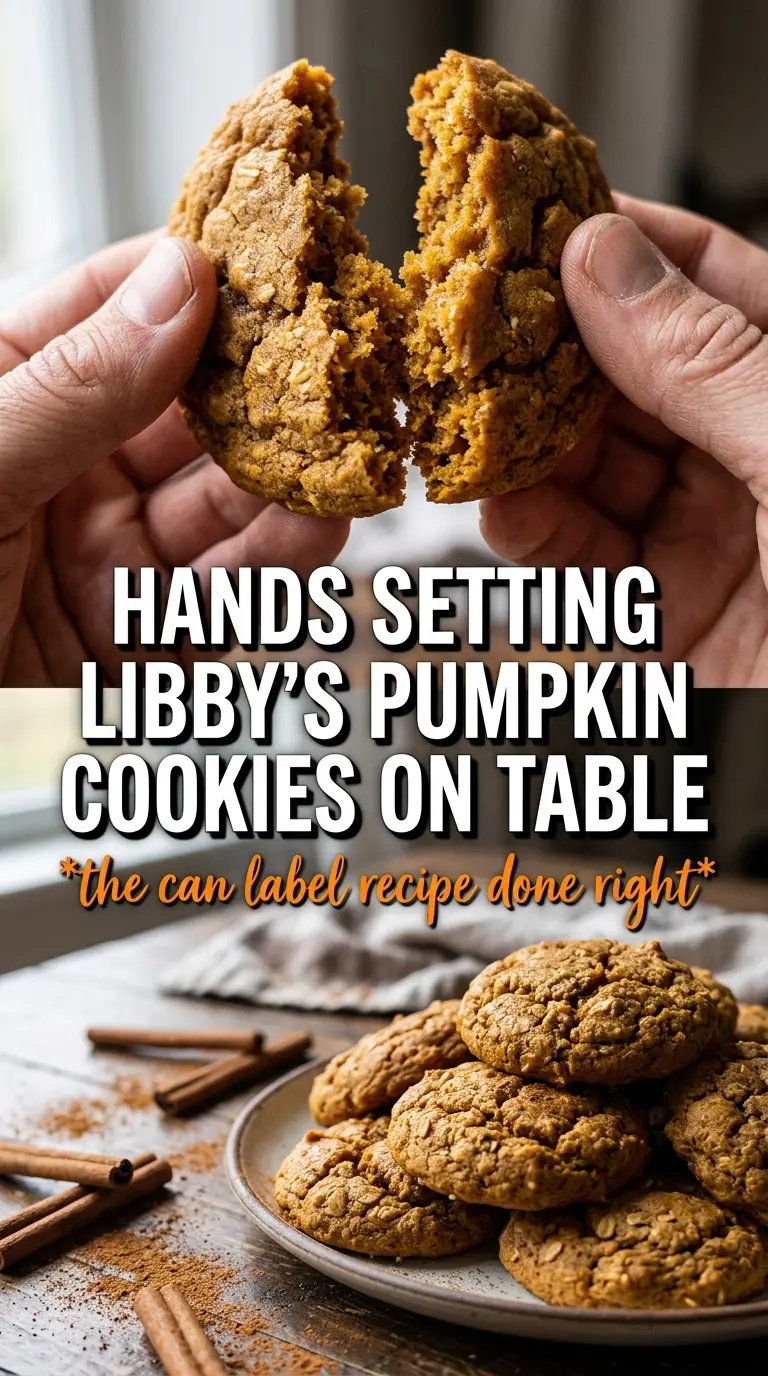
- Libby’s 100% Pure Pumpkin — This is the ingredient that gives the cookies their classic flavor and soft texture. Canned pumpkin puree is best here because it’s consistent and not watery. If your puree looks loose, blotting it lightly with paper towels helps keep the dough from spreading too much.
- Butter and sugar — Creaming them together adds air, which helps the cookies stay tender instead of dense. Softened butter matters more than melted butter in this recipe, because melted butter makes the cookies flatter and heavier.
- Flour plus leaveners — The flour gives the cookies body, while baking soda and baking powder work together to lift them. If you swap in too much flour, the cookies can turn bready; if you cut it back too far, they spread and lose that pillowy shape.
- Warm spices — Cinnamon, nutmeg, cloves, and allspice give these cookies their familiar bakery-style pumpkin flavor. The mix is strong enough to taste in every bite, so fresh spices matter here more than in a plain sugar cookie.
- Vanilla icing — The icing is simple on purpose. It adds sweetness and helps the cookies finish with that old-fashioned frosted look, and you can thin it slightly for drizzling or keep it thicker for spreading.
Getting the Dough Mixed and the Icing Right
Start With a Fluffy Base
Beat the butter and sugar until the mixture looks lighter in color and a little fluffy around the edges. That step sets the texture for the whole batch. If the butter is too cold, the mixture stays grainy and the cookies bake up tighter than they should. Scrape down the bowl once or twice so no dry sugar hides at the bottom.
Fold in the Flour Without Overworking It
Add the dry ingredients and stir just until the flour disappears. The dough will be soft and a little sticky, and that’s exactly what you want. If you keep mixing after the flour is in, the cookies get tougher and lose that tender crumb. A spatula works better than a mixer for the last part.
Bake Until the Tops Set
Drop the dough by tablespoons onto lined baking sheets, leaving room for a little spread. Bake until the tops look set and the edges are just barely firm, usually 10 to 12 minutes. Pull them before the centers look dry; they finish setting as they cool. If they go too long, they lose that soft, almost cake-like middle.
Cool Before You Frost
Let the cookies cool completely before adding the icing. Warm cookies will melt the glaze and it slides right off instead of sitting in a neat layer. Whisk the icing until smooth, then drizzle it for a looser finish or spread it thick if you want more of that classic frosted cookie look. A little cinnamon on top finishes them nicely.
Three Ways to Adjust These Pumpkin Cookies Without Losing the Classic Feel
Make them dairy-free
Swap the butter in both the cookies and the icing for a good plant-based butter stick. Choose one that’s meant for baking, not a soft tub spread, or the cookies will spread too much. The flavor stays close to the original, though the icing may set a little softer.
Skip the icing and keep them less sweet
Leave off the vanilla icing and dust the cooled cookies with a little cinnamon instead. You’ll get a less sweet cookie with a stronger pumpkin spice flavor and a softer, more snackable finish. This version also travels better and stacks neatly in lunch boxes or gift tins.
Make them gluten-free
Use a cup-for-cup gluten-free flour blend that includes xanthan gum. The texture will be slightly more delicate, but the cookies should still stay soft and hold together well. If the dough seems a touch looser than the original, chill it for 15 to 20 minutes before baking.
Storage and Reheating
- Refrigerator: Store in an airtight container for up to 5 days. The cookies stay soft, though the icing may firm up more on top.
- Freezer: Freeze the unfrosted cookies for up to 2 months. Wrap well and thaw at room temperature before icing so the glaze doesn’t get wet and streaky.
- Reheating: These don’t need reheating, but if you want to take the chill off, let them sit at room temperature for 20 to 30 minutes. Microwaving too long makes the icing melt and the cookie turn gummy.
Answers to the Questions Worth Asking
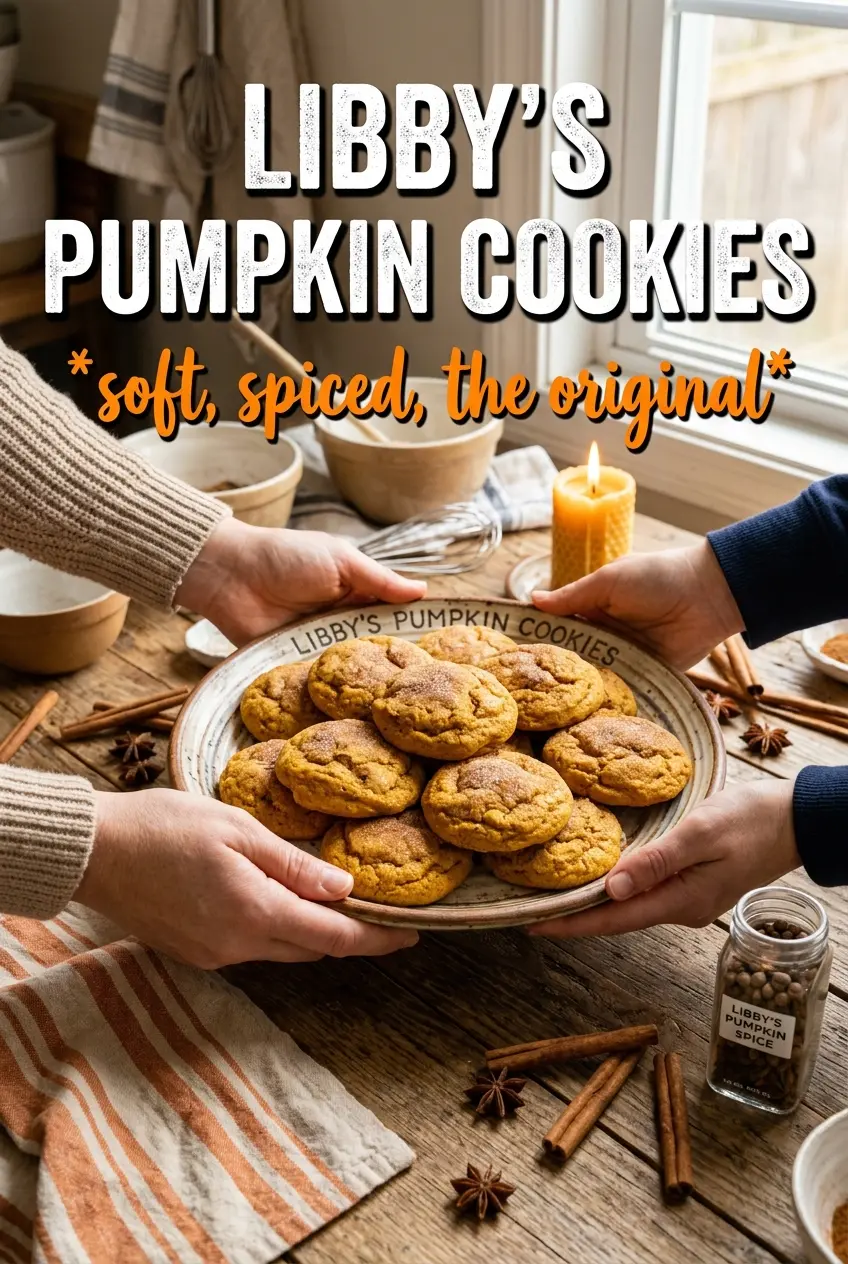
Libby's Pumpkin Cookies
Ingredients
Equipment
Method
- Preheat the oven to 350F and line baking sheets so the cookies can bake right after portioning.
- Whisk all-purpose flour, baking soda, baking powder, cinnamon, nutmeg, cloves, allspice, and salt until the spices are evenly distributed.
- Beat unsalted butter and granulated sugar until fluffy.
- Add Libby's 100% Pure Pumpkin, large egg, and vanilla extract, then beat until smooth and uniform.
- Fold the flour mixture into the pumpkin mixture until just combined, with no dry streaks.
- Drop the dough by tablespoons onto the lined baking sheets, spacing them apart.
- Bake at 350F for 10-12 minutes, until the cookies look set around the edges.
- Cool the cookies completely before frosting so the icing doesn’t melt or sink.
- Whisk powdered sugar, milk, melted butter, and vanilla until smooth.
- Drizzle or spread the icing over each cookie, then dust lightly with cinnamon for a classic spiced finish.