Individual apple crumbles bake up with bubbling cinnamon apples underneath a thick oat topping that turns crisp at the edges and tender in the middle. Serving them in ramekins gives you the best part of a crumble every time: plenty of crunchy topping, a spoonable fruit center, and no fight over who got the corner piece.
The filling cooks briefly on the stove before it goes into the oven, and that step matters. It thickens the juices early, so the apples don’t flood the ramekins and soften the topping from underneath. The topping stays loose and chunky because the butter is worked in cold, which gives you those craggy, golden bits that catch the heat and brown properly.
Below, I’ll walk through the small details that keep the apples from turning watery and the crumble from baking up sandy instead of crisp. There’s also a simple storage note for making these ahead, plus a few ways to swap the fruit or make the dessert fit what you’ve got on hand.
The apples thickened up on the stove just like you said, and the topping stayed crisp even after I added ice cream. My husband kept scraping the extra crumble from the ramekin.
These individual apple crumbles are perfect for serving warm with melting vanilla ice cream and that golden oat topping.
The Trick to Keeping the Apples Soft, Not Soupy
The filling has to thicken before it goes into the oven, because raw apples release a lot of juice as they bake. Cooking them with cornstarch first gives you a head start, and the filling sets into a glossy, spoonable layer instead of leaking into the crumble topping. If your filling still looks thin in the skillet, keep it on the heat until the juices turn slightly syrupy and cling to the fruit.
Finely diced apples matter here. Smaller pieces cook evenly in the short bake time, so you don’t end up with a mix of mushy chunks and firm chunks. A tart apple works best because the sugar and cinnamon should deepen the flavor, not flatten it.
What the Apples, Oats, and Cold Butter Are Each Doing
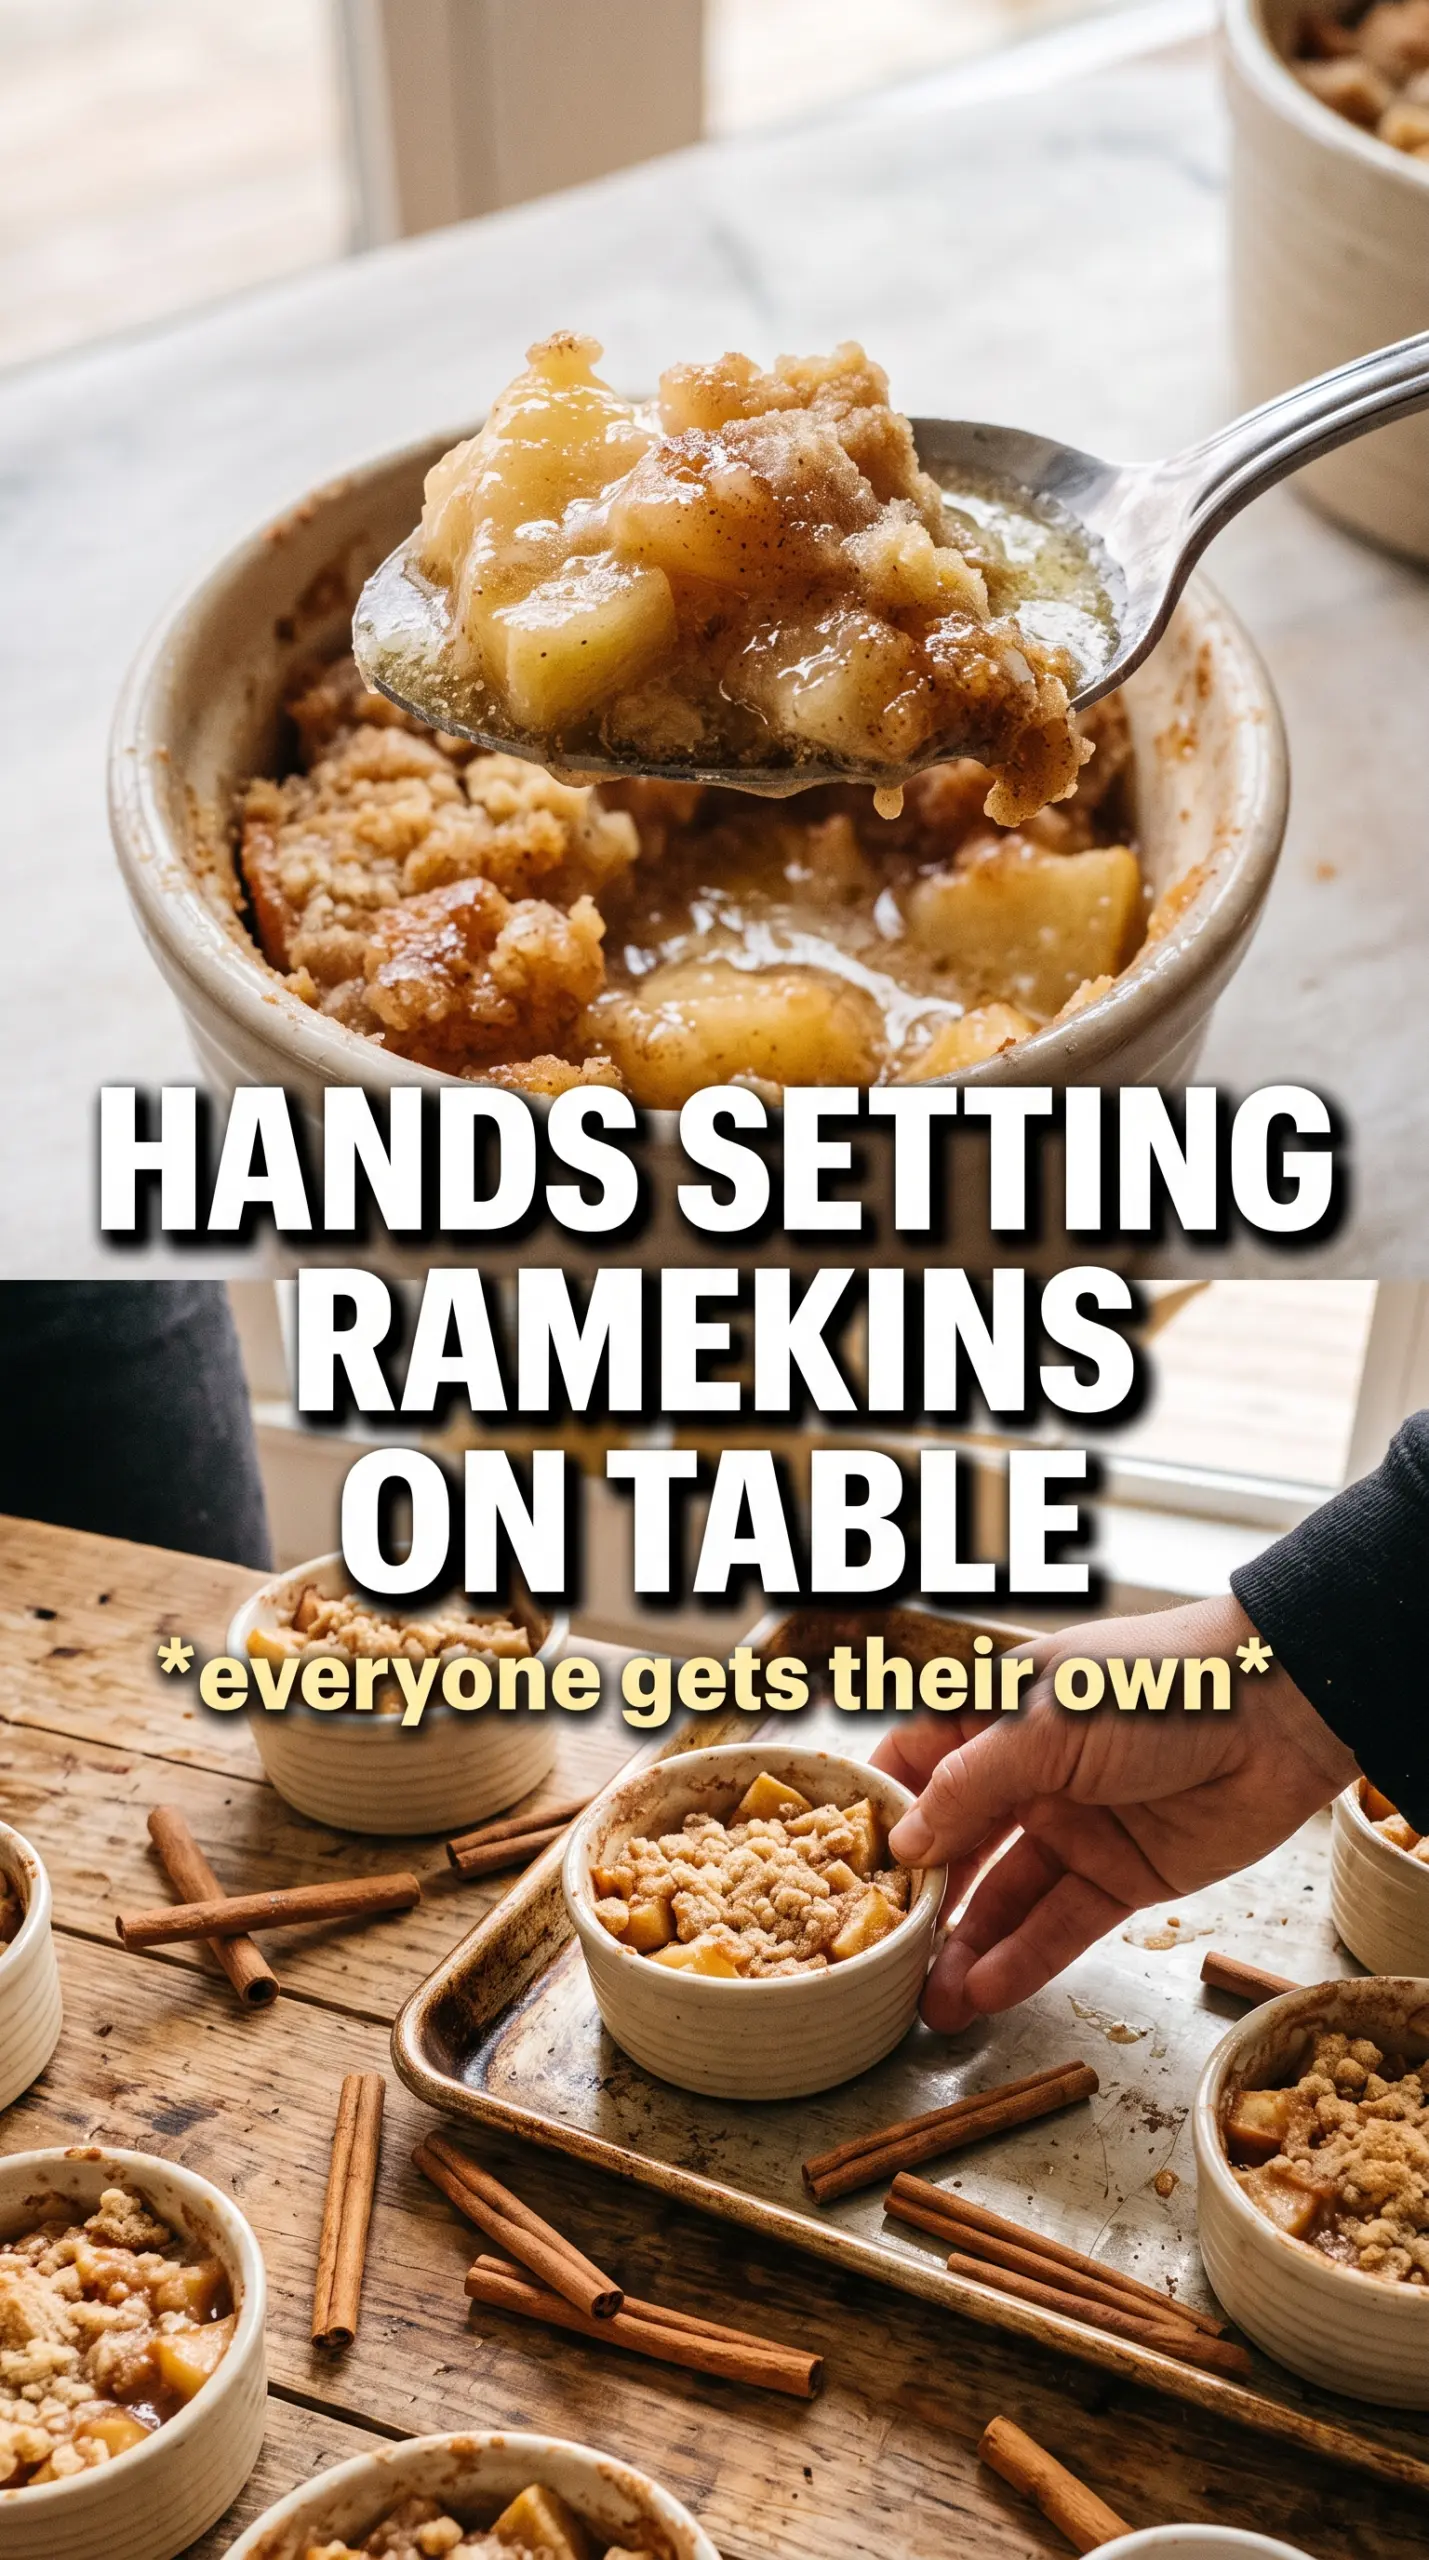
- Apples — Use firm baking apples so the cubes hold their shape after the stovetop simmer and oven bake. Softer apples break down faster and can make the filling grainy instead of tender.
- Cornstarch — This is what turns the apple juices into a light sauce. Flour won’t give the same clean, glossy set, and you’ll notice the difference once the crumbles cool slightly.
- Rolled oats — These give the topping its nubby, crisp texture. Quick oats can work in a pinch, but the finished crumble will be finer and less rustic.
- Cold butter — Keep it cold and cube it small so it cuts into the dry ingredients instead of melting in. That’s how you get crunchy clusters instead of a sandy topping.
- Brown sugar — It adds caramel notes that pair with the baked apples and helps the topping brown. Light or dark brown sugar both work; dark brown sugar gives a deeper molasses edge.
Building the Ramekins So the Topping Stays Crisp
Cooking Down the Filling First
Set the skillet over medium heat and cook the apples with the sugar, spices, cornstarch, lemon juice, and butter until the mixture looks thick and glossy. You want the apples just starting to soften, not collapsing into sauce. If you skip this part and go straight to the oven, the filling throws off too much liquid and the bottom of the crumble turns wet.
Making Chunky Crumble Instead of Sand
Work the cold butter into the oat mixture until you have clumps ranging from pea-sized to a little bigger. Stop before it looks like damp sand. Those uneven bits are what bake into the crunchy top, and if the butter melts too early, the topping spreads into a flat layer with no texture.
Baking on a Sheet Pan
Put the filled ramekins on a baking sheet before they go into the oven. That catches any bubbling overflow and makes them easier to move without sloshing hot filling around. Bake until the topping is a deep gold and you can see the filling bubbling at the edges of each ramekin; that bubbling is the sign the cornstarch has fully thickened.
Pear and Apple Crumbles
Swap half the apples for firm pears if you want a softer, more floral filling. Pears break down a little faster, so keep the dice small and watch the filling closely during the stovetop step so it doesn’t turn mushy.
Gluten-Free Crumble
Use a 1:1 gluten-free flour blend in place of the all-purpose flour. The topping will still brown and crisp, though it may be a little more delicate when you spoon it out of the ramekin.
Dairy-Free Version
Replace the butter in both the filling and topping with a firm plant-based butter that’s designed for baking. You’ll still get a crisp top, but the flavor will be a little less rich, so don’t skimp on the cinnamon.
One Large Baking Dish
You can bake the same mixture in an 8-inch square dish instead of ramekins. The middle will need a few extra minutes, and the topping won’t have quite as much edge-to-edge crunch, but the flavor stays the same.
Storage and Reheating
- Refrigerator: Store covered for up to 4 days. The topping softens a bit in the fridge, but the flavor stays good.
- Freezer: Freeze baked and cooled crumbles tightly wrapped for up to 2 months. Thaw in the refrigerator before reheating so the filling heats evenly.
- Reheating: Warm in a 325°F oven until the filling is hot and the topping crisps back up, about 15 to 20 minutes. The microwave will heat the fruit, but it turns the crumble topping soft.
Questions I Get Asked About This Recipe
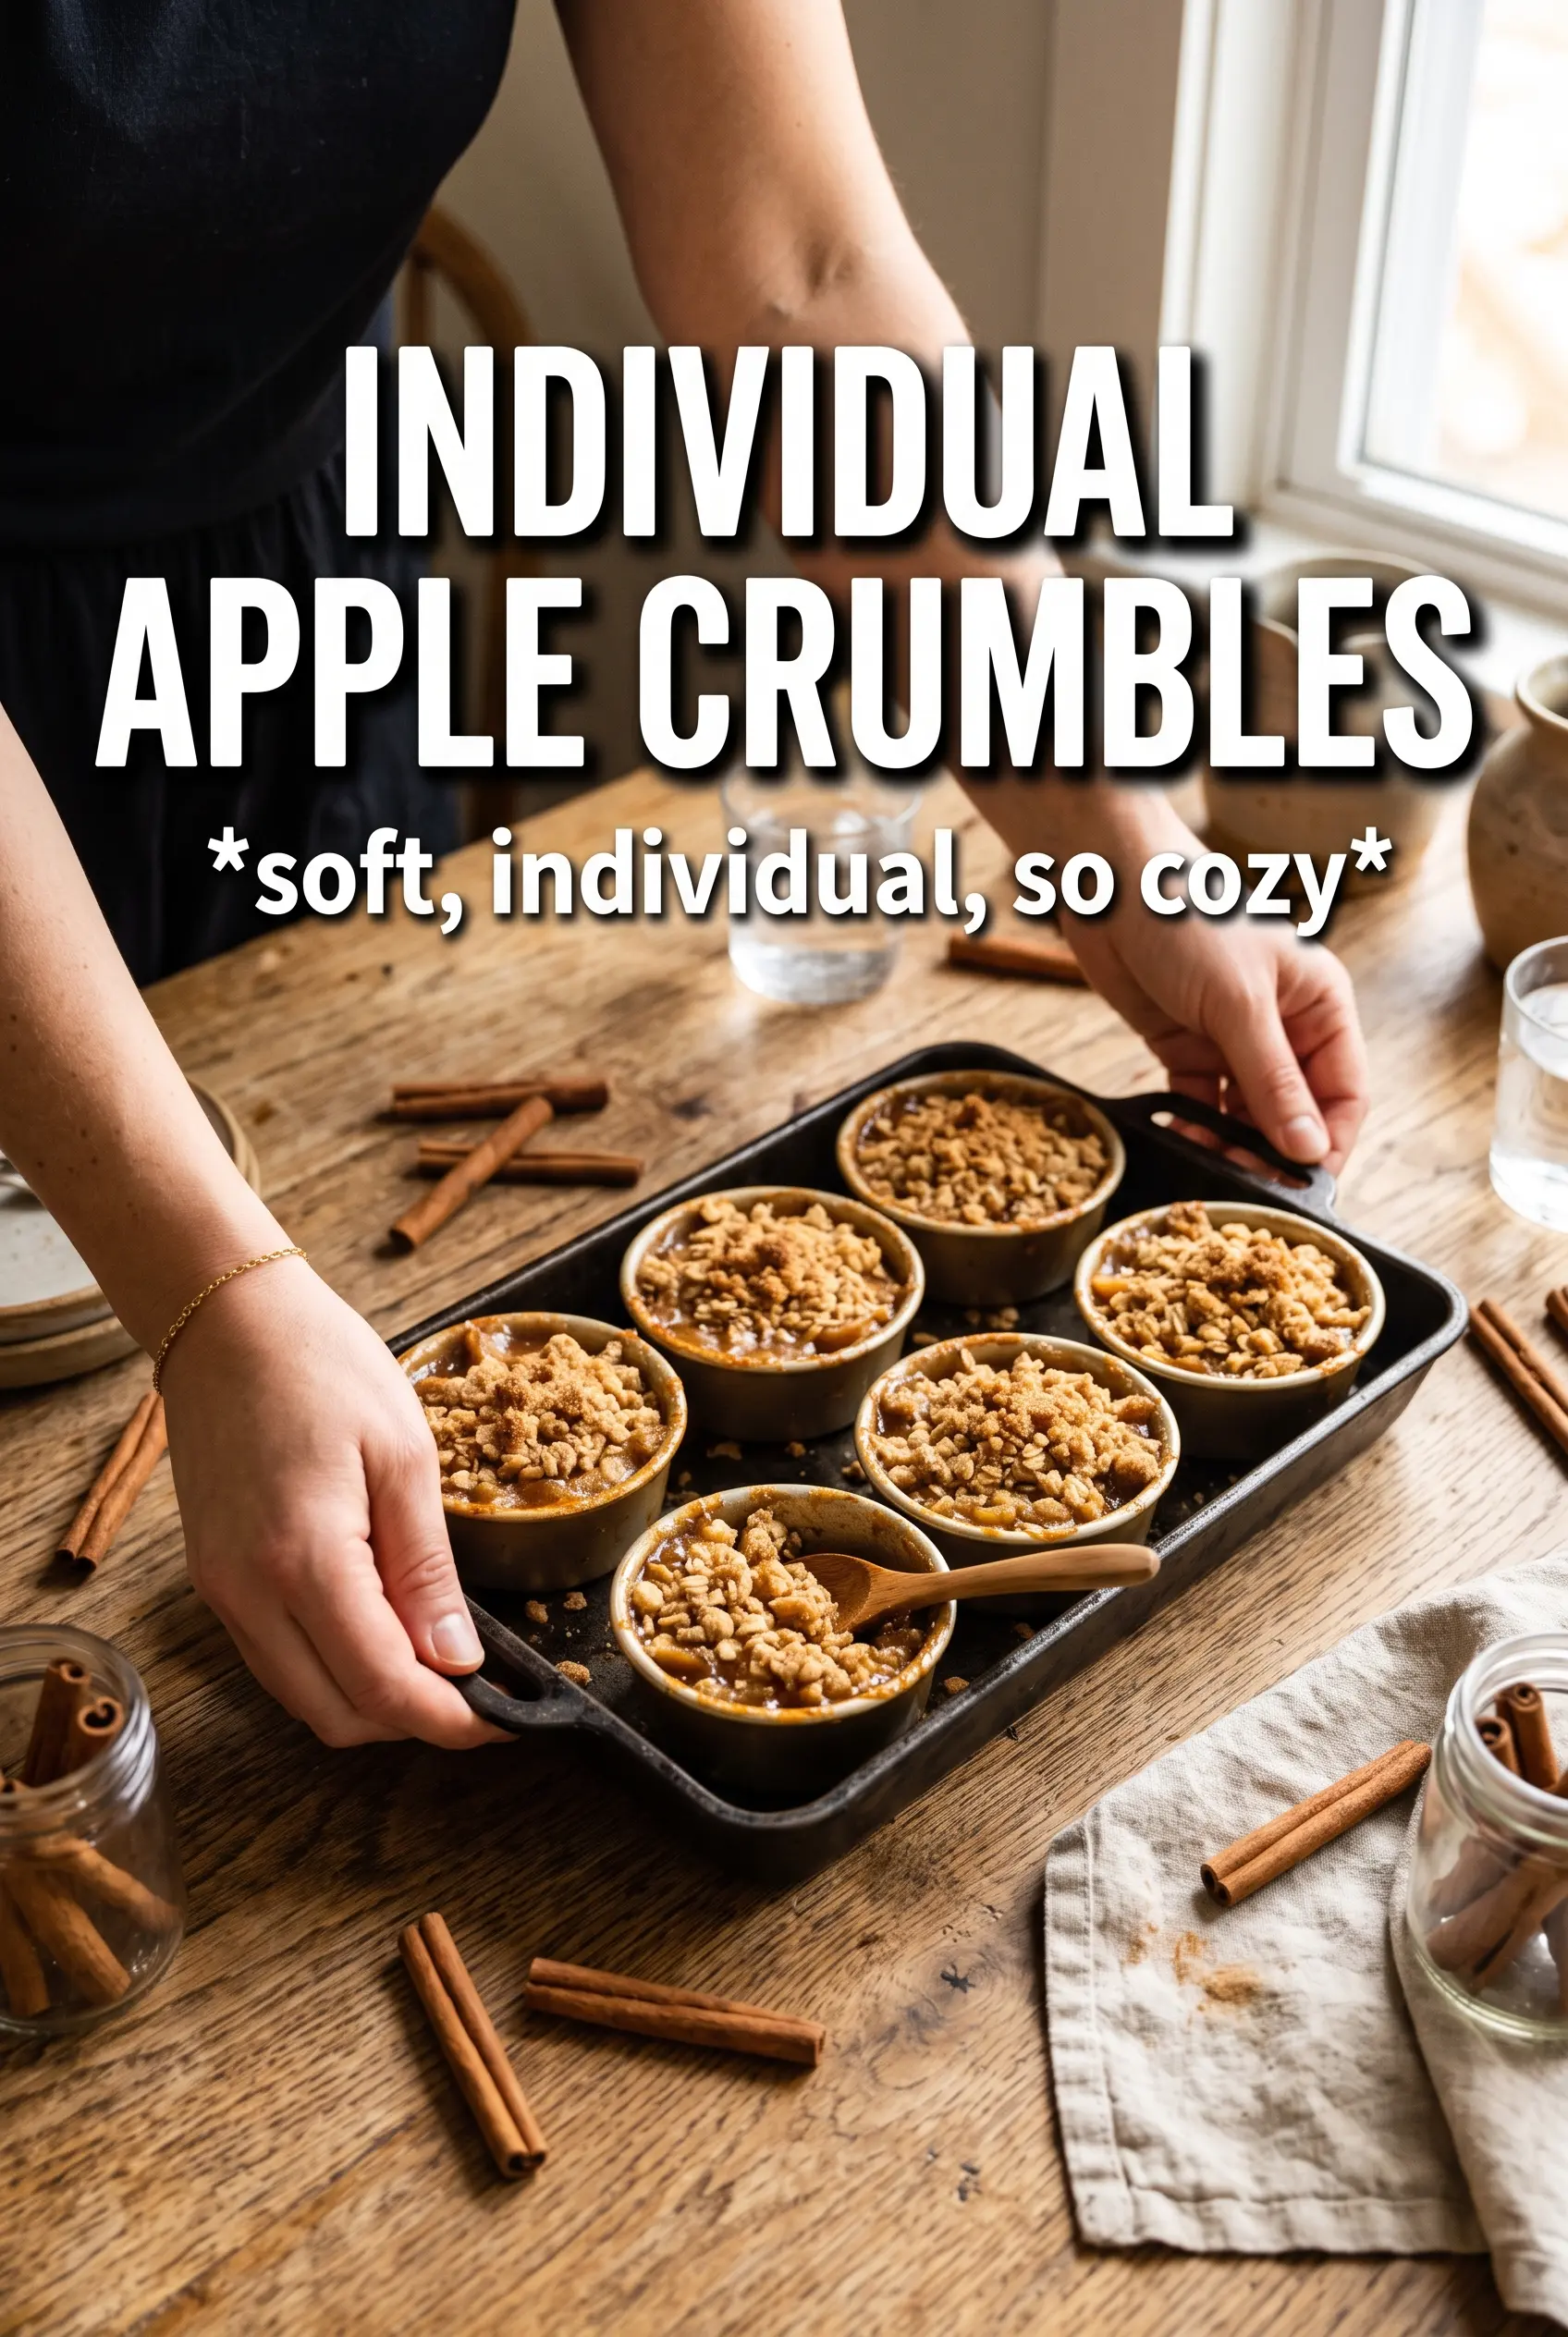
Individual Apple Crumbles
Ingredients
Equipment
Method
- Preheat the oven to 375F and grease 6 individual ramekins (6-8 oz each).
- In a skillet over medium heat, cook the diced apples with butter, sugar, cinnamon, nutmeg, cornstarch, and lemon juice for 5-7 minutes until the mixture thickens.
- Divide the thickened apple filling among the 6 ramekins.
- Make the oat crumble by combining oats, flour, brown sugar, cinnamon, and salt, then cut in the cold butter until chunky clumps form.
- Top each ramekin generously with the oat crumble.
- Place the ramekins on a baking sheet and bake for 25-30 minutes, until the topping is golden and the filling bubbles.
- Serve warm with vanilla ice cream.