Golden, bubbling apple filling under a thick oat crumble is the kind of dessert that disappears fast, and this Ina Garten apple crisp earns that reaction every time. The apples turn tender without collapsing into mush, the topping bakes into big sandy clumps, and the edges catch just enough caramel color to taste toasted instead of simply sweet. It’s the sort of pan dessert that feels calm and generous on the table, with a spoon breaking through the crust and steam rising underneath.
What makes this version stand out is the balance in the filling. Orange and lemon zest keep the apples from tasting flat, and the mix of juice, sugar, cinnamon, and nutmeg gives the fruit enough structure to bubble into a syrupy layer without turning watery. The topping matters just as much: cold butter, worked in by hand, creates the uneven craggy texture that crisps instead of melting into a paste. I’ve made enough apple crisps to know that the difference between good and great usually comes down to those two things.
Below, I’ll walk through the part that keeps the topping from going sandy, plus a few easy swaps if you only have one kind of apple on hand.
The crumble stayed chunky all the way through baking, and the apples softened perfectly without turning into applesauce. I loved the citrus in the filling — it kept the whole dessert from tasting heavy.
Save this Ina Garten apple crisp for the nights when you want tender spiced apples and a thick golden crumble that bakes up with crisp edges.
The Part That Keeps the Crumble Crisp Instead of Sandy
The biggest mistake with apple crisp is overworking the topping. Once the butter gets rubbed in too far, the mix turns pasty and bakes up dense instead of forming those rough, crunchy clusters everyone wants. Cold butter is the key here, and the goal is to stop when the flour still looks a little uneven and the crumbs hold together only when pressed.
The apples matter too. Thick slices hold their shape long enough to soften in the oven without dissolving, which gives you that contrast between tender fruit and crisp topping. If you slice them too thin, they collapse before the topping finishes browning. If you slice them too thick, they stay firm in the middle. Aim for a steady middle ground and the oven does the rest.
What Each Ingredient Is Doing in the Bowl
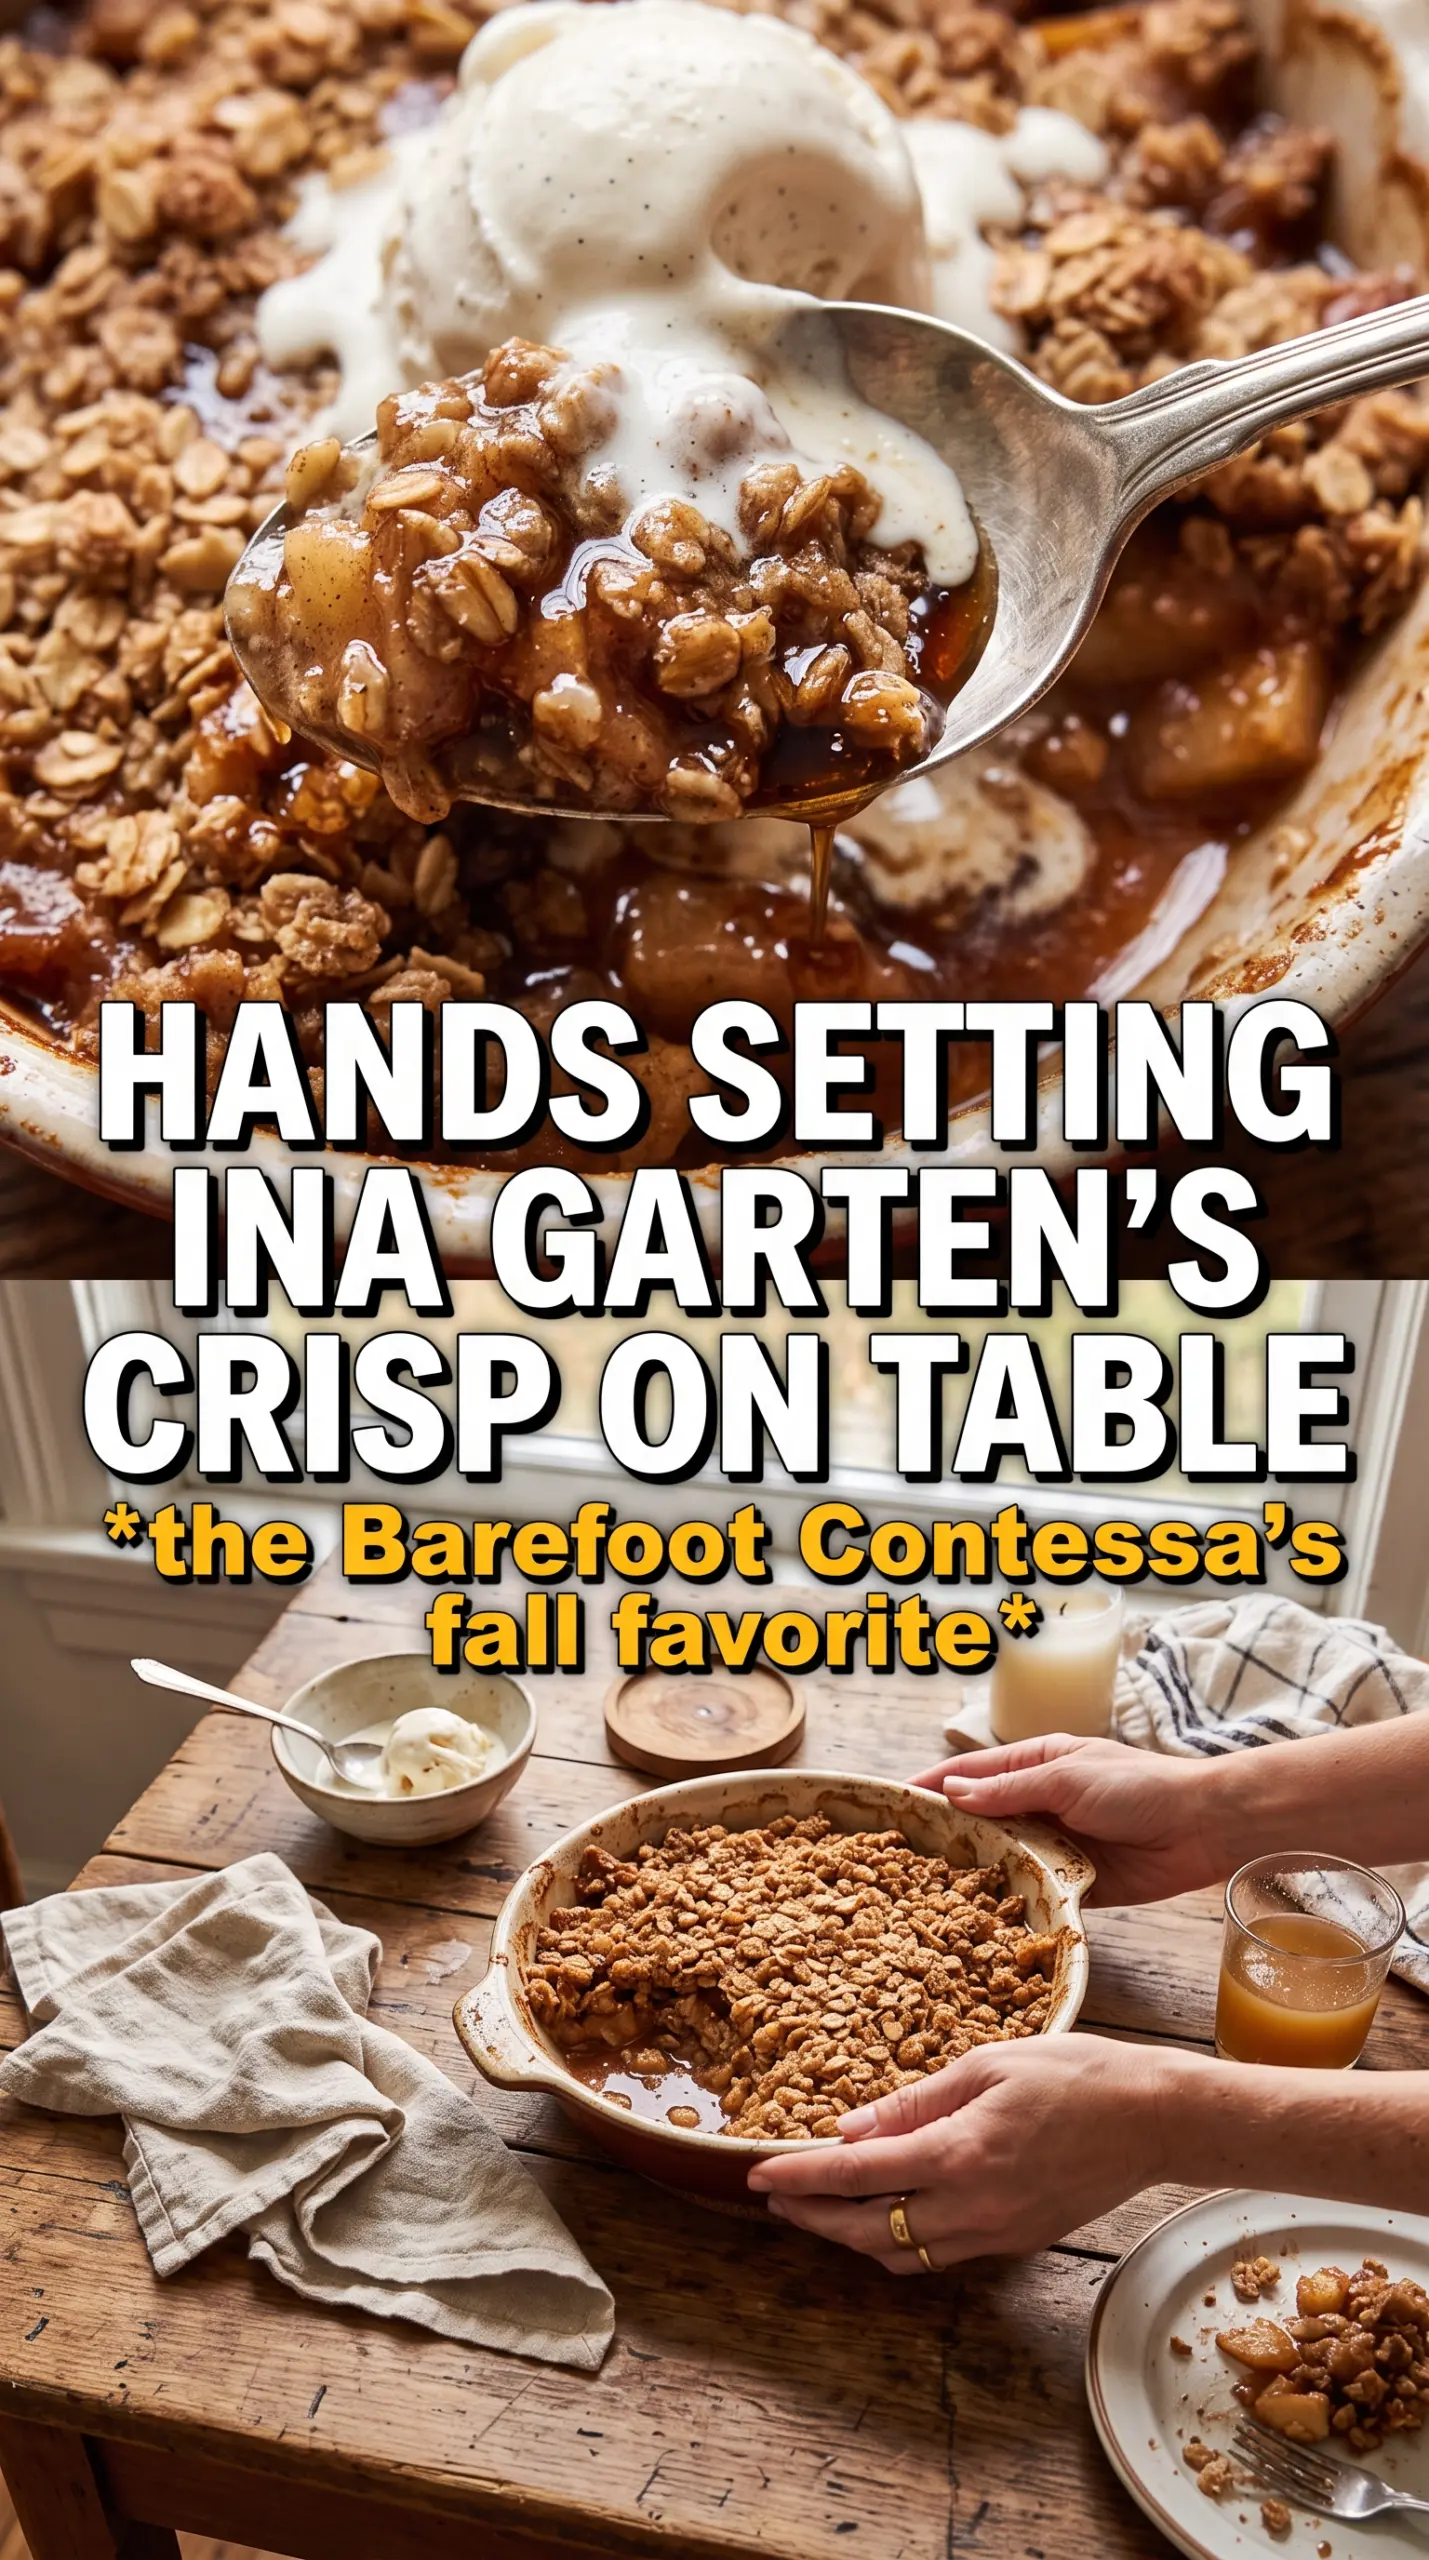
- Macintosh or Braeburn apples — Macintosh softens beautifully and gives you a plush filling; Braeburn keeps a little more structure if you like a firmer bite. If you use only a super-tart apple, the filling can taste sharp unless you increase the sugar a little.
- Orange zest and lemon zest — These don’t make the crisp taste citrusy. They brighten the apples and keep the filling from tasting one-note, especially after the sugar and spices go in.
- Orange juice and lemon juice — The juices add moisture and help the filling turn syrupy as it bakes. Fresh juice matters here because bottled juice can taste dull and slightly bitter after a long bake.
- Old-fashioned oats — These give the topping its rough, craggy texture and help it bake into a crisp lid instead of a soft blanket. Quick oats will work in a pinch, but the topping will be finer and less textured.
- Cold unsalted butter — This is what creates the crumble. If the butter softens too much before baking, the topping spreads instead of clumping, so keep it cold and work quickly with your fingertips.
Building the Filling and Topping in the Right Order
Coating the Apples First
Toss the sliced apples with the zests, juices, sugar, cinnamon, and nutmeg until every piece looks lightly glossed. You want the fruit coated, not drowned. If there’s a pool of liquid in the bowl before baking, the apples were sliced too thin or sat too long after mixing. Spread them straight into the baking dish so the juice stays around the fruit instead of leaking out in the bowl.
Turning the Dry Mix Into Clumps
Combine the flour, sugars, salt, and oats first, then add the cold diced butter. Use your fingers to pinch and rub until the mixture forms uneven pea-sized clumps with some dusty bits still hanging on. Those uneven pieces are what bake into a crisp top. If the mixture starts looking like wet dough, stop immediately — it’s already too warm and you’ve lost the crumb structure.
Covering Every Bit of Fruit
Scatter the topping over the apples in an even layer and don’t press it down. The loose layer lets steam rise through the fruit while the top browns. If you pack it, the topping steams before it crisps. Bake until the top is deep golden and the filling is bubbling at the edges and in the center; that bubbling is the sign that the apples have softened enough and the starches, sugars, and juices have come together properly.
How to Adjust This Crisp Without Losing the Texture
Make it gluten-free
Use a cup-for-cup gluten-free flour blend in the topping. The texture will be a little more delicate, but the oats still give it enough structure to bake up crisp. Check that your oats are certified gluten-free if you’re serving someone with celiac disease.
Use a different apple mix
If you don’t have Macintosh or Braeburn, mix a softer apple with a firmer one, like Honeycrisp plus Granny Smith. That gives you a filling that’s tender but not mushy, with enough acidity to stand up to the sweet topping.
Make it dairy-free
Swap the butter for a plant-based butter block that stays firm when cold. The topping will still clump and brown, though the flavor will be a little less rich and the edges won’t caramelize quite as deeply.
Make it ahead
You can assemble the filling and topping separately, then store them chilled for a few hours before baking. Don’t assemble the whole dish too far in advance or the topping will start absorbing the apple juices and lose its crisp edge.
Storage and Reheating
- Refrigerator: Store covered for up to 4 days. The topping softens a bit in the fridge, but the flavor stays excellent.
- Freezer: Baked apple crisp freezes well. Cool completely, wrap tightly, and freeze for up to 2 months. Thaw overnight in the fridge before reheating.
- Reheating: Warm in a 350F oven until heated through and the top crisps back up, about 15 to 20 minutes. The microwave will heat the filling, but it turns the topping soft, which is the one thing you don’t want here.
Questions I Get Asked About This Recipe
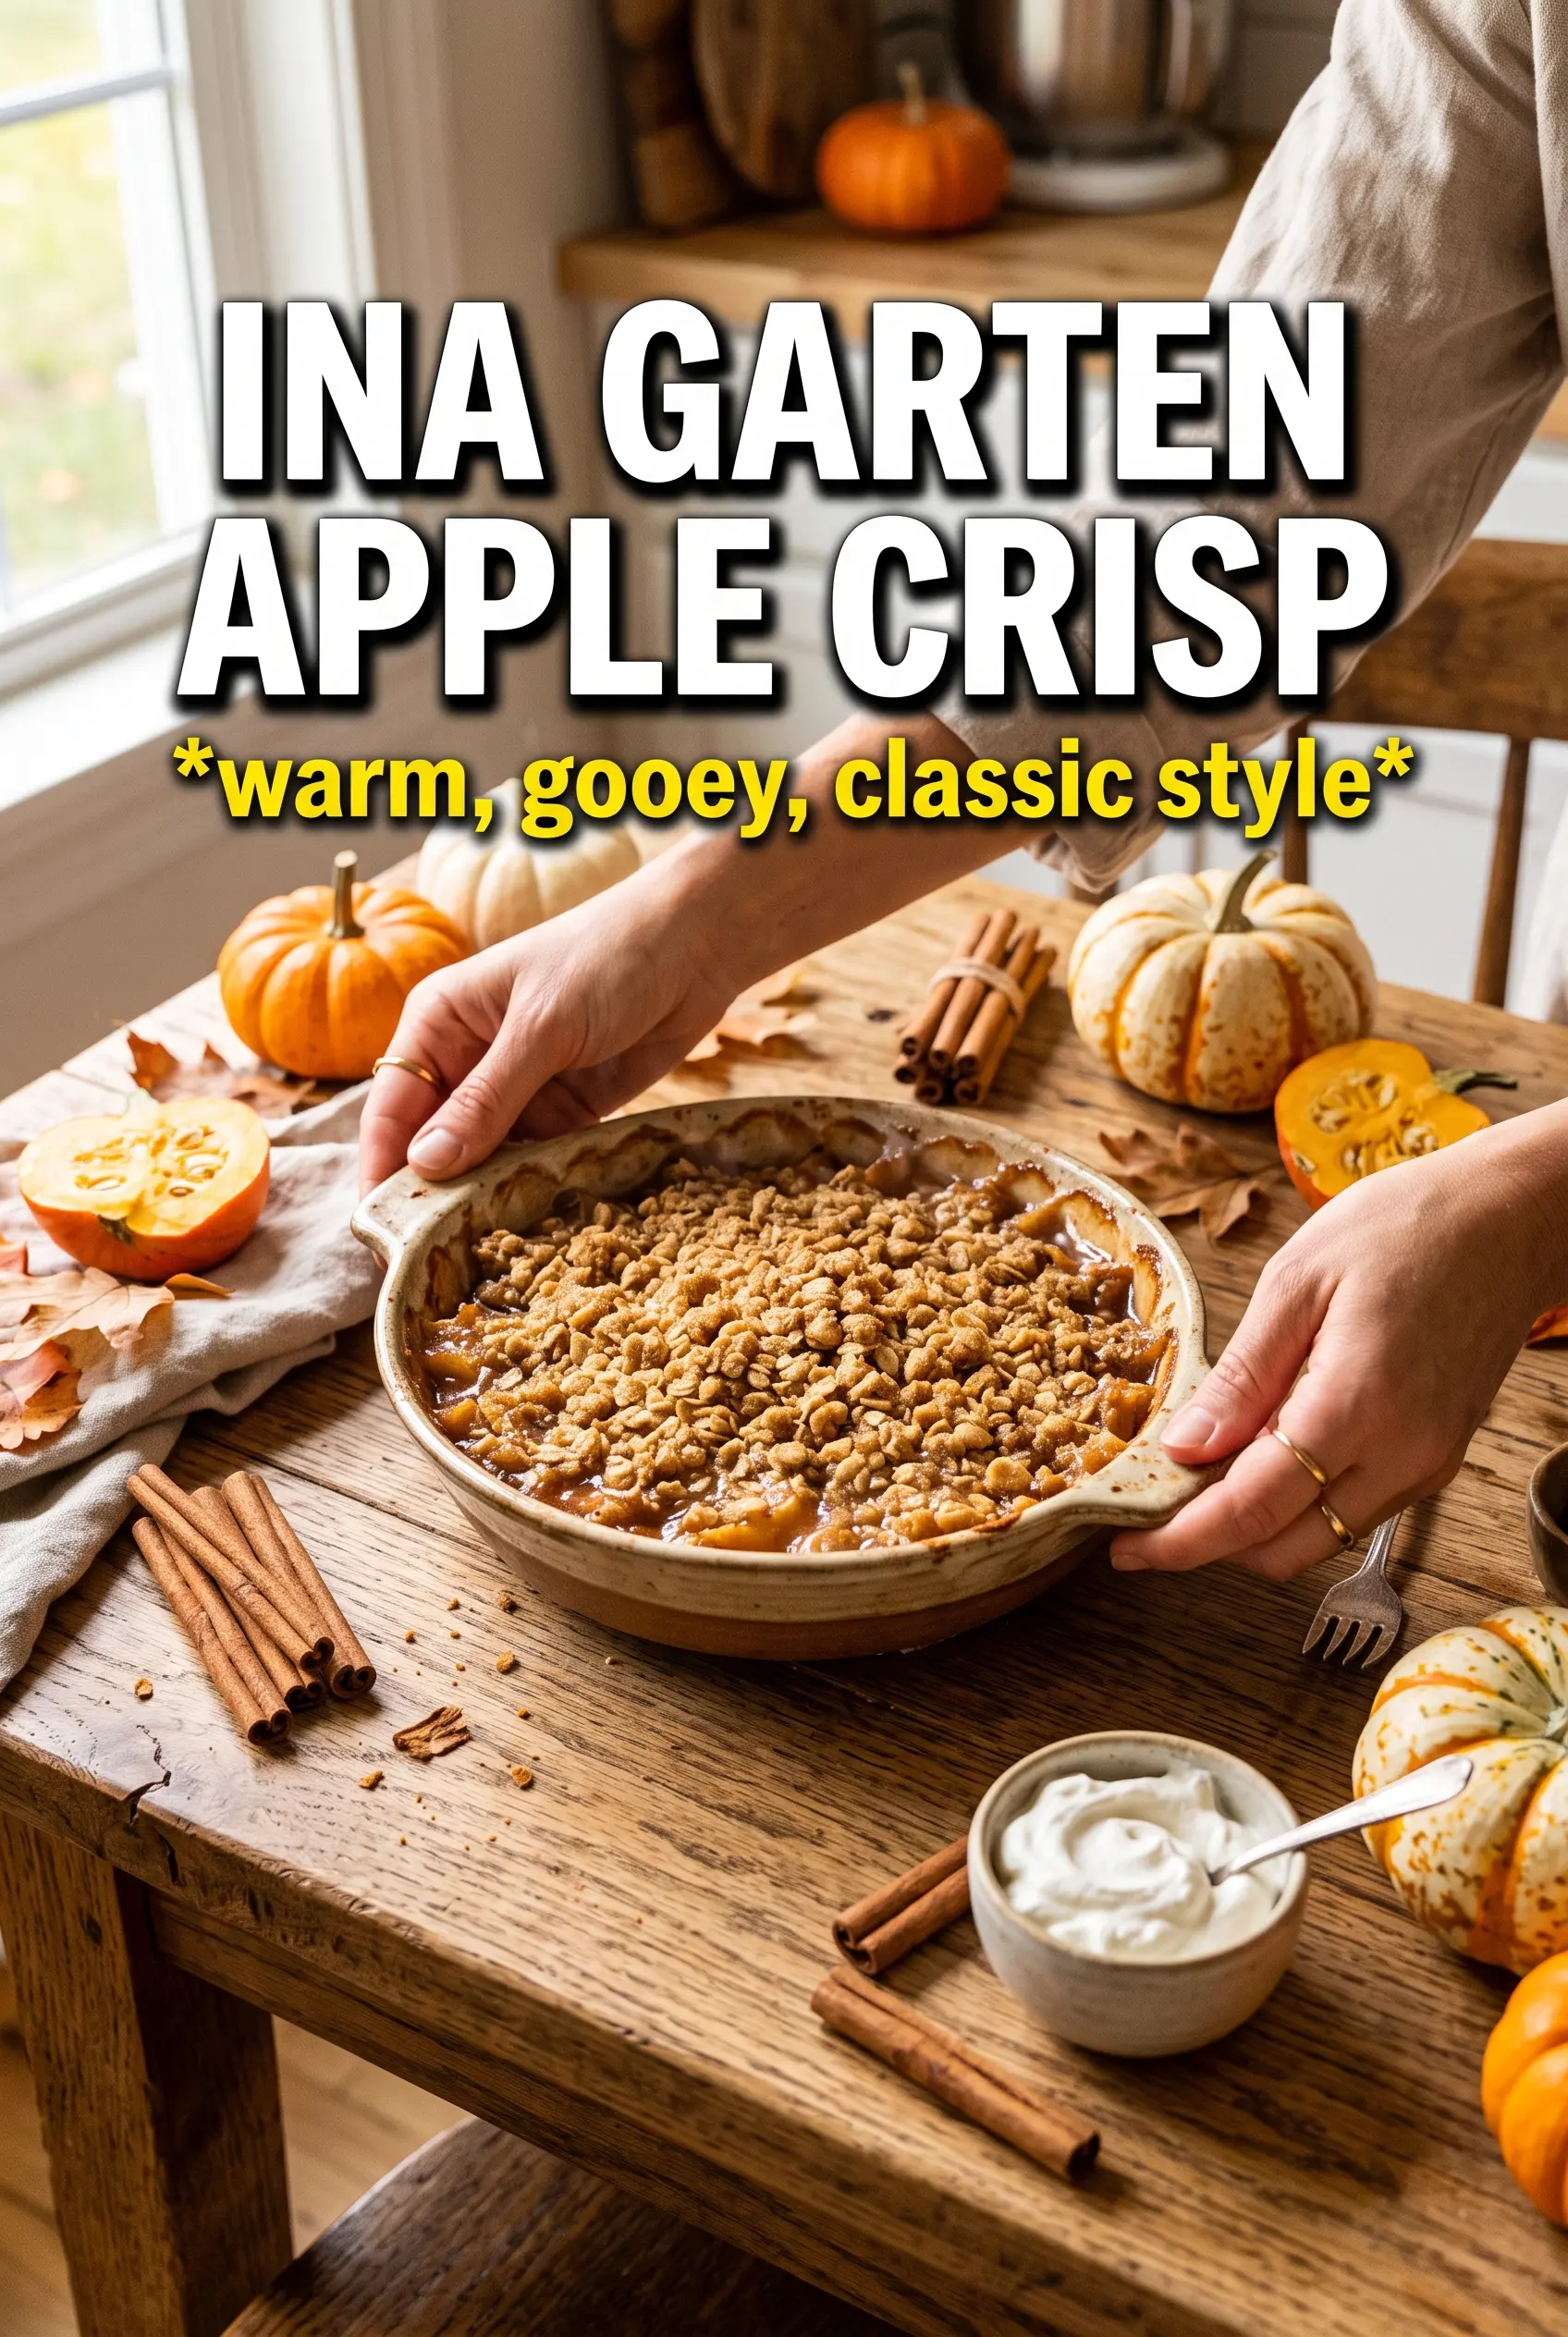
Ina Garten Apple Crisp
Ingredients
Equipment
Method
- Preheat the oven to 350F.
- Toss the sliced apples with orange zest, lemon zest, orange juice, lemon juice, granulated sugar, cinnamon, and nutmeg, then spread them in a 14x9x2 inch baking dish.
- Combine flour, both sugars, salt, and oats, then add the cold diced butter and work with your fingers until the mixture forms pea-sized clumps.
- Scatter the crumble topping over the apples, covering every inch generously.
- Bake for 55-60 minutes until the top is golden brown and the apples are tender and bubbling.
- Serve warm with vanilla ice cream or whipped cream.