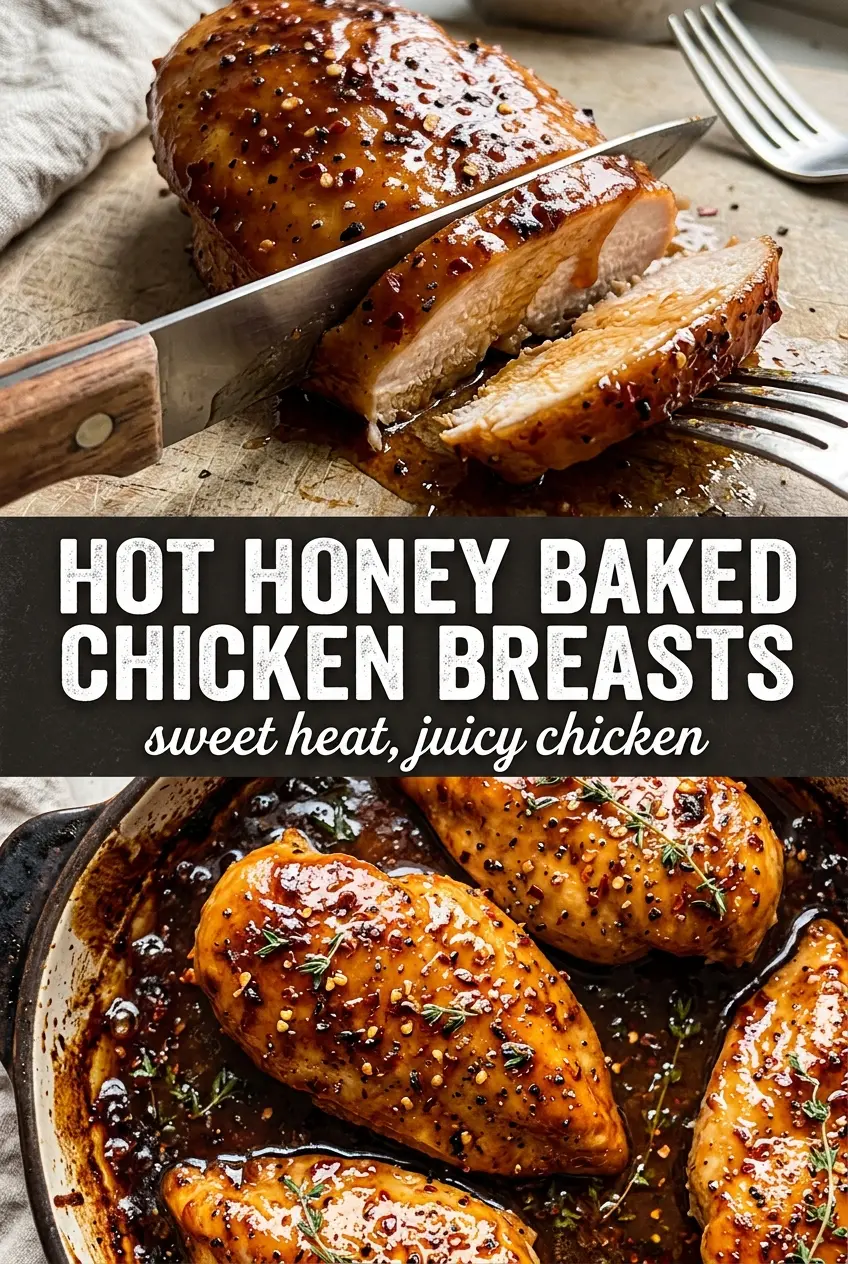
Hot honey baked chicken breasts land on the plate with crisp edges, juicy meat, and a sticky glaze that turns dark amber in the oven. The chicken stays straightforward, but the sauce brings the kind of sweet heat that keeps you going back for one more bite. It’s the sort of dinner that feels a little more exciting than plain baked chicken without asking for any extra work.
What makes this version work is the balance in the glaze. Honey brings body and caramelization, hot sauce adds sharp heat and acidity, and a little butter rounds everything out so the coating clings instead of sliding off the chicken. A touch of apple cider vinegar keeps the sweetness from flattening, and the red pepper flakes give the glaze that speckled, glossy look you want coming out of the oven.
The details matter here, especially the basting and the rest time. Below, I’ll show you how to keep the chicken juicy, how to get the glaze sticky instead of burnt, and how to adjust the heat level without losing that hot honey punch.
The glaze turned sticky and caramelized exactly like you said, and the chicken stayed juicy even after the second basting. My husband kept sneaking pieces from the pan.
Like this hot honey baked chicken breasts recipe? Save it to Pinterest for the nights when you want sticky sweet heat and barely any cleanup.
The Part That Keeps the Glaze Sticky Instead of Burnt
The biggest mistake with hot honey chicken is treating the glaze like a regular sauce. Honey browns fast, and in a hot oven it can go from glossy to scorched in a hurry if the chicken is too close to the heat source or the glaze is too thin. This recipe works because the honey is cut with hot sauce, butter, and vinegar, which gives it enough body and balance to caramelize without turning bitter.
425°F is hot enough to brown the chicken and thicken the glaze, but not so hot that the sugars instantly harden. Basting halfway through adds another layer of flavor and helps build that lacquered finish you want on the surface. If your glaze starts looking dark before the chicken is cooked through, tent it loosely with foil for the last few minutes. That protects the sugars while the chicken finishes coming up to temperature.
What Each Ingredient Is Actually Doing in the Pan

- Chicken breasts — Boneless, skinless breasts give you a quick weeknight dinner, but they need even thickness to cook well. If one end is much thicker, pound it lightly so the whole piece reaches 165°F at the same time and the thinner end doesn’t dry out.
- Honey — This is the backbone of the glaze. Choose a good, regular honey; you don’t need a fancy varietal, but thin or watered-down honey won’t caramelize as nicely.
- Hot sauce — Frank’s RedHot gives the glaze a clean, tangy heat that blends well with honey. A thicker, smokier sauce will change the character of the dish, but it still works if you want a deeper flavor.
- Butter — Melted butter helps the glaze emulsify so it clings to the chicken instead of beading up. Don’t skip it if you want that glossy finish.
- Apple cider vinegar — This keeps the sweetness sharp and lively. If you leave it out, the glaze can taste flat and one-note.
- Red pepper flakes — These add visible heat and little bursts of spice across the surface. If you want a milder version, cut them back, but don’t remove them entirely if you want the classic hot honey look and bite.
Building the Glaze So It Clings to the Chicken
Seasoning the Chicken Well
Pat the chicken dry before you season it. Moisture on the surface works against browning, and wet chicken tends to steam instead of roast. Salt, pepper, garlic powder, and smoked paprika give the meat a savory base so the glaze doesn’t have to do all the work. Brush the chicken lightly with olive oil so the seasonings stick and the top surface helps the glaze spread evenly.
Whisking the Hot Honey Together
Stir the honey, hot sauce, melted butter, vinegar, red pepper flakes, and garlic powder until the mixture looks smooth and glossy. If the butter starts to separate, keep whisking for another few seconds; it should come together into a unified glaze, not a broken slick of fat. This is the point where you can taste and adjust the heat. More hot sauce gives you sharper spice, while more honey softens it.
Basting for a Dark Amber Finish
Brush on a generous layer before the chicken goes into the oven, then save enough glaze to baste halfway through. That second coat is what creates the sticky, lacquered surface instead of a thin stain of sweetness. Bake until the thickest part of the chicken reaches 165°F and the top is deep amber with little caramelized bubbles around the edges. If the glaze is getting too dark before the chicken is done, move the pan to a lower rack or cover it loosely for the last few minutes.
Resting Before the Final Drizzle
Let the chicken rest for 5 minutes after it comes out of the oven. That pause keeps the juices from spilling out the second you slice in. Finish with flaky sea salt and fresh thyme, then drizzle on a little extra hot honey if you want a stronger punch. The salt sharpens the glaze, and the thyme keeps the sweetness from feeling heavy.
How to Adjust the Heat, Make It Gluten-Free, and Store the Leftovers
Milder Hot Honey Chicken
Cut the red pepper flakes in half and use 1 tablespoon of hot sauce instead of 2. You’ll still get the sweet heat and the glossy finish, just with less burn on the back end.
Gluten-Free Dinner Plate
This recipe is naturally gluten-free as written, as long as your hot sauce is certified gluten-free. That’s the only place cross-contamination can sneak in.
Boneless Chicken Thighs Instead
Boneless thighs work well if you want richer meat and a little more forgiveness in the oven. They usually need a few extra minutes, and the glaze will cling beautifully because of the higher fat content.
Storage and Reheating
- Refrigerator: Store leftovers in an airtight container for up to 4 days. The glaze will thicken as it chills, and that’s normal.
- Freezer: Freeze cooked chicken for up to 2 months. Wrap it well or use a freezer-safe container, and freeze with a little extra glaze if you want the best texture after reheating.
- Reheating: Warm gently in a 325°F oven, covered loosely with foil, until heated through. A microwave works in a pinch, but use short bursts so the glaze doesn’t turn rubbery and the chicken stays tender.
Answers to the Questions Worth Asking
Hot Honey Baked Chicken Breasts
Ingredients
Equipment
Method
- Preheat the oven to 425°F and lightly oil a baking dish or cast iron skillet so the chicken doesn’t stick.
- Season chicken breasts on both sides with salt, black pepper, garlic powder, and smoked paprika for even flavor.
- Whisk together honey, hot sauce, melted butter, apple cider vinegar, red pepper flakes, and garlic powder until smooth for a hot honey glaze.
- Place chicken in the prepared dish and brush generously with the hot honey glaze; reserve some glaze for basting.
- Bake at 425°F for 20-22 minutes, basting with the reserved glaze once at the halfway point, until internal temperature reaches 165°F and the glaze is caramelized and dark amber.
- Rest the chicken for 5 minutes so the juices settle, then finish with flaky sea salt, fresh thyme, and an extra drizzle of hot honey.