Crispy honey pepper chicken hits the table with the kind of contrast that keeps people reaching for one more piece: shattering edges on the chicken, a sticky amber glaze, and enough cracked black pepper to keep the sweetness from turning flat. The sauce clings instead of sliding off, and the chicken stays crisp long enough to serve over rice without going soggy in the bowl.
The trick is in the coating and the sauce timing. Cornstarch helps the crust fry up lighter and crisper than flour alone, while the honey sauce gets a short simmer so it thickens just enough to lacquer the chicken without turning candy-like. The vinegar matters too. It keeps the glaze from tasting one-note and helps the pepper stand out instead of disappearing into the sweetness.
Below you’ll find the exact frying cue to watch for, why coarse black pepper matters here, and a couple of ways to adjust the sauce if you want it a little sweeter, spicier, or easier to fit your pantry.
The chicken stayed crisp even after tossing it in the sauce, and the coarse pepper gave it that restaurant-style bite. I served it over rice and the glaze soaked in just enough without making it mushy.
Love the sticky honey pepper glaze and crispy chicken strips? Save this Applebee’s-style honey pepper chicken for the nights when you want a fast takeout-style dinner at home.
The Coating Has to Fry Before the Sauce Touches It
The mistake that ruins this dish is rushing the glaze. If the chicken goes into the sauce before the crust has set, the flour and cornstarch coating turns soft and pasty instead of crisp. Frying at 375°F gives the coating time to brown and seal before the chicken cooks through, which is what lets it hold up when you toss it in the honey pepper sauce.
Watch for a deep golden color and a crust that sounds dry and crisp when you lift a piece from the oil. If the oil is too cool, the coating absorbs grease and goes heavy. If it’s too hot, the outside browns before the inside is done. A thermometer saves this recipe.
What the Honey, Cornstarch, and Cracked Pepper Each Do Here

- Chicken breasts — Boneless, skinless breasts cut into strips cook fast and stay easy to coat. Thighs work too if you want a richer, juicier bite, but they’ll take a little longer in the oil.
- Cornstarch — This is what gives the crust that lighter, crispier finish. Flour alone makes a thicker shell, but cornstarch helps the coating fry up with a delicate crunch that stands up to the sauce better.
- Honey — Use real honey here. It gives the sauce its body and shine, and there isn’t a substitute that matches the way it thickens and clings as it simmers.
- Coarse cracked black pepper — Fresh cracked pepper matters more than pre-ground pepper in this recipe. It stays visible in the sauce and gives the glaze that sharp, restaurant-style bite instead of disappearing into the sweetness.
- Apple cider vinegar — The vinegar cuts through the honey and keeps the sauce from tasting flat. If you need a swap, rice vinegar works closest; use the same amount.
Frying, Glazing, and Tossing the Chicken Without Losing the Crunch
Coating the Strips Evenly
Toss the chicken until every strip looks dusty and well covered, with no wet spots showing through. The flour and cornstarch mix should cling in a thin layer, not clump into thick paste, so shake off any excess before it hits the oil. If the coating looks patchy, the chicken will fry unevenly and you’ll get pale spots that soften fast in the sauce.
Frying to a Clean Golden Crust
Fry in a single layer in about 1 inch of oil, giving the strips enough room so they don’t steam against each other. Flip once the underside turns deep golden and releases easily from the pan. If pieces stick, they’re not ready yet. Drain them on paper towels, but don’t let them sit too long before saucing or the crust starts losing its edge.
Simmering the Sauce Until It Clings
Combine the sauce ingredients in a small saucepan over medium heat and let it bubble for 3 to 4 minutes. You’re looking for a slightly thicker, glossy sauce that coats a spoon and smells peppery, not raw. If you boil it hard, the honey can thicken too far and turn sticky in the wrong way, so keep the simmer gentle.
Tossing at the Last Possible Moment
Add the chicken to the sauce and toss quickly until every piece is glazed. Don’t let it soak in the pan. The goal is a thin shiny coating on the outside, not a bath that seeps into the crust. Serve over rice right away and finish with green onions while the chicken still has crunch.
How to Tweak the Sweetness, Heat, and Crunch
Bake the Chicken Instead of Frying
For a lighter version, bake the coated chicken on a wire rack at 425°F until crisp and cooked through. You won’t get quite the same shattering crust as frying, but the cornstarch still helps build a dry, crunchy finish that holds up well under the sauce.
Make It Gluten-Free
Swap the all-purpose flour for a 1:1 gluten-free flour blend and use tamari instead of soy sauce. The texture stays close to the original, though the crust may brown a little faster, so keep an eye on the color as it fries.
Turn Up the Pepper
If you want a sharper bite, add another 1/2 teaspoon of cracked black pepper or finish with a pinch of red pepper flakes. The sauce can handle it because the honey and butter round off the heat, but the pepper should still be coarse enough to see.
Storage and Reheating
- Refrigerator: Store leftovers in an airtight container for up to 3 days. The crust softens once sauced, but the flavor stays strong.
- Freezer: Freeze the fried chicken before saucing if you want the best texture. Sauced leftovers freeze poorly because the glaze separates and the coating turns mushy.
- Reheating: Reheat the chicken on a wire rack in a 375°F oven or air fryer until hot and crisp again, then warm fresh sauce separately and toss together right before serving. Microwaving softens the coating fast.
Answers to the Questions Worth Asking
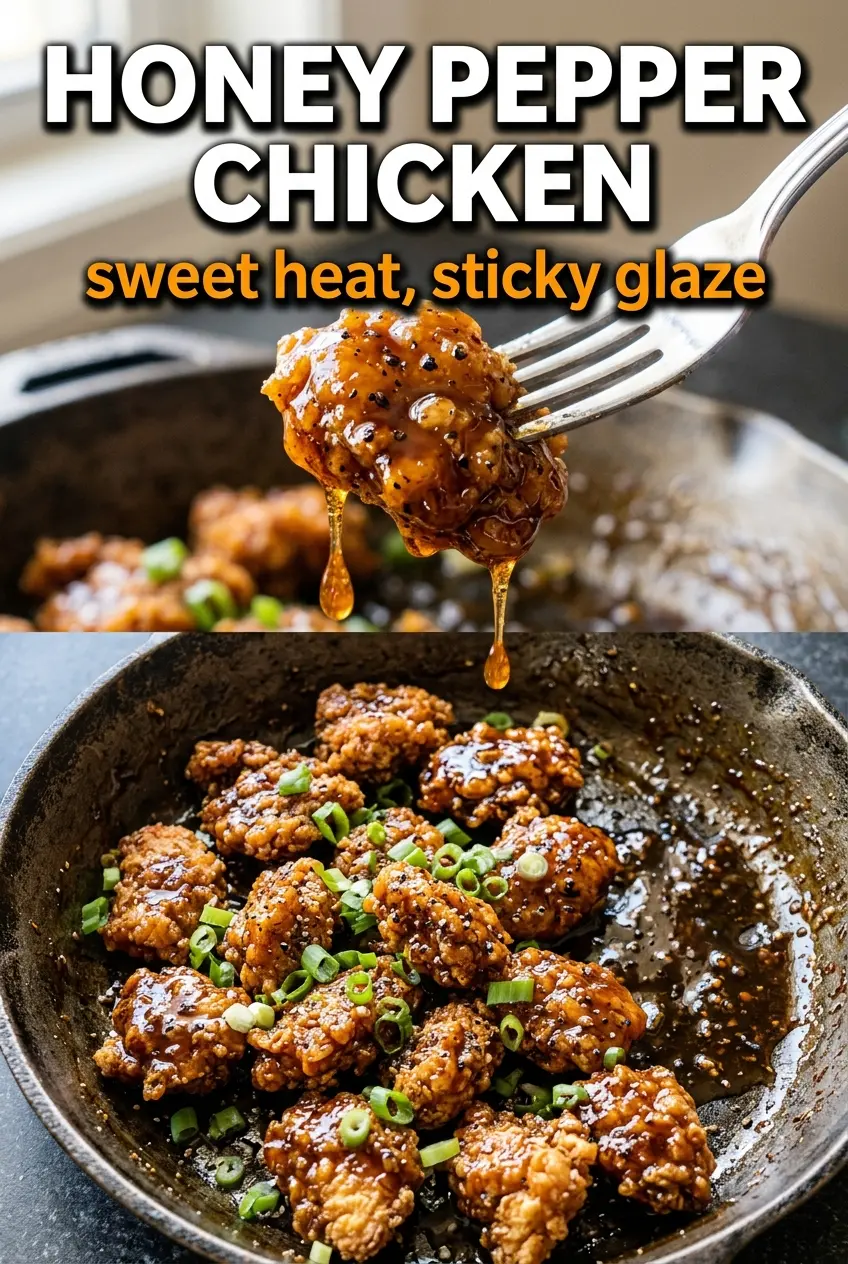
Honey Pepper Chicken
Ingredients
Equipment
Method
- Toss the chicken strips with flour, cornstarch, salt, and pepper until evenly coated, with no dry spots remaining.
- Heat about 1 inch of vegetable oil to 375°F, then fry the chicken strips for 3-4 minutes per side until golden and cooked through, turning once for even browning.
- Drain the fried chicken on paper towels on a sheet pan until the coating looks crisp and matte.
- In a small saucepan over medium heat, combine honey, soy sauce, butter, apple cider vinegar, coarse cracked black pepper, garlic powder, and red pepper flakes, whisking until the butter melts.
- Simmer the sauce for 3-4 minutes until slightly thickened and glossy, with pepper flavor blooming and small bubbles around the edges.
- Toss the crispy chicken in the honey pepper sauce until every piece is fully glazed and the coating looks amber and shiny.
- Serve immediately over steamed rice, then garnish with sliced green onions.