Scoops of homemade strawberry ice cream should taste like actual strawberries first, cream second, and sugar only enough to sharpen the fruit. The best versions have a clean berry flavor, a soft scoop straight from the freezer, and little bursts of real strawberry throughout the base instead of a flat pink sweetness. When it’s done right, the color comes from the fruit, not food dye, and the texture stays silky instead of icy.
This version gets its depth from macerated strawberries, which pull out their own juice before they ever meet the custard. That extra step matters because raw berries can taste muted once they’re frozen; sugar and lemon wake them up. The custard base is cooked just enough to thicken and give the ice cream body, but not so long that it turns eggy. Folding the strawberry puree in near the end of churning keeps the fruit flavor bright and the chunks from disappearing.
Below, I’ve included the one cue that tells you the custard is ready, plus a few swaps and storage notes that make this recipe easier to repeat without guesswork.
The custard thickened exactly when it should, and stirring in the strawberry puree at the end kept those little berry pieces from getting lost. It churned up creamy, not icy, and my kids kept sneaking spoonfuls before it even hit the freezer.
Save this homemade strawberry ice cream for the days when you want a creamy churned dessert with real berry flavor in every scoop.
The Reason Strawberry Ice Cream Gets Icy Instead of Creamy
Fruit-heavy ice cream fails when the base is watered down before it ever goes into the machine. Fresh strawberries release a lot of liquid, and if you dump them straight into the custard, that extra water turns into hard crystals in the freezer. Macerating the berries first concentrates the flavor and gives you control over the texture, which is why this batch tastes like strawberries instead of frozen milk with fruit in it.
The custard matters for the same reason. Egg yolks and gentle heat give the ice cream enough fat and stability to stay scoopable after freezing, but the pan has to stay at medium-low once the yolks go in. If the heat climbs too fast, the eggs scramble or the base turns grainy before it ever thickens. You want the mixture to coat the back of a spoon and leave a clean line when you drag a finger through it.
What Each Ingredient Is Actually Doing in This Bowl
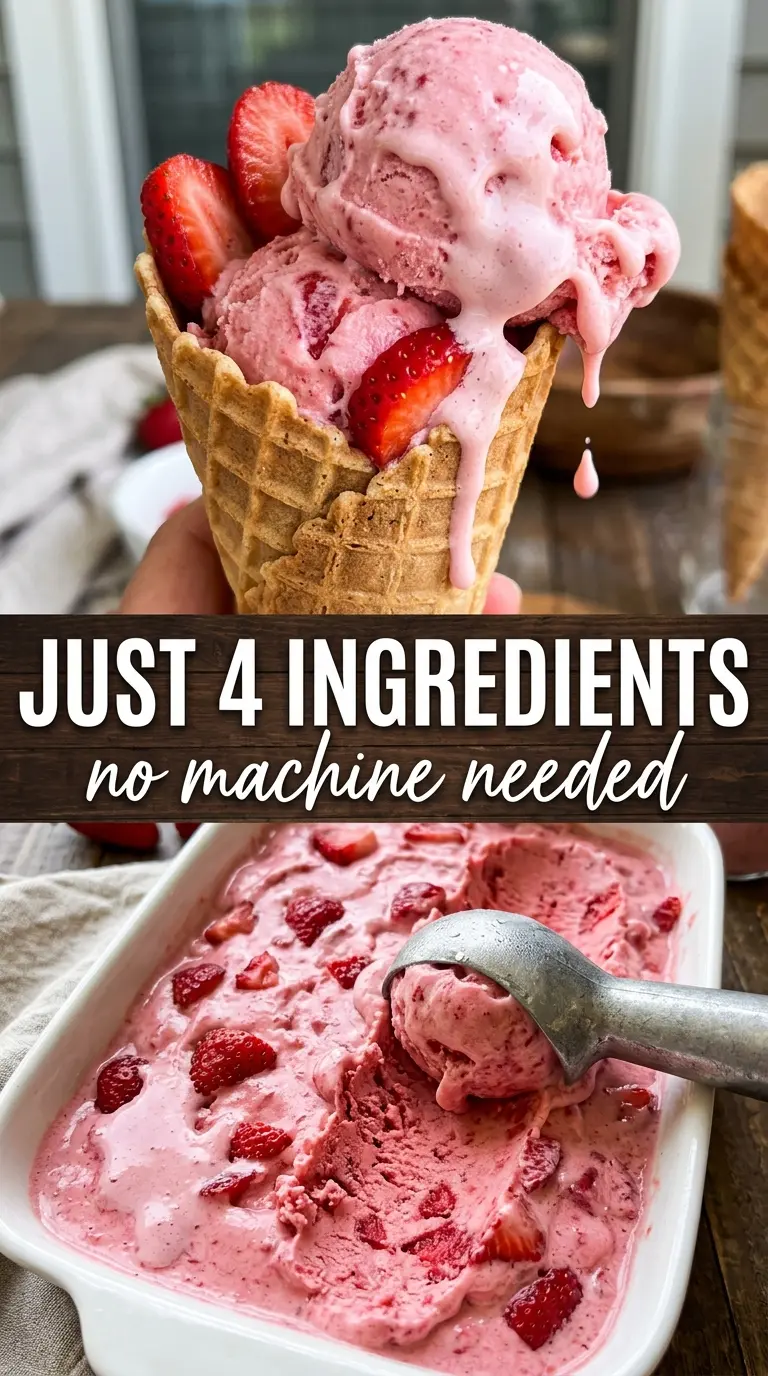
- Fresh strawberries — These are the whole point of the recipe. Fresh berries give you brightness and that soft, jammy texture after macerating; frozen berries can work in a pinch, but they usually taste a little flatter and release more water, so the final ice cream can set up icier.
- Sugar, divided — The first portion pulls juice from the strawberries. The rest sweetens the custard and lowers the freezing point so the ice cream stays scoopable instead of freezing into a brick.
- Lemon juice — A small amount wakes up the berries and keeps the flavor from tasting dull. Don’t skip it unless the berries are already unusually tart, because it doesn’t make the ice cream lemony; it just makes the strawberries taste more like themselves.
- Heavy cream and whole milk — Cream gives richness, while whole milk keeps the base from feeling heavy. You need both for a balanced churn; swapping in lower-fat milk makes the texture thinner and more icy.
- Egg yolks — Yolks turn this from a plain frozen mixture into a custard-based ice cream with body. They also help keep the texture smooth after freezing, which is why this recipe churns creamier than an egg-free version.
- Vanilla extract and salt — These are support players, but they matter. Vanilla rounds out the berry flavor, and salt keeps the sweetness from feeling one-note.
Getting the Custard to the Point Where It’s Ready for Churning
Macerate the Strawberries First
Toss the sliced strawberries with a little sugar and lemon juice, then let them sit until the bowl looks juicy and glossy. That waiting time pulls out liquid and softens the fruit, which makes the puree taste fuller once it’s frozen. Mash them for a chunkier texture or blend briefly if you want a smoother scoop, but don’t puree them into total liquid unless you want to lose the berry pieces entirely.
Cook the Yolks Slowly
Whisk the yolks and remaining sugar until they look pale and thicker, then stream in the warm cream and milk while whisking constantly. That gradual addition keeps the yolks from cooking into little bits on contact. Once the mixture goes back on the stove, keep the heat at medium-low and stir until it lightly coats the spoon; if it starts bubbling hard, you’ve gone too far and the texture can turn grainy.
Strain, Chill, and Churn
Strain the custard before cooling it, even if it looks smooth, because this catches the tiny cooked bits that can make the final ice cream feel rough. Stir in the vanilla and salt after straining, then chill the base completely before it goes into the machine. A cold base churns faster and freezes with smaller ice crystals, and that last five-minute addition of strawberry puree keeps the fruit flavor bright instead of cooked-down.
How to Adapt This Homemade Strawberry Ice Cream Without Losing the Creamy Texture
Dairy-Free Version With Full-Fat Coconut Milk
Swap the heavy cream and whole milk for full-fat coconut milk and use a dairy-free custard base if needed, but expect a light coconut note in the finished ice cream. The texture stays rich if you use the thickest canned coconut milk you can find, though it won’t taste exactly like the dairy version.
Strawberry Rhubarb Twist
Replace about half a cup of the strawberries with chopped rhubarb and cook it briefly with the berries during maceration. Rhubarb adds a tart edge and a more complex fruit flavor, but it softens the overall strawberry sweetness, so this version tastes brighter and a little less candy-like.
No Ice Cream Maker
Pour the chilled base into a shallow freezer-safe pan and stir it every 30 to 40 minutes as it freezes, breaking up the crystals from the edges each time. The texture won’t be quite as smooth as churned ice cream, but the repeated stirring keeps it from turning into a solid block.
Storage and Reheating
- Refrigerator: The churned base isn’t meant to sit in the fridge once frozen, but the cooked custard can be held there for up to 2 days before churning if it stays tightly covered.
- Freezer: Store the finished ice cream in an airtight container for up to 2 weeks for the best texture. After that, it stays safe to eat longer, but the strawberry pieces can get a little more icy.
- Reheating: Ice cream doesn’t need reheating; let it sit at room temperature for 5 to 10 minutes before scooping. If it’s rock hard, the issue is usually too little sugar, a base that wasn’t chilled before churning, or freezer burn from a loose lid.
Answers to the Questions Worth Asking
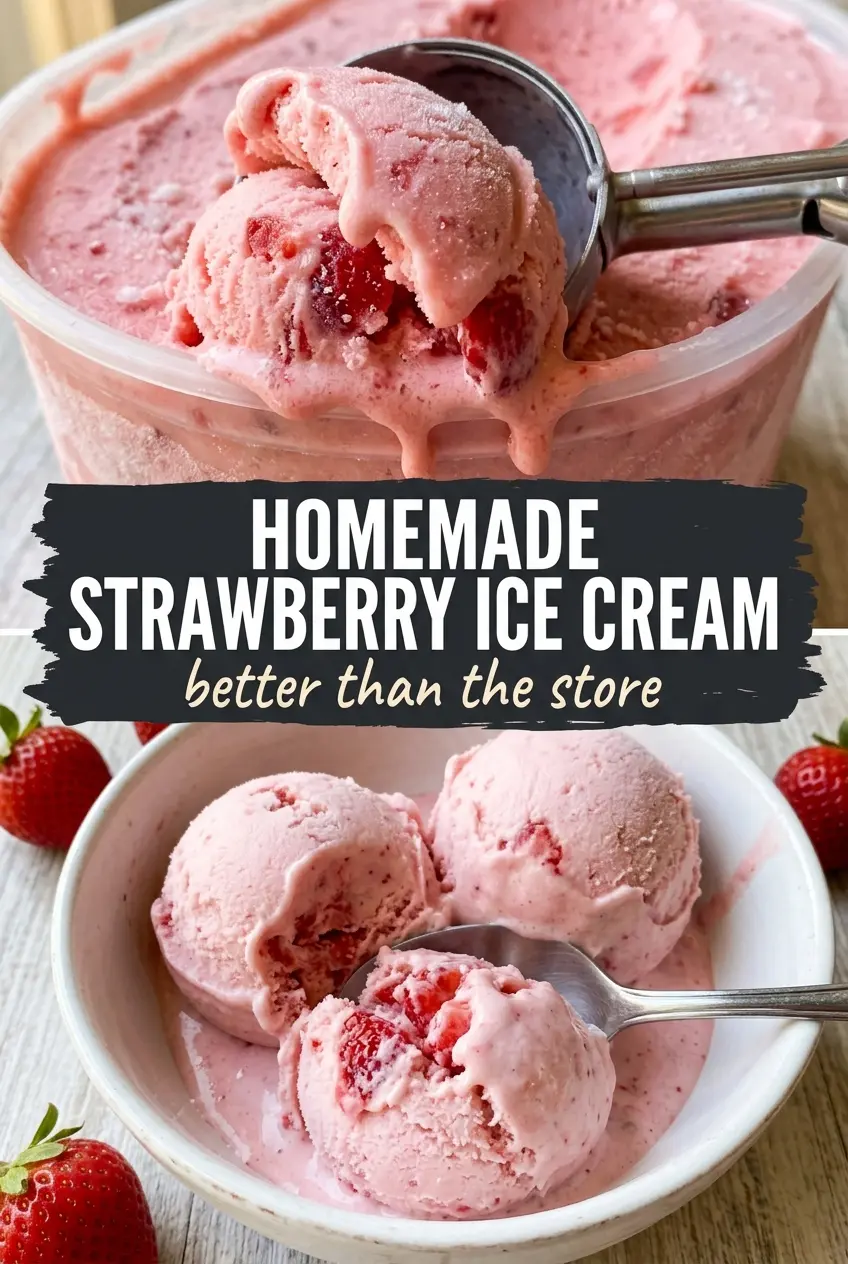
Homemade Strawberry Ice Cream
Ingredients
Equipment
Method
- Toss the sliced fresh strawberries with 1/4 cup granulated sugar and the lemon juice, then let sit for 30 minutes at cool room temperature until juicy (visual cue: berries look glossy with syrup forming).
- Mash or blend the macerated berries to a chunky puree, then refrigerate until cold (visual cue: puree is thick and chilled).
- Whisk the egg yolks with the remaining 1/2 cup granulated sugar until pale and thick (visual cue: ribbons form and the mixture looks lighter).
- Heat the heavy cream and whole milk in a saucepan over medium heat until steaming, then turn off the heat briefly (visual cue: you see steam rising but no rolling boil).
- Slowly whisk the steaming dairy into the egg yolks to temper, keeping the mixture smooth (visual cue: no scrambled egg bits).
- Return to the saucepan and cook over medium-low heat, stirring constantly, until thick enough to coat the back of a spoon at 170-175°F (visual cue: a finger line stays on the spoon).
- Strain the custard, then stir in the vanilla extract and salt (visual cue: mixture is smooth and glossy).
- Cool completely at room temperature, then refrigerate at least 2 hours (visual cue: custard is cold and spoonable).
- Churn the custard in an ice cream maker according to the manufacturer’s instructions, adding the strawberry puree during the last 5 minutes (visual cue: pink color deepens with visible berry pieces).
- Transfer to a container and freeze at least 2 hours until firm (visual cue: scoops hold shape with a creamy, dense texture).