Homemade pineapple ice cream tastes like the best part of a pineapple sundae and a proper custard ice cream in one bowl. It’s bright and tangy, but the texture stays plush and scoopable instead of icy, which is the difference between a dessert you make once and one you keep coming back to all summer. The pineapple flavor doesn’t get buried under cream; it stays upfront, clean, and fresh.
The trick is cooking the pineapple before it ever goes into the base. That short simmer concentrates the juice, softens the fruit, and keeps the final ice cream from turning watery once it freezes. The custard base gives the richness, while a little lemon juice sharpens the pineapple so the whole thing tastes vivid instead of flat. If you’ve ever had fruit ice cream that froze into a block or tasted muted after churning, this method fixes both problems.
Below, I’ll walk you through the part that matters most: how to build the custard without scrambling the yolks, how to get the pineapple texture right, and what to do if you want a smoother or chunkier finish.
The pineapple flavor stayed bright after freezing, and the custard churned up with that soft, scoopable texture I always want in homemade ice cream. I loved the little bits of fruit too.
Save this homemade pineapple ice cream for the nights when you want a bright, creamy custard base with real pineapple flavor and no icy texture.
The Pineapple Step That Keeps This Ice Cream Creamy Instead of Icy
Fruit ice cream gets disappointing fast when the fruit goes into the base raw. Pineapple carries a lot of water, and if you skip the simmer, that water turns into hard ice crystals later. Cooking it down with a little sugar and lemon juice concentrates the flavor and removes enough moisture to keep the finished ice cream smooth.
The other important piece is the custard temperature. Egg yolks give this ice cream body, but they need gentle heat. If the base cooks too fast, the yolks scramble or the dairy separates, and you end up straining out little bits of cooked egg instead of building a silky base.
- Fresh pineapple — Use fresh here if you can. Canned pineapple tends to taste flatter and softer, and the juice can make the churned ice cream looser. Dice it fine so it breaks down evenly while it simmers.
- Egg yolks — These are what give the ice cream that dense, custardy feel. Whole eggs won’t give the same richness, and a no-yolk base will freeze firmer and icier.
- Lemon juice — Pineapple needs acid to taste sharp and alive after freezing. Lemon juice also keeps the fruit flavor from reading as one-note sweet.
- Heavy cream and whole milk — The cream brings body, while the milk keeps it from becoming heavy. If you only use cream, the base can feel greasy; if you cut the dairy too much, the texture gets thin.
How to Build the Custard Without Scrambling the Yolks
Cooking Down the Pineapple
Put the diced pineapple, 1/4 cup of the sugar, and the lemon juice in a saucepan and cook it over medium heat until the fruit softens and the juices look syrupy. You want most of the raw bite gone, but the pineapple should still smell bright. If the pan looks dry before the fruit softens, the heat is too high; lower it and let the sugar pull the moisture out gradually. Let the mixture cool before blending it to a chunky puree so it doesn’t thin the custard later.
Tempering the Yolks
Warm the cream and milk until steaming, not boiling. In a separate bowl, whisk the yolks with the remaining sugar until they lighten slightly, then add the hot dairy in a slow stream while whisking constantly. That slow addition protects the yolks from turning into bits of scrambled egg. If the mixture starts to look grainy, stop and lower the heat immediately before it gets away from you.
Finishing the Base
Return the mixture to the pan and cook it, stirring constantly, until it reaches 175°F. It should coat the back of a spoon and leave a clear line when you run your finger through it. Pull it off the heat, strain it if you want the smoothest texture, then stir in the vanilla, salt, and pineapple puree. Chill it completely before churning; if the base is still warm, the ice cream maker can’t set the texture properly.
What Each Ingredient Is Actually Doing in This Pineapple Ice Cream
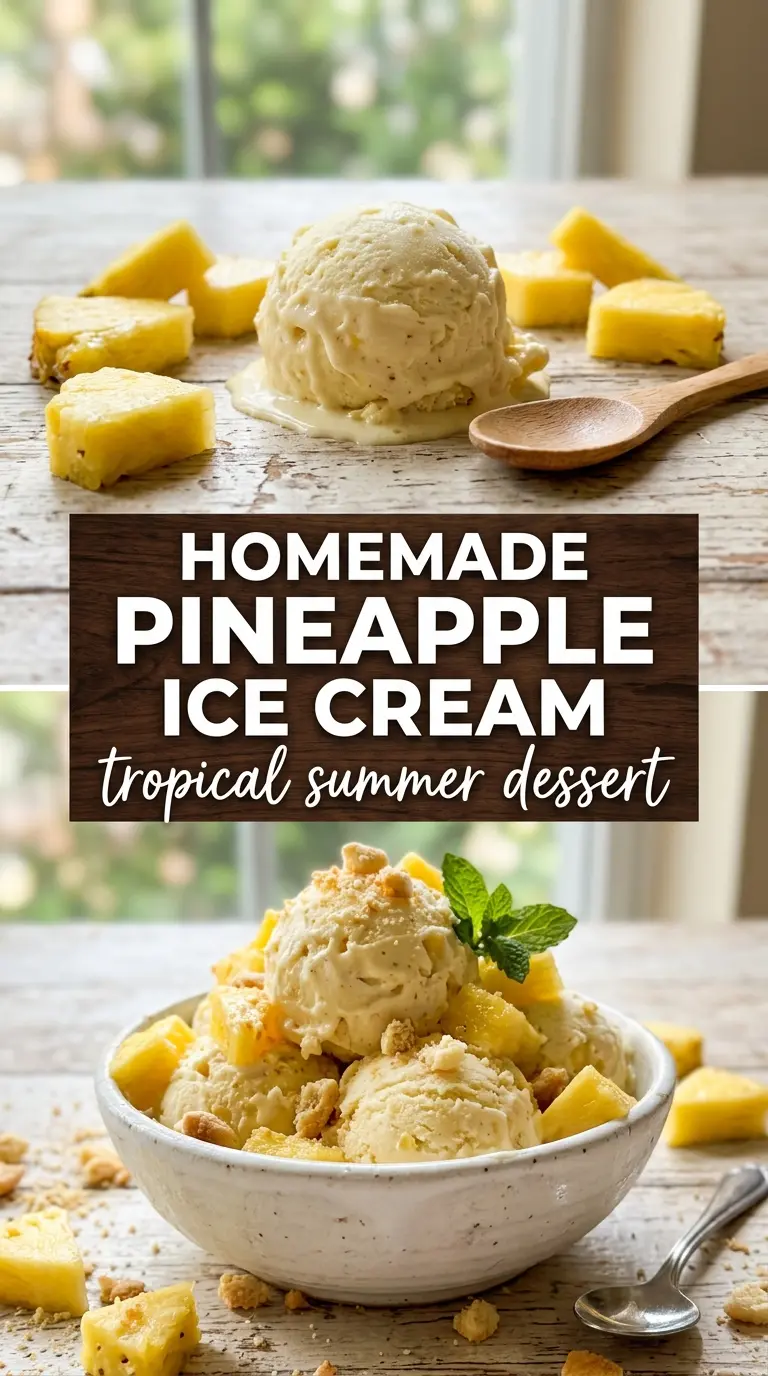
- Fresh pineapple — This is the main flavor, but it also brings natural acidity that keeps the ice cream from tasting heavy. If you swap in canned, drain it well and expect a softer, less vivid result.
- Heavy cream — This gives the finished ice cream its plush body. Anything lighter will freeze harder and less creamy.
- Whole milk — Milk keeps the base from being overly rich. Lower-fat milk works in a pinch, but the texture will be less luxurious.
- Egg yolks — They thicken the custard and help it churn into a smoother scoop. There isn’t a true shortcut for what they do here.
- Vanilla extract — Vanilla rounds out the sharp pineapple flavor without making the ice cream taste like vanilla ice cream with fruit in it.
- Lemon juice — It brightens the pineapple and keeps the flavor clean after freezing. Leave it out and the fruit can taste dull once cold.
Churning, Freezing, and the Texture You’re Trying to Protect
Chilling the Base
Cover the custard and refrigerate it for at least 4 hours, or until it feels fully cold to the touch. Cold base churns faster and traps smaller ice crystals, which is what gives you a smooth scoop. If you rush this and churn it warm, the ice cream maker has to work harder and the texture suffers.
Churning to Soft Serve
Pour the chilled base into your ice cream maker and churn until it looks like soft serve with a thick, airy body. Add too many pineapple chunks and the machine can struggle, so keep the puree chunky but not overloaded. The ice cream should pull cleanly from the dasher and hold soft ridges when it’s ready.
Freezing Firm
Transfer the churned ice cream to a container and freeze it until firm. Press parchment or plastic wrap directly onto the surface if you want to limit ice crystals. It will scoop best after a little time on the counter, but if it’s rock hard, that usually means the base wasn’t cold enough before churning or the freezer time was too long without a proper lid.
Three Ways to Adjust This Ice Cream Without Losing the Pineapple
Make it smoother
Blend the cooked pineapple puree a little longer and strain it if you want a more refined, sherbet-like finish. You’ll lose the little fruit bits, but the texture turns silkier and the pineapple flavor spreads more evenly through each scoop.
Add coconut for a tropical edge
Replace 1/2 cup of the whole milk with full-fat coconut milk. The ice cream will taste a little softer and more tropical, and the coconut mellows the pineapple’s sharpness without overpowering it.
Make it dairy-free
Use full-fat coconut milk in place of the cream and milk, and thicken the base with an egg-free custard method if you need to skip the yolks too. The result won’t be as rich as the original, but it still freezes creamy if the base is fully chilled before churning.
Turn it into a Pineapple Lime version
Swap half the lemon juice for lime juice. Lime gives the pineapple a sharper, more pronounced tropical finish, but it’s a stronger flavor, so keep the total acid the same.
Storage and Reheating
- Refrigerator: Not recommended once churned. Ice cream belongs in the freezer, though the custard base can sit chilled for up to 24 hours before churning.
- Freezer: Store in a tightly sealed container for up to 2 weeks. After that, the pineapple flavor starts to flatten and ice crystals become more noticeable.
- Reheating: Let it stand at room temperature for 5 to 10 minutes before scooping. The common mistake is microwaving it, which melts the edges unevenly and ruins the texture.
Questions I Get Asked About This Recipe
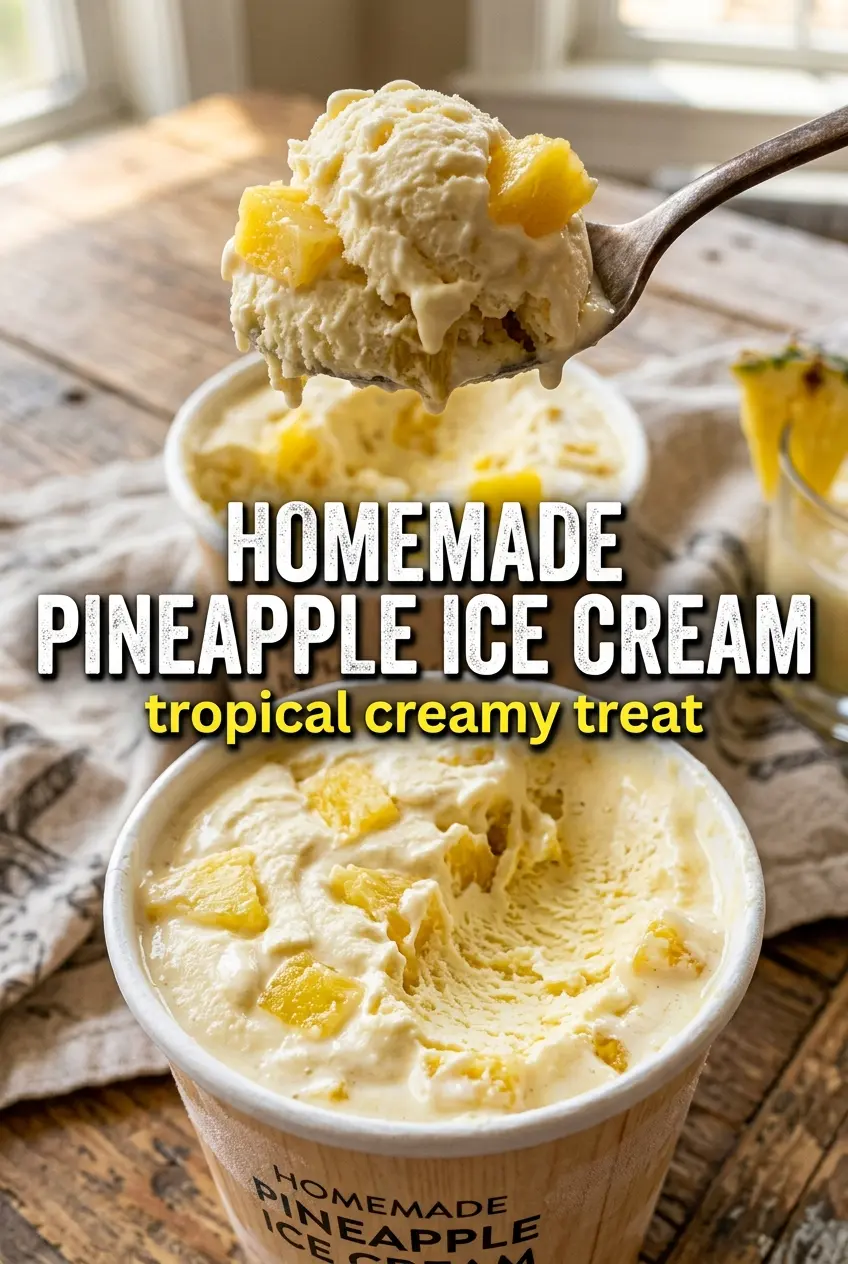
Homemade Pineapple Ice Cream
Ingredients
Equipment
Method
- Simmer finely diced pineapple with 1/4 cup sugar and lemon juice over medium heat for 10 minutes, until softened and the juices look more concentrated. Visual cue: the pineapple should look glossy and slightly reduced.
- Cool the pineapple mixture, then blend to a chunky puree. Visual cue: you should still see small pineapple bits, not a completely smooth sauce.
- Heat heavy cream and whole milk in a saucepan until steaming, not boiling. Visual cue: you should see active steam rising from the surface.
- In a bowl, whisk egg yolks with the remaining 1/2 cup sugar until thick and smooth. Visual cue: the mixture should look pale and slightly foamy.
- Slowly whisk the steaming dairy into the egg yolks in a thin stream. Visual cue: pour steadily while whisking to prevent scrambling.
- Cook the custard while stirring until it reaches 175F. Visual cue: the custard should coat the back of a spoon and look slightly thickened.
- Strain the custard, then stir in vanilla, salt, and the chunky pineapple puree. Visual cue: the mixture turns a vivid pale yellow with visible pineapple flecks.
- Cool completely, then refrigerate for 4 hours. Visual cue: the custard should be cold and set enough to churn smoothly.
- Churn the chilled pineapple custard in an ice cream maker until thick and soft-serve consistency. Visual cue: it should look aerated and noticeably thicker than the liquid base.
- Transfer to a container and freeze until firm. Visual cue: the surface should look matte and scoopable, not soft.