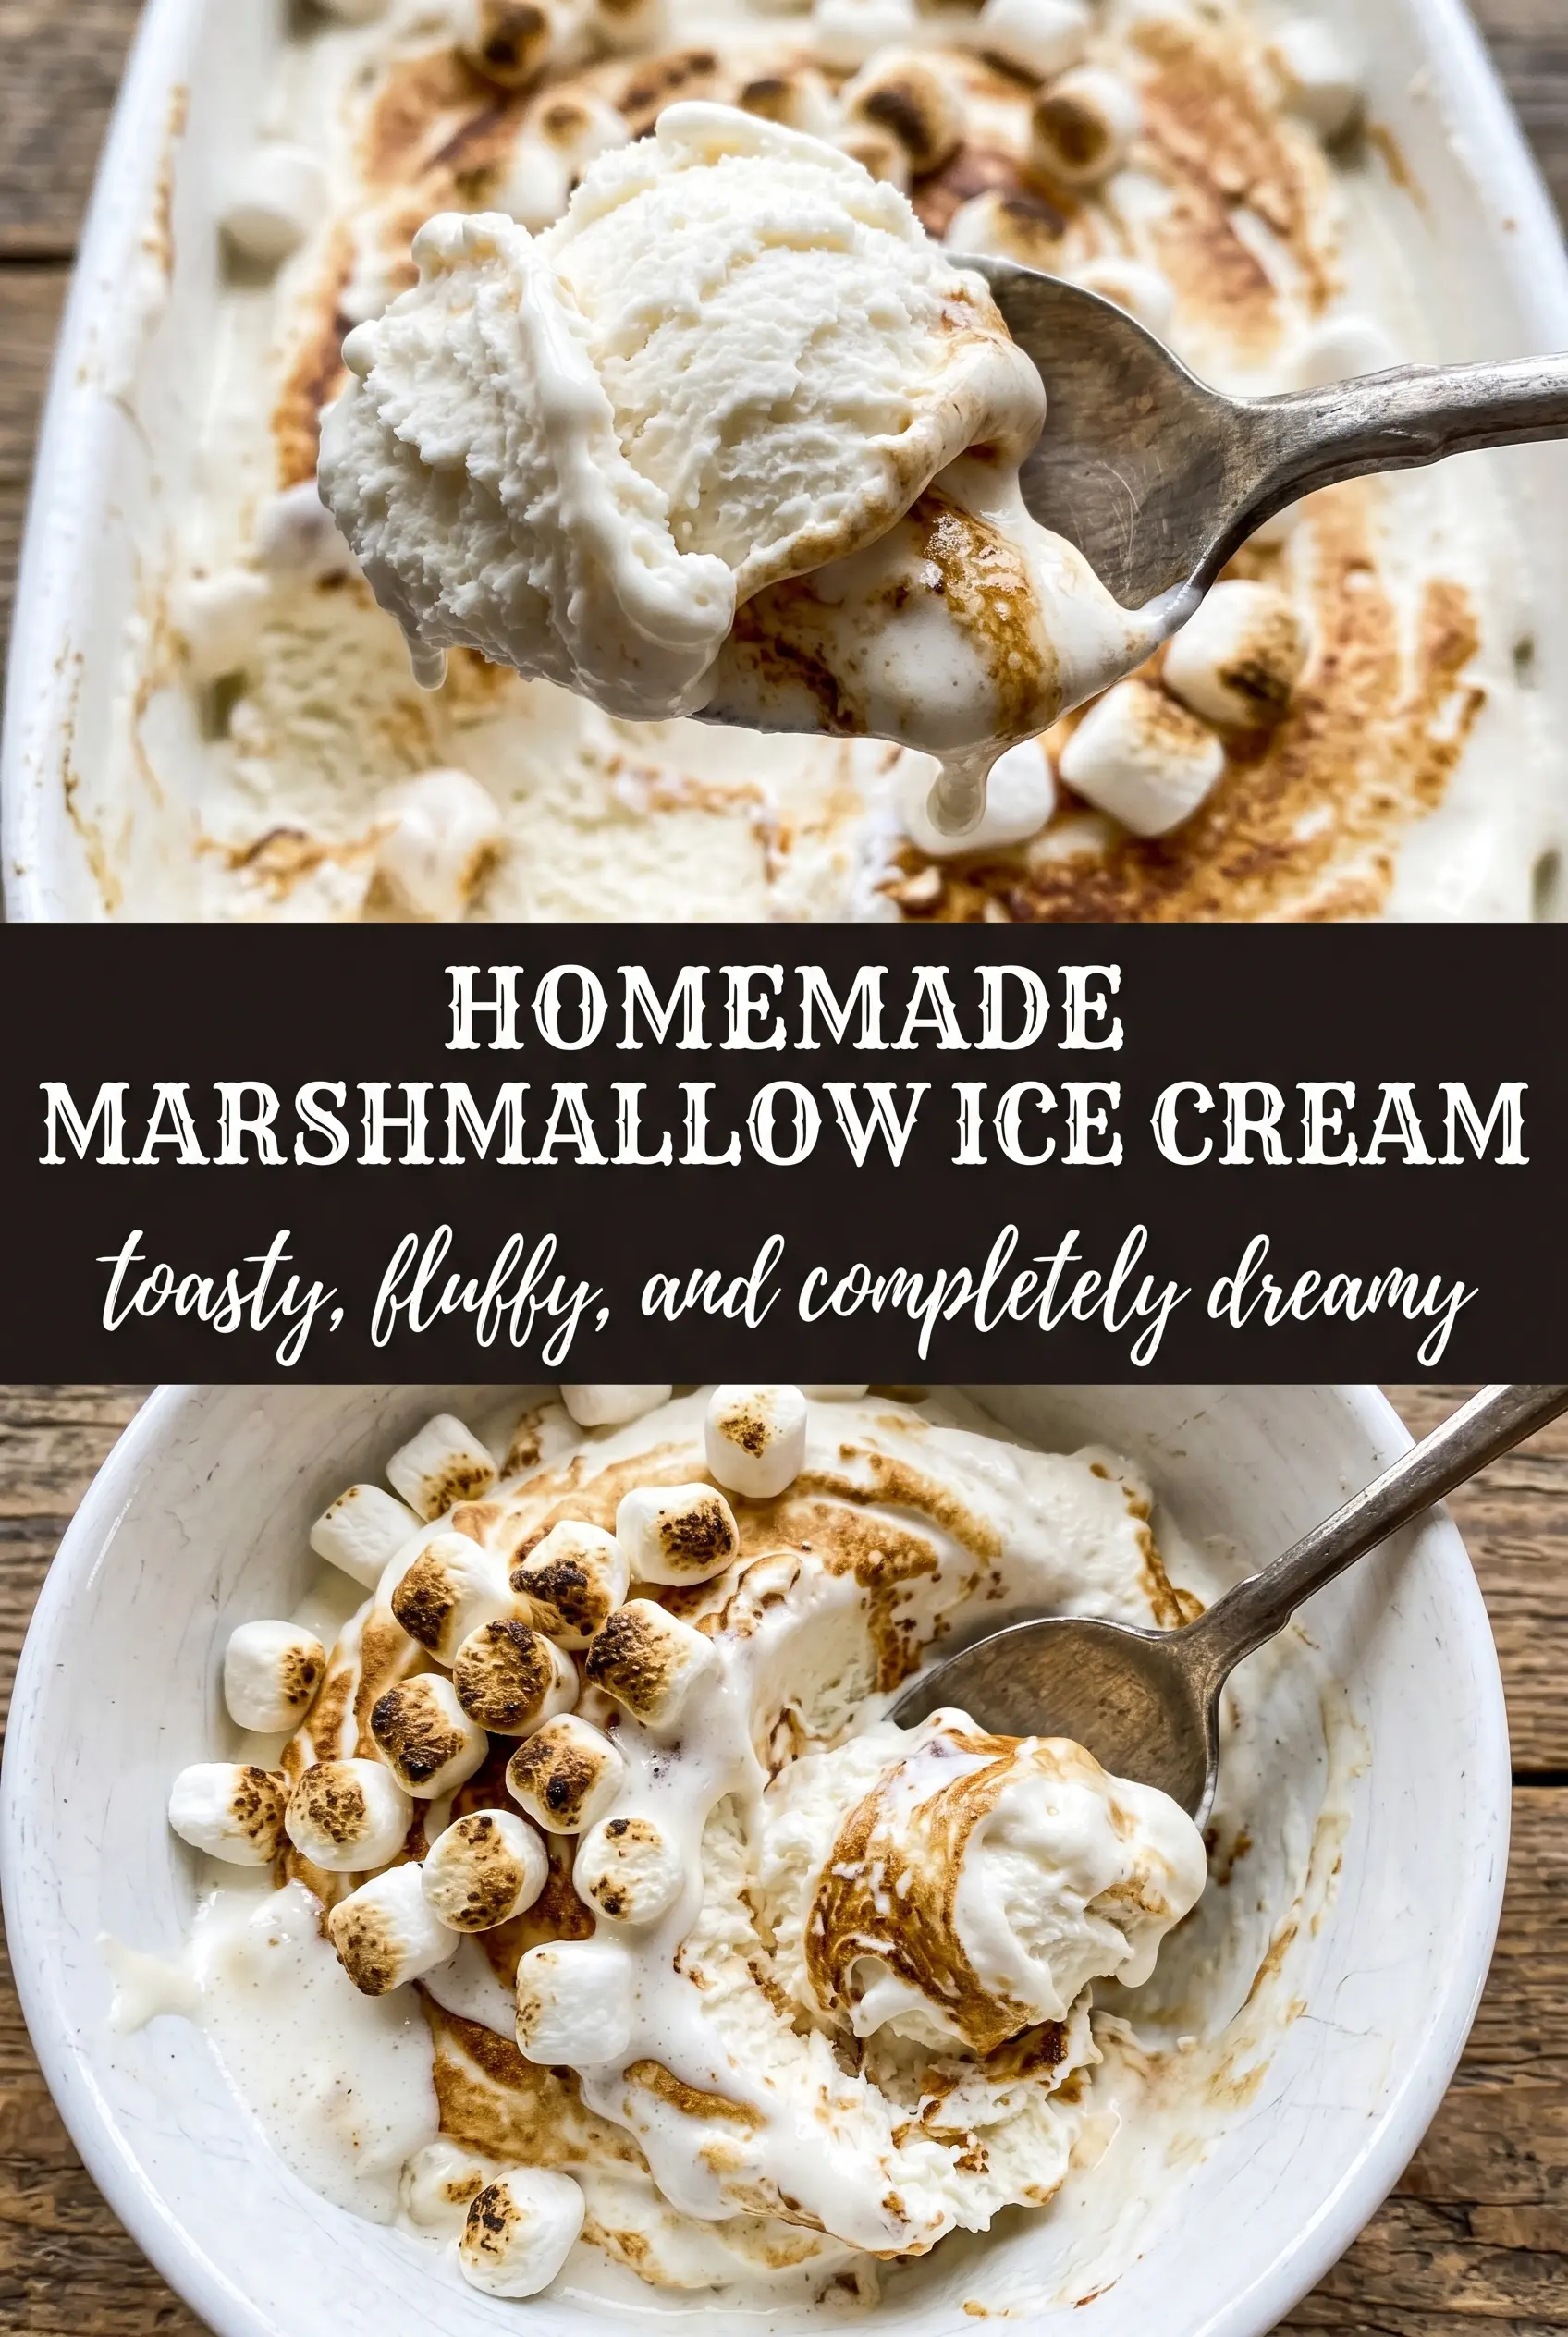
Cloud-white marshmallow ice cream turns a simple custard base into something soft, billowy, and faintly nostalgic. The texture stays plush instead of icy, and the marshmallow flavor lands cleanly without turning cloying. What makes this version worth keeping is the way the fluff melts into the custard before churning, giving the finished ice cream a smooth body and that unmistakable pillowy sweetness.
The trick is treating the marshmallow creme like part of the base, not a mix-in. It gets whisked in while the custard is still warm, which helps it disappear completely and keeps the texture even. Egg yolks give the ice cream enough richness to scoop well after freezing, while a pinch of salt keeps the sweetness from flattening out. Mini marshmallows go in at the end so they stay chewy instead of dissolving.
Below, I’ll show you how to keep the custard from scrambling, how to get the fluff fully smooth, and the one simple move that gives this ice cream that toasted marshmallow edge if you want it.
The marshmallow creme melted in completely and the base churned up super fluffy. Mine froze in a soft, scoopable texture and the mini marshmallows stayed chewy instead of getting hard.
Save this homemade marshmallow ice cream for the nights when you want a cloud-like scoop with mini marshmallow bites.
The Custard Has to Be Hot Enough to Thicken, Not Hot Enough to Scramble
The biggest mistake with ice cream custard is pulling it too early because the mixture looks thick in the pan. It should coat the back of a spoon and reach 175F, which gives you enough body without pushing the yolks into curds. If you stop while it still looks thin, the base will freeze up icier and flatter than it should.
Whisk constantly once the custard goes back on the stove. The pan’s edges heat faster than the center, and that’s where scrambling starts. If you see even a few tiny grainy bits, take the pan off the heat and strain the base before moving on. A smooth custard now is what gives you that soft, scoopable finish later.
What Each Ingredient Is Actually Doing in This Ice Cream

- Base ingredient (cream, milk, or custard) — This provides the foundation and richness. Quality matters.
- Sweetener (sugar, honey, or condensed milk) — This sweetens and prevents ice crystals. The ratio is critical.
- Flavor element (vanilla, fruit, chocolate, or other) — This defines the ice cream personality. Use quality ingredients.
- Egg yolks (if making custard base) — These create richness and silky texture. Optional but elevates ice cream.
- Churning (if using ice cream maker) — This incorporates air and prevents ice crystals. Critical for smooth texture.
- Freezing temperature and time — Proper freezing prevents rock-hard texture. Store at 0°F or below.
- Mix-ins (chocolate, cookies, fruit, or swirls) — These add texture and prevent one-dimensional flavor. Add near end of churning.
- Serving temperature (slightly soft, not rock hard) — This provides creamy mouthfeel. Remove from freezer 5 minutes before serving.
What the Marshmallow Creme Is Doing That Sugar Alone Can’t
- Marshmallow creme — This is the heart of the recipe. It brings the actual marshmallow flavor and also adds body, because it’s already stabilized and sweetened. A jar of fluff works better here than homemade melted marshmallows, which can turn stringy or set up unevenly.
- Heavy cream — This gives the ice cream its plush, rich texture. You need the fat here; swapping in half-and-half makes the finished ice cream lighter and more likely to freeze hard.
- Whole milk — It keeps the base from becoming too heavy and gives the custard a cleaner scoop. Lower-fat milk will work, but the ice cream won’t stay as soft after freezing.
- Egg yolks — They thicken the base and keep the texture smooth. If you leave them out, the ice cream still tastes good, but it loses that custardy, melt-on-the-tongue feel.
- Mini marshmallows — Fold them in at the very end so they stay distinct. If you add them too early, they disappear into the base instead of giving you those chewy little pockets.
Build the Base, Chill It Fully, Then Churn Fast
Heating the Dairy
Warm the cream and milk until the mixture is steaming and just starting to move around the edges. You’re not trying to boil it. The goal is to heat it enough that it can temper the yolks without cooling down the pan so much that the custard takes forever to thicken. If the dairy boils hard, you’ll cook the eggs too aggressively when they go in.
Tempering the Yolks
Whisk the sugar into the yolks first so they turn pale and a little thick. Then stream in the hot dairy slowly while whisking the whole time. That gradual addition keeps the eggs from seizing; dump it in all at once and you’ll get sweet scrambled eggs instead of ice cream base.
Cooking to the Right Point
Return the mixture to the saucepan and cook it over medium-low heat until it reaches 175F. Stir constantly and watch for the moment it thickens enough to coat a spoon in a clean, even layer. When you drag a finger through it, the line should stay open. That’s your cue to pull it off the burner immediately.
Melting in the Fluff
Whisk in the marshmallow creme while the custard is still warm so it melts completely and disappears into the base. If it looks streaky at first, keep whisking; it should become smooth and glossy. Vanilla and salt go in at the end so their flavor stays bright. Then chill the base until it’s cold all the way through before churning, because a warm base churns slowly and sets up softer than it should.
How to Adapt This for Toasted Marshmallow, Dairy-Free, or a Bigger Crowd
Toasted Marshmallow Version
Torch the mini marshmallows just until the edges blister and color. Let them cool for a minute before folding them into the churned ice cream so they don’t melt into streaks. You’ll get a campfire note without losing the soft marshmallow base.
Dairy-Free Swap
Use full-fat coconut milk in place of the cream and milk, and choose a dairy-free marshmallow creme if you can find one. The texture will be a little softer and the flavor will pick up a light coconut note, but it still churns into a smooth scoopable ice cream.
No Ice Cream Maker
Pour the chilled base into a shallow loaf pan and freeze it, stirring every 30 to 40 minutes until it firms up. It won’t be as airy as churned ice cream, but it still tastes great and holds the marshmallow flavor well. The key is breaking up the ice crystals before they get too large.
Storage and Reheating
- Refrigerator: The churned base isn’t meant to be stored in the fridge once frozen, but the uncooked custard base can chill there for up to 24 hours before churning.
- Freezer: Store the finished ice cream in an airtight container with parchment pressed on top for up to 2 weeks. After that, it starts to pick up more ice crystals and loses its fluffiest texture.
- Reheating: Ice cream doesn’t need reheating, but let it sit at room temperature for 5 to 10 minutes before scooping. If it’s rock hard, it was frozen too long or stored without enough protection from air.
Answers to the Questions Worth Asking
Homemade Marshmallow Ice Cream
Ingredients
Equipment
Method
- In a saucepan, heat the heavy cream and whole milk until steaming, then immediately whisk into the egg yolks beaten with the granulated sugar.
- Return the mixture to the saucepan and cook, stirring, until it reaches 175°F, then remove from heat.
- Whisk in the marshmallow creme until completely melted and smooth.
- Whisk in the vanilla extract and salt, then let the mixture cool completely.
- Refrigerate the base for 4 hours to fully chill.
- Churn the chilled base in an ice cream maker until thick and billowy, about 20–30 minutes.
- For toasted marshmallow flavor, briefly torch the mini marshmallows until lightly toasted, then fold them in during the last 2 minutes of churning.
- Transfer to a container and freeze until firm.