Homemade cookie butter ice cream comes out plush, deeply spiced, and packed with that caramelized Biscoff flavor that tastes like the best part of a speculoos cookie melted into custard. The base freezes to a smooth, scoopable texture instead of turning icy, and the crushed cookie pieces stay crisp enough to give you little bursts of crunch in every bowl.
What makes this version work is the custard base. Egg yolks give the ice cream body, while the cookie butter goes in warm so it melts cleanly into the cream instead of leaving streaks or gritty pockets. A little cinnamon and salt sharpen the flavor just enough to keep it from tasting flat or overly sweet. If you’ve ever had cookie butter that somehow lost its edge once it hit the freezer, this one keeps the warmth and the depth all the way through.
Below, I’m breaking down the part that matters most: how to add the cookie butter without breaking the custard, why the chilling time is worth every minute, and the small twist that keeps the folded-in cookies from disappearing into the base.
The custard turned out silky and the cookie butter flavor stayed bold even after freezing overnight. I loved that the crushed Biscoff pieces didn’t get mushy — they gave it that little bit of crunch every time you hit a scoop.
Love the warm, spiced flavor and creamy texture of this cookie butter ice cream? Save it to Pinterest for the next time you want a churned dessert with real Biscoff crunch.
The Custard Temperature That Keeps Cookie Butter Ice Cream Smooth
Ice cream gets grainy when the base is pushed too hard or heated too fast. The yolks need gentle heat to thicken into a custard, but once that custard climbs past the right point, you lose the silky texture and start edging toward scrambled eggs. For this recipe, 175°F is the sweet spot: thick enough to coat a spoon, still smooth enough to churn cleanly.
The other place people run into trouble is the cookie butter. If it goes in cold, it can seize into little streaks instead of disappearing into the custard. Warming it first makes it blend in like part of the base, which is what gives the finished ice cream that even golden color and strong speculoos flavor.
- Egg yolks — These build body and keep the ice cream rich. Whole eggs aren’t the best swap here; they can make the texture less lush and slightly eggy.
- Biscoff cookie butter — This is the flavor engine. If you use a different cookie spread, expect a similar texture but a different spice profile and sweetness level.
- Heavy cream and whole milk — Cream gives the fat needed for a smooth scoop, while milk keeps the base from tasting heavy. Using all cream makes the finished ice cream feel dense instead of balanced.
- Crushed Biscoff cookies — Fold them in at the end so they stay distinct. If they go in too early, they soften and disappear into the churn.
What Each Ingredient Is Actually Doing in This Ice Cream

- Base ingredient (cream, milk, or custard) — This provides the foundation and richness. Quality matters.
- Sweetener (sugar, honey, or condensed milk) — This sweetens and prevents ice crystals. The ratio is critical.
- Flavor element (vanilla, fruit, chocolate, or other) — This defines the ice cream personality. Use quality ingredients.
- Egg yolks (if making custard base) — These create richness and silky texture. Optional but elevates ice cream.
- Churning (if using ice cream maker) — This incorporates air and prevents ice crystals. Critical for smooth texture.
- Freezing temperature and time — Proper freezing prevents rock-hard texture. Store at 0°F or below.
- Mix-ins (chocolate, cookies, fruit, or swirls) — These add texture and prevent one-dimensional flavor. Add near end of churning.
- Serving temperature (slightly soft, not rock hard) — This provides creamy mouthfeel. Remove from freezer 5 minutes before serving.
Building the Base, Chilling It, and Folding in the Cookie Crunch
Heating the Dairy
Warm the cream and milk until steaming, not boiling. You want it hot enough to temper the yolks without shocking the custard, but if the dairy boils, it can create a skin and make the final texture a little flatter. Steam around the edges is the cue.
Tempering the Yolks
Whisk the sugar into the yolks until the mixture looks lighter and slightly thickened, then add the hot dairy in a slow stream while whisking constantly. That gradual addition keeps the yolks from curdling. If you dump it in all at once, you’ll end up with bits of egg instead of a smooth base.
Cooking the Custard
Return the mixture to the saucepan and cook, stirring constantly, until it reaches 175°F and coats the back of a spoon. Keep the heat moderate and stir into the corners of the pan so nothing catches. If the custard starts to look slightly lumpy, pull it off the heat right away and strain it before moving on.
Melting in the Cookie Butter
Take the pan off the heat before whisking in the warmed cookie butter. It should melt in to a glossy, uniform custard with no streaks. Stir in the vanilla, cinnamon, and salt after that, then strain the base for the smoothest finish you can get.
Chilling, Churning, and Freezing
Chill the base completely before churning; warm custard won’t freeze properly and the texture will suffer. Once it’s cold, churn until it looks like soft-serve, then fold in the crushed cookies by hand so they stay chunky. Freeze the finished ice cream until firm enough to scoop, usually a few hours, and let it sit at room temperature for a couple of minutes before serving if you want clean scoops.
How to Adapt This for Dairy-Free, Extra Crunchy, or a Bigger Cookie Butter Hit
Dairy-Free Version
Swap the cream and milk for full-fat coconut milk and coconut cream, then expect a lighter cookie butter flavor and a faint coconut note in the background. The texture will still be creamy, but it won’t taste as rich as the original custard base.
Extra Cookie Crunch
Double the crushed cookies and fold half into the churned ice cream, then sprinkle the rest over the top as you pack it into the freezer container. That keeps the texture varied from the first scoop to the last, and you won’t lose all the crunch to the churning process.
Stronger Biscoff Flavor
Add an extra tablespoon or two of warmed cookie butter after the custard comes off the heat. It deepens the speculoos flavor without changing the base structure, but go slowly so the ice cream doesn’t freeze overly soft.
Storage and Reheating
- Refrigerator: Not applicable once churned; the base can be refrigerated up to 2 days before churning, and it should stay tightly covered so it doesn’t pick up fridge flavors.
- Freezer: Freeze in a shallow, airtight container for up to 2 weeks for the best texture. After that, it’s still safe, but the cookies can soften and ice crystals may form around the edges.
- Reheating: Let the container sit on the counter for 5 to 10 minutes before scooping. Don’t microwave the ice cream itself, or the edges will melt before the center softens.
Questions I Get Asked About This Recipe
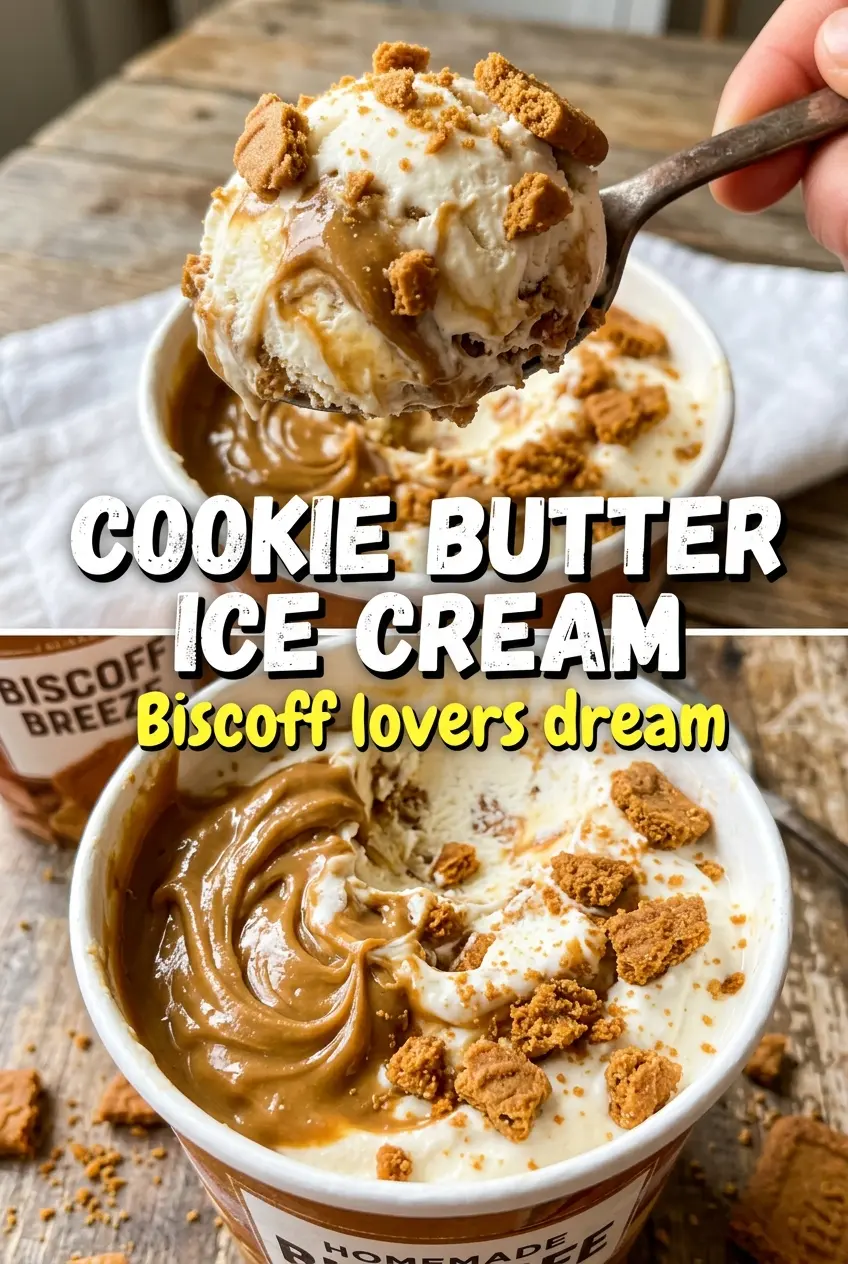
Homemade Cookie Butter Ice Cream
Ingredients
Equipment
Method
- Heat heavy cream and whole milk in a saucepan until steaming, stirring so it doesn’t scorch (watch for small steam bubbles around the edges).
- Whisk granulated sugar into egg yolks in a bowl until glossy, then slowly whisk the hot cream mixture into the yolks in a thin stream to temper (pour steadily while whisking).
- Return the mixture to the saucepan and cook to 175F, stirring constantly until it thickens and coats the back of a spoon (about custard thickness—no boiling).
- Remove from the heat and whisk in warmed Biscoff cookie butter spread until completely smooth, with no streaks remaining (golden-tan color should look uniform).
- Stir in vanilla extract, cinnamon, and salt, then strain into a clean container (texture should be silky and free of any bits).
- Cool completely, then cover and refrigerate until cold, 4 hours (chilled custard should feel thick and cold to the touch).
- Churn the chilled custard in an ice cream maker according to the manufacturer’s timing until it reaches a soft-serve consistency (it should look fluffy and lighter in color).
- Fold in crushed Biscoff cookies for fold-in until evenly distributed, with visible cookie flecks throughout (stop once streaks disappear).
- Transfer to a freezer-safe container and freeze until firm, until scoopable (set a timer so the texture becomes solid).