Deep, mahogany-toned coffee ice cream has a way of disappearing fast because it doesn’t taste like a watered-down version of coffee dessert. It tastes full, bitter-sweet, and creamy all the way through, with a custard base that holds the roasted flavor instead of burying it. The texture is dense enough to feel special, but still soft enough to scoop cleanly after a short freeze.
The trick is building the coffee flavor in layers. Instant espresso powder gives the base its direct, bold punch, while optional coffee beans add a quieter, rounder note if you want a more brewed-coffee edge. Tempering the yolks slowly matters here, because the custard should thicken into something silky and spoon-coating, not scramble into grainy bits. That gentle cooking step is what gives this ice cream its rich body.
Below you’ll find the part that matters most: how to keep the custard smooth, how to know when it’s cooked enough, and what to change if you want a stronger espresso hit or a dairy-free-style adaptation later on.
The custard turned out perfectly smooth and the espresso flavor stayed bold even after freezing. I used the coffee beans for steeping and it gave the ice cream this deep roasted taste without making it bitter.
Save this coffee custard ice cream for the days when you want a bold espresso dessert with a smooth, scoopable finish.
The Custard Has to Reach the Edge of Scrambled Before You Pull It
A lot of coffee ice cream turns out thin because the base never gets cooked far enough. Egg yolks need heat to give you that dense, creamy body, and with this recipe the custard should coat the back of a spoon and sit there for a second before it slips off. If it runs off like milk, it needs more time. If it starts looking grainy, the heat was too high and the eggs tightened before the cream had a chance to do its job.
Keep the burner at medium-low and stir constantly, especially around the edges and bottom of the pan. Those are the spots where custard catches first. Once it reaches 175F, stop cooking immediately and strain it. That last move catches any tiny cooked bits before they end up in the ice cream base.
What Each Ingredient Is Actually Doing in This Coffee Ice Cream

- Heavy cream — This is what gives the ice cream its plush, scoopable body. You need the fat here; swapping in lighter dairy makes the finished texture icier and less rich.
- Whole milk — Milk loosens the base just enough so the coffee flavor doesn’t feel heavy. I wouldn’t use low-fat milk here unless you’re fine with a harder freeze and a slightly less creamy result.
- Instant espresso powder — This is the most direct coffee flavor in the whole recipe. It dissolves cleanly into the warm cream and gives you that dark, roasted intensity without having to over-steep beans or brew extra liquid into the base.
- Whole coffee beans — Optional, but they add a deeper brewed-coffee note if you steep them in the cream. A coarse crack helps release flavor faster; if the beans are left whole, the result is milder.
- Egg yolks — The yolks turn this from sweet cream into custard. They thicken the base and give the finished ice cream that dense, almost velvety spoonful that plain no-cook bases can’t match.
- Vanilla — Add it after cooking, not before. It rounds out the coffee and keeps the flavor from tasting sharp or one-note.
- Salt — Just a little wakes up the espresso and keeps the final flavor from reading flat.
Cooling the Custard Before It Hits the Ice Cream Maker
Steeping the Coffee
Heat the cream, milk, and coffee beans until the mixture is steaming, not boiling. Boiling pushes the dairy toward a cooked taste and can make the coffee come across harsh. Let the beans steep for 15 minutes, then strain them out before you move on. If you’re using espresso powder, whisk it into the warm cream after steeping so it dissolves completely instead of leaving tiny bitter specks behind.
Tempering the Yolks
Whisk the yolks and sugar until the mixture looks paler and a little thicker. Then add the hot coffee cream slowly while whisking all the time. That gradual addition keeps the yolks from tightening into ribbons. If you dump the hot liquid in too fast, you’ll get sweet scrambled eggs instead of custard.
Cooking the Custard
Return everything to the saucepan and stir over medium-low heat until it coats the back of a spoon. A thermometer takes out the guesswork here; 175F is the sweet spot. Take it off the heat as soon as it reaches that point, because the custard keeps cooking from residual heat in the pan. Strain it right away, then stir in the vanilla and salt while the base is still warm enough to blend smoothly.
Chilling and Churning
Set the custard over an ice bath first so it cools down fast, then refrigerate it for at least 4 hours. Cold base churns faster and freezes with a finer texture. If you pour a warm base into the machine, the ice cream stays soft too long and can turn grainy as it struggles to freeze. Churn until it looks like thick soft-serve, then freeze it until firm.
How to Adjust the Coffee Strength Without Ruining the Texture
Extra-bold espresso ice cream
Use the full 2 tablespoons of espresso powder and steep the optional coffee beans too. That gives you a darker, sharper finish that reads like espresso first and ice cream second. Don’t add more dry powder than the recipe already calls for unless you want a slightly gritty base.
No coffee beans, still plenty of flavor
Skip the beans and rely on espresso powder alone. The ice cream will still taste bold, but the coffee note will be cleaner and a little less rounded. This is the best route if you want a smoother custard and don’t want to bother with straining.
Dairy-free version
Use full-fat canned coconut milk in place of the cream and milk, then expect a softer, slightly more tropical finish. The texture won’t be quite as rich as the custard version, but the coffee flavor still comes through well. If you go this route, chill the base thoroughly before churning so it firms up as much as possible.
Mocha-style variation
Add a small spoonful of cocoa powder with the sugar for a coffee-chocolate base. Cocoa deepens the bitterness and makes the finished ice cream taste more like a mocha without becoming full-on chocolate dessert. Keep the amount modest so the coffee still leads.
Storage and Reheating
- Refrigerator: The churned base is meant to be frozen, not held in the fridge for more than a day. If you leave it too long before churning, the texture stays fine, but the flavor can dull a bit.
- Freezer: It freezes well for about 2 weeks in an airtight container. Press parchment or plastic wrap directly on the surface to reduce ice crystals.
- Reheating: Not applicable. For the best scoop, let it sit at room temperature for 5 to 10 minutes before serving so it softens at the edges instead of melting into a puddle.
Answers to the Questions Worth Asking
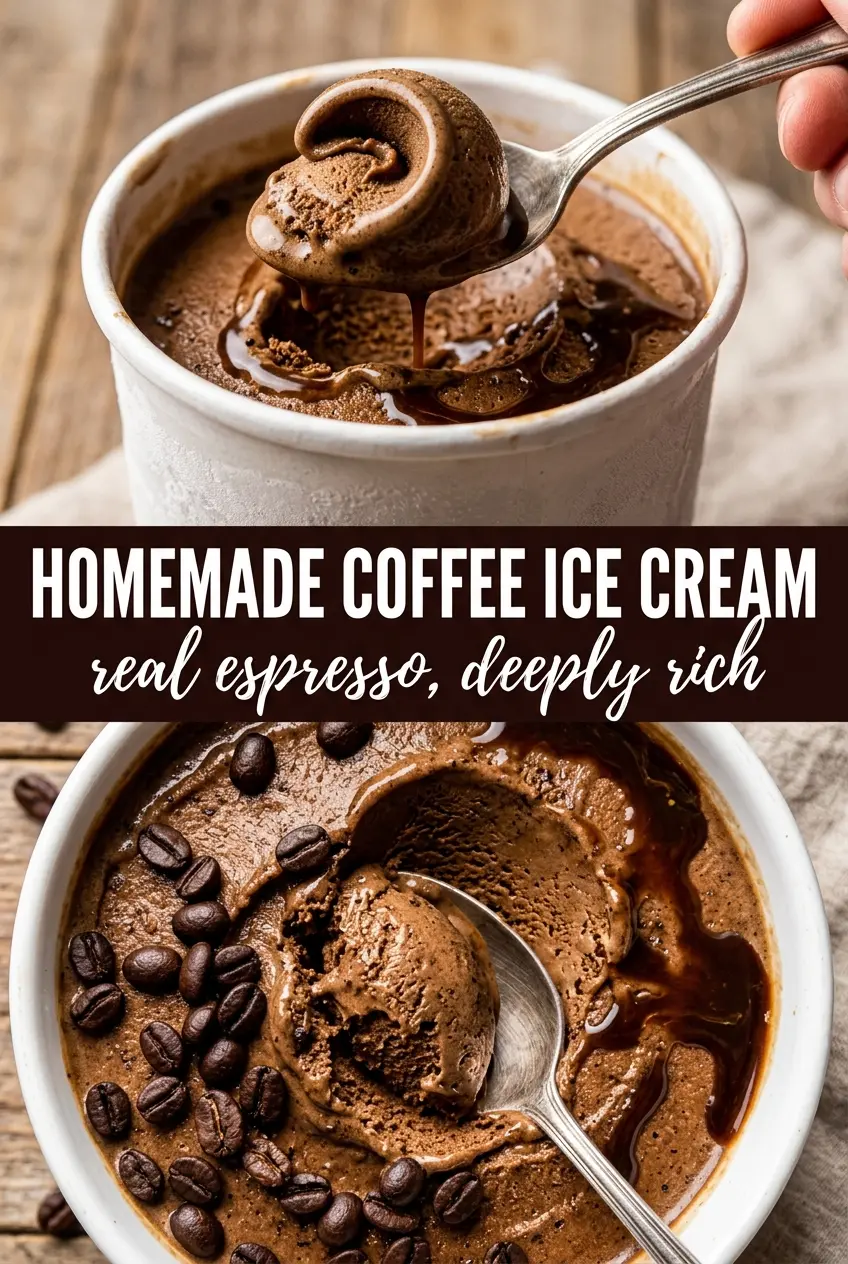
Homemade Coffee Ice Cream
Ingredients
Equipment
Method
- Combine heavy cream, whole milk, and whole coffee beans (if using) in a saucepan and heat until steaming; steep for 15 minutes. Visual cue: you should see small bubbles around the edges as it steeps, not a rolling boil.
- Strain the mixture to remove coffee beans, if used, and return the liquid to the saucepan. Visual cue: the liquid looks smooth and dark brown with no visible grounds.
- Whisk instant espresso powder into the warm strained cream until dissolved. Visual cue: there are no specks and the mixture looks uniformly dark.
- Whisk egg yolks and granulated sugar until pale. Visual cue: the mixture becomes lighter and slightly thicker.
- Slowly whisk the hot coffee cream into the yolk mixture. Visual cue: the yolks blend smoothly without scrambling.
- Return everything to the saucepan and cook over medium-low heat, stirring constantly, until the custard coats the back of a spoon at 175°F. Visual cue: when you draw a finger through the coating, it leaves a clear line.
- Strain the custard, then stir in vanilla extract and salt. Visual cue: the custard becomes glossy and evenly seasoned.
- Cool the custard completely over an ice bath. Visual cue: the surface stops looking hot and the container feels much cooler to the touch.
- Refrigerate at least 4 hours, then churn in an ice cream maker and freeze until firm. Visual cue: churned ice cream thickens and aerates before the final firming in the freezer.