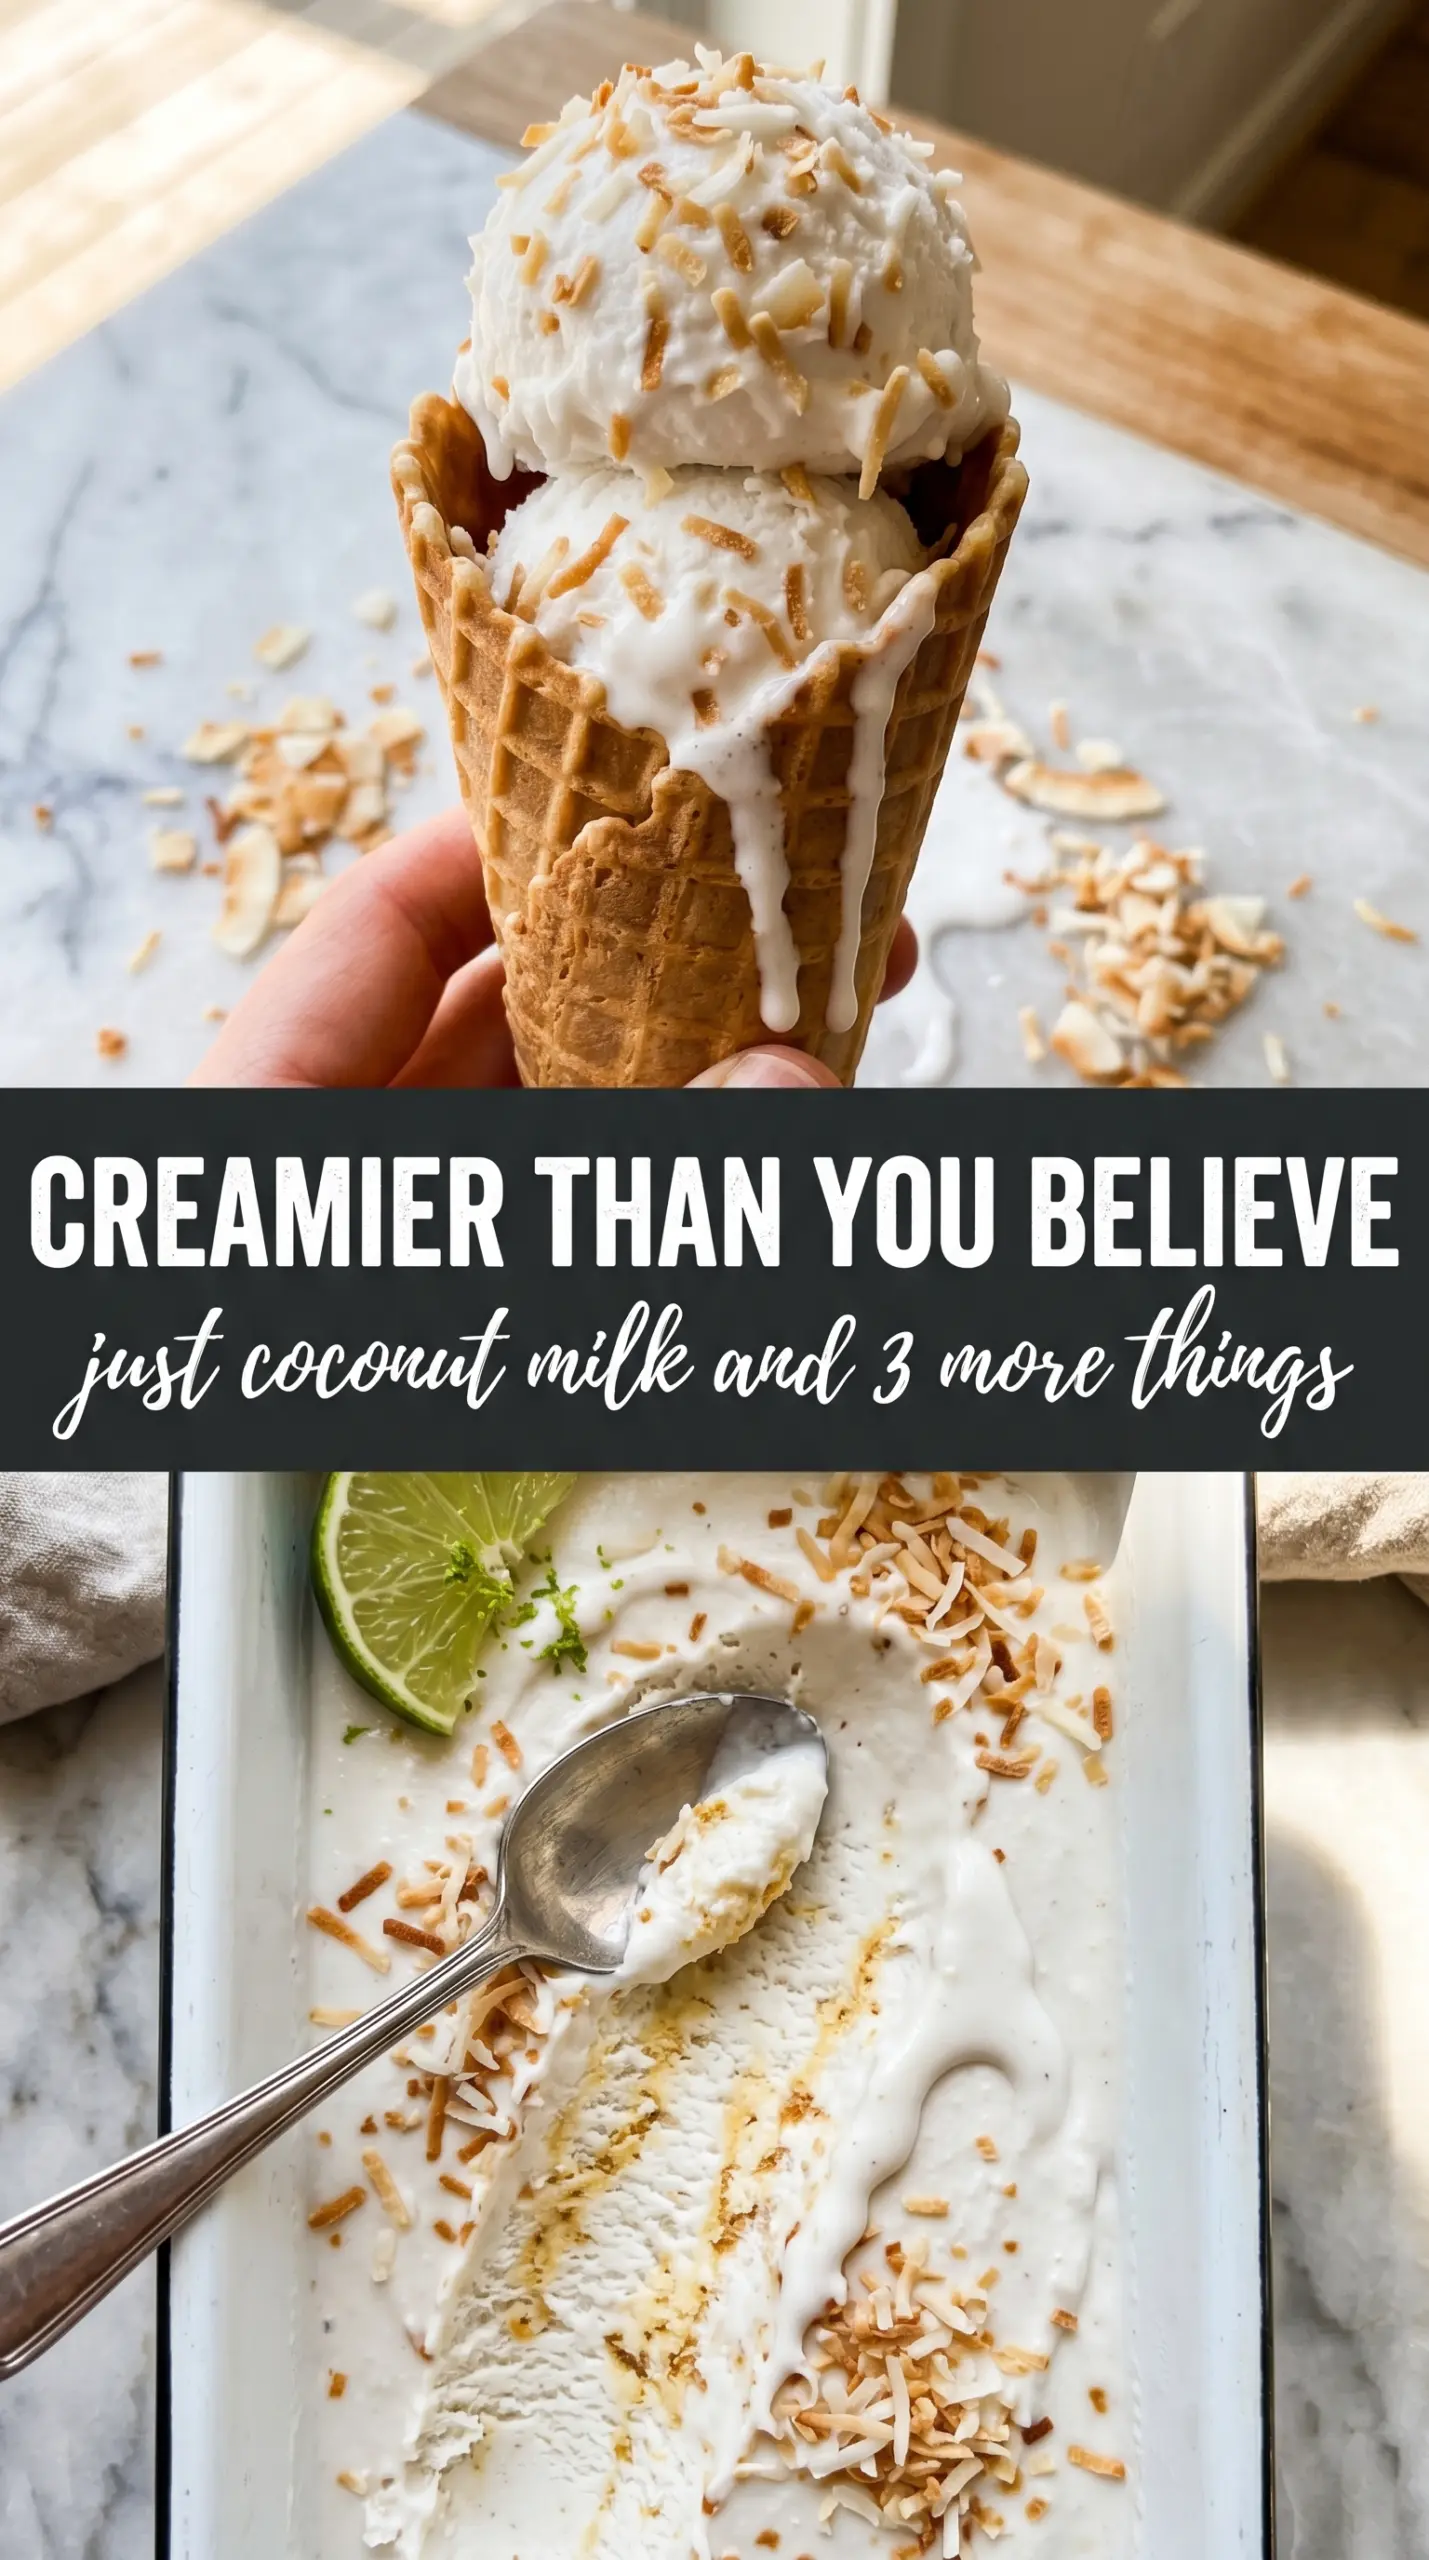
Silky coconut ice cream has a way of tasting richer than the ingredient list suggests. The coconut milk brings a dense, fragrant base, the custard gives it body, and the toasted coconut folded in at the end adds little chewy bites that keep each scoop interesting. What you get is ice cream that feels full and creamy on the tongue, not airy or icy.
The difference here is in the custard. Egg yolks give the base enough structure to churn into a smooth, scoopable texture, while the coconut extract makes the coconut flavor land clearly instead of fading behind the dairy-free base. Heating the coconut milk and sugar first helps the sugar dissolve cleanly, and cooking the custard to 175F is the point where it thickens without curdling.
Below, I’ll show you how to keep the custard smooth, when to toast the coconut so it stays crisp-tender, and what to do if you want a version without egg yolks or with a different mix-in.
The custard came out unbelievably smooth and the toasted coconut stayed chewy instead of getting soggy. I chilled it overnight and it churned into the creamiest coconut ice cream I’ve made at home.
Save this homemade coconut ice cream for the days when you want a custardy, toasted-coconut scoop with real tropical flavor.
The Custard Needs Gentle Heat, Not Guesswork
Ice cream bases fail when the custard gets rushed. If the heat is too high, the egg yolks tighten into little bits before the base can thicken evenly. The safe move is to bring the coconut milk and sugar just to steaming, then slowly whisk that hot mixture into the yolks before everything goes back on the stove.
The target is 175F, not boiling. At that point the custard should coat the back of a spoon and leave a clean line when you run a finger through it. If it starts looking grainy or you see even tiny curds, pull it off the heat immediately and strain it. A smooth base churns into creamy ice cream; a broken base stays slightly speckled no matter how long you freeze it.
What Each Ingredient Is Actually Doing In This Ice Cream
- Full-fat coconut milk — This is the backbone of the recipe. You need the canned kind, not carton coconut milk, because the fat content is what gives the ice cream its dense, scoopable texture.
- Egg yolks — They turn the base into custard and keep the finished ice cream from freezing hard and icy. There isn’t a true one-to-one substitute here if you want the same body, though a cornstarch-thickened base can work in a pinch for an egg-free version.
- Granulated sugar — Sugar does more than sweeten. It also lowers the freezing point, which keeps the ice cream from turning into a block.
- Coconut extract — This is the ingredient that makes the coconut taste pop. If you skip it, the ice cream still works, but the flavor will be softer and less pronounced.
- Toasted shredded coconut — Add it at the end so it keeps its texture. Untoasted coconut tastes flatter, and raw coconut can go chewy in a way that feels dense instead of pleasant.
Churning the Base Without Losing the Texture
Warming the Coconut Milk
Start by heating the coconut milk and sugar just until the sugar dissolves and the mixture steams. You don’t need a boil here. If the pot gets too hot, the edges can reduce too much before the custard even starts, which throws off the texture later.
Tempering the Yolks
Whisk the egg yolks until smooth in a separate bowl, then drizzle in the hot coconut mixture slowly while whisking constantly. This step keeps the yolks from scrambling. If you dump the hot liquid in all at once, you’ll get sweet coconut eggs instead of custard.
Cooking to the Spoon-Test Stage
Return everything to the saucepan and cook over medium-low heat, stirring constantly, until it reaches 175F and coats the back of a spoon. Stir across the bottom and into the corners so nothing sticks. The custard should look slightly thicker and more velvety, not visibly bubbling.
Chilling Before the Churn
Strain the custard, stir in the vanilla, coconut extract, and salt, then chill it completely before churning. Four hours is the minimum, but colder is better if you have the time. Warm base in an ice cream maker gives you softer churn and bigger ice crystals, and that’s what leads to a grainier finish.
Adding the Toasted Coconut
Fold in the toasted coconut during the last couple of minutes of churning, or at the very end if your machine doesn’t handle add-ins well. You want it dispersed, not crushed. Once it’s in the container, freeze the ice cream until firm enough to scoop, which usually takes a few hours.
How to Adapt This Coconut Ice Cream for Different Needs
Dairy-Free Coconut Ice Cream
This recipe is already dairy-free if you serve it as written, since the richness comes from coconut milk and egg yolks, not cream. Just check your vanilla and coconut extract to be sure they’re alcohol-based and not carrying any dairy additives. The texture stays dense and creamy because the fat is already built into the coconut milk.
Egg-Free Version
If you need to skip the yolks, thicken the coconut milk with a small cornstarch slurry over gentle heat, then chill it fully before churning. You’ll lose some of the custardy depth, but the base still freezes into a smooth scoop if it’s cooked long enough to thicken. Keep the heat low so the starch doesn’t turn gluey.
Switching Up the Mix-In
Swap the toasted coconut for chopped dark chocolate, candied pineapple, or crushed macadamia nuts if you want a different finish. Keep the add-ins small and dry so they don’t freeze into hard shards or sink to the bottom of the container. Wet fruit pieces can ice over, so pat them dry first.
Storage and Reheating
- Refrigerator: The churned custard base can be held in the fridge for up to 2 days before freezing, but once frozen, this is not a refrigerator dessert.
- Freezer: Store in an airtight container with parchment pressed on top of the surface. It keeps well for about 2 weeks before the texture starts to get icier.
- Reheating: There’s no reheating here. For the best scoop, let the container sit at room temperature for 5 to 10 minutes before serving so the edges soften without melting the whole batch.
Questions I Get Asked About This Recipe
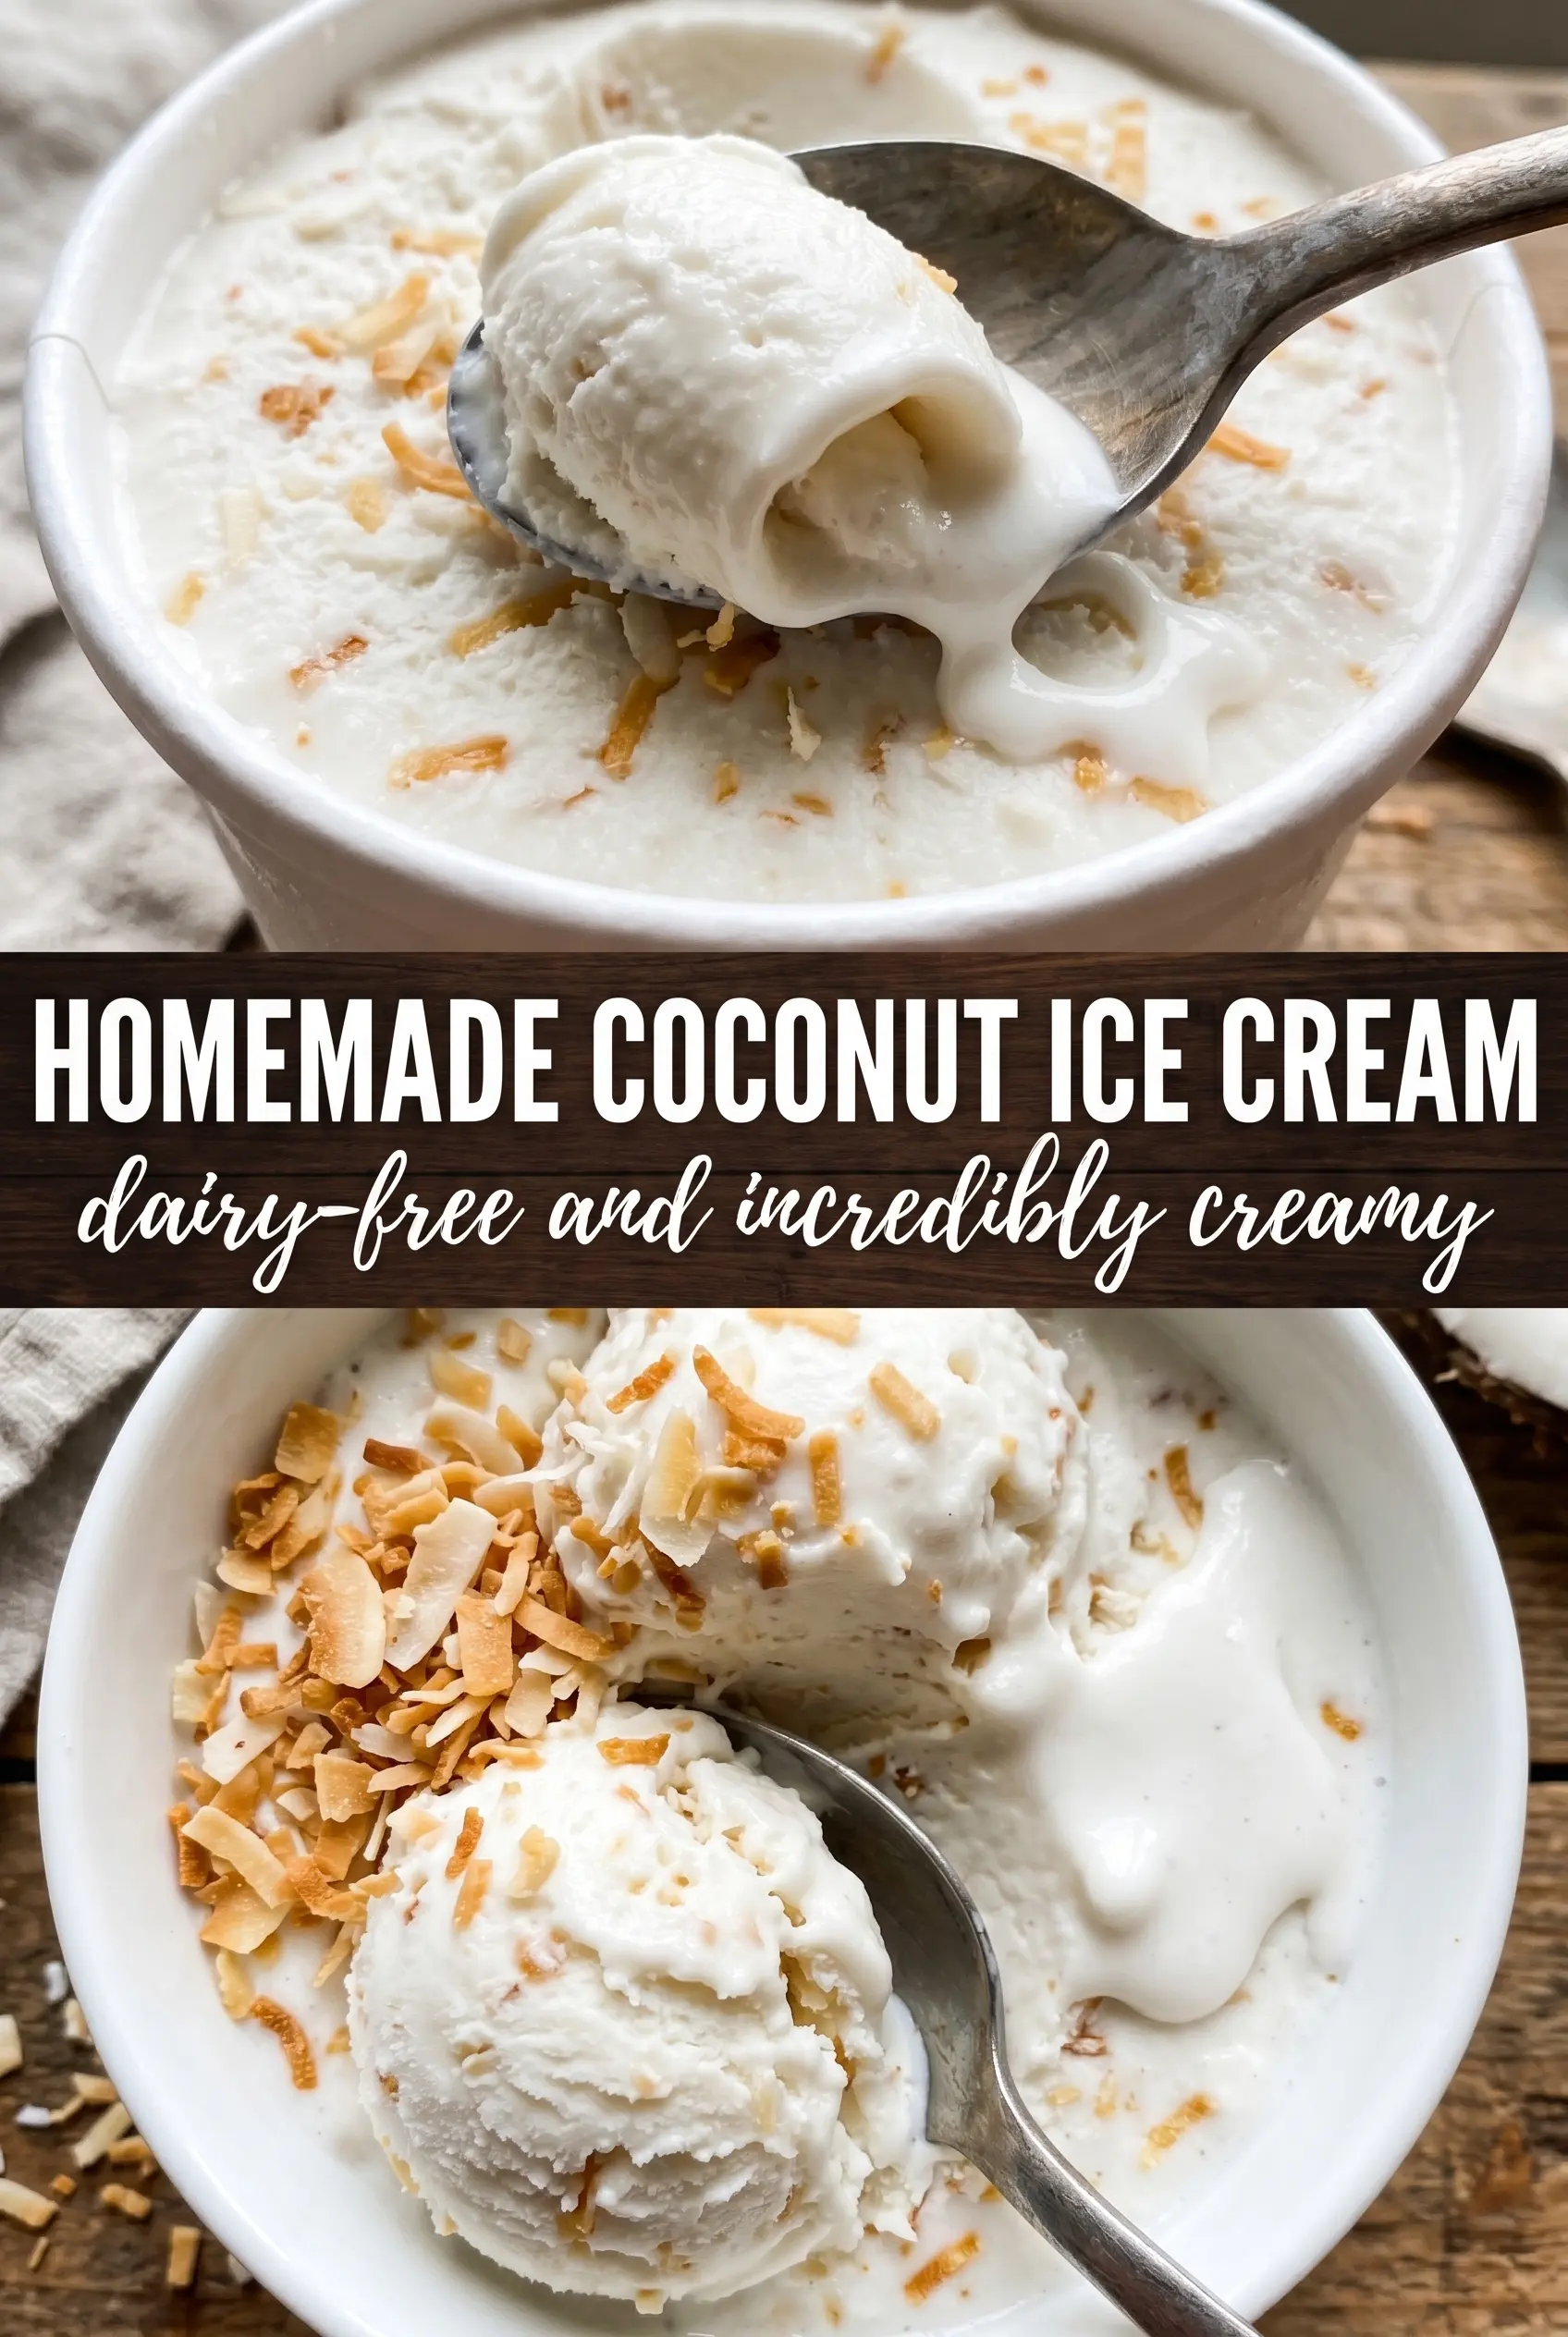
Homemade Coconut Ice Cream
Ingredients
Equipment
Method
- In a saucepan, heat the full-fat coconut milk and granulated sugar together over medium heat until the sugar dissolves and the mixture steams, about 5 minutes. Visual cue: steam will rise and the sugar grains will no longer be visible.
- Whisk the egg yolks in a bowl until smooth. Visual cue: the yolks look glossy and uniform with no streaks.
- Slowly whisk the hot coconut milk mixture into the yolks to temper them, keeping the whisking steady. Visual cue: the mixture thickens slightly and turns a lighter cream color.
- Return everything to the saucepan and cook over medium-low heat, stirring constantly until the custard reaches 175F and coats the back of a spoon. Visual cue: you’ll be able to draw a line with a finger on the custard; it should hold its path.
- Strain the custard into a clean bowl. Visual cue: the strained custard will look extra smooth and silky.
- Stir in the vanilla extract, coconut extract, and salt, then mix until fully combined. Visual cue: the flavorings disappear and the custard looks evenly colored.
- Cool the custard completely at room temperature, then refrigerate. Visual cue: it should be cool with a film-free surface before chilling.
- Refrigerate the custard at least 4 hours until very cold. Visual cue: it will feel thick and cold throughout when poured.
- Churn in an ice cream maker according to the manufacturer’s instructions until soft-serve consistency forms. Visual cue: the mixture looks fluffy, pale, and holds gentle peaks.
- Fold in the toasted shredded sweetened coconut during the last 2 minutes of churning. Visual cue: coconut flakes distribute throughout without clumping.
- Transfer to a container and freeze until firm. Visual cue: the ice cream becomes scoopable with a solid, dense texture.