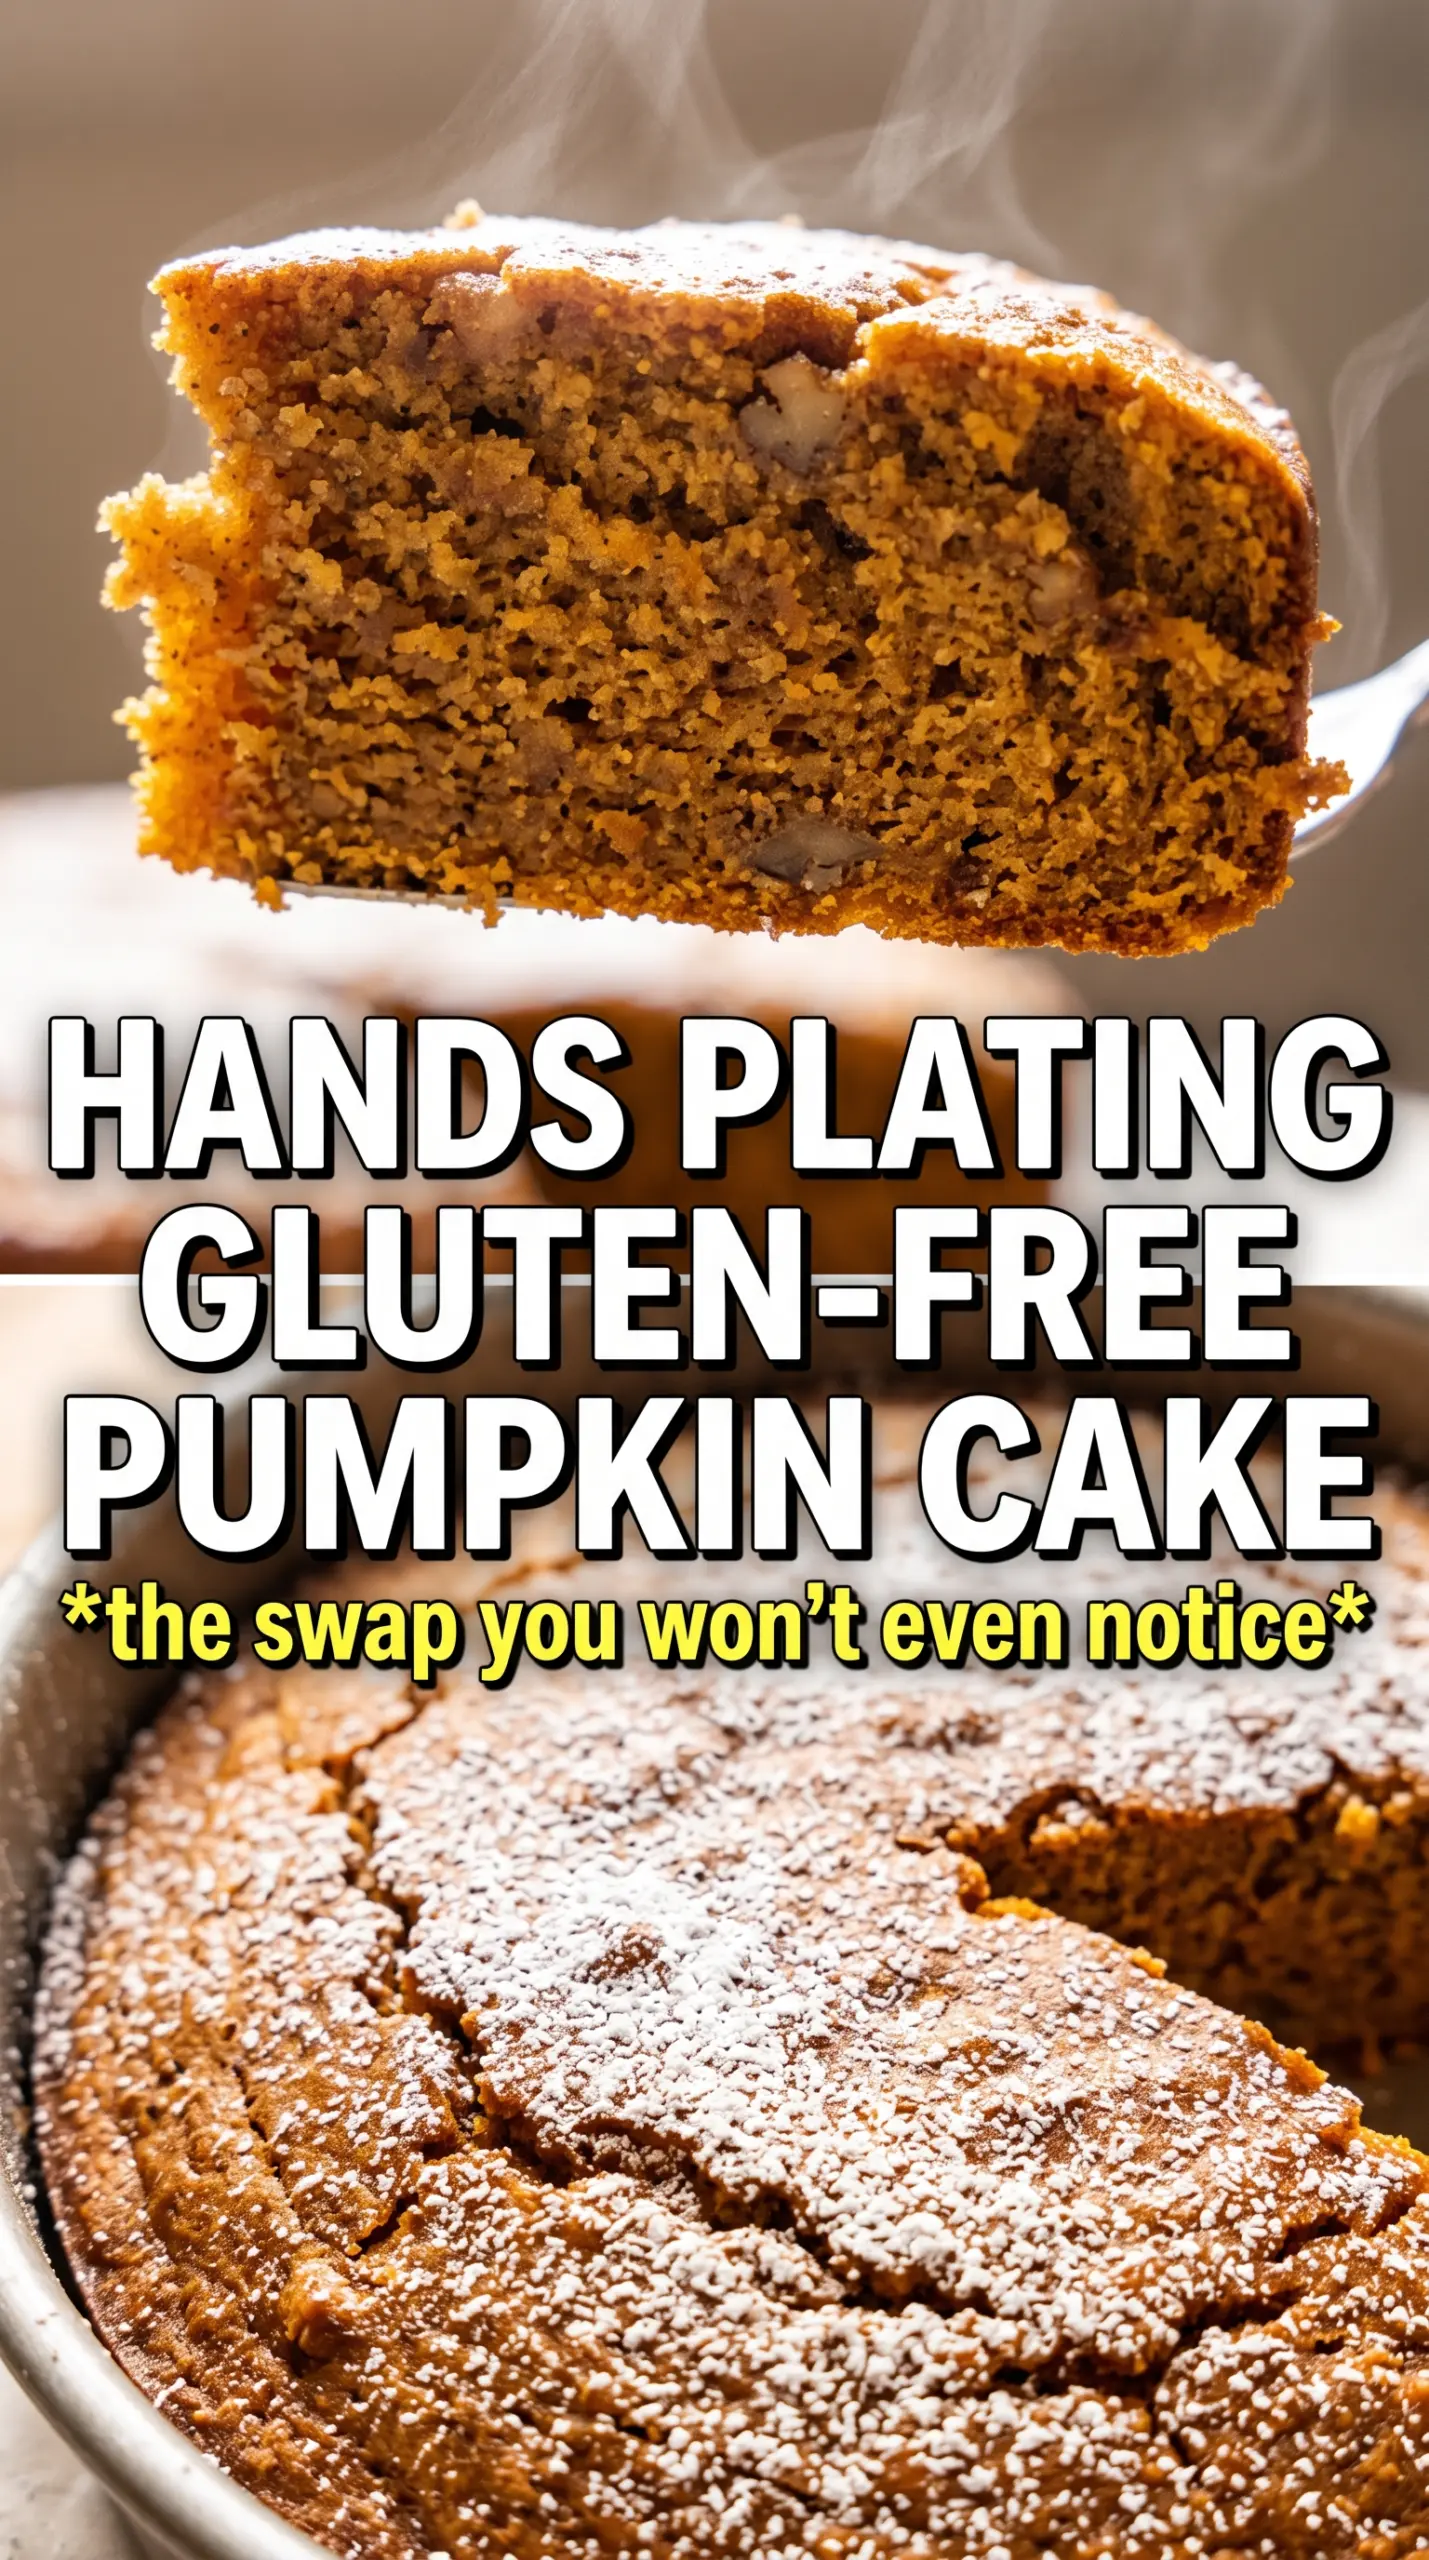
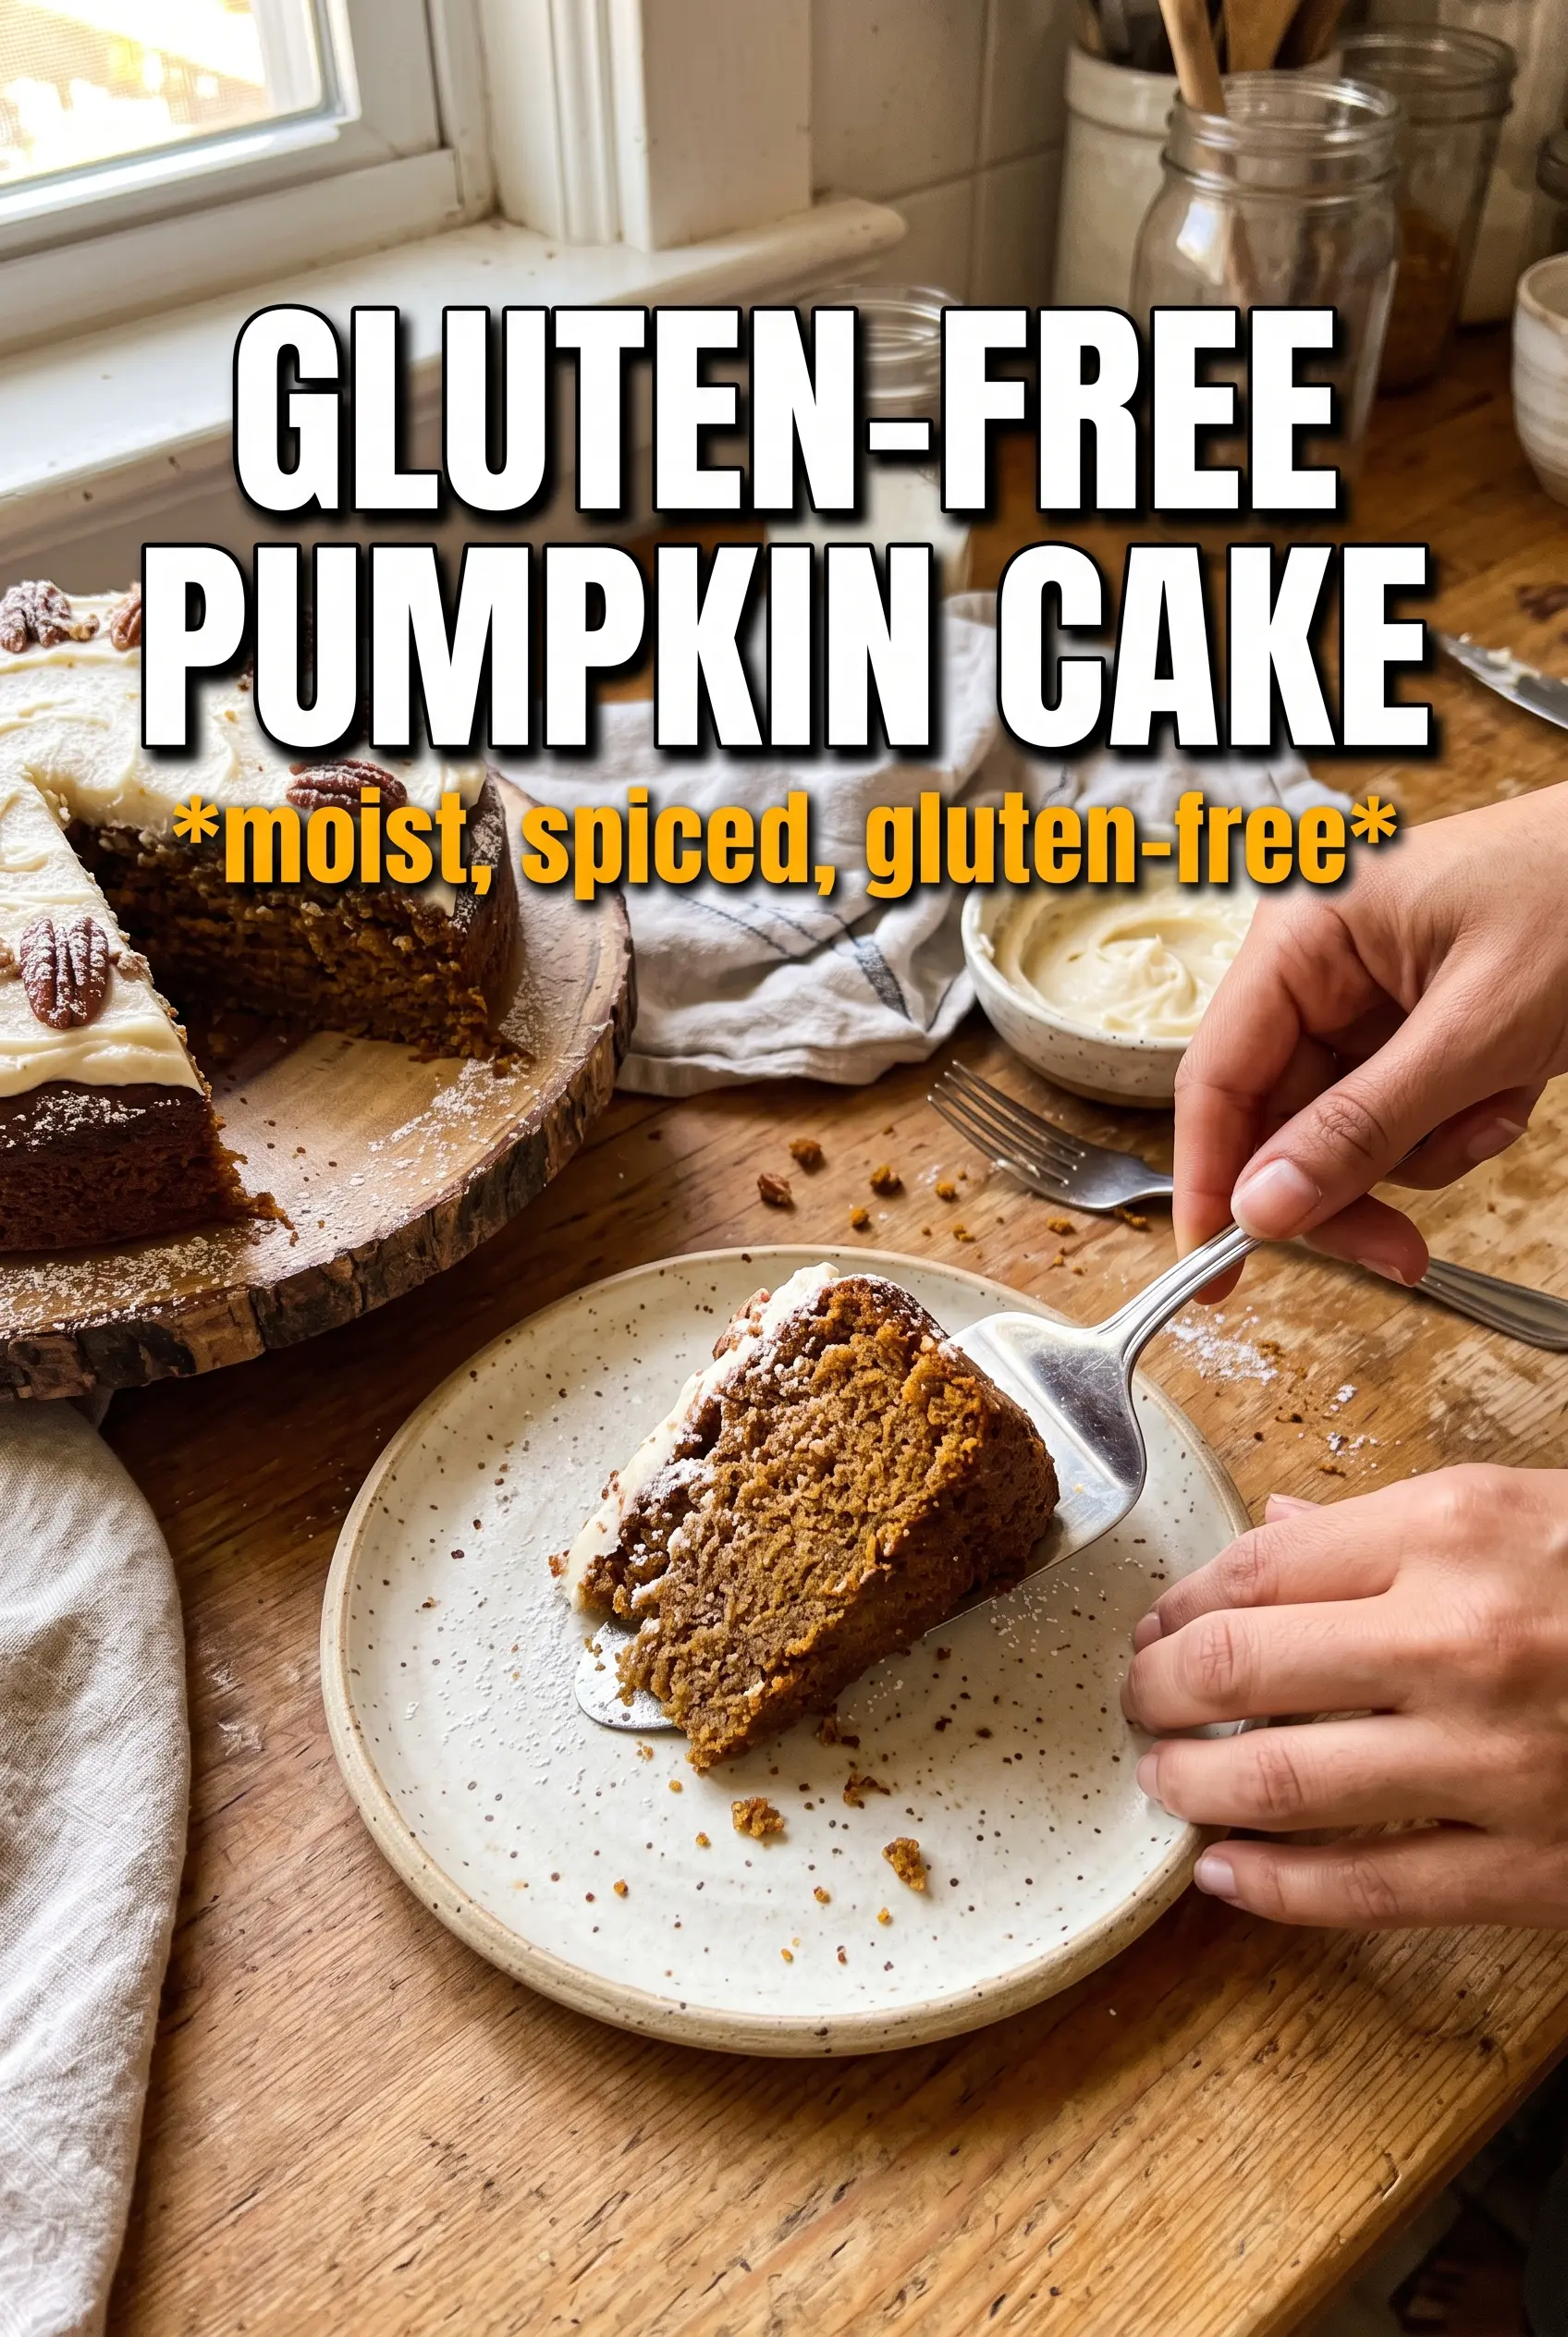
Gluten-free pumpkin cake should be just as tender, tall, and warmly spiced as the classic version, and this one gets there without any gritty crumb or dry edges. The layers bake up soft and moist with that deep pumpkin color you want, then the cream cheese frosting settles into the cake instead of sliding off it. It slices cleanly, holds together well, and tastes like the cake you hoped for when you picked it up with a fork.
The difference here comes from using a flour blend that already includes xanthan gum, plus sour cream for extra moisture and structure. Pumpkin adds body, but it also needs enough fat and acid around it to keep the crumb plush instead of dense. The batter comes together in the usual order, but the texture depends on not overmixing once the gluten-free flour goes in. That keeps the cake light instead of gummy.
Below, I’ve included the small details that matter most: how to avoid a heavy center, what the frosting needs to stay fluffy, and the substitutions that still give you a proper layer cake when you need to work around an ingredient.
The cake layers baked up fluffy and moist, and the frosting was thick enough to swirl without sliding off the sides. I usually worry about gluten-free cakes turning crumbly, but this one sliced beautifully the next day.
Save this gluten-free pumpkin cake for the kind of dessert that needs a soft crumb, warm spice, and cream cheese frosting that holds its shape.
The Trick to Keeping Gluten-Free Pumpkin Cake Tender, Not Gummy
Gluten-free cake can turn heavy fast when the batter gets overworked or the flour blend lacks enough structure. This recipe avoids that by leaning on a blend with xanthan gum already mixed in, so the cake can set up cleanly without needing extra help. That matters because pumpkin adds a lot of moisture, and without a stable flour base the crumb can slip from tender into pasty.
The other thing that keeps this cake on track is the sour cream. It adds richness and helps the batter stay smooth, but it also gives the cake a softer bite after baking. If your gluten-free cakes usually sink in the middle, the culprit is often underbaking or a batter that got beaten too long after the flour went in. Stir just until the dry bits disappear, then stop.
- Gluten-free all-purpose flour blend with xanthan gum — This is the backbone of the cake. A blend without xanthan gum can work if you add it separately, but you need that binding power somewhere or the layers won’t hold together as neatly.
- Pumpkin purée — Use plain pumpkin purée, not pumpkin pie filling. The filling is already sweetened and spiced, which throws off the balance and makes the cake harder to control.
- Sour cream — Full-fat sour cream gives the softest texture. Plain Greek yogurt can stand in, but the cake will be a little tangier and slightly less plush.
- Brown sugar — This adds moisture and a deeper caramel note that works beautifully with pumpkin. Light or dark brown sugar both work; dark brown sugar gives the cake a richer molasses edge.
What Each Ingredient Is Actually Doing in This Recipe
- Primary ingredient (the star) — Quality matters most. Choose the best you can find.
- Cooking medium (oil, butter, or broth) — This carries flavors and prevents dryness.
- Seasonings (salt, pepper, spices, herbs) — Layer flavors so nothing overpowers. Build depth gradually.
- Aromatics (garlic, onion, herbs) — Cook with fat to bloom flavors. Become the foundation.
- Supporting ingredients — Complement the main ingredient without overpowering it.
- Sauce or liquid (if applicable) — Brings flavors together. Balance richness with acid.
- Acid (lemon, vinegar, wine, or other) — Brightens and prevents flat-tasting results.
- Final finish (garnish, glaze, or sauce) — Prevents one-dimensional taste and adds visual appeal.
Building the Batter So the Layers Bake Evenly
Creaming the Butter and Sugar
Start by beating the butter and brown sugar until the mixture looks lighter and a little fluffy. That step traps air, which helps the layers rise instead of baking up dense. If the butter is too cold, the mixture will stay grainy and won’t incorporate properly, so let it soften first.
Adding the Pumpkin Mixture
Beat in the eggs one at a time, then add the pumpkin, sour cream, and vanilla. The batter may look a little curdled at this point, and that’s normal. Once the dry ingredients go in, it will smooth out. Don’t rush this stage by cranking the mixer high, or you’ll splash the batter and make it harder to mix evenly.
Folding in the Dry Ingredients
Add the flour blend, baking powder, baking soda, spices, and salt, then mix just until combined. The moment the flour disappears, stop. Overmixing gluten-free batter can still make the cake tight and gummy because you’re beating too much air out of it and working the starches too hard.
Baking and Cooling the Layers
Divide the batter evenly between the pans so both layers bake at the same rate. The cakes are done when the tops spring back lightly and a toothpick comes out with a few moist crumbs, not wet batter. Let them cool completely before frosting. If you rush the frosting step while the cakes are even slightly warm, the filling melts and the layers can slide.
Dairy-Free Version
Swap the butter for a good plant-based butter block and use a dairy-free cream cheese that holds up well for frosting. The cake itself still bakes up nicely, but the frosting will be a touch softer, so chill it before stacking and serving.
Make It as a 9×13 Cake
Bake the batter in a greased 9×13-inch pan instead of layers. The texture stays just as moist, and you get a simpler cake that’s easier to transport. Start checking a little early, since the center may finish before the edges look fully set.
Lower-Sugar Frosting
You can reduce the powdered sugar by about 1/2 cup if you want a less sweet frosting, but it will be softer and less pipeable. Add the sugar gradually and stop when the frosting is spreadable and holds soft swoops.
Storage and Reheating
- Refrigerator: Store covered for up to 5 days. The cake stays moist, and the frosting firms up a bit in the fridge.
- Freezer: Freeze unfrosted layers wrapped tightly in plastic and foil for up to 2 months. Frosting freezes too, but it’s best after a fresh whip once thawed.
- Reheating: Let slices come to room temperature before serving. Cold cake tastes muted and the frosting can feel stiff, so give it 30 to 45 minutes out of the fridge.
Questions I Get Asked About This Recipe
Gluten-Free Pumpkin Cake
Ingredients
Equipment
Method
- Preheat the oven to 350F and grease two 9-inch round pans so the cakes release easily after baking.
- Beat butter and brown sugar until smooth, then add eggs one at a time, mixing just until combined.
- Add pumpkin, sour cream, and vanilla, then mix until the batter looks evenly orange and glossy.
- Fold in gluten-free all-purpose flour blend and baking powder, baking soda, pumpkin pie spice, cinnamon, and salt, mixing only until no dry streaks remain.
- Divide the batter between the pans and bake at 350F for 35-40 minutes, until the tops spring back and a toothpick comes out mostly clean.
- Cool the cakes completely in the pans, then run a knife along the edges and remove the layers without tearing.
- Beat cream cheese and butter until very fluffy and smooth, scraping the bowl as needed for an even texture.
- Beat in powdered sugar, cinnamon, and vanilla until the frosting becomes thick, spreadable, and holds soft peaks for swirling.
- Frost generously between the layers, using a flat spatula to press frosting to the edges so each slice stays moist.
- Frost the top and sides of the cake fully, then swirl the surface so the frosting looks rich and dense.