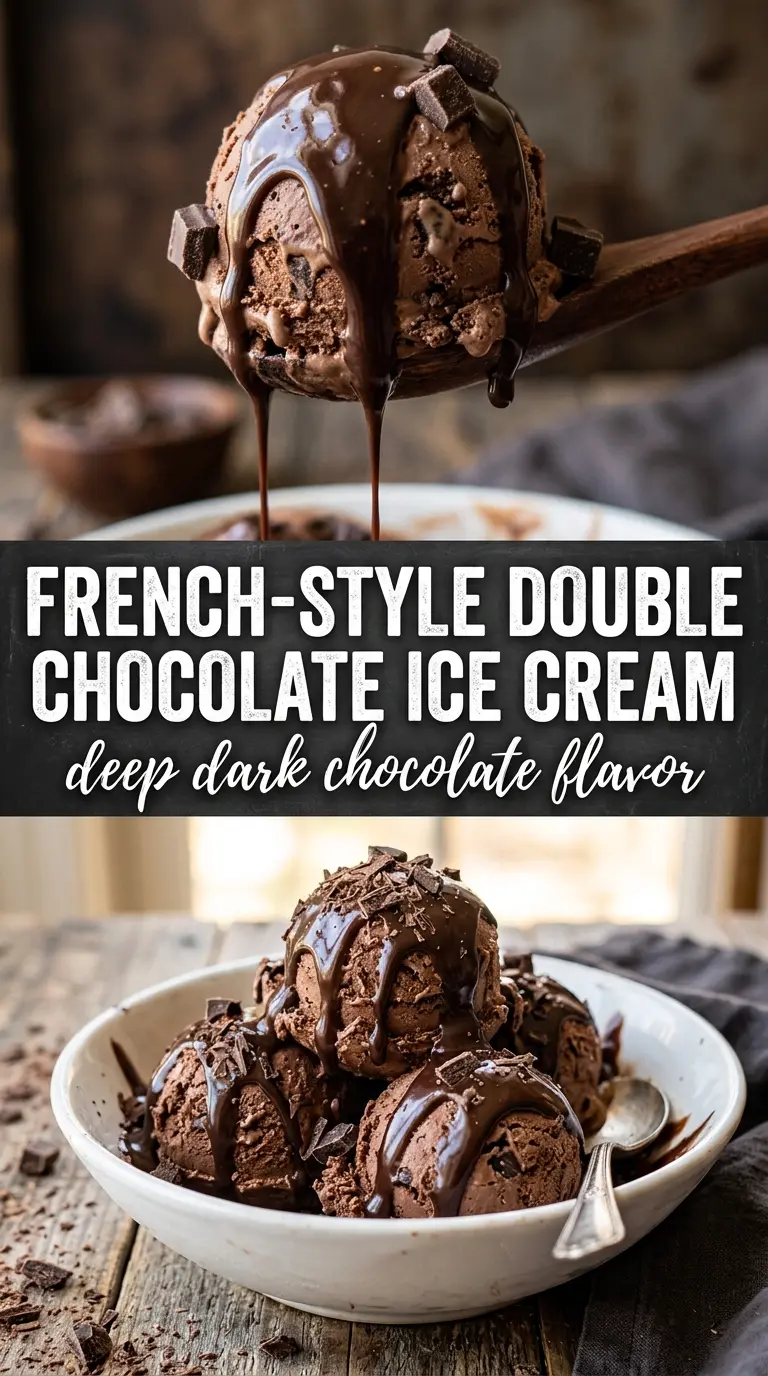
French-style double chocolate ice cream lands with the kind of dense, glossy richness that feels almost like frozen ganache. The dark chocolate gives it backbone, the cocoa deepens the base, and the custard makes every spoonful turn velvety instead of icy. It scoops with a soft, fudgy body and leaves a clean chocolate finish that keeps you going back for another bite.
What makes this version stand out is the way the chocolate is layered. The cocoa goes into the dairy first so it blooms and tastes fuller, then the melted dark chocolate gets whisked into the custard off the heat for a smoother, more luxurious texture. Egg yolks and butter give the base enough fat to churn up creamy, but the key is stopping the custard at 175°F so it thickens without turning grainy.
Below, I’ve included the little details that matter most: when to strain, why the chilling time matters, and how to keep the texture dense instead of brittle after freezing.
The custard turned out silky and the chocolate stayed bold even after freezing. I loved that it scooped cleanly instead of getting icy, and the little bit of butter made it taste like a fancy dessert shop version.
Save this French-style double chocolate ice cream for the nights when you want a dense, fudgy scoop with real chocolate depth.
The Custard Has to Stop Before It Looks Done
With ice cream custard, the biggest mistake is cooking by appearance alone. By the time it looks thick on the spoon, it’s often already too far along, and that’s when you end up with scrambled yolks or a grainy base. At 175°F, the custard should coat the back of a spoon and leave a clean line when you drag your finger through it, but it still needs to look smooth and loose enough to pour.
The other thing that matters here is heat control after the chocolate goes in. If you dump melted chocolate into a bubbling custard, it can seize or separate. Pull the pan off the heat first, whisk until it turns glossy, then strain immediately so any tiny bits of cooked egg or undissolved cocoa don’t make it through.
- Dark chocolate — Use a 70 to 72 percent bar for a deep, bitter-sweet finish. Lower percentages make the ice cream sweeter and softer; higher percentages can taste sharp unless you like an intense dark chocolate edge.
- Dutch process cocoa — This deepens the chocolate flavor and gives the base that darker color. Natural cocoa won’t taste quite as rounded here, and the finished ice cream will be a little lighter in both color and flavor.
- Egg yolks — They’re what make this French-style base rich and scoopable instead of icy. Whole eggs won’t give the same velvet texture, and reducing the yolks makes the finished ice cream leaner and less custardy.
- Heavy cream and whole milk — Cream brings body, milk keeps it from becoming heavy or waxy. You can swap in half-and-half in a pinch, but the texture will be less luxurious and it may freeze harder.
- Butter — Just a tablespoon, but it makes the melted chocolate taste rounder and helps the base finish with that glossy, ganache-like sheen. Don’t skip it if you want the deepest, smoothest result.
What Each Ingredient Is Actually Doing in This Ice Cream
- Base ingredient (cream, milk, or custard) — This provides the foundation and richness. Quality matters.
- Sweetener (sugar, honey, or condensed milk) — This sweetens and prevents ice crystals. The ratio is critical.
- Flavor element (vanilla, fruit, chocolate, or other) — This defines the ice cream personality. Use quality ingredients.
- Egg yolks (if making custard base) — These create richness and silky texture. Optional but elevates ice cream.
- Churning (if using ice cream maker) — This incorporates air and prevents ice crystals. Critical for smooth texture.
- Freezing temperature and time — Proper freezing prevents rock-hard texture. Store at 0°F or below.
- Mix-ins (chocolate, cookies, fruit, or swirls) — These add texture and prevent one-dimensional flavor. Add near end of churning.
- Serving temperature (slightly soft, not rock hard) — This provides creamy mouthfeel. Remove from freezer 5 minutes before serving.
Building the Base Without Scrambling the Yolks
Melt the Chocolate First
Set the chopped dark chocolate and butter over a double boiler and let them melt together until smooth and shiny. Stir gently so the chocolate doesn’t overheat on the bottom of the bowl, which can make it look dull or stiff. Set it aside once it’s fully melted; you want it fluid, not hot enough to cook the custard later.
Bloom the Cocoa in the Dairy
Whisk the cocoa powder into the cream and milk before heating. That step keeps the cocoa from floating in dry pockets and gives the finished base a deeper, more even chocolate flavor. Warm the dairy until it’s steaming but not boiling; if it boils hard, the milk can scorch and the custard will pick up a cooked taste.
Temper and Cook the Custard
Whisk the yolks and sugar until slightly lighter, then slowly stream in the hot dairy while whisking constantly. That gradual addition keeps the eggs from turning into bits of sweet scramble. Return the mixture to the saucepan and cook over medium-low heat, stirring all the time and scraping the corners, until it reaches 175°F and thickly coats the spoon.
Finish, Strain, and Chill Hard
Take the pan off the heat and whisk in the melted chocolate right away until the base turns glossy and fully blended. Stir in the vanilla and salt, then strain it through a fine mesh sieve to catch any tiny cooked egg bits or cocoa lumps. Set the bowl over ice to cool it down quickly, then refrigerate it for at least 4 hours before churning; if the base is warm, the ice cream maker has to work too hard and the texture suffers.
How to Adapt It for a Darker, Lighter, or Dairy-Free Scoop
Dairy-Free Version With Coconut Cream
Swap the heavy cream and milk for full-fat coconut milk and coconut cream. The texture stays rich, but you’ll pick up a faint coconut note and the custard won’t taste quite as cleanly buttery as the original. It’s the best option if you want a dairy-free base that still churns into something luxurious.
Extra Dark, More Bitter Chocolate
Use 75 to 85 percent chocolate and keep the sugar exactly as written. The finished ice cream will taste more grown-up and less sweet, with a firmer set once frozen. This is the version to make if you want the chocolate to read bold instead of dessert-shop sweet.
No Ice Cream Maker
Pour the chilled custard into a shallow metal pan and freeze it, stirring every 30 to 40 minutes for the first 3 hours. That breaks up the ice crystals before they get too large, though the texture will still be a little less dense than churned ice cream. It’s a workable backup, but not the method that gives the smoothest finish.
Storage and Freezing
- Refrigerator: The custard base keeps for up to 2 days before churning. Cover it tightly so it doesn’t pick up any fridge odors.
- Freezer: Once churned, freeze it in an airtight container for up to 2 weeks for the best texture. After that, it can start to turn a little icier around the edges.
- Reheating: Not applicable. Let frozen ice cream sit at room temperature for 5 to 10 minutes before scooping so the dense chocolate base softens without cracking.
Answers to the Questions Worth Asking
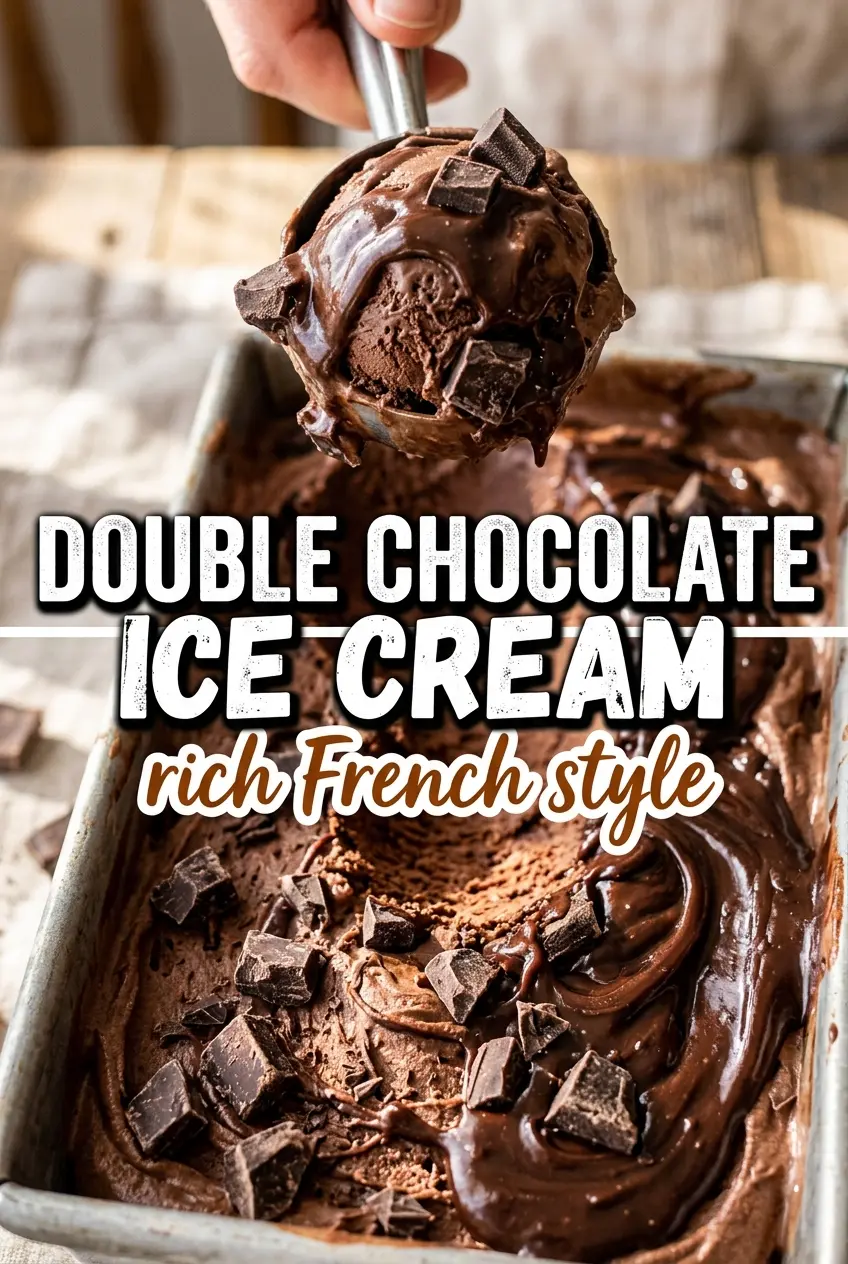
French-Style Double Chocolate Ice Cream
Ingredients
Equipment
Method
- Melt the dark chocolate with the unsalted butter over a double boiler until smooth, then set aside off the heat.
- Whisk the Dutch process cocoa powder into the heavy cream and whole milk, then heat until steaming, about 5 to 8 minutes.
- Slowly whisk the hot cream mixture into the egg yolks and granulated sugar, then return everything to a saucepan.
- Cook the custard, stirring constantly, until it reaches 175°F (about 10 to 15 minutes), with a thickened, spoon-coating texture.
- Remove the saucepan from the heat and immediately whisk in the melted dark chocolate until glossy and smooth.
- Stir in the vanilla extract and salt, then strain through a fine mesh sieve for a silky finish.
- Cool the chocolate custard completely over ice until cold to the touch, then refrigerate for 4 hours.
- Churn in an ice cream maker until the texture is thick like soft-serve (about 20 to 25 minutes), with visible thickening as it churns.
- Transfer to a freezer-safe container and freeze until firm, at least 2 hours, for dense, fudgy scoops.