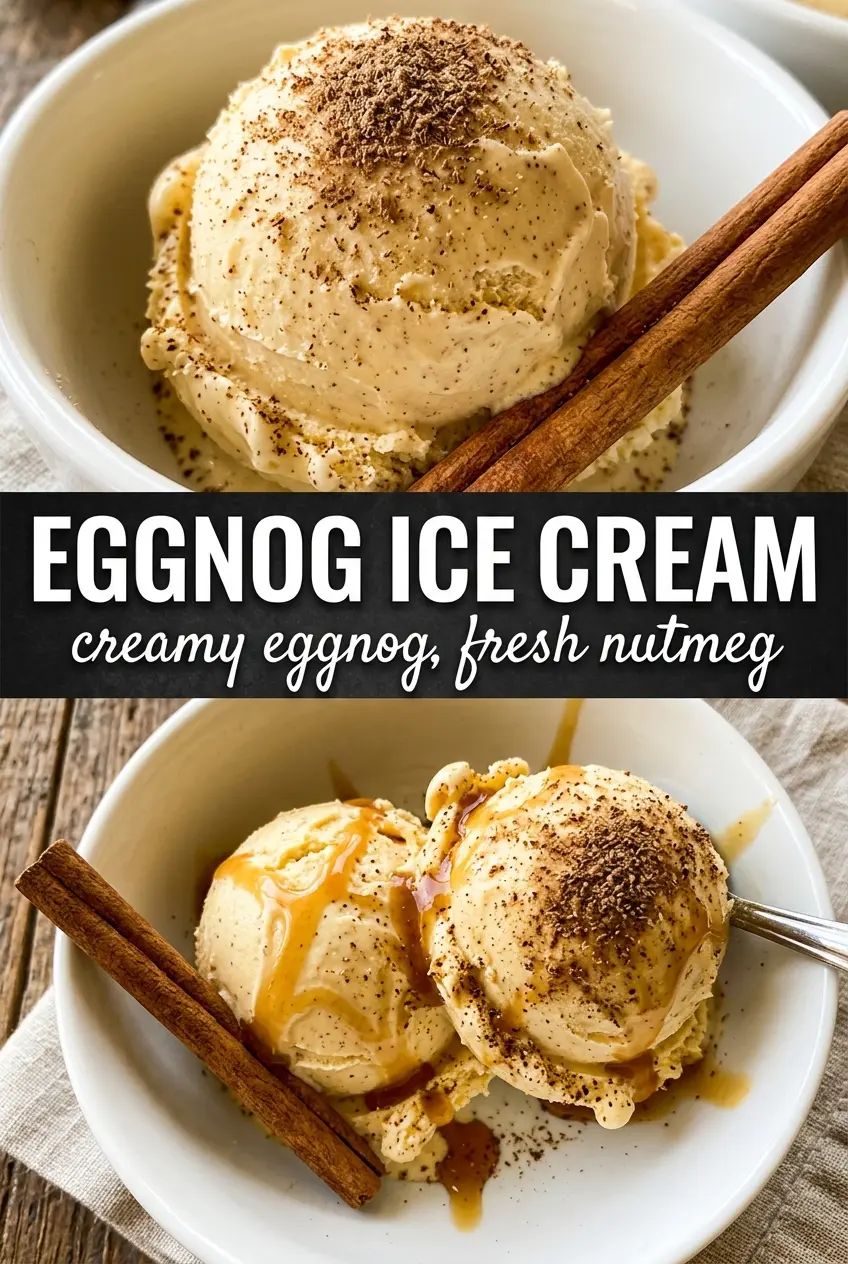
Eggnog ice cream turns a carton of holiday eggnog into a custard-style dessert that scoops smooth, melts slowly, and carries that familiar nutmeg warmth in every bite. The texture lands somewhere between classic ice cream and frozen custard, which is why it tastes rich without feeling heavy. If you like eggnog cold and spiced, this is the version that gives you all of that in a spoonable form.
The trick is treating the eggnog like the base of a custard instead of just freezing it straight. A little extra cream keeps it from freezing icy, while the egg yolks build body and help the mixture churn up dense and silky. The rum or bourbon is optional, but even a small amount keeps the finished ice cream softer in the freezer and adds a quiet warmth that fits the nutmeg perfectly.
Below, I’ll walk through the part that matters most: cooking the custard without scrambling the yolks, plus a few ways to adapt the base if you want it a little more boozy, a little more spiced, or easier to store for a holiday dessert spread.
The custard chilled beautifully and churned into the smoothest eggnog ice cream I’ve made. The nutmeg came through without being overpowering, and the splash of bourbon kept it scoopable straight from the freezer.
Love the creamy custard texture and holiday spice in this eggnog ice cream? Save it to Pinterest for the next time you want a festive frozen dessert that churns up rich and smooth.
Why This Custard Stays Smooth Instead of Turning Grainy
The mistake most people make with eggnog ice cream is rushing the custard. Egg yolks thicken fast, and once the pan gets too hot, they can curdle before the base ever reaches the right consistency. Heating the eggnog and cream first, then slowly whisking it into the yolks, tempers them gently so the mixture stays smooth.
Cooking to 175F is the sweet spot here. Lower than that, the base can stay thin and freeze with a weak texture. Much higher, and the yolks start to tighten too much. Stir constantly with a flexible spatula and watch for the custard to coat the back of the spoon in a clear, even layer.
What Each Ingredient Is Actually Doing in This Ice Cream
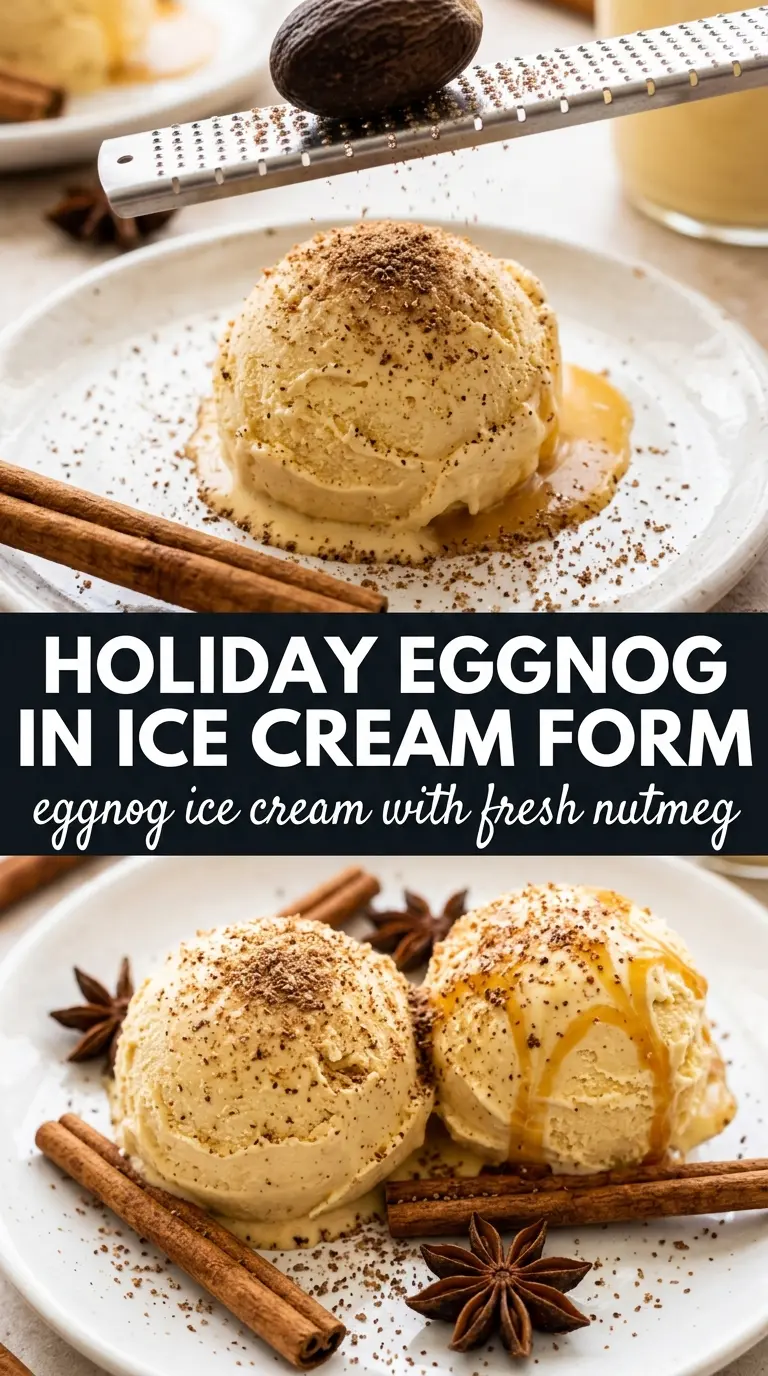
- Store-bought eggnog — This brings the holiday spice and sweetness all at once, so you don’t need to build the flavor from scratch. Use a good-tasting brand since the eggnog is the backbone of the recipe. Homemade eggnog works too if it’s fully cooked and well chilled.
- Heavy cream — The cream softens the eggnog’s texture and helps the ice cream churn up richer and less icy. You can’t get the same body from milk or half-and-half. If you want a slightly lighter result, swap in half a cup of whole milk, but expect a firmer freeze.
- Egg yolks — These thicken the custard and give the finished ice cream that dense, scoopable feel. There isn’t a true substitute if you want a classic custard base. The yolks also help the mixture stay stable in the freezer.
- Rum or bourbon — This is optional, but it keeps the ice cream a little softer and adds depth without tasting boozy in a harsh way. Use just 2 tablespoons; more than that can keep the mixture from freezing firmly. If you want the flavor without the alcohol, add an extra 1/4 teaspoon vanilla instead.
- Nutmeg and cinnamon — Freshly grated nutmeg makes the biggest difference if you have it. Cinnamon should stay in the background so it doesn’t take over the eggnog. This is one place where old spices can taste flat, so use the freshest jar you’ve got.
How to Cook the Custard Without Scrambling the Yolks
Warming the Dairy
Set the eggnog and cream over medium heat and warm them until steaming, not boiling. You want small wisps of steam and gentle movement at the edges, not a rolling simmer. If the mixture boils, it can make the yolks seize faster when you add it in. Steaming is enough to temper the eggs and start the thickening process cleanly.
Tempering the Yolks
Whisk the yolks and sugar until they look lighter and slightly thickened, then add the hot dairy in a slow, steady stream while whisking constantly. The goal is to raise the temperature gradually so the yolks adjust instead of curdling. If you dump the hot liquid in all at once, you’ll end up with little cooked bits before the custard ever goes back on the stove. Slow and steady wins this part.
Cooking to the Right Nappery Stage
Return the mixture to the saucepan and cook over medium-low heat, stirring nonstop, until it reaches 175F. If you don’t have a thermometer, look for the custard to thicken enough to coat the spoon and leave a clean path when you drag a finger across it. Pull it off the heat as soon as it gets there, because the residual heat in the pan will keep cooking it. A few extra minutes can turn a silky base grainy in a hurry.
Straining and Chilling
Pour the custard through a fine mesh strainer into a clean bowl, then stir in the vanilla, spices, rum if using, and salt. Straining catches any tiny bits of cooked egg and gives you that polished, ice-cream-shop texture. Chill the base completely before churning, and don’t cut that time short. If the base is still warm, the machine has to work too hard and the final texture turns soft and loose.
Extra Rum for a Softer Scoop
Increase the rum or bourbon to 3 tablespoons if you want a slightly softer freeze and a little more warmth in the background. The alcohol won’t make it taste boozy, but it will keep the ice cream from freezing quite as hard. Don’t go much past that or the set can turn too loose.
Dairy-Free Version
Use a rich non-dairy eggnog and swap the heavy cream for full-fat coconut cream. The texture will be a little different, with a subtle coconut note, but it still churns into a creamy frozen dessert. Check the eggnog first, since some dairy-free versions are thinner and may need a longer chill time before churning.
No-Churn Shortcut
Skip the ice cream maker by whipping 2 cups of cold heavy cream to soft peaks and folding it into a fully chilled eggnog custard that’s been loosened slightly with the vanilla and spices. Freeze in a loaf pan and stir once after about 45 minutes to break up ice crystals. The texture won’t be quite as dense, but it still tastes festive and creamy.
Storage and Reheating
- Refrigerator: The custard base can be held in the fridge for up to 2 days before churning. After churning, keep the ice cream in a freezer-safe container and press parchment directly on the surface to reduce ice crystals.
- Freezer: Eggnog ice cream freezes well for about 2 weeks with the best texture in the first few days. After that, it gets firmer and can pick up a little iciness if the container isn’t sealed tightly.
- Reheating: Ice cream doesn’t reheat, but if it gets too hard, leave it on the counter for 5 to 10 minutes before scooping. Microwaving is a bad idea here because it melts the edges first and leaves the center cold and dense.
Answers to the Questions Worth Asking
Eggnog Ice Cream
Ingredients
Equipment
Method
- In a Dutch oven, heat the eggnog and heavy cream until steaming, with small bubbles around the edges (aim for steam, not a boil).
- In a bowl, slowly whisk the steaming eggnog mixture into the egg yolks and granulated sugar so the yolks don’t scramble.
- Return everything to the saucepan and cook over medium-low heat, stirring constantly until the custard reaches 175°F and looks slightly thickened.
- Strain the custard to remove any lumps, then stir in vanilla extract, nutmeg, cinnamon, rum (if using), and salt.
- Cool completely to room temperature, then refrigerate until very cold, at least 4 hours.
- Churn the chilled custard in an ice cream maker until it reaches a soft, scoopable consistency.
- Transfer to a freezer-safe container and freeze until firm.
- Just before serving, grate fresh nutmeg over each serving for a warm-spiced finish.