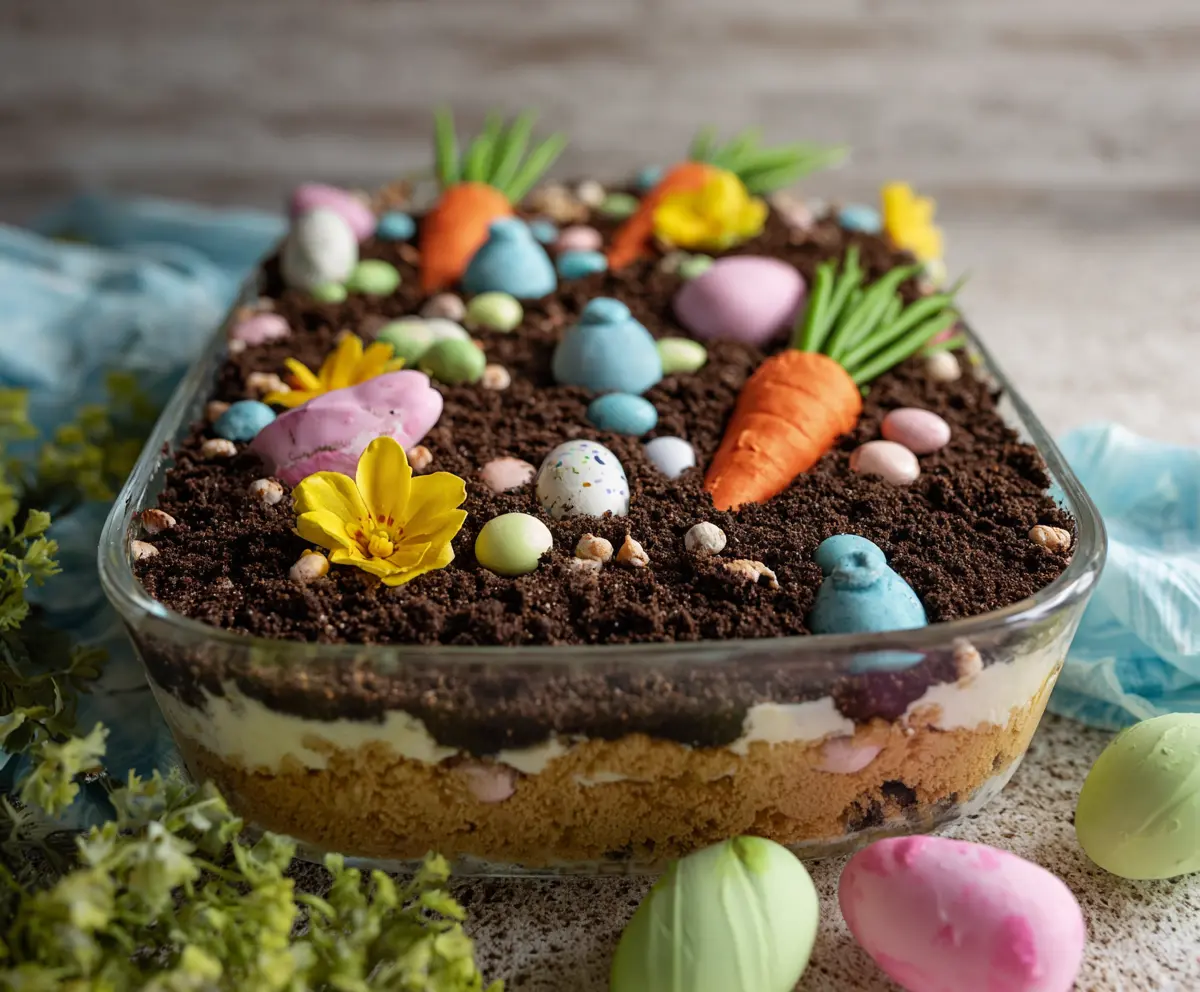
This fun Easter Dirt Cake is a sweet treat that looks like a cute little garden! Made with layers of chocolate pudding, crushed cookies, and gummy worms, it’s a delight for kids and adults alike.
Every time I make it, I can’t help but giggle at the gummy worms peeking out. It’s so simple to whip up, and perfect for spring celebrations. Don’t forget the sprinkles on top for extra cheer!
Key Ingredients & Substitutions
Chocolate Pudding Mix: Instant chocolate pudding is key for that rich, chocolatey layer. If you’re looking for a healthier option, try using a sugar-free version or a different flavor, such as vanilla or butterscotch, for a twist.
Cream Cheese: This provides the creamy layer that balances the chocolate. If you need a lighter option, you could use mascarpone or Greek yogurt instead. Just be aware it may alter the flavor and texture slightly.
Oreo Cookies: These are perfect for the “dirt” layer. If you’re gluten-free, try using a gluten-free chocolate sandwich cookie. For a unique flavor, chocolate graham crackers can be a fun alternative too.
Whipped Topping: While Cool Whip is popular, you can use homemade whipped cream — just whip heavy cream with a bit of sugar until soft peaks form. It will be fresher and taste great!
Easter Candies: Feel free to mix and match your favorite candies for decoration. If you can’t find certain candies, pastel m&ms or even jelly beans work nicely and add color!
How Do You Fold Ingredients for a Fluffy Texture?
Folding involves gently combining mixtures without deflating them, which is crucial for the cream cheese and pudding mix. Follow these steps for success:
- Use a spatula or large spoon for folding, not a whisk.
- Start by adding a small amount of the lighter mixture (whipped topping) into the heavier mixture (pudding and cream cheese).
- Gently cut through the center of the mixture and lift it over the top.
- Turn the bowl slightly and repeat. Keep doing this until just combined — some streaks are okay!
This method keeps your cake light and fluffy, ensuring a lovely taste and texture. Enjoy your delicious Easter Dirt Cake!
How to Make an Easter Dirt Cake
Ingredients You’ll Need:
For the Pudding and Filling:
- 2 packages (3.4 oz each) instant chocolate pudding mix
- 3 1/2 cups cold milk
- 16 oz cream cheese, softened
- 1/2 cup unsalted butter, softened
- 1 cup powdered sugar
- 1 teaspoon vanilla extract
- 8 oz whipped topping (like Cool Whip), thawed
For the Cake Layers:
- 36 Oreo cookies (or similar chocolate sandwich cookies)
- 1 box graham crackers (about 8 sheets)
For Decoration:
- Assorted Easter candy (e.g., candy eggs, candy carrots, marshmallow chicks)
- Edible flowers (optional, for decoration)
- Green candy or fresh chives (for carrot tops)
How Much Time Will You Need?
This recipe requires about 20 minutes of preparation time, plus 4 hours to chill in the refrigerator. So, you can whip it up quickly and let it set while you get ready for your Easter celebrations!
Step-by-Step Instructions:
1. Prepare the Pudding:
Start by grabbing a large bowl. Whisk together the instant chocolate pudding mix and cold milk until it’s well combined. Let it sit for about 5 minutes to thicken up nicely.
2. Make the Cream Cheese Filling:
In another bowl, mix the softened cream cheese and butter together using a hand mixer until it’s smooth and creamy. Then, add the powdered sugar and vanilla extract, and beat until everything is well blended.
3. Combine the Fillings:
Now, gently fold the prepared chocolate pudding into the cream cheese mixture. Be careful not to deflate the mixture! After it’s well combined, fold in the whipped topping until everything is fluffy and incorporated.
4. Prepare the Crumbs:
Crumble the Oreo cookies into fine crumbs to resemble dirt and set them aside. Next, crush the graham crackers into coarse crumbs as they will act as the “sand” layer in your dessert.
5. Assemble the Cake:
In a large clear dish, like a 9×13 inch glass dish, layer the crushed graham crackers evenly across the bottom. Then spread half of the cream cheese and pudding mixture evenly on top.
6. Add a Fun Layer:
This is where it gets fun! Add a layer of small pastel-colored mini marshmallows or assorted Easter candy bits. This adds some nice texture and color to the cake.
7. Complete the Layers:
Spread the remaining cream mixture on top of the candies. Next, top it off with a thick layer of crushed Oreos to create the “dirt” surface.
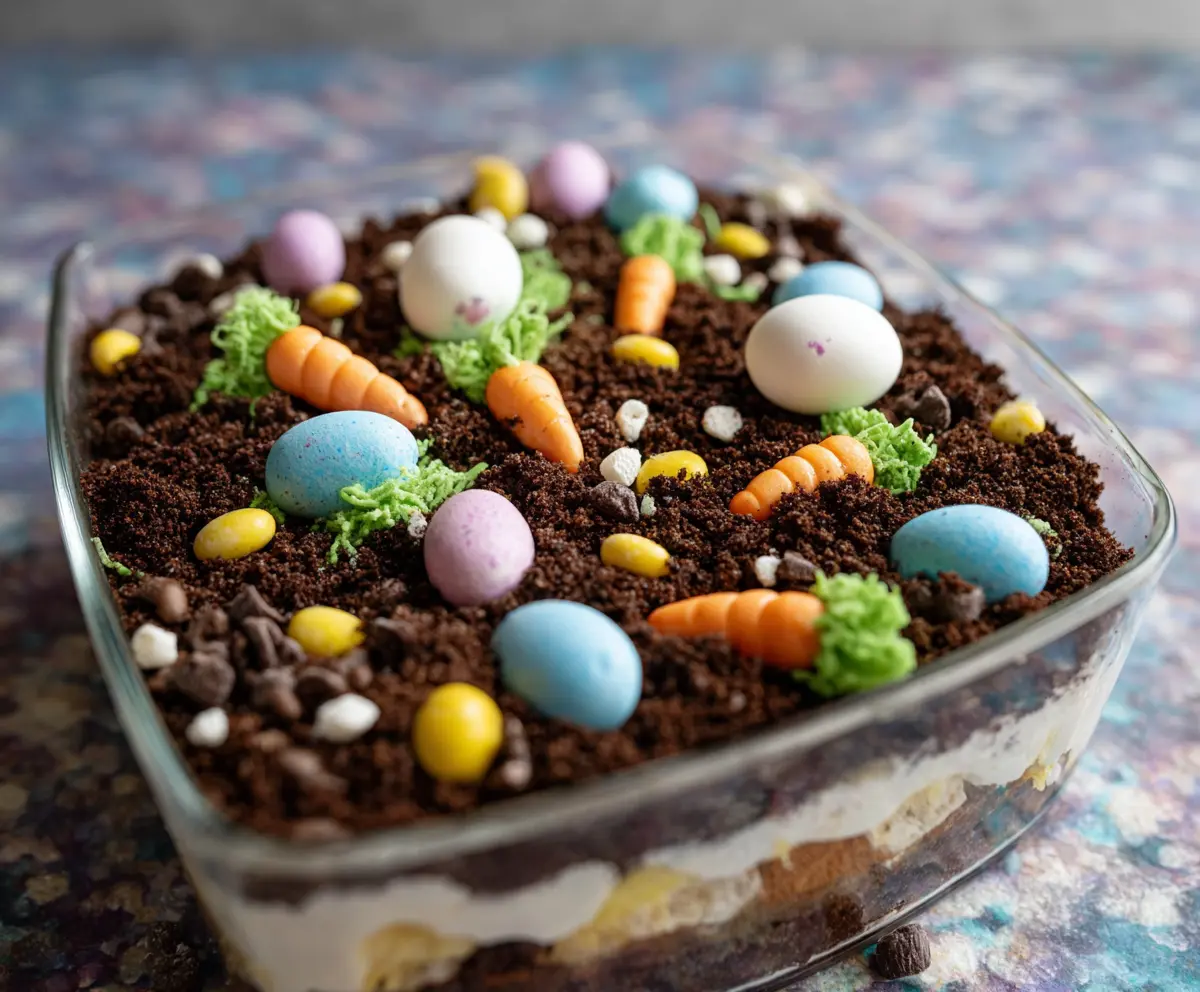
8. Decorate:
Finally, get creative with your decorations! Place colorful Easter-themed candy like candy eggs and candy carrots on top of the “dirt.” You can make carrot tops by using green candy or fresh chives. Add in some adorable marshmallow chicks too!
9. Chill and Serve:
Cover your assembled cake and refrigerate for at least 4 hours to let it set and chill. Once ready, serve it chilled and enjoy this delightful dessert that looks just like a mini garden patch!
Happy Easter and enjoy your delicious Easter Dirt Cake!
Can I Use Other Flavors of Pudding?
Yes! While the chocolate pudding gives a rich flavor, you can experiment with other flavors like vanilla, butterscotch, or even strawberry for a fun twist. Just pick one that complements your candy decorations!
How Do I Store Leftovers?
Leftovers can be stored in an airtight container in the refrigerator for up to 3 days. Make sure to cover it well to prevent it from absorbing other odors in the fridge.
Can I Make This Dessert Gluten-Free?
Absolutely! Just use gluten-free Oreo cookies and graham crackers for the layers. There are many brands available now that will work perfectly in this recipe.
Can I Prepare This Cake in Advance?
Definitely! This cake is best made a day ahead of time as it allows for the layers to meld together nicely. Simply assemble it and store it in the fridge until you’re ready to serve!