Dark chocolate pumpkin tart hits that rare sweet spot where a dessert feels elegant without asking for much more than a tart pan and a little patience. The filling sets up silky and dense, almost like a cross between ganache and pumpkin pie, while the chocolate cookie crust keeps every bite crisp and a little dramatic. A sprinkle of flaky salt on top sharpens the chocolate and keeps the whole tart from reading too sweet.
What makes this version work is the way the pumpkin gets folded into warm chocolate ganache instead of being baked into a custard. That keeps the texture smooth and prevents the filling from turning watery or eggy. The chocolate also does double duty here: it brings structure as it chills, and it gives the pumpkin a deeper, less obvious sweetness than the usual spice-heavy pie filling.
Below you’ll find the small details that matter most, from pressing the crust so it slices cleanly to knowing exactly when the filling is ready to pour. If you’ve had pumpkin tarts that tasted flat or muddy, this one fixes that.
The filling set up like a dream after chilling overnight, and the cocoa powder with flaky salt made each slice taste like a bakery dessert instead of a basic pumpkin pie.
Save this dark chocolate pumpkin tart for the dessert table when you want silky pumpkin filling, a crisp chocolate crust, and a finish that slices cleanly.
The Part That Keeps the Filling Silky Instead of Grainy
The biggest risk with a tart like this is overheating the chocolate mixture and losing that smooth, glossy finish. The cream should be hot enough to melt the chocolate, not boiling hard. If the chocolate looks oily or grainy when you stir, the heat was too aggressive or the mixture needed more resting time before mixing.
Letting the hot cream sit on the chopped chocolate for two full minutes matters more than people think. That short pause gives the chocolate time to soften evenly, which means you can stir it into an emulsion instead of chasing lumps around the bowl. Once the pumpkin goes in, the filling should look thick, shiny, and pourable — not loose and soupy.
- Chocolate — Use a good 70% bar if you can. Chocolate chips work in a pinch, but they contain stabilizers and don’t melt as smoothly, so the filling can lose some of its silkiness.
- Pumpkin puree — Use plain pumpkin puree, not pumpkin pie filling. The puree adds body and gives the tart its flavor, while pie filling brings extra sugar and spice that can make the balance muddy.
- Heavy cream — This is what turns the chocolate into ganache. Half-and-half won’t give you the same set or richness, and the tart will slice less cleanly.
- Oreo or chocolate wafer crumbs — Either works well. Oreo crumbs give a darker, sweeter crust, while chocolate wafers taste a little more grown-up and less sugary.
What Each Ingredient Is Doing in This Tart
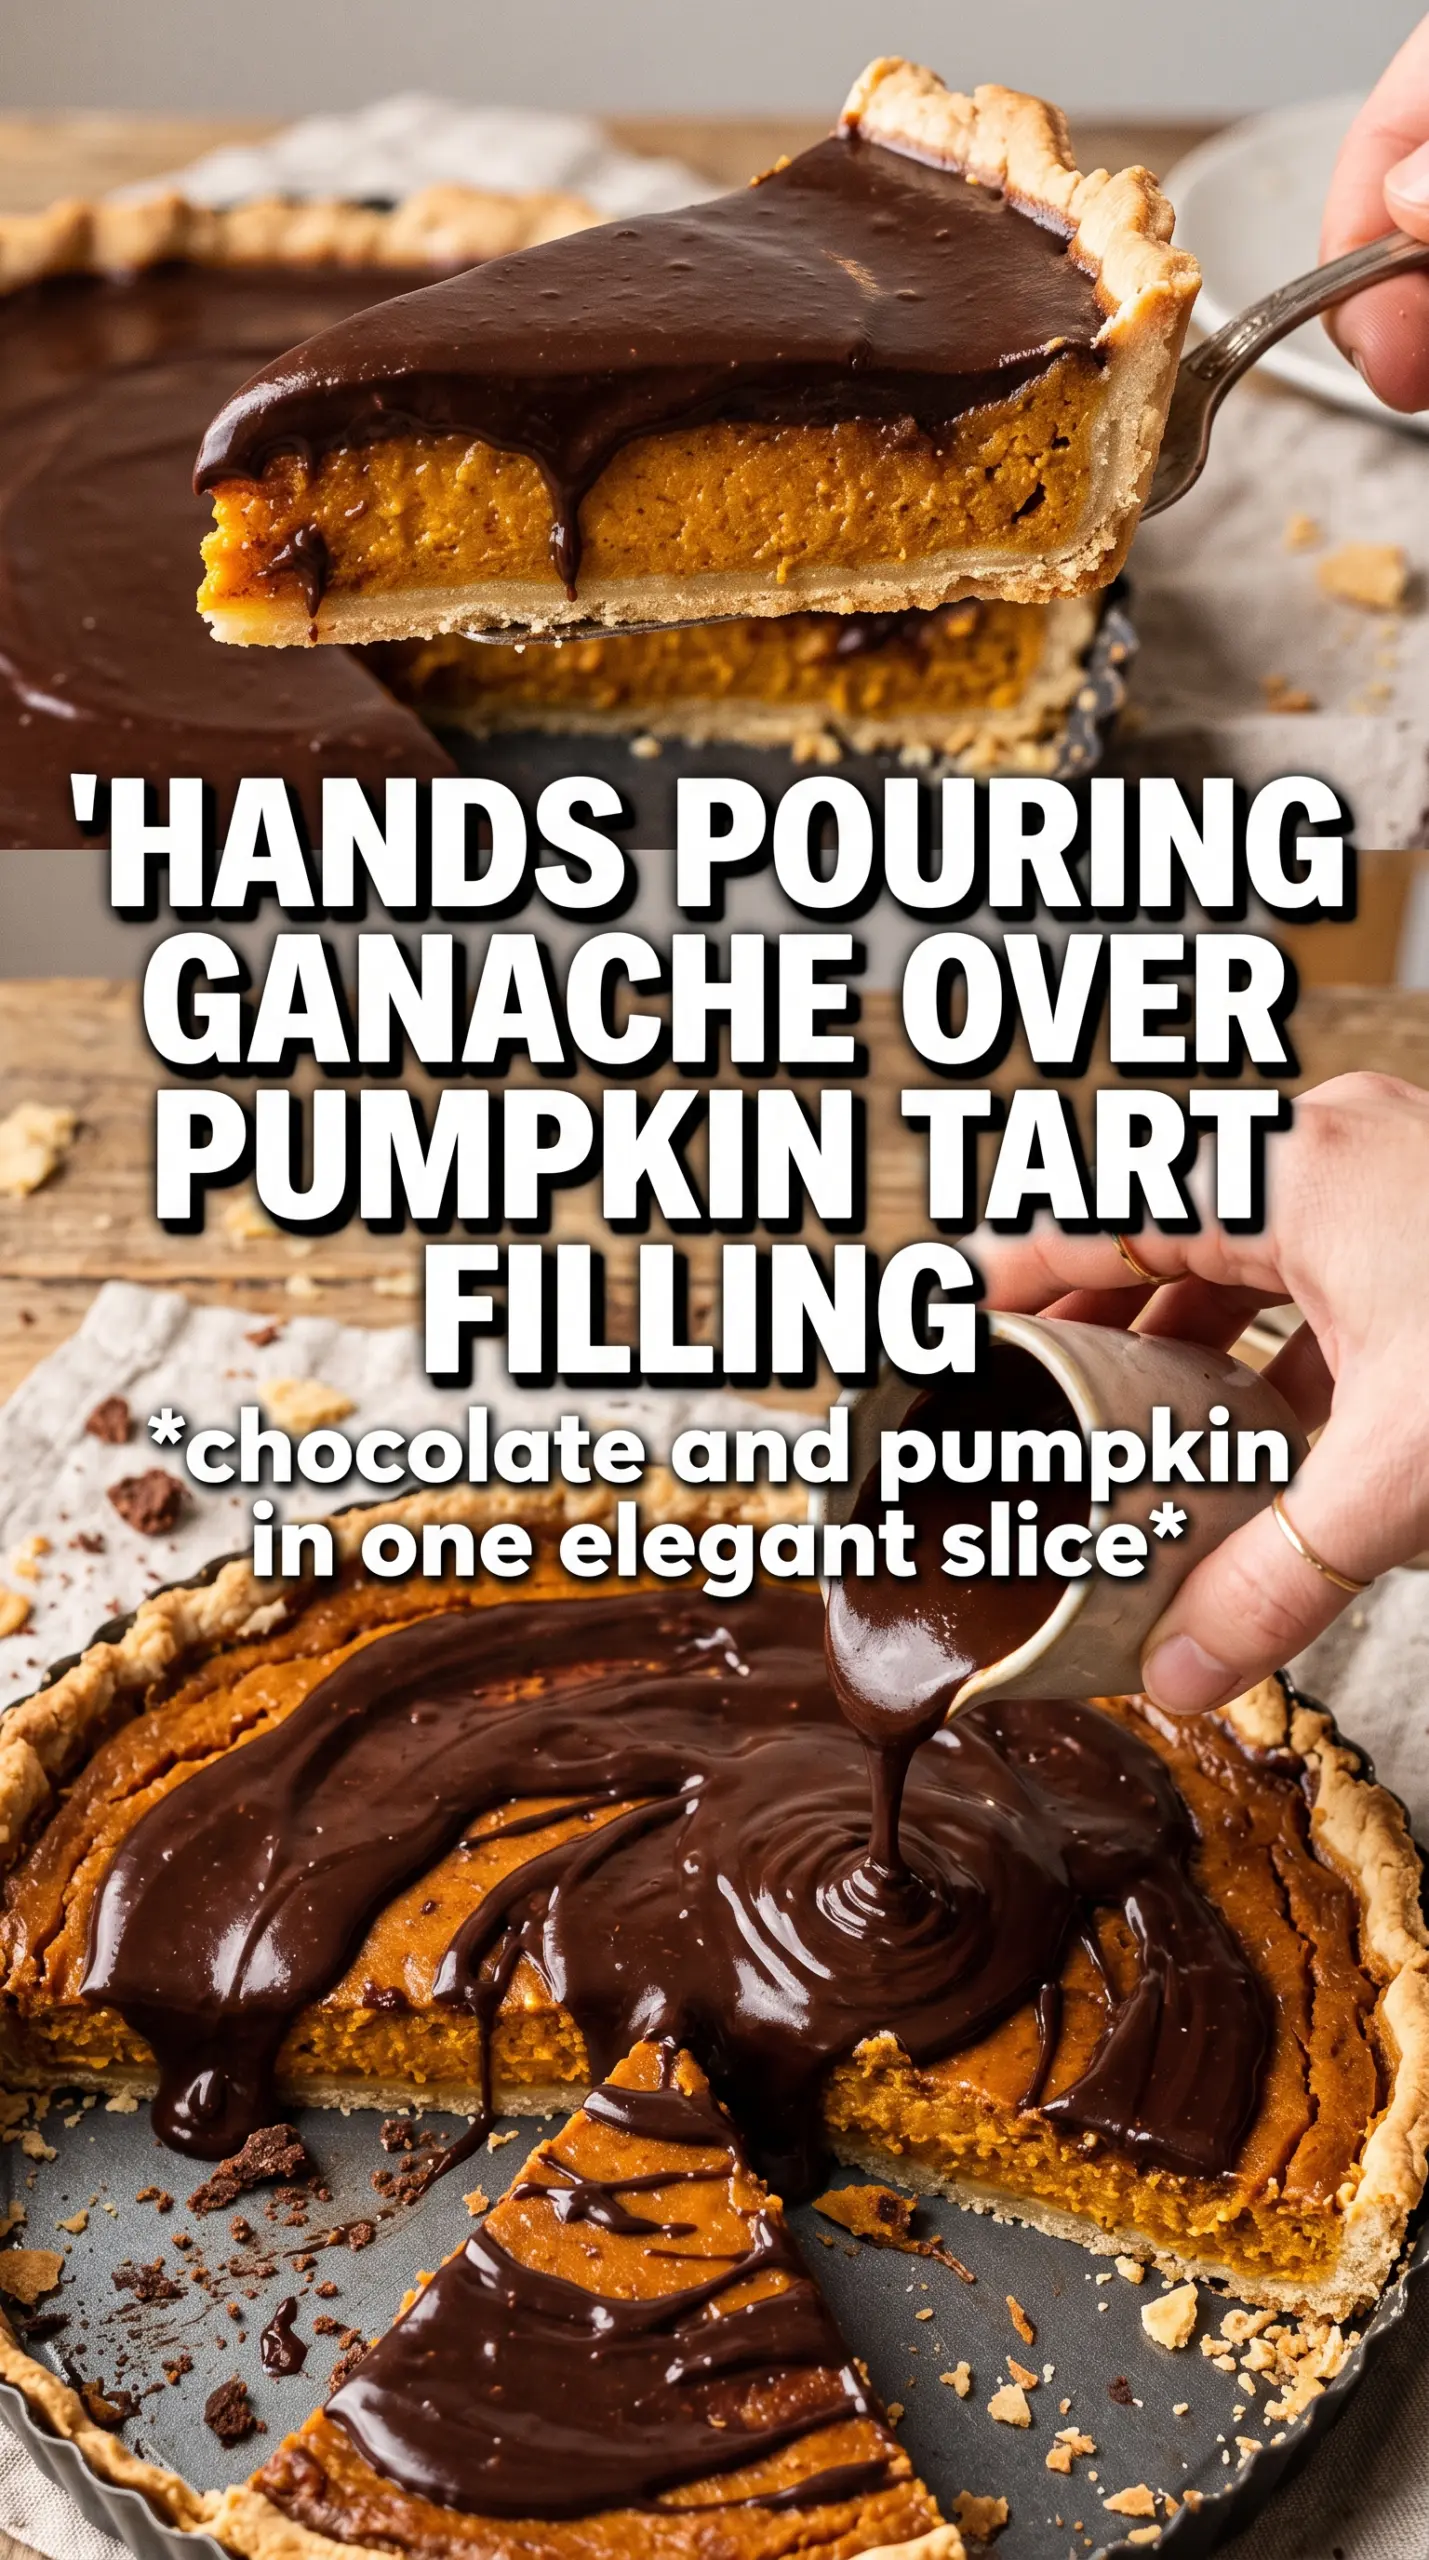
- Chocolate crumbs and butter — The crust needs enough butter to pack tightly and hold its shape, but not so much that it turns greasy. Press it firmly into the pan, especially up the sides, or it can crumble when sliced.
- Granulated sugar — A little sugar helps the crust bake into a firmer shell and gives it a more cookie-like snap. You can reduce it slightly if your chocolate crumbs are already very sweet.
- Maple syrup or brown sugar — Maple brings a round, woodsy note that works beautifully with pumpkin and dark chocolate. Brown sugar is the easier swap and gives a deeper caramel edge, though it reads a little less refined.
- Flaky sea salt and cocoa powder — Both are garnish, but they matter. Cocoa powder reinforces the chocolate flavor without adding sweetness, and the salt wakes up the whole tart right before serving.
Getting the Ganache and Pumpkin to Set in the Same Crust
Building the Chocolate Base
Start by baking the crust until it smells toasted and looks matte across the surface. That short bake sets the butter and keeps the base from tasting raw under the filling. Cool it completely before pouring in the ganache, because even a warm crust can soften the chocolate layer and make the tart harder to release cleanly.
Melting Without Scorching
Heat the cream and butter until you see small bubbles around the edge of the pan, then pull it off the heat. Pour it over the chopped chocolate and leave it alone for two minutes. If you stir too soon, the chocolate can clump; if you rush it with high heat, it can seize or separate.
Finishing the Filling
Stir the melted chocolate until it turns glossy, then mix in the pumpkin, maple syrup, spices, and vanilla. The filling should look thick enough to coat a spoon but still pour smoothly. If it looks loose, give it another minute of stirring — the pumpkin needs to fully emulsify with the chocolate before it goes into the crust.
Chilling for a Clean Slice
Pour the filling into the cooled crust and refrigerate until firm, at least four hours. Overnight is even better if you want neat slices with sharp edges. If you cut too soon, the center will slump and the crust may crack at the first slice.
Dark Chocolate Pumpkin Tart with an Oreo Crust
Oreo crumbs make the crust darker, sweeter, and a little more familiar in flavor. If you want a dessert that tastes like an upgraded cookies-and-cream pie shell, this is the version to make. Just watch the sugar elsewhere, because the crust already brings plenty of sweetness.
Less Sweet, More Chocolatey with Wafer Crumbs
Chocolate wafer crumbs give a cleaner, more grown-up crust with less sweetness and a firmer bite. This is the better choice if you want the pumpkin and dark chocolate to lead instead of the cookie flavor.
Dairy-Free Version
Use full-fat coconut cream in place of the heavy cream and a plant-based butter that melts smoothly. The tart will still set, though the flavor gets a faint coconut note and the filling may slice a touch softer than the original.
Gluten-Free Crust Swap
Use certified gluten-free chocolate sandwich cookies or gluten-free chocolate wafer crumbs. The filling doesn’t need any change, and this is one of the easiest ways to serve the tart to a mixed crowd without giving up the crisp crust.
Storage and Reheating
- Refrigerator: Keep covered for up to 4 days. The crust softens a little after the first day, but the filling stays smooth.
- Freezer: Freeze sliced or whole, wrapped tightly, for up to 1 month. Thaw in the refrigerator overnight; thawing at room temperature can cause condensation on the surface.
- Reheating: This tart is meant to be served cold or cool, not reheated. If it has been in the freezer, let it thaw fully in the fridge before slicing so the filling doesn’t crack or smear.
Questions I Get Asked About This Recipe
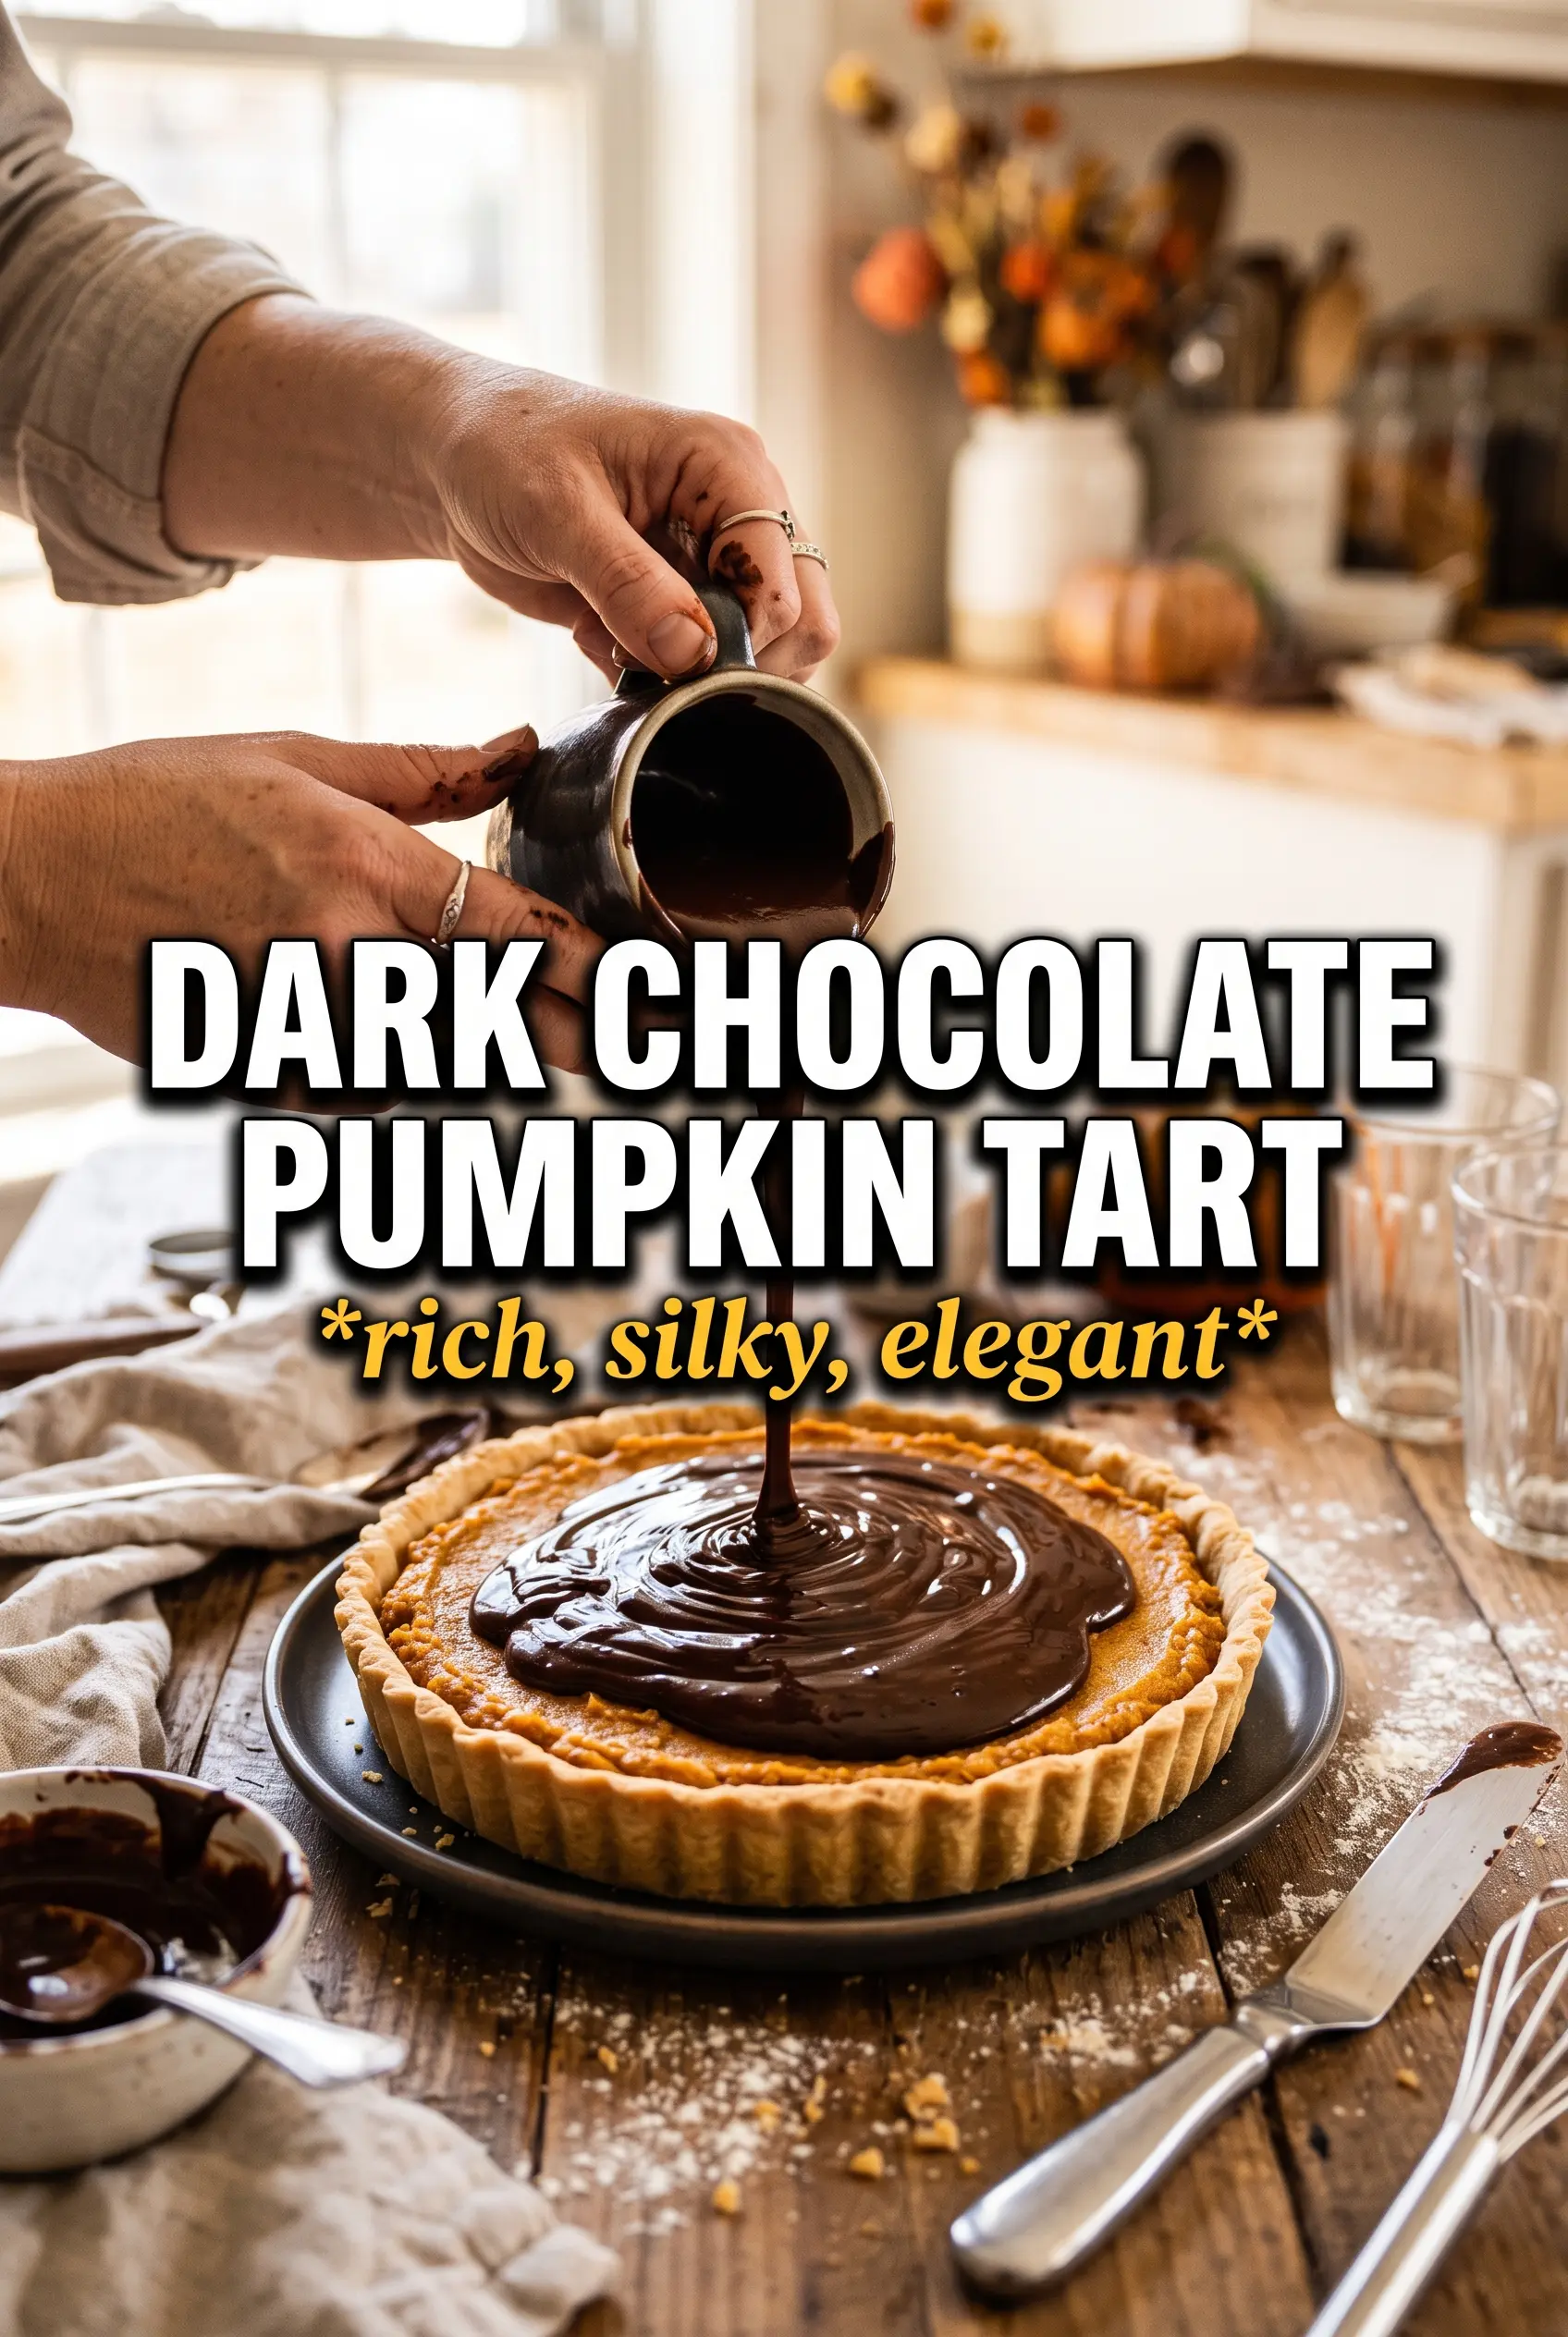
Dark Chocolate Pumpkin Tart
Ingredients
Equipment
Method
- Preheat the oven to 350F, and set a 9-inch tart pan with a removable bottom on a sheet pan for easy handling. Press the Oreo crumbs (or chocolate wafer crumbs) mixed with granulated sugar and melted unsalted butter firmly into the pan (use even pressure to compact the base).
- Bake the crust at 350F for 10 minutes, until set and lightly fragrant. Cool completely on the counter so the filling won’t melt the crust.
- In a saucepan, heat the heavy cream and unsalted butter until just simmering. Pour the hot mixture over the finely chopped dark chocolate.
- Rest for 2 minutes, then stir until smooth and glossy (the ganache should look uniform with no visible chocolate flecks).
- Stir in the pumpkin puree, maple syrup (or brown sugar), pumpkin pie spice, cinnamon, and vanilla until fully combined and silky.
- Pour the filling into the cooled crust and smooth the top. Refrigerate for 4 hours until set.
- Right before serving, dust with cocoa powder and sprinkle with flaky sea salt for contrast. Slice cleanly after chilling to keep the top glossy and the crust crisp.