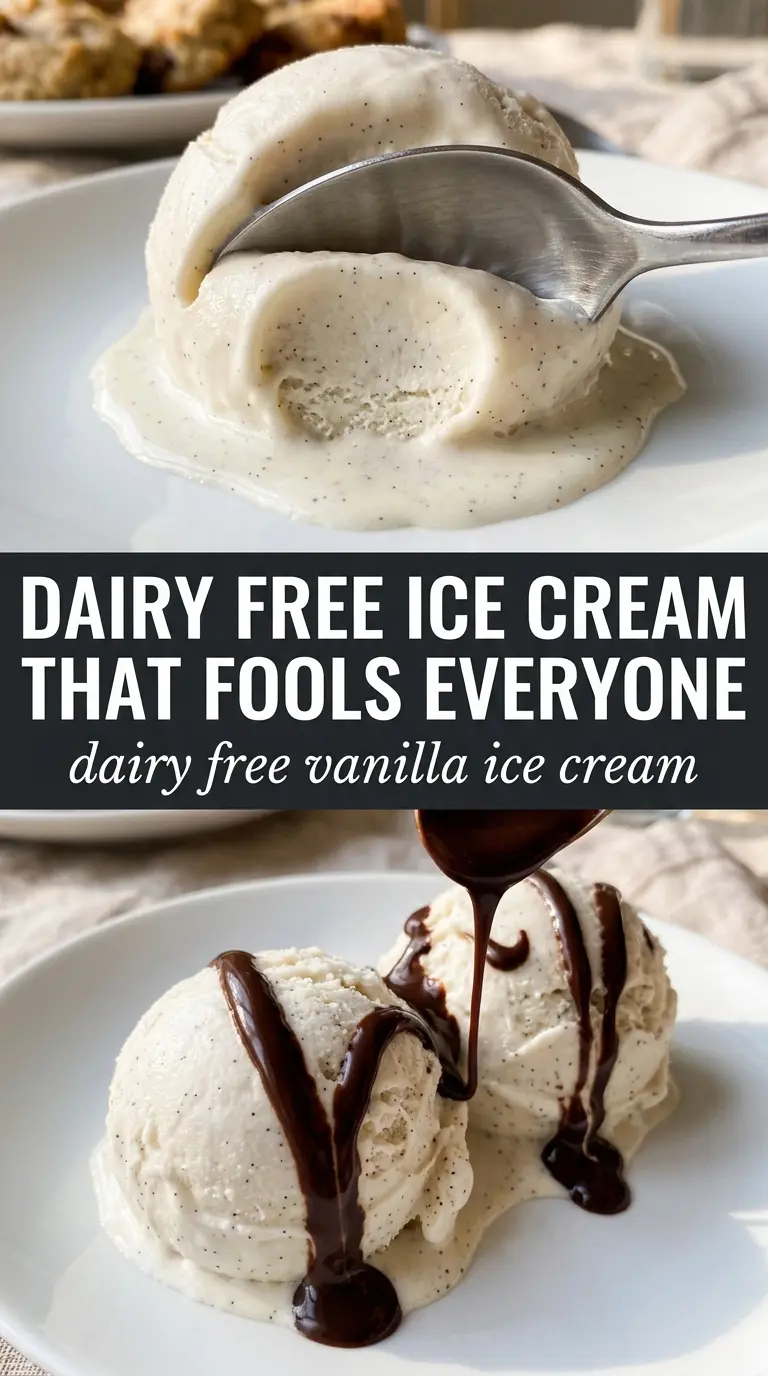
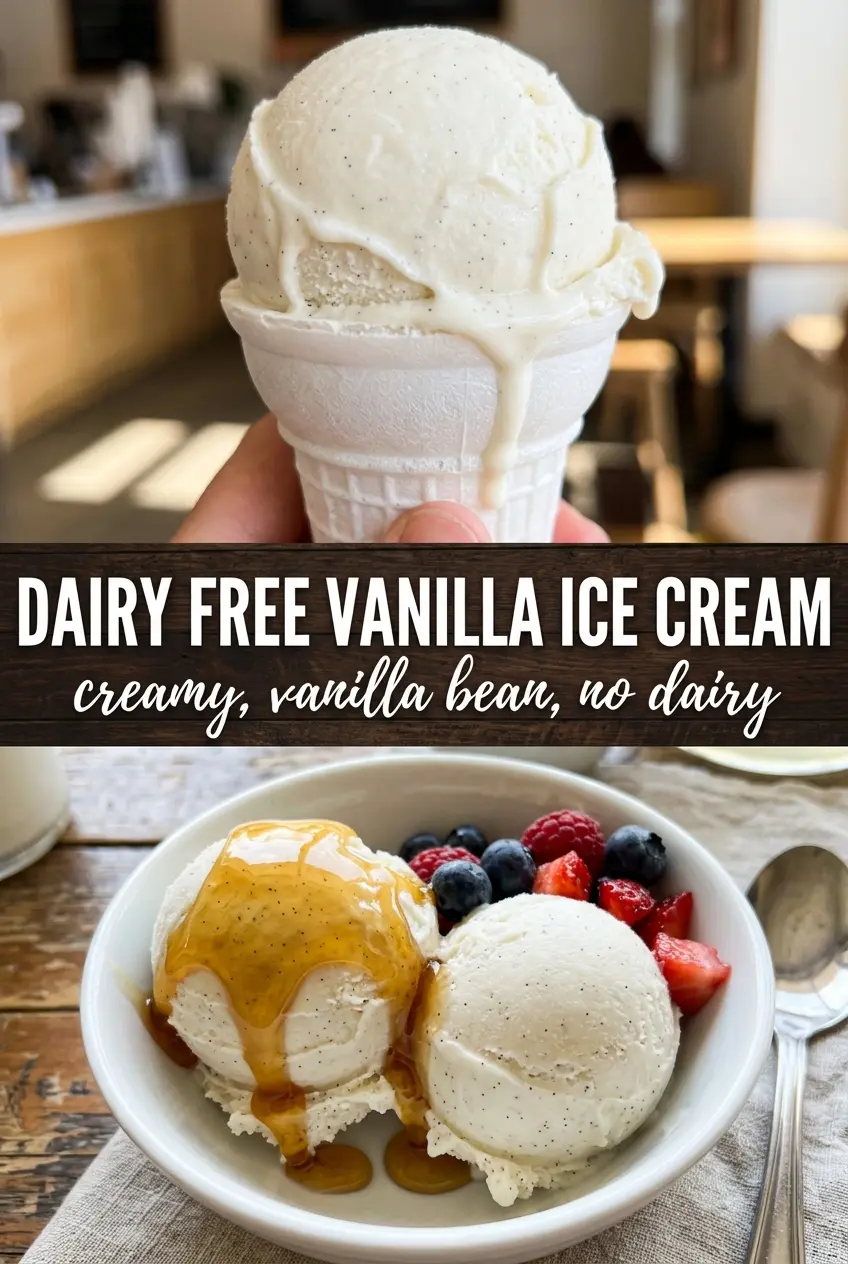
Silky dairy free vanilla ice cream doesn’t need dairy to taste rich, and this version proves it with a clean vanilla flavor and a scoop that holds its shape without turning icy. The texture is creamy enough for cones, sundaes, or straight-from-the-container spoonfuls, but it still melts in a soft, pleasant way instead of going waxy or heavy.
The key is full-fat coconut milk. Light coconut milk won’t give you the same body, and almond or oat milk alone usually freeze harder and thinner than you want. A small amount of starch helps the base thicken just enough before chilling, which gives the ice cream maker something more stable to work with. The coconut oil also matters; it nudges the texture toward that smooth, scoopable finish people expect from classic vanilla.
Below, I’m walking through the small details that keep the base from tasting coconut-forward and the freezing step from turning crumbly. If you’ve ever made non-dairy ice cream that came out too hard or a little grainy, the fixes here are the part worth paying attention to.
The base thickened just enough on the stove and churned into the creamiest dairy-free ice cream I’ve made. It scooped cleanly after freezing, and the vanilla flavor stayed bright instead of getting lost in the coconut.
Creamy, scoopable dairy free vanilla ice cream with a pure vanilla finish and no icy edges.
The One Step That Keeps Dairy-Free Ice Cream From Turning Icy
The biggest mistake with non-dairy ice cream is skipping the stove step or treating it like a cold stir-together base. That leaves the sugar under-dissolved and the starch underworked, which shows up later as a gritty texture or hard, brittle ice cream after freezing. Heating the mixture just until it thickens slightly gives the fat, sugar, and starch a chance to bind into a smoother base before it ever hits the machine.
You don’t want a full custard here. You want enough heat to dissolve the sugar and activate the starch without cooking the coconut milk into something heavy or split. The mixture should look glossy and just a touch thicker than when it went in. If it starts to boil hard, pull it back; aggressive heat can give you a cooked coconut taste and make the final texture less clean.
- Full-fat coconut milk — This is the backbone of the recipe. The fat gives the ice cream body and helps it freeze creamy instead of brittle. Shake the cans well before opening if they aren’t already uniform, and use the full-fat version only.
- Arrowroot or tapioca starch — A small amount thickens the base enough to help the texture after churning. Cornstarch can work in a pinch, but arrowroot and tapioca give a smoother finish and a cleaner flavor in frozen desserts.
- Maple syrup or granulated sugar — Sugar doesn’t just sweeten the base; it keeps the ice cream from freezing into a solid block. Maple syrup adds a faint caramel note, while granulated sugar keeps the vanilla flavor a little brighter.
- Coconut oil — This helps the final scoop feel richer and less icy. Don’t skip it unless you have to; that small amount of extra fat makes a noticeable difference once the ice cream has hardened in the freezer.
What Each Ingredient Is Actually Doing in This Ice Cream
- Base ingredient (cream, milk, or custard) — This provides the foundation and richness. Quality matters.
- Sweetener (sugar, honey, or condensed milk) — This sweetens and prevents ice crystals. The ratio is critical.
- Flavor element (vanilla, fruit, chocolate, or other) — This defines the ice cream personality. Use quality ingredients.
- Egg yolks (if making custard base) — These create richness and silky texture. Optional but elevates ice cream.
- Churning (if using ice cream maker) — This incorporates air and prevents ice crystals. Critical for smooth texture.
- Freezing temperature and time — Proper freezing prevents rock-hard texture. Store at 0°F or below.
- Mix-ins (chocolate, cookies, fruit, or swirls) — These add texture and prevent one-dimensional flavor. Add near end of churning.
- Serving temperature (slightly soft, not rock hard) — This provides creamy mouthfeel. Remove from freezer 5 minutes before serving.
How to Build the Base So It Churns Smoothly
Whisking the Cold Base
Start by whisking everything together in the saucepan before the heat goes on. That keeps the starch from clumping and helps the sugar dissolve more evenly once the mixture warms up. If you dump the starch in at the end, you’re much more likely to get tiny lumps that never fully disappear.
Heating Until It Just Thickens
Warm the mixture over medium heat and keep whisking. After about five minutes, it should thicken very slightly and look glossy, not pudgy or pudding-like. If the bottom of the pan starts steaming hard or the mixture bubbles rapidly, lower the heat; you’re looking for control, not a boil.
Chilling Before the Machine
Cooling the base completely is what keeps the churn from struggling and the texture from turning grainy. An ice bath speeds up the process, but the refrigerator chill matters too, because a cold base freezes with finer ice crystals. If the mixture goes into the ice cream maker warm, the machine has to work too hard and the result will be softer and less smooth.
Freezing to the Right Scoopable Point
Right after churning, the ice cream will be soft-serve texture. That’s normal. Transfer it to a lidded container and freeze until scoopable, about two hours, but watch it closely if your freezer runs cold. Wait too long and it can freeze extra firm; let it sit on the counter for a few minutes before scooping if that happens.
How to Adapt This Dairy Free Vanilla Ice Cream for Different Freezers and Diets
Use maple syrup for a softer, more scoopable freeze
Maple syrup adds a slight caramel note and keeps the ice cream a little softer in the freezer than plain sugar. That’s helpful if your freezer runs cold or you like a scoop that’s easy to serve straight from the container. The flavor is still vanilla-forward, but the sweetness tastes rounder.
Make it fully vegan with certified plant-based ingredients
This recipe is already dairy-free, and it’s naturally vegan as written if your sugar and vanilla are plant-based. That means no flavor change at all, just a clean, rich frozen dessert that works for vegan guests without any special extra steps.
Swap in oat milk only if you add more fat
Oat milk alone won’t give you the same lush texture as full-fat coconut milk, but you can use it in a pinch if you combine it with extra coconut oil or another fat source. The result will be lighter and less dense, with a softer vanilla flavor and a slightly more icy finish.
Storage and Reheating
- Refrigerator: The churned base should be chilled for at least 4 hours before freezing, but once it’s turned into ice cream it won’t keep in the refrigerator. It needs the freezer to hold its texture.
- Freezer: Store in a tightly sealed container for up to 2 weeks. It gets firmer over time, and the edges may frost slightly if the lid isn’t sealed well.
- Reheating: Not applicable. Let the container sit at room temperature for 5 to 10 minutes before scooping. Cutting into it too early can make the top look crumbly even when the texture underneath is fine.
Answers to the Questions Worth Asking
Dairy Free Vanilla Ice Cream
Ingredients
Equipment
Method
- Whisk the full-fat coconut milk, granulated sugar or maple syrup, arrowroot or tapioca starch, pure vanilla extract, salt, and coconut oil together in a saucepan until smooth and evenly combined.
- Heat over medium heat, whisking constantly, for 5 minutes until the sugar dissolves and the mixture thickens very slightly, looking glossy and pourable.
- Cool completely over an ice bath until the mixture feels cool to the touch, with no lingering warmth.
- Refrigerate for at least 4 hours, until very cold and ready to churn.
- Churn the chilled mixture in an ice cream maker according to the manufacturer’s instructions until it looks thickened and aerated like soft-serve.
- Freeze until scoopable for about 2 hours, until firm but still scoop-friendly with clean edges.