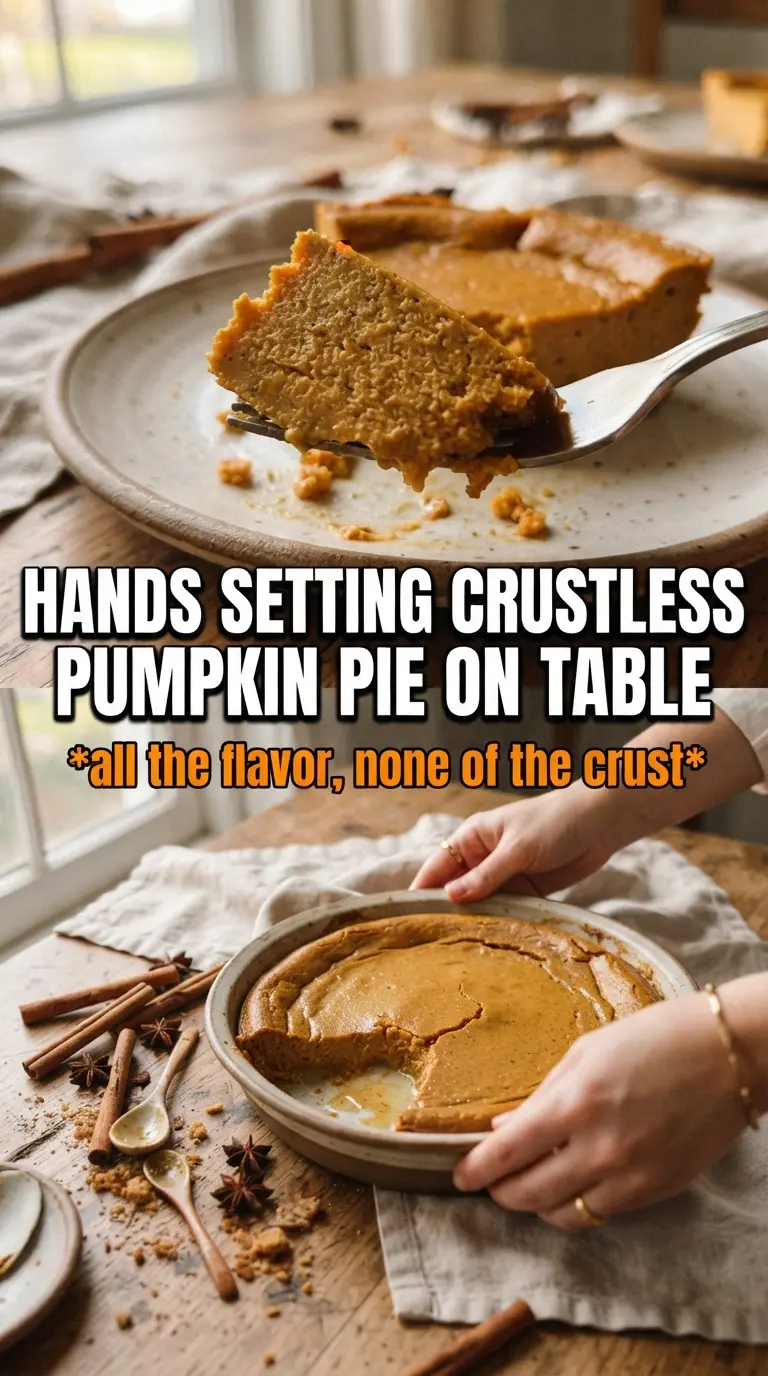
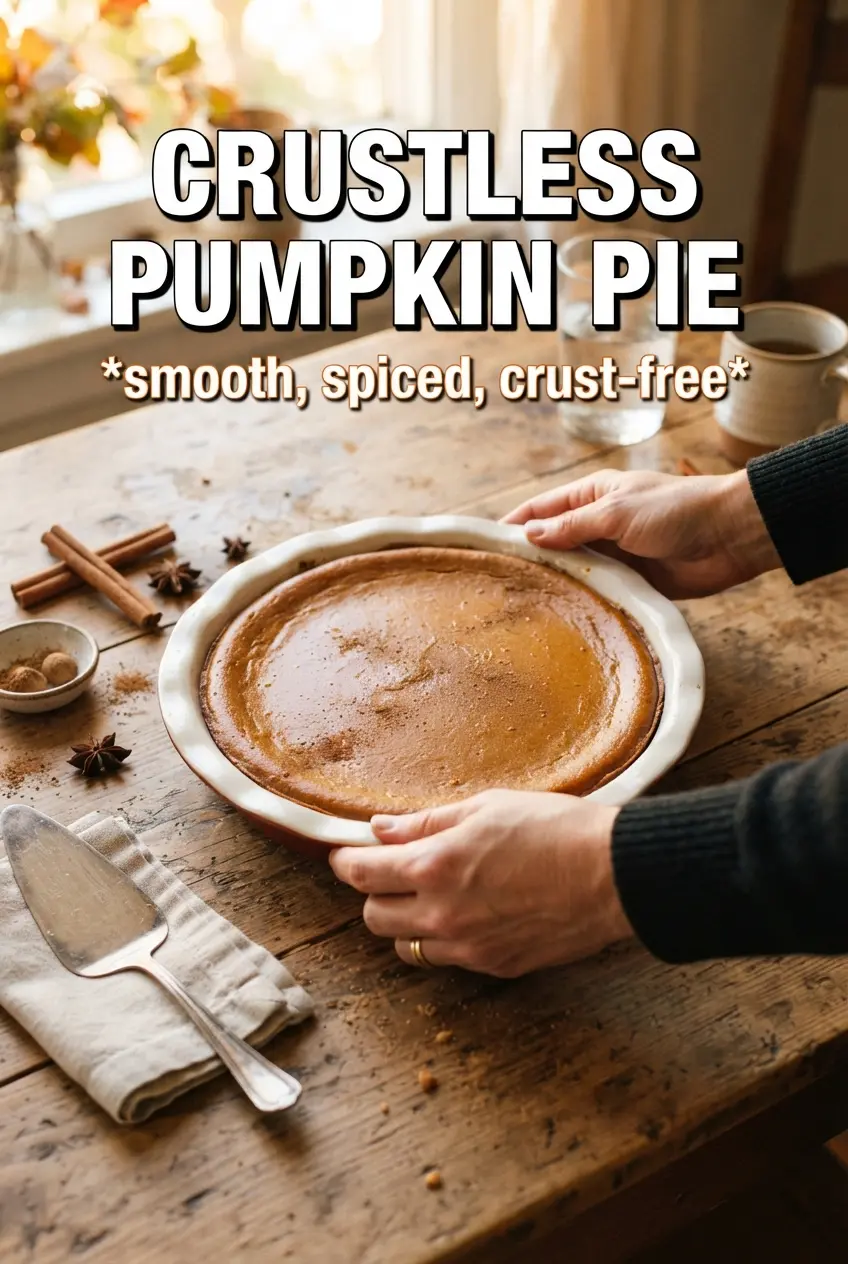
Crustless pumpkin pie bakes up with a silky, custard-like center, warm spice, and a lightly set top that slices cleanly once it’s fully chilled. Without the crust, every spoonful goes straight to the filling: smooth pumpkin, custardy richness, and just enough structure to hold its shape on the plate.
The trick is in the balance. Evaporated milk gives the filling that classic pie texture without making it heavy, while the eggs and a little flour or cornstarch help the custard set instead of turning loose or watery. The two-temperature bake matters too. That blast of high heat at the start helps the top set before the filling has a chance to slump, then the lower temperature finishes the center gently so it stays creamy instead of grainy.
Below, I’ve included the small details that matter most, from the spice blend to the exact doneness cue that keeps this pie from overbaking. If you’ve ever had pumpkin pie crack, weep, or come out soft in the middle, this version will help you avoid all of that.
The filling set up beautifully after chilling, and the texture was silky all the way through. I used the cornstarch option and it sliced perfectly with whipped cream on top.
Save this crustless pumpkin pie for the days when you want all the classic pumpkin pie flavor and none of the fuss of a crust.
The Part That Keeps Crustless Pumpkin Pie from Turning Soupy
The biggest mistake with crustless pumpkin pie is treating it like a quick custard and pulling it too early. Without a crust to prop up the sides, the filling needs that full bake plus a long cool-down to firm up. The center should still have a small jiggle when it comes out of the oven, but it should not look sloshy or ripple all the way to the edges.
That first 15 minutes at 425F matters more than it looks. It starts the setting process fast enough to keep the surface from sinking, then the lower heat finishes the filling without curdling the eggs. If you bake it all the way at one temperature, the edges tend to overcook before the middle is ready.
- Let it cool completely before refrigerating. If you rush this part, condensation can leave the top wet and soften the set.
- Use the jiggle test, not a knife test. A knife can make you overbake a pie that was already done, and overbaking is what gives pumpkin pie a dry, cracked top.
- Give it the full chilling time. The texture tightens in the fridge, not on the counter.
What the Pumpkin, Eggs, and Thickener Are Doing Here
- Pumpkin puree — Use plain pumpkin puree, not pumpkin pie filling. Pie filling already contains sugar and spices, which throws off the balance and can make the pie too sweet and loose.
- Evaporated milk — This gives the filling a rich, creamy body without making it dense. Regular milk works in a pinch, but the pie will taste lighter and can set a little less firmly.
- Eggs — They are the structure. If you cut back on them, the pie won’t slice cleanly.
- Flour or cornstarch — This is the crustless part’s insurance policy. Cornstarch gives a slightly cleaner, smoother set; flour works too, but it can taste a touch more old-fashioned and soft.
- Pumpkin pie spice plus cinnamon, ginger, cloves, and nutmeg — The blend matters because pumpkin itself is mild. If you only use cinnamon, the pie tastes flat.
- Vanilla — It rounds out the spices and keeps the filling from tasting one-note.
How to Get the Custard Set Without Overbaking It
Whisk Everything Until It’s Fully Smooth
Start by whisking the pumpkin, eggs, evaporated milk, sugar, spices, salt, vanilla, and thickener until the mixture looks completely even and glossy. Any streaks of egg white or clumps of spice will show up later as uneven texture. If you see a few tiny flour bits, keep whisking; those are the ones that can settle into gummy pockets.
Bake Hot First, Then Lower the Heat
Pour the filling into a well-buttered 9-inch pie dish and bake at 425F for 15 minutes. Then drop the oven to 350F and continue baking until the center has just the slightest wobble, usually 35 to 40 minutes more. If the edges start puffing high or the top begins to crack before the middle jiggles, the oven is running hot, and you should lean toward the shorter end of the bake.
Cool It Like a Custard, Not a Cake
Set the pie on a rack and let it cool all the way to room temperature before moving it to the fridge. This is where the texture finishes setting, and cutting early almost always leads to a soft center that looks underdone even when it isn’t. After two hours in the fridge, the slices should hold their shape and the filling should feel cool, dense, and silky.
How to Adjust This Pie for Different Tables
Make it gluten-free with cornstarch
Use cornstarch instead of flour and the filling stays just as set, with a slightly smoother finish. Flour works, but cornstarch gives a cleaner custard texture and keeps the pie naturally gluten-free.
Cut the sugar a little for a less sweet pie
You can reduce the sugar by a couple of tablespoons if you want the pumpkin and spice to come through more sharply. Go too far and the custard tastes flat, because sugar does more than sweeten here — it also softens the spice edge and supports the texture.
Swap the spice blend for a simpler version
If you only have pumpkin pie spice, use it and skip the separate cinnamon, ginger, cloves, and nutmeg measurements. If you want a brighter pie, keep the ginger a little stronger. That gives the filling more warmth without making it taste heavy.
Make it dairy-free with canned coconut milk
Full-fat coconut milk can stand in for evaporated milk, but the pie will taste a little more coconut-forward and slightly richer. Shake the can well before measuring so the fat and liquid are evenly combined, and expect a softer set than the original.
Storage and Reheating
- Refrigerator: Cover and chill for up to 4 days. The texture stays best on day one and two, then softens a little at the edges.
- Freezer: It freezes well. Wrap slices tightly and freeze for up to 1 month, then thaw overnight in the fridge. Whipped cream should be added after thawing, not before.
- Reheating: This pie is best served cold or cool. If you want it slightly warm, give an individual slice 10 to 15 seconds in the microwave. Longer than that and the custard can turn loose.
Answers to the Questions Worth Asking
Crustless Pumpkin Pie
Ingredients
Equipment
Method
- Preheat oven to 425F, then butter a 9-inch pie dish for easy release.
- Whisk pumpkin puree, eggs, evaporated milk, granulated sugar, pumpkin pie spice, cinnamon, ginger, cloves, nutmeg, salt, vanilla extract, and all-purpose flour or cornstarch until completely smooth.
- Pour the smooth filling into the buttered pie dish.
- Bake at 425F for 15 minutes, watching for a lightly set surface.
- Reduce oven temperature to 350F and bake 35-40 more minutes until the center is just barely jiggly.
- Cool completely at room temperature until the pie reaches a fully set, non-wobbly texture.
- Refrigerate for 2 hours to firm up for clean slices and a custard-like set.
- Serve each slice with whipped cream, piping around the edge if desired and dusting with cinnamon.