Crispy panko crusted chicken breasts deliver the kind of crunch that makes you pause after the first bite. The coating bakes into a deep golden bronze with a light, airy texture that stays crisp instead of turning heavy or greasy, and the chicken underneath stays juicy because it cooks fast at high heat on a rack. It’s the kind of weeknight dinner that looks like you spent a lot more time on it than you did.
The trick is in the layering. Flour gives the egg something to grip, the egg helps the panko cling, and pressing the crumbs on firmly keeps the crust from flaking off in the oven. Parmesan adds salt and a little extra browning, while a little oil on top is what helps that breadcrumb shell turn shatter-crisp instead of pale and dry.
Below, I’ve included the small details that matter most: how to keep the breading from sliding off, why the rack matters, and a few swaps that still give you a crunchy result.
The crust came out unbelievably crunchy and stayed on the chicken instead of falling off when I sliced it. I baked it on the rack exactly like you said and the bottom was just as crisp as the top.
Save these crispy panko crusted chicken breasts for the night you want a shatteringly crunchy coating without frying.
The Reason the Crust Stays Crunchy Instead of Going Limp
Panko behaves differently from standard breadcrumbs. The flakes are bigger and drier, which means they brown fast and stay airy instead of packing down into a dense shell. That’s why this chicken gets a noticeable crackle when you cut into it instead of the soft, sandy coating that so many baked breaded chicken recipes end up with.
The other piece that matters is airflow. A wire rack keeps the bottom from sitting in its own steam, and that steam is what turns breading soggy from underneath. If you skip the rack, the top might still look good, but the bottom will soften before the chicken finishes cooking through.
The oven has to be hot enough to set the crust quickly. At 425°F, the coating browns before the chicken dries out, which is the balance you want. Too low and the crumbs absorb moisture; too high and the outside burns before the center hits 165°F.
What Each Ingredient Is Doing in the Crunchiest Part
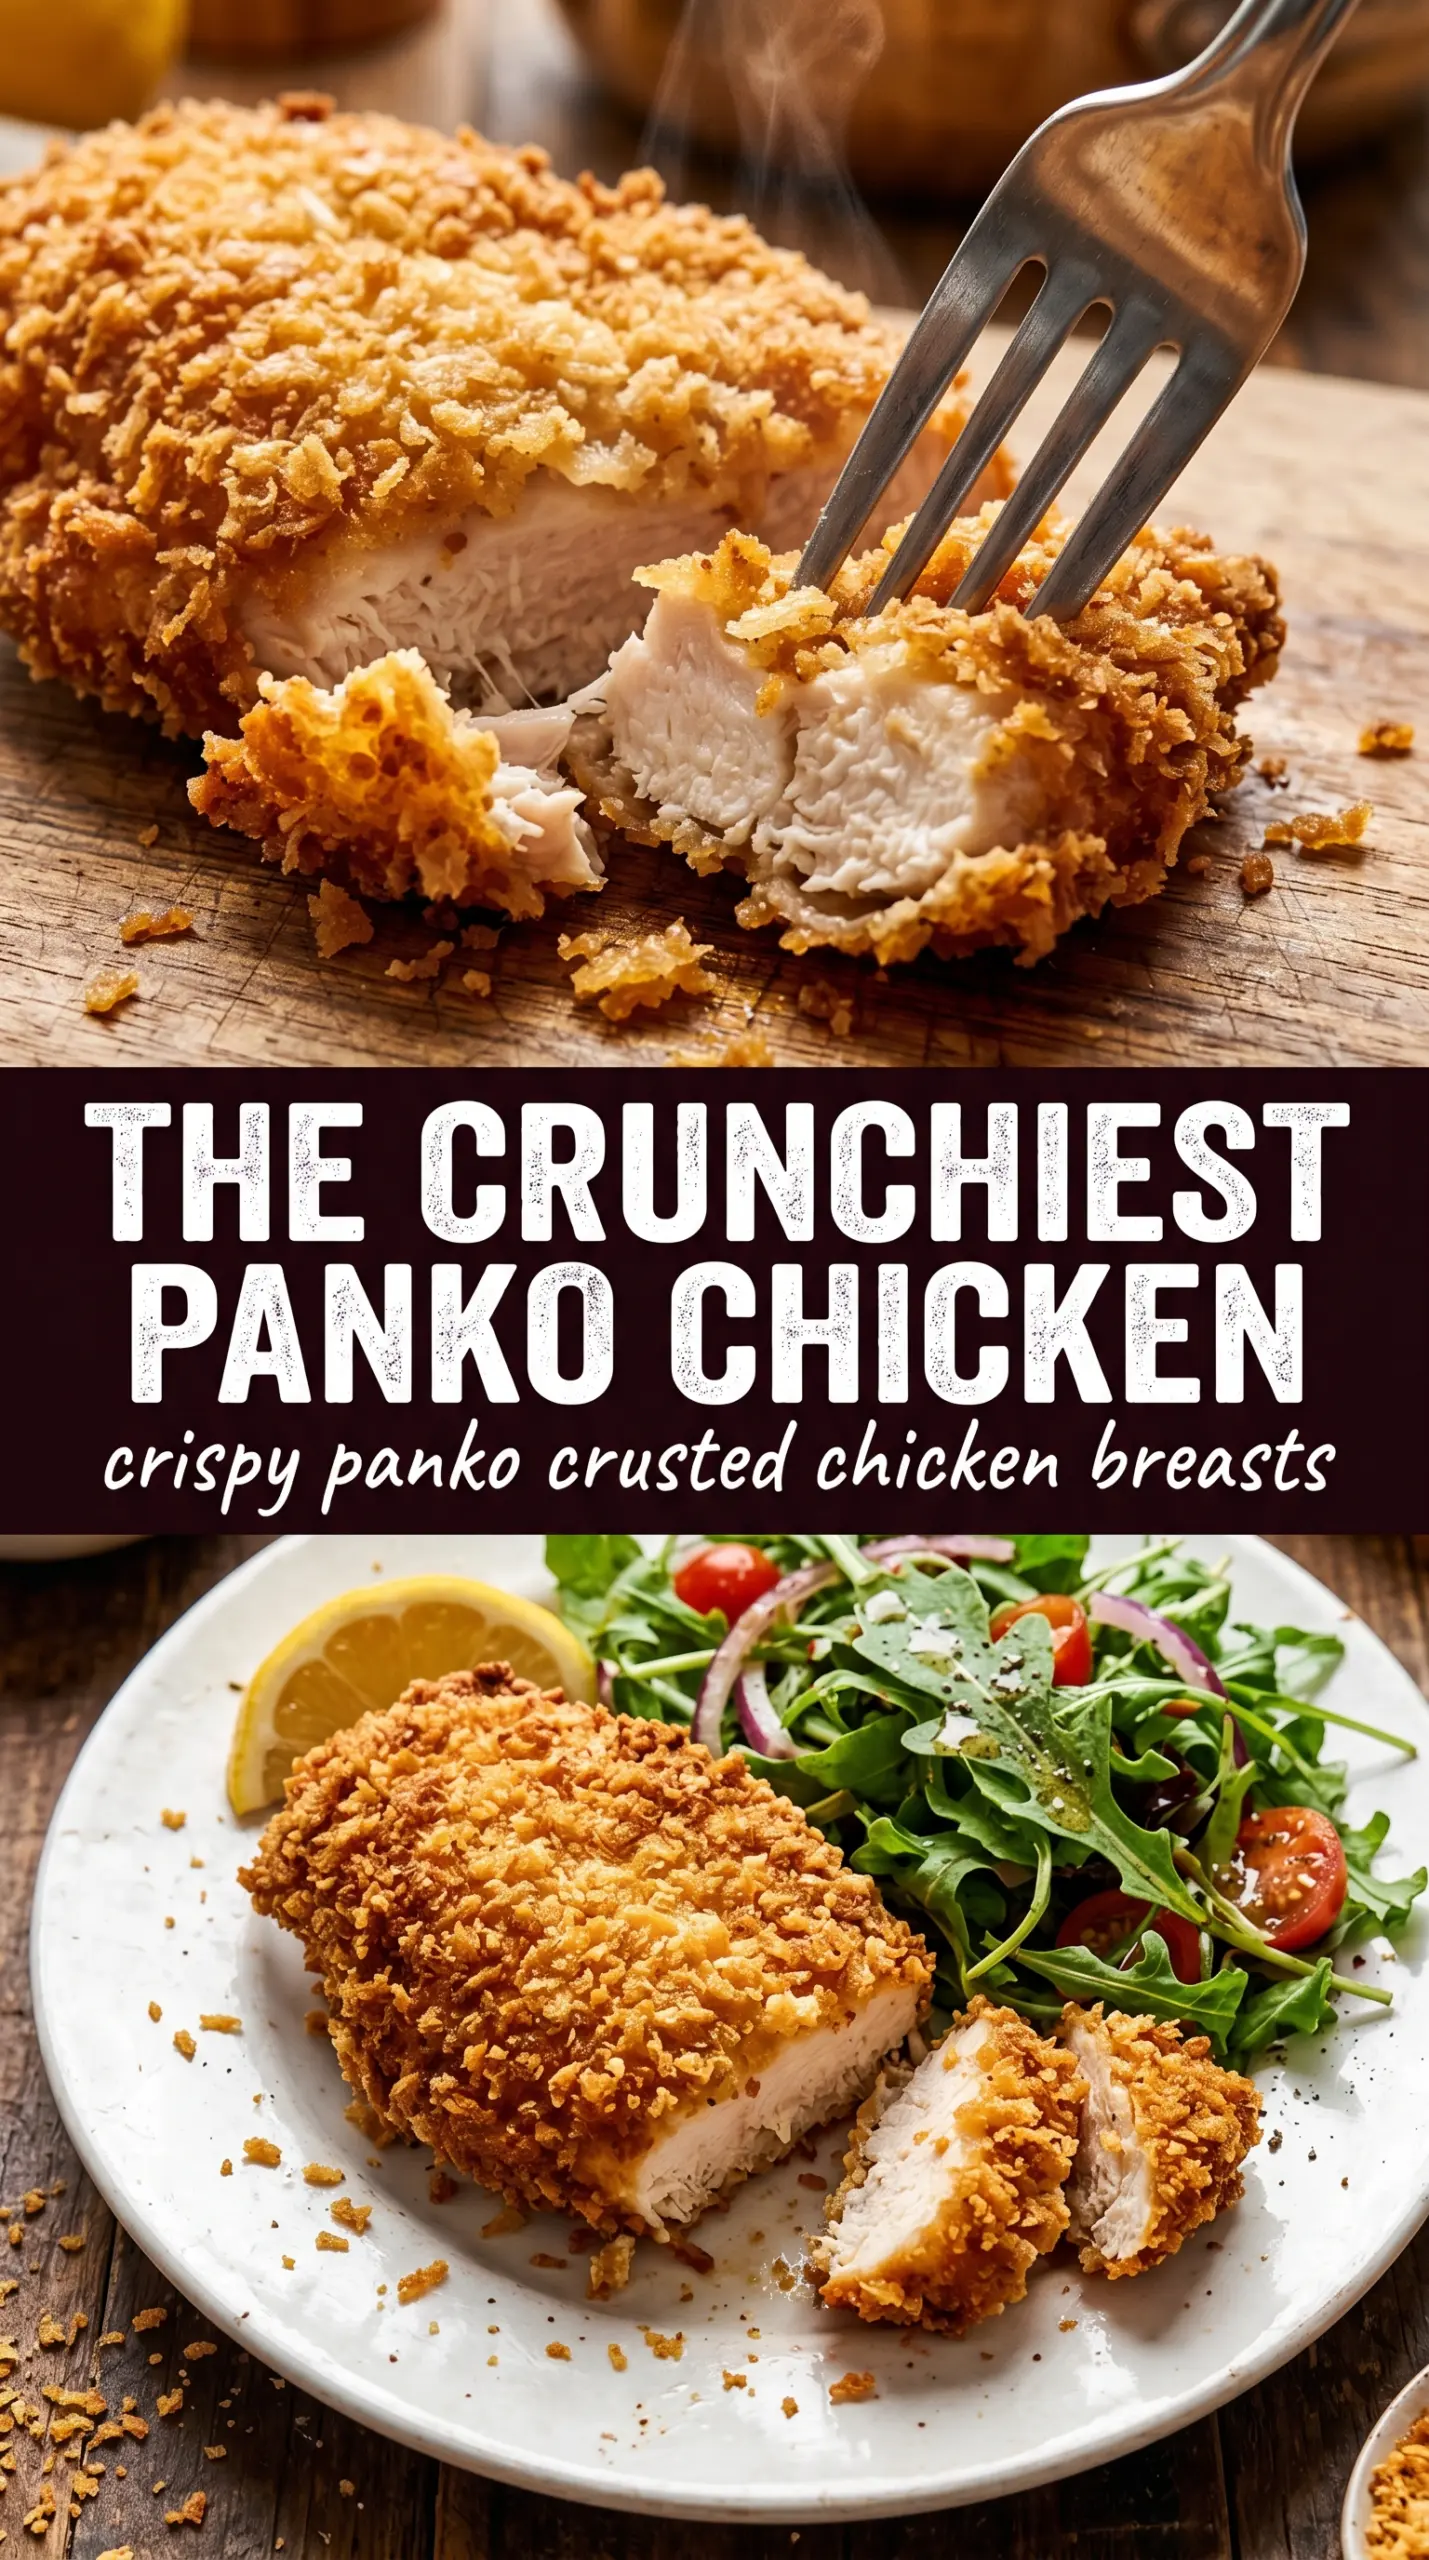
- Chicken breasts — Pounding them to an even thickness is what keeps the thinner ends from drying out while the thick center finishes. You want a cutlet-style shape, not a thick hump in the middle. If your breasts are huge, slice them horizontally first so the crust-to-chicken ratio stays balanced.
- Panko breadcrumbs — This is the ingredient that makes the crust shatter instead of soften. Regular breadcrumbs can work in a pinch, but they’ll give you a tighter, less dramatic crunch. For the best result, use plain panko, not seasoned, so you control the salt and herbs yourself.
- Parmesan — Parmesan helps the crust brown and adds a savory edge that keeps the coating from tasting flat. Use finely grated Parmesan, not big shreds, so it mixes evenly into the panko and doesn’t fall off the chicken in clumps.
- Olive oil or cooking spray — This is what turns the dry crumbs into a crisp, bronzed shell in the oven. If the top looks dusty and pale before baking, it won’t brown properly. A light, even coating is enough; drenching it only makes the breading patchy.
- Italian seasoning, garlic powder, and smoked paprika — These season the crust itself, which matters more than seasoning the chicken alone. The paprika adds color and a subtle smoky note, but don’t overdo it or it will fight the Parmesan. If you don’t have Italian seasoning, use a mix of dried oregano and basil.
Building the Breading So It Actually Stays On
Set Up the Stations in the Right Order
Arrange the flour, beaten eggs, and seasoned panko in separate shallow bowls before you touch the chicken. The order matters because flour dries the surface, egg creates the glue, and panko gives you the final crust. If the chicken is wet when it goes into the flour, the coating turns gummy and won’t hold evenly.
Press the Panko Instead of Just Dipping
After the egg, lay the chicken into the panko mixture and press it on firmly with your fingers. Don’t just flip and lift it out; that leaves a patchy crust that sheds in the oven. You want every part of the surface coated in a thick, even layer, especially the edges where the crust loves to break away first.
Bake on a Rack for Even Browning
Place the breaded chicken on a greased wire rack set over a baking sheet. The rack lets hot air move around the chicken, which helps the bottom crisp instead of steam. If you don’t have a rack, the chicken will still cook, but you’ll lose some of that clean crunch underneath.
Pull It at 165°F, Then Give It a Short Rest
Chicken breasts dry out fast once they go past 165°F, so check the temperature near the thickest part. The crust should be deep golden bronze and the juices should run clear. Let the chicken rest for 3 minutes before slicing so the juices settle back into the meat instead of spilling onto the plate.
How to Change the Coating Without Losing the Crunch
Gluten-Free Version
Use a gluten-free panko-style breadcrumb and keep the rest of the process the same. The texture stays light and crisp as long as the crumbs are coarse; fine gluten-free crumbs tend to bake up tighter and less crunchy. Check the seasoning on the breadcrumb blend, since some gluten-free mixes are less salty than standard panko.
Dairy-Free Version
Skip the Parmesan and add 2 to 3 tablespoons of nutritional yeast or an extra pinch of salt plus a little more garlic powder. You’ll lose the nutty edge Parmesan gives the crust, but the chicken will still brown well and stay crisp. Brush or spray the top with oil so the coating still develops color in the oven.
Extra-Herby Italian Style
Add a tablespoon of finely chopped parsley or a little dried oregano to the panko mixture for a more herb-forward crust. Keep the herbs dry and finely chopped so they don’t clump and fall off during baking. This version leans more savory and aromatic without changing the texture.
Storage and Reheating
- Refrigerator: Store leftovers in an airtight container for up to 3 days. The crust will soften in the fridge, but it still reheats well.
- Freezer: Freeze the cooked chicken on a baking sheet until solid, then wrap tightly and freeze for up to 2 months. The crust won’t be quite as crisp after thawing, but this is still a solid make-ahead option.
- Reheating: Reheat on a wire rack in a 375°F oven or air fryer until hot and crisp again. The mistake to avoid is the microwave, which turns the panko coating soft and steamy in minutes.
Answers to the Questions Worth Asking
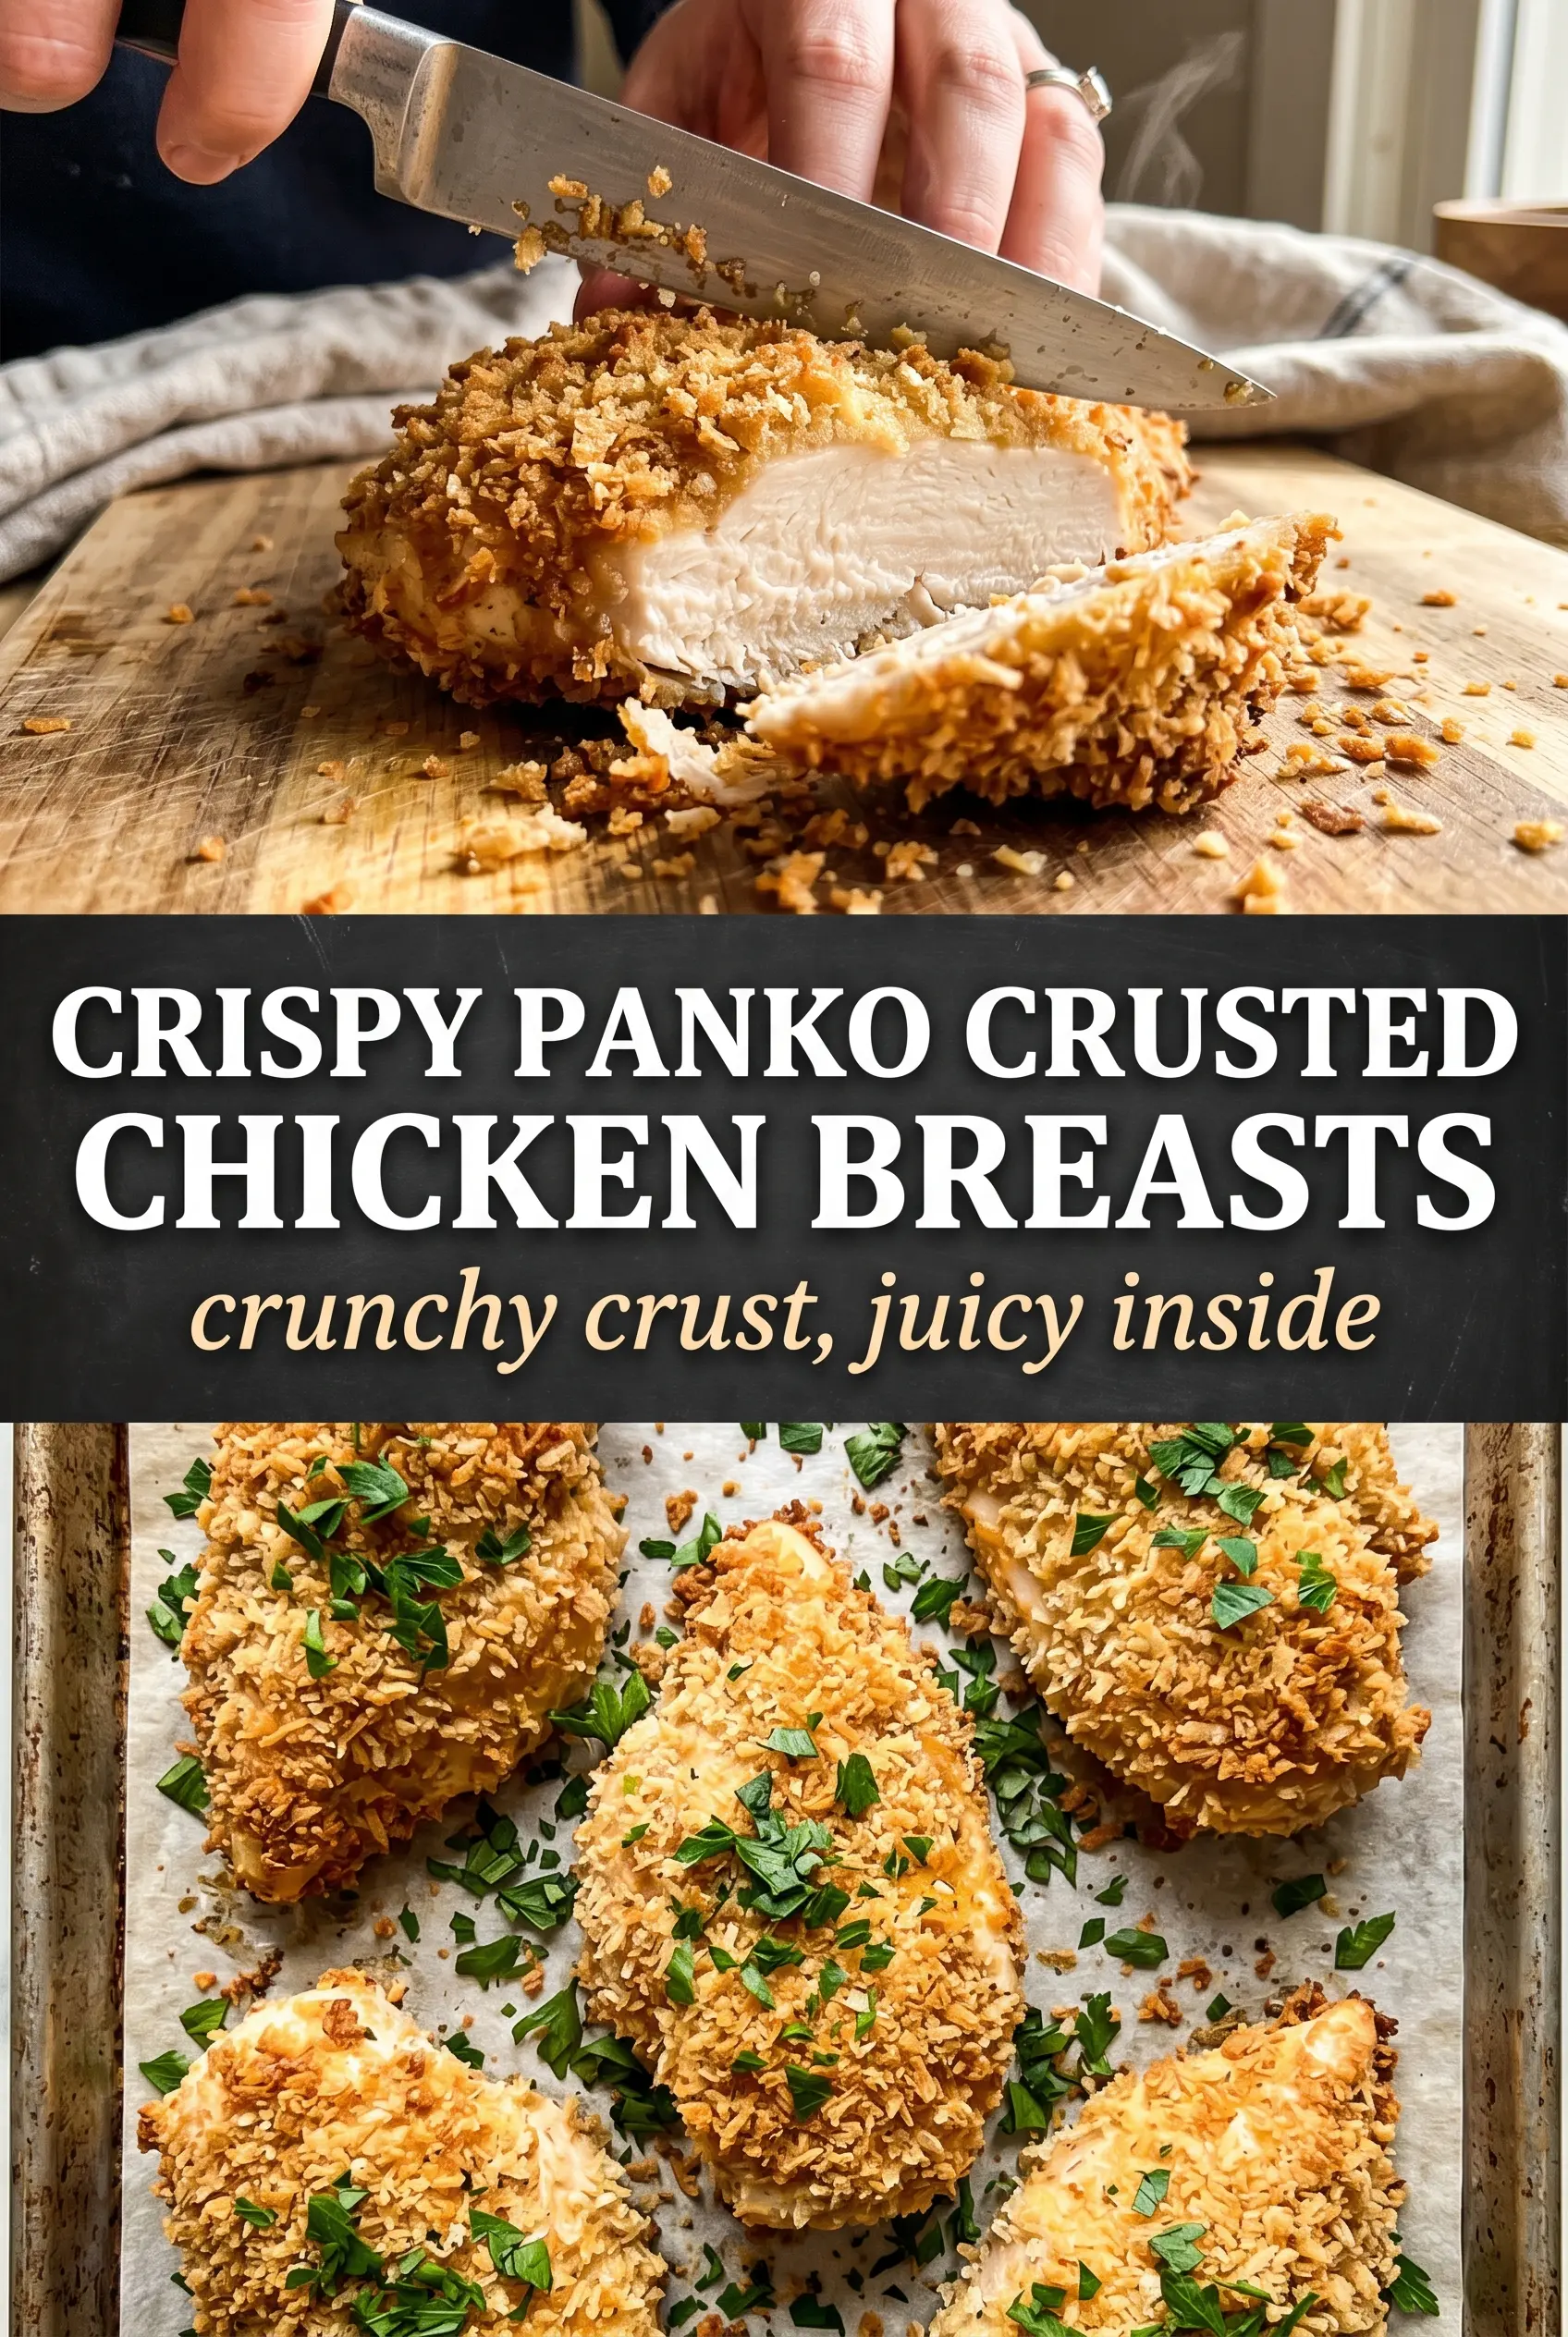
Crispy Panko Crusted Chicken Breasts
Ingredients
Equipment
Method
- Preheat oven to 425°F and line a baking sheet with a wire rack; spray the rack with cooking spray so the crust stays crisp.
- Season chicken breasts with salt, pepper, and garlic powder to taste, then set up breading stations with flour, beaten egg, and panko mixed with Parmesan, Italian seasoning, garlic powder, and smoked paprika.
- Dredge each chicken breast in flour, coating evenly so it sticks during the egg step.
- Dip the floured chicken into the beaten eggs, letting excess drip off so the crust won’t slide.
- Press the chicken firmly into the panko mixture on all sides for maximum crunch and a well-adhered coating.
- Drizzle or spray the breaded chicken with olive oil, then place on the prepared rack with space between pieces.
- Bake for 20-22 minutes at 425°F until the crust is deep golden brown and the internal temperature reaches 165°F.
- Rest the chicken 3 minutes, then garnish with fresh parsley and serve with lemon wedges.