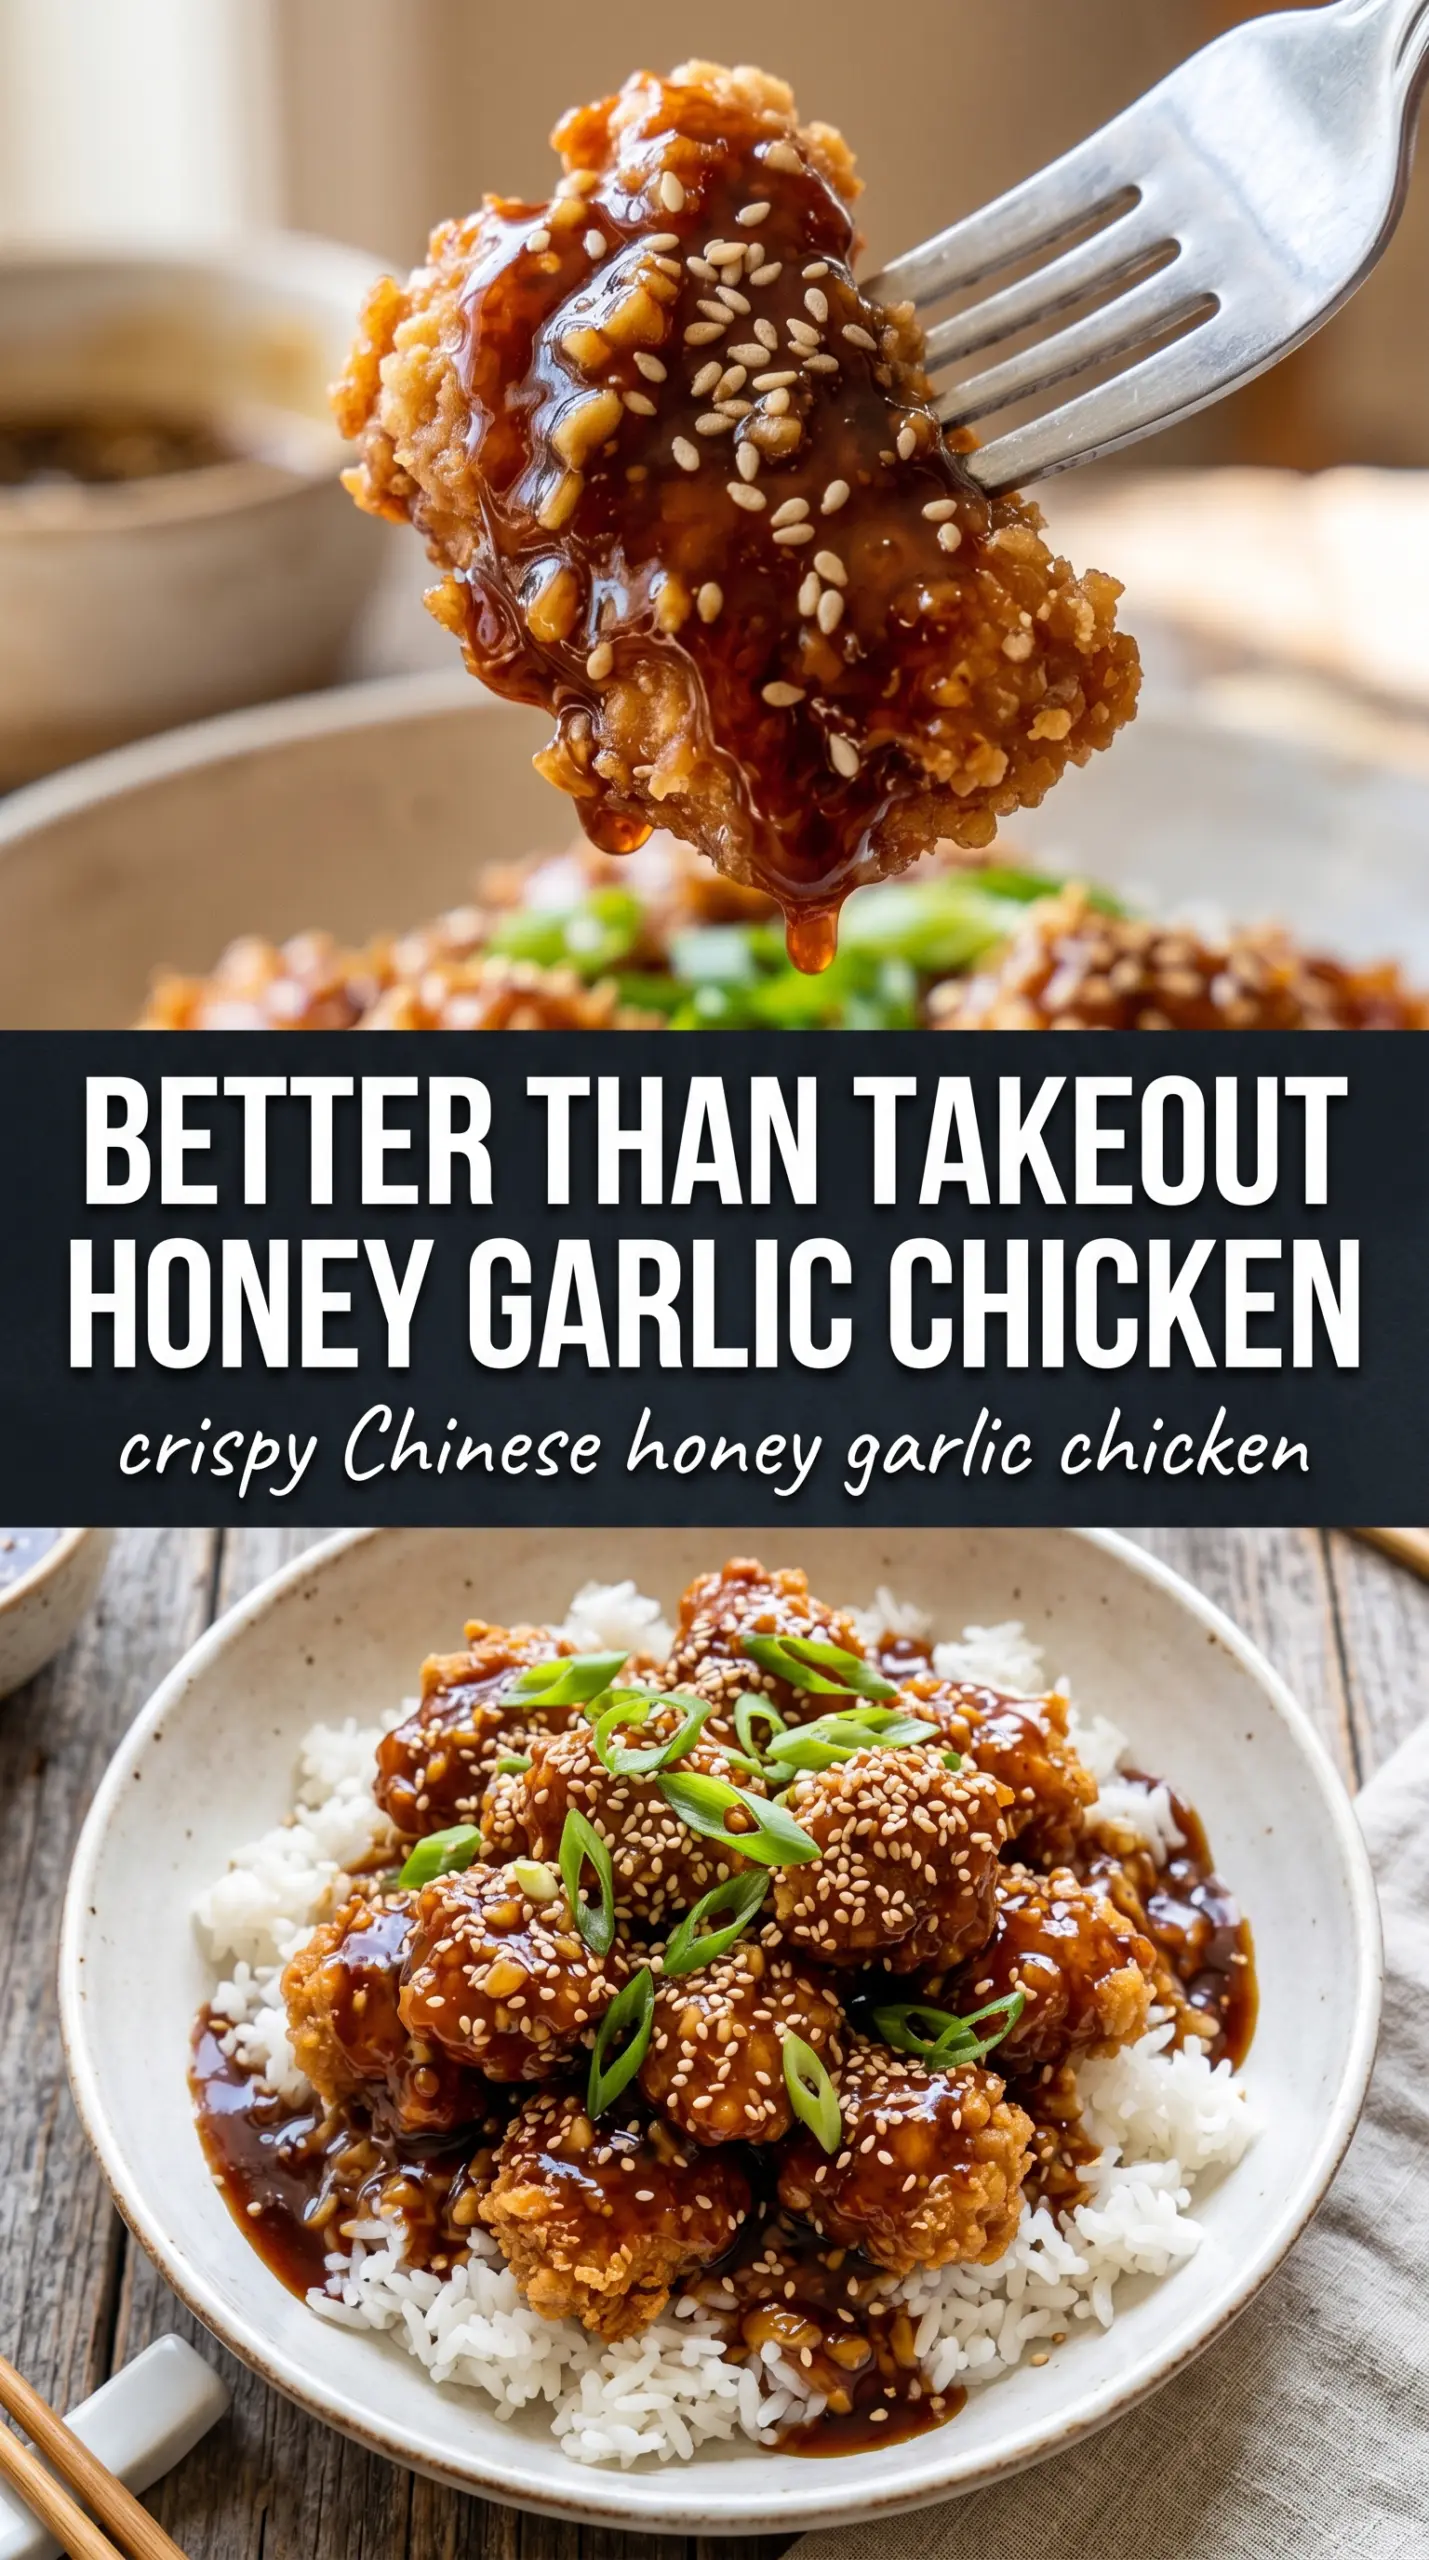
Shatteringly crisp chicken coated in a glossy honey garlic sauce is the kind of dinner that disappears fast, especially when the sauce clings in thick, sticky streaks instead of sliding off the crust. The best part is the contrast: a crunchy, golden shell on the outside and juicy chicken inside, with enough garlic and soy to keep the sweetness in check.
This version works because the coating is built for frying, not for looking good in a bowl and then turning soft ten minutes later. Cornstarch lightens the crust, flour gives it structure, and the egg helps the coating grab onto every piece. The sauce is cooked separately until it turns glossy and slightly syrupy, then the chicken gets tossed at the very end so the coating keeps as much crunch as possible.
Below, I’ve included the one sauce step that keeps it from tasting flat, plus a few swaps that help if you want to lighten it up or adapt it for what’s already in your kitchen.
The chicken stayed crisp even after I tossed it in the sauce, and that honey garlic glaze thickened up into this glossy coating instead of getting watery. My husband kept picking pieces straight out of the pan.
Like this crispy Chinese honey garlic chicken? Save it for the nights when you want a shatteringly crisp crust and a sticky amber glaze that tastes better than takeout.
The Trick to Keeping the Crust Crisp After the Sauce Goes On
The mistake most people make with honey garlic chicken is tossing the chicken into sauce that’s either too thin or still boiling hard. Thin sauce soaks into the coating and turns it soft. Aggressive heat over-reduces the honey and makes the garlic taste harsh instead of rounded and savory.
The fix is a sauce that simmers long enough to thicken, then comes off the heat before the sesame oil goes in. That final off-heat addition preserves the nutty aroma and keeps the sauce glossy instead of greasy. You also want to fry in batches so the oil temperature stays steady; crowded oil drops too fast, and the chicken comes out pale instead of crisp.
- Cornstarch — This is what gives the crust its crisp, brittle bite. Flour alone makes a heavier coating, while cornstarch helps the chicken fry up with those craggy edges that hold sauce better.
- Chicken thighs — Thighs stay juicy even after frying and tossing. Chicken breast works, but it goes from perfect to dry fast, so cut the pieces a little larger if you swap it in.
- White pepper — This adds the warm, slightly sharp background note you notice in takeout-style chicken. Black pepper will work in a pinch, but the flavor will read a little louder and less classic.
- Rice vinegar — That little hit of acid keeps the sauce from turning cloying. If you use apple cider vinegar, start with a smaller amount because the flavor is stronger and less clean.
What Each Ingredient Is Actually Doing in This Recipe
- Primary ingredient (the star) — Quality matters most. Choose the best you can find.
- Cooking medium (oil, butter, or broth) — This carries flavors and prevents dryness.
- Seasonings (salt, pepper, spices, herbs) — Layer flavors so nothing overpowers. Build depth gradually.
- Aromatics (garlic, onion, herbs) — Cook with fat to bloom flavors. Become the foundation.
- Supporting ingredients — Complement the main ingredient without overpowering it.
- Sauce or liquid (if applicable) — Brings flavors together. Balance richness with acid.
- Acid (lemon, vinegar, wine, or other) — Brightens and prevents flat-tasting results.
- Final finish (garnish, glaze, or sauce) — Prevents one-dimensional taste and adds visual appeal.
Frying the Chicken and Building the Honey Garlic Glaze
Coating the Chicken for Maximum Crunch
Whisk the dry coating well so the cornstarch and flour are evenly distributed, then dip each piece of chicken in egg before dredging it thoroughly. Press the coating on instead of just dropping the chicken through it; that extra contact helps the crust form those rough, crispy edges. If the coating looks pasty or clumpy, it’s too wet, and the fried chicken will come out bumpy rather than crisp. Let the coated pieces sit briefly while the oil heats so the coating hydrates just enough to cling.
Frying in Batches Without Dropping the Oil Temperature
Heat the oil to 375°F and keep an eye on the temperature between batches. When the chicken hits the oil, you should hear an immediate, steady sizzle, not a weak hiss. Fry until the pieces are deep golden and the bubbling starts to calm down, which usually takes 5 to 6 minutes depending on size. If the oil is too cool, the coating absorbs grease; if it’s too hot, the outside browns before the inside cooks through.
Thickening the Sauce to a Glossy Finish
Cook the garlic briefly in the sauce until it smells fragrant, then add the slurry and simmer just until the mixture turns shiny and coats a spoon. The sauce should look thick enough to leave a line when you drag a spoon through the pan. If it gets too thick, add a splash of water; if it stays loose, it hasn’t cooked long enough for the cornstarch to activate fully. Stir in the sesame oil off the heat so the final glaze stays smooth and aromatic instead of muddy.
Tossing Without Losing the Crunch
Add the fried chicken to the sauce and toss fast, just until every piece is coated. Don’t let the chicken sit in the pan of sauce, because even a perfect crust softens once it soaks too long. The goal is a lacquered finish, not a braise. Serve it right away over rice so the bottom stays crisp where the sauce hits and the top keeps that glossy shine.
How to Adjust This Chicken for What’s in Your Kitchen
Oven-Baked Instead of Fried
Bake the coated chicken on a well-oiled sheet pan at high heat until deeply golden, then toss it in the sauce right before serving. You won’t get the same shatteringly crisp shell, but you’ll get a lighter version that still holds onto the glaze if you keep the coating dry and don’t overcrowd the pan.
Gluten-Free Version
Swap the all-purpose flour for a gluten-free blend and use tamari instead of soy sauce. The texture stays close to the original because cornstarch still does most of the crisping, and the sauce keeps the same sticky finish without the wheat.
Lower-Sugar Honey Garlic Chicken
Cut the honey slightly and add a little extra vinegar to keep the sauce balanced. The glaze will be a touch less sticky and a little more savory, but it still coats the chicken well if you simmer it until it noticeably thickens.
Storage and Reheating
- Refrigerator: Store leftovers for up to 3 days. The coating softens in the fridge, but the flavor stays good.
- Freezer: The fried chicken freezes best before saucing. Freeze the cooked chicken pieces on a tray, then bag them and make the sauce fresh when you’re ready to serve.
- Reheating: Reheat the chicken on a rack in a hot oven or air fryer until the outside crisps back up, then toss with warmed sauce. Microwaving makes the coating rubbery and turns the glaze loose.
Answers to the Questions Worth Asking
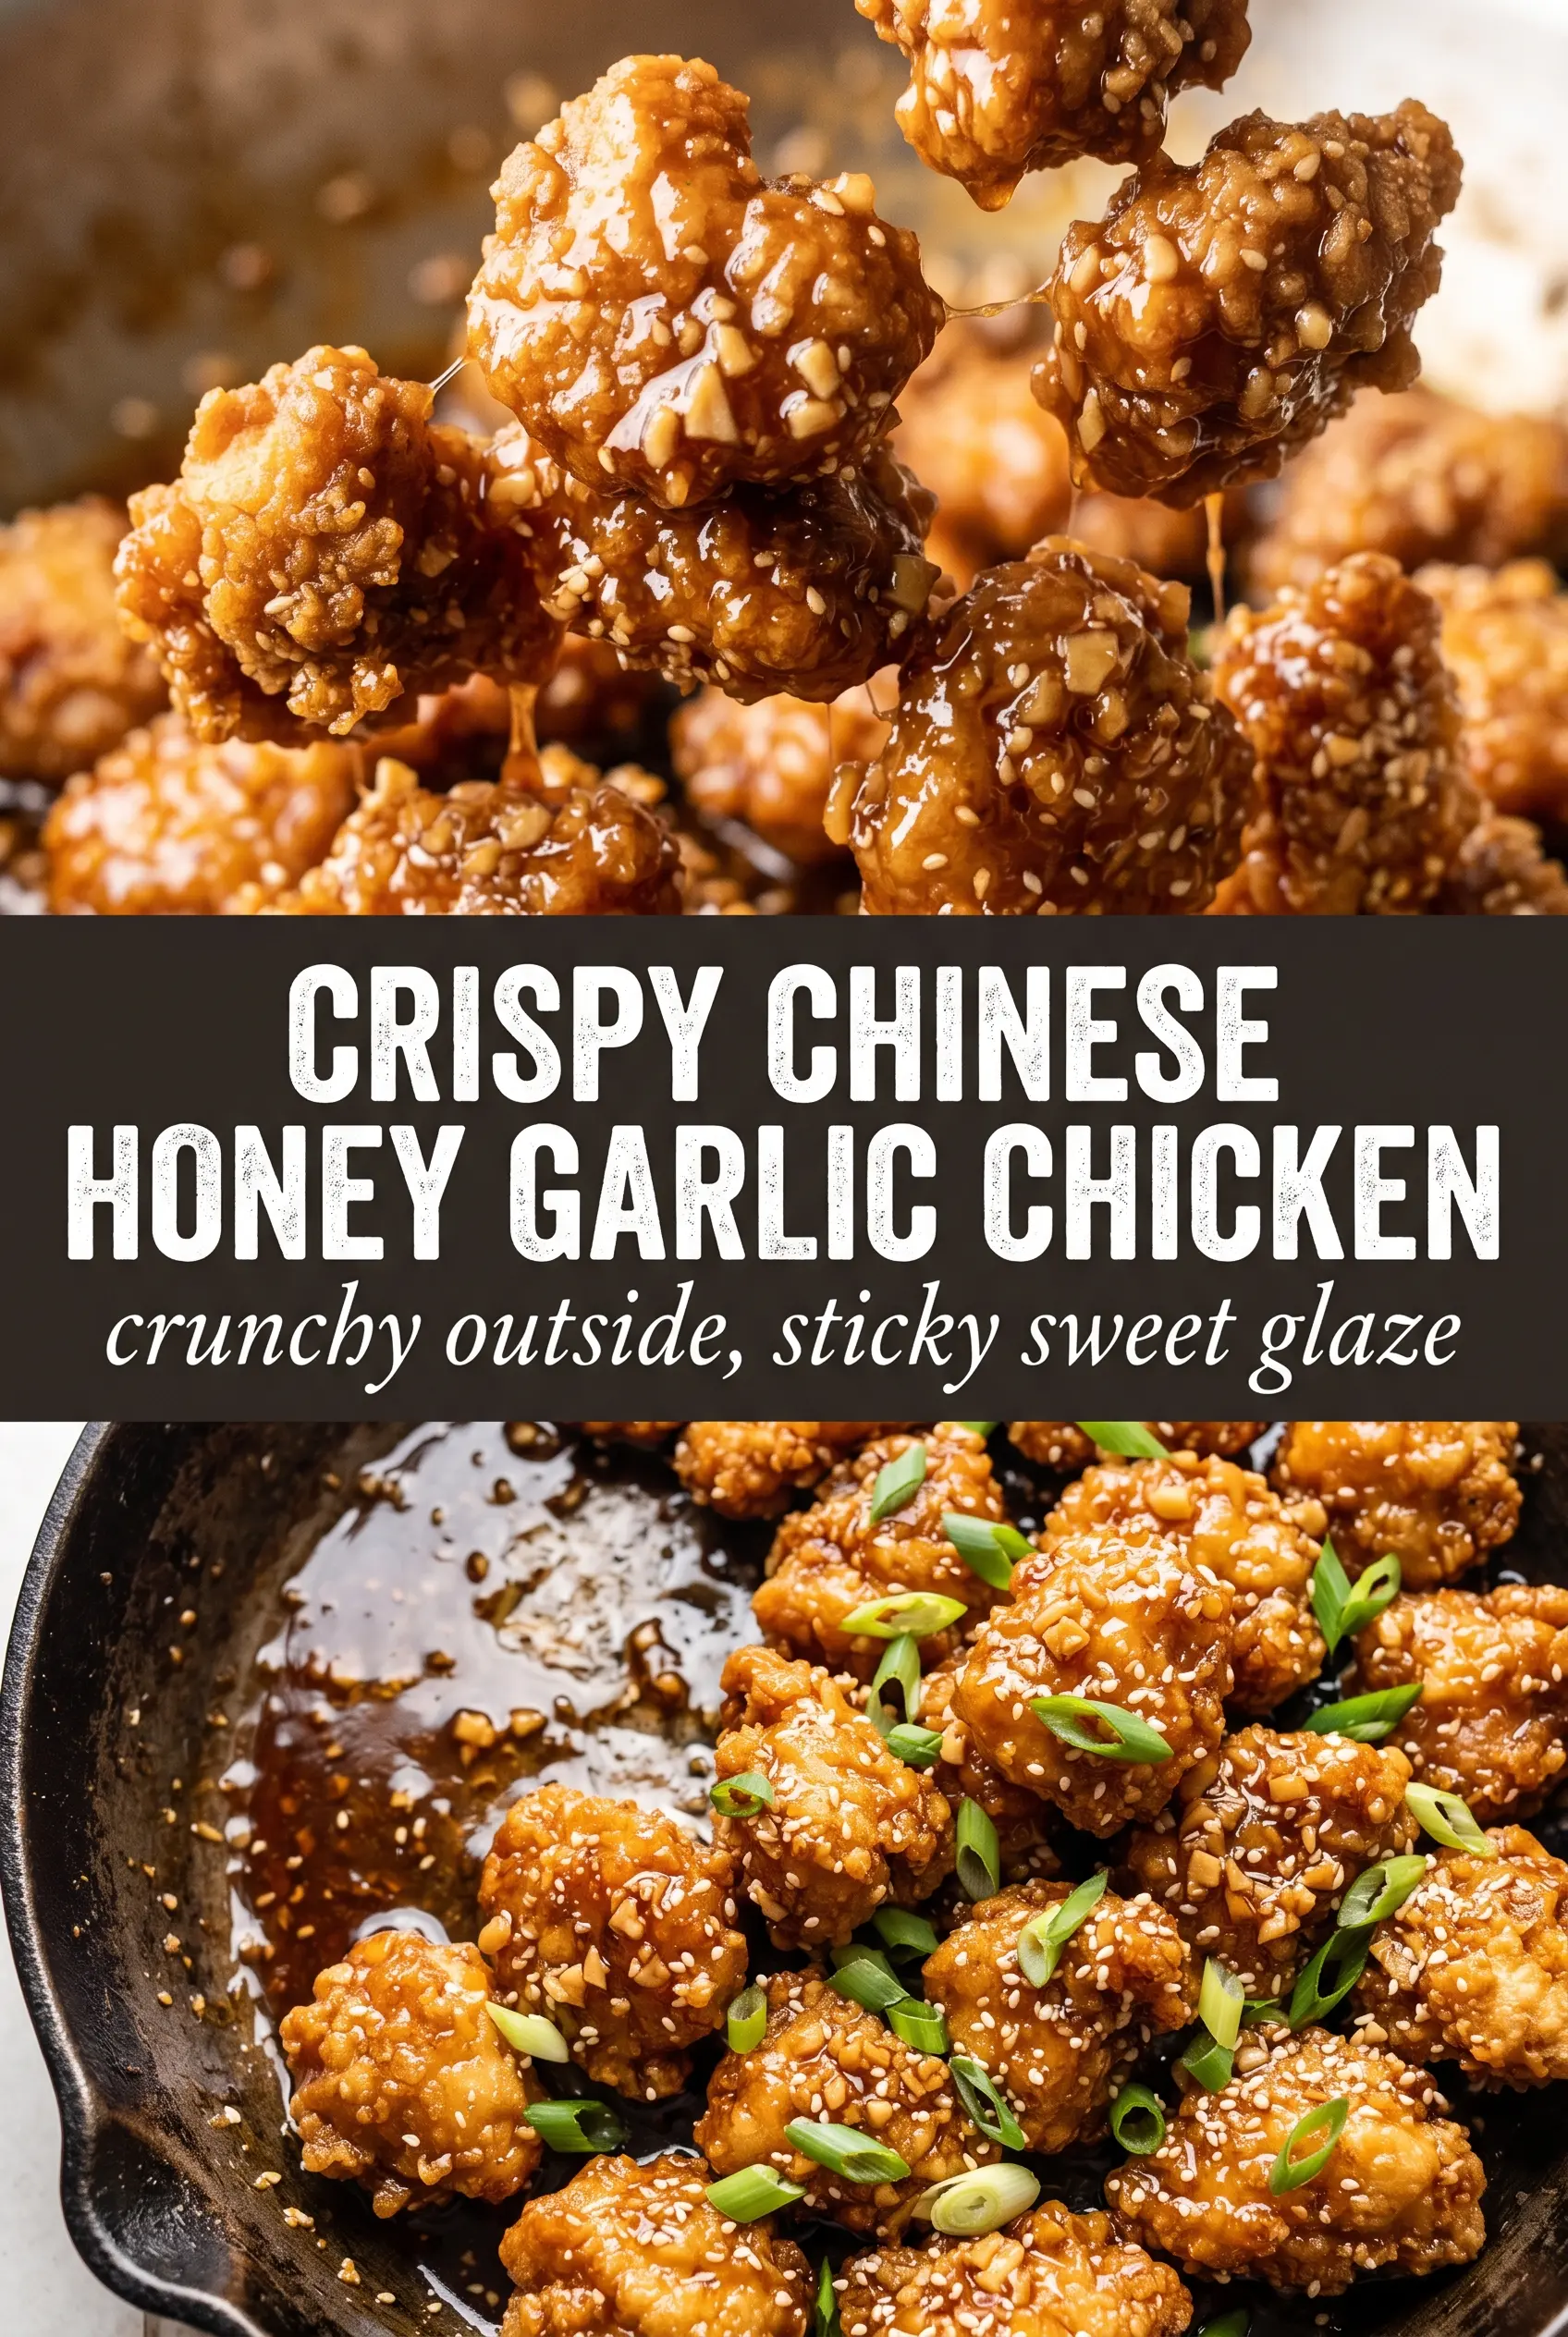
Crispy Chinese Honey Garlic Chicken
Ingredients
Equipment
Method
- Whisk together cornstarch, all-purpose flour, garlic powder, salt, and white pepper until evenly combined and no dry clumps remain.
- Beat the large egg until smooth, then dip the chicken pieces in the egg so they’re fully coated.
- Dredge the egg-coated chicken in the flour mixture, pressing lightly so the coating clings and looks matte before frying.
- Heat at least 2 inches of vegetable oil in a Dutch oven or cast iron skillet to 375°F, using steady heat for bubbles around the coating.
- Fry the chicken in batches for 5-6 minutes until deep golden and cooked through, turning once for even browning.
- Drain the fried chicken on a rack or paper to remove excess oil, keeping the pieces separate so they stay crisp.
- Combine honey, soy sauce, minced garlic, and rice vinegar in a saucepan and heat to a simmer until the garlic aroma is sharp and fragrant.
- Stir in the cornstarch slurry (cornstarch mixed with 2 tablespoons water) and cook 2-3 minutes, until the sauce turns glossy and thick enough to coat a spoon.
- Remove the saucepan from the heat and stir in sesame oil until the sauce looks darker and fully emulsified.
- Toss the crispy chicken in the honey garlic sauce until fully coated, so the amber glaze clings and caramelizes lightly on the surface.
- Serve the coated chicken over steamed rice with sesame seeds and green onions for garnish, aiming for a high pile with visible glossy sauce.