Bright, sharp lemon ice cream needs more than just a splash of juice to taste worth repeating. This version gives you a custard base that turns silky on the tongue, then lands with a clean citrus finish that stays present even after the ice cream firms up. The flavor is bold without crossing into sour, and the texture stays creamy instead of icy if you respect the custard and chill it fully before churning.
The difference comes from building the base the right way. Egg yolks thicken the dairy into a proper custard, which keeps the finished ice cream dense and scoopable, while the lemon juice goes in after cooking so it stays bright instead of turning the mixture grainy. Zest does a lot of work here too, because it carries the lemon oil that gives the ice cream its perfume and depth.
Below you’ll find the timing that keeps the custard smooth, the ingredient detail that makes the lemon flavor pop, and a few ways to adapt the batch when you want it a little lighter, a little richer, or dairy-free.
The custard turned out unbelievably smooth and the lemon stayed bright instead of tasting dull after freezing. I chilled it overnight and it churned into the creamiest texture I’ve made at home.
Save this creamy lemon ice cream for the kind of dessert that needs a crisp citrus bite and a custard-soft scoop.
The Custard Step That Keeps Lemon Ice Cream Creamy, Not Icy
Ice cream gets grainy when the base never fully thickens or when it’s pushed too hot too fast. Here, the egg yolks and dairy are cooked together just enough to form a light custard, which gives the finished ice cream body before it ever hits the machine. The target is 175°F, not boiling, and that matters because boiling can scramble the yolks and leave you with tiny curds instead of a smooth base.
The lemon juice goes in after the custard comes off the heat. If you add acidic juice too early, especially with heat still climbing, the dairy can tighten or separate. Straining before you chill the base catches any little bits of cooked egg and gives you a cleaner, silkier scoop later.
What Each Ingredient Is Actually Doing In This Ice Cream

- Heavy cream — This is what gives the ice cream its plush texture and helps it stay scoopable after freezing. Lower-fat cream won’t give the same richness, and the finished ice cream will set harder.
- Whole milk — Milk keeps the base from becoming too dense and balances the richness of the cream. You can swap in 2% in a pinch, but the ice cream won’t feel as round or creamy.
- Granulated sugar — Sugar does more than sweeten. It lowers the freezing point, which keeps the ice cream from turning into a solid brick in the freezer.
- Egg yolks — Yolks thicken the custard and give the ice cream that smooth, almost velvety body. There isn’t a true substitute here if you want a custard-style base.
- Fresh lemon juice and zest — Juice brings the tang, but zest brings the lemon oil, which carries the scent and makes the flavor taste fresh instead of flat. Bottled juice can work in an emergency, but it won’t taste as bright.
- Vanilla extract — Vanilla rounds out the citrus so the lemon tastes fuller and less sharp. Use a good pure vanilla if you can; the flavor is subtle but it helps.
Churning, Chilling, and Freezing Without Losing the Texture
Heating the Dairy Base
Warm the cream and milk until they’re steaming and just starting to move around the edges. Whisk the hot dairy into the yolk-sugar mixture gradually so the eggs don’t scramble. If you dump it in all at once, the yolks can seize into bits before the custard ever gets a chance to thicken.
Cooking the Custard to the Right Point
Return the mixture to the saucepan and stir constantly over medium-low heat. Watch for the custard to coat the back of a spoon and reach 175°F; that’s enough heat to thicken it without taking it over the edge. If the heat is too high, the bottom catches first and the texture turns slightly curdled before you notice.
Adding the Lemon at the End
Pull the pan off the burner before stirring in the lemon juice, zest, vanilla, and salt. The acid stays brighter this way, and the zest keeps its fresh citrus aroma instead of simmering away. Strain the mixture right after that so the base chills smooth and clean.
Chilling Before Churning
Set the custard over an ice bath first, then refrigerate it for at least 4 hours. This step isn’t optional if you want a soft, fine churn; a warm base churns poorly and freezes with a looser, icier texture. The mixture should be fully cold before it goes into the machine, not just cool to the touch.
Freezing for a Scoopable Finish
Churn the chilled base in your ice cream maker until it looks like soft serve, then move it to a freezer container. It needs time to firm up, but don’t leave it uncovered or it’ll pick up freezer smells and lose its clean lemon finish. Press parchment or plastic wrap directly on the surface if you want the smoothest top layer.
How To Adapt This Lemon Ice Cream For Different Eaters And Different Freezers
Dairy-Free Version With Coconut Cream
Swap the heavy cream and milk for full-fat coconut milk and coconut cream. The texture stays rich, but the flavor shifts into a faint tropical note that sits nicely with the lemon. Use the same custard method if you’re keeping the yolks, or expect a softer set if you skip them.
Extra-Zesty Lemon Ice Cream
Add an extra tablespoon of zest and let it steep in the warm custard for a few minutes before chilling. That gives you a stronger lemon aroma without pushing the acidity so high that the base tastes sharp or breaks the dairy.
Lower-Sugar Batch
You can cut the sugar a little, but don’t slash it hard. Sugar keeps the ice cream softer in the freezer, so a big reduction makes the finished dessert harder and more icy. If you reduce it, expect to let the ice cream sit out a few extra minutes before scooping.
Storage and Reheating
- Refrigerator: The custard base keeps for up to 2 days before churning if it stays tightly covered. The lemon flavor actually settles in nicely during that time.
- Freezer: The churned ice cream freezes well for about 2 weeks with the best texture in the first few days. After that, it can pick up ice crystals around the edges if the container isn’t sealed well.
- Reheating: Not needed for ice cream, but let it sit at room temperature for 5 to 10 minutes before scooping. Straight-from-the-freezer ice cream tears instead of scoops cleanly, especially with a custard base.
Questions I Get Asked About This Recipe
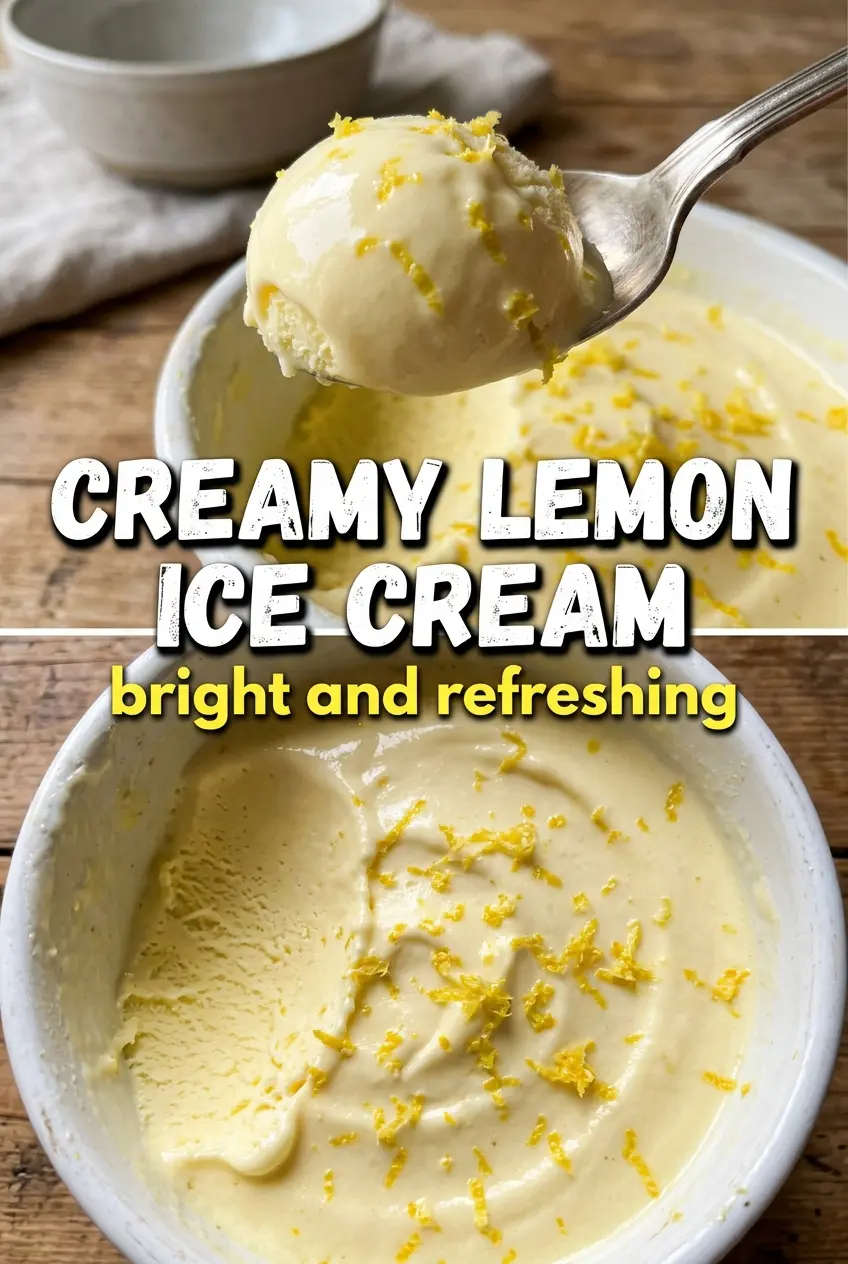
Creamy Lemon Ice Cream
Ingredients
Equipment
Method
- In a saucepan, heat the heavy cream and whole milk over medium heat until steaming, stirring occasionally for even warming.
- In a bowl, whisk the egg yolks with the granulated sugar until smooth, then slowly whisk the hot cream mixture into the yolks to temper.
- Return the mixture to the saucepan and cook over medium-low heat, stirring constantly, until the custard reaches 175°F and coats the back of a spoon.
- Strain the custard through a fine mesh sieve, then stir in the fresh lemon juice, lemon zest, vanilla extract, and salt until fully combined.
- Set the custard in a heatproof bowl over an ice bath and cool completely, stirring occasionally until the surface is no longer warm.
- Refrigerate the custard at least 4 hours, until thoroughly chilled and ready to churn.
- Churn the chilled custard in an ice cream maker until it thickens to a soft-serve consistency, then transfer to a container.
- Freeze until firm, with a fully set texture for easy scooping.