Country fried chicken earns its place on the table by getting the one thing right that so many versions miss: a crust that stays craggy and crisp instead of going soft the minute it hits the plate. The chicken underneath stays juicy because the buttermilk works from the inside out, while the seasoned flour builds that thick, rugged coating that fries up with real crunch.
The secret is in the double dredge and the oil temperature. A single dip makes a thin shell; the second pass gives you those rough, ridged bits that fry into golden peaks. Keep the oil at 350°F and the coating sets before it drinks up too much fat. Too cool, and the crust turns greasy. Too hot, and the outside browns before the meat cooks through.
Below, I’ll show you how to keep the breading attached, how to get the gravy smooth instead of lumpy, and which substitutions still give you a proper Southern-style result.
The coating turned out thick and crunchy, and the second dredge made all the difference. I fried it in a cast iron skillet, and the gravy thickened up smooth with no lumps.
Like this country fried chicken? Save it to Pinterest for the nights when you want a shatteringly crisp crust and peppery white gravy.
The Step That Keeps the Crust from Slipping Off
The breading sticks best when the chicken comes out of the buttermilk with a light drip, not drenched. If it’s too wet, the flour turns pasty and slides off in the fryer. Press the coating on firmly with your hands, then repeat the dip-and-dredge for that rough, bumpy surface that fries into real crunch.
Resting the coated chicken for a few minutes before frying helps the flour hydrate and cling. That small pause matters. It gives you a coating that sets fast instead of shedding into the oil.
What the Buttermilk, Spices, and Gravy Are Each Doing Here

- Buttermilk — This is what gives the chicken that tender, seasoned interior. The mild acidity loosens the surface of the meat so it cooks up juicy, and it also helps the flour cling. Plain milk won’t do the same job; if you have to substitute, use milk plus a tablespoon of lemon juice or vinegar and let it sit 5 minutes before adding the chicken.
- Hot sauce — You won’t taste heat in a loud way, but it sharpens the marinade and wakes up the seasoning. Any vinegar-forward hot sauce works here.
- Smoked paprika, garlic powder, onion powder, and cayenne — These build the crust’s seasoning so the coating tastes good on its own, not just because of the gravy. The cayenne is adjustable, but don’t leave it out entirely unless you want a flatter, sweeter crust.
- Cast iron skillet — It holds heat steady, which is exactly what you want for frying bone-in chicken. A thin pan swings in temperature too fast and makes the crust greasy before the meat is done.
- Whole milk for the gravy — Whole milk gives the gravy enough body without turning it heavy. Lower-fat milk works, but the sauce will taste thinner and take longer to thicken.
Frying the Chicken and Making the Gravy in the Same Pan
Soak and Season the Chicken
Let the chicken sit in the buttermilk and hot sauce for at least 30 minutes, or overnight if you want a deeper flavor and a little more tenderness. The marinade should coat the pieces fully, so turn them once if they’re crowded. If you rush this part, the chicken still cooks, but it won’t have the same juicy bite or seasoned edge.
Build a Dry Coating with Some Bite
Whisk the flour with the spices until the seasoning is evenly distributed. You want every spoonful to look speckled, not streaked. Dredge each piece firmly, pressing the flour into the creases and around the bone, then repeat the dip and dredge so the surface looks rough and shaggy.
Fry at a Steady 350°F
Heat 2 to 3 inches of oil until it reads 350°F and keep an eye on that temperature as you fry. The chicken should sizzle immediately when it goes in, but not violently; a raging boil around the pieces usually means the oil is too hot. Fry until the crust is deep golden and the internal temperature reaches 165°F, then drain on paper towels while you make the gravy.
Use the Pan Drippings for the Gravy
Whisk the drippings and flour together first so the roux doesn’t taste raw. Cook it for about a minute, then pour in the milk slowly while whisking constantly. If the gravy gets lumpy, it usually means the milk went in too fast or the heat was too high. Keep it at a gentle simmer until it thickens enough to coat the back of a spoon, then season it well.
How to Make This Work with Different Chicken Cuts
Use thighs for the juiciest result
Bone-in thighs stay moist and forgiving, even if the oil runs a touch hot. They also give you a meatier bite under that thick crust. The only tradeoff is a slightly longer fry time, so go by temperature, not just color.
Make it gluten-free with a proper flour swap
A 1:1 gluten-free flour blend works better than almond flour here because you need a coating that fries crisp, not one that burns quickly. The texture comes out a little more delicate, but the crust still holds if you press it on firmly and don’t overcrowd the skillet.
Skip the gravy and serve it Southern-style plain
If you want a drier, extra-crisp version, leave off the gravy and serve with hot sauce or a squeeze of lemon. You’ll lose the rich, peppery finish that ties the dish together, but the crust stays sharper longer.
Storage and Reheating
- Refrigerator: Store the fried chicken and gravy separately for up to 3 days. The crust softens in the fridge, but the flavor stays solid.
- Freezer: Freeze the chicken without gravy for up to 2 months. Wrap pieces tightly and thaw in the fridge before reheating. The gravy is better made fresh.
- Reheating: Reheat chicken on a wire rack in a 375°F oven until hot and crisp again, about 15 to 20 minutes. Microwaving makes the coating soggy fast, so skip it unless you don’t care about the crust.
Questions I Get Asked About This Recipe
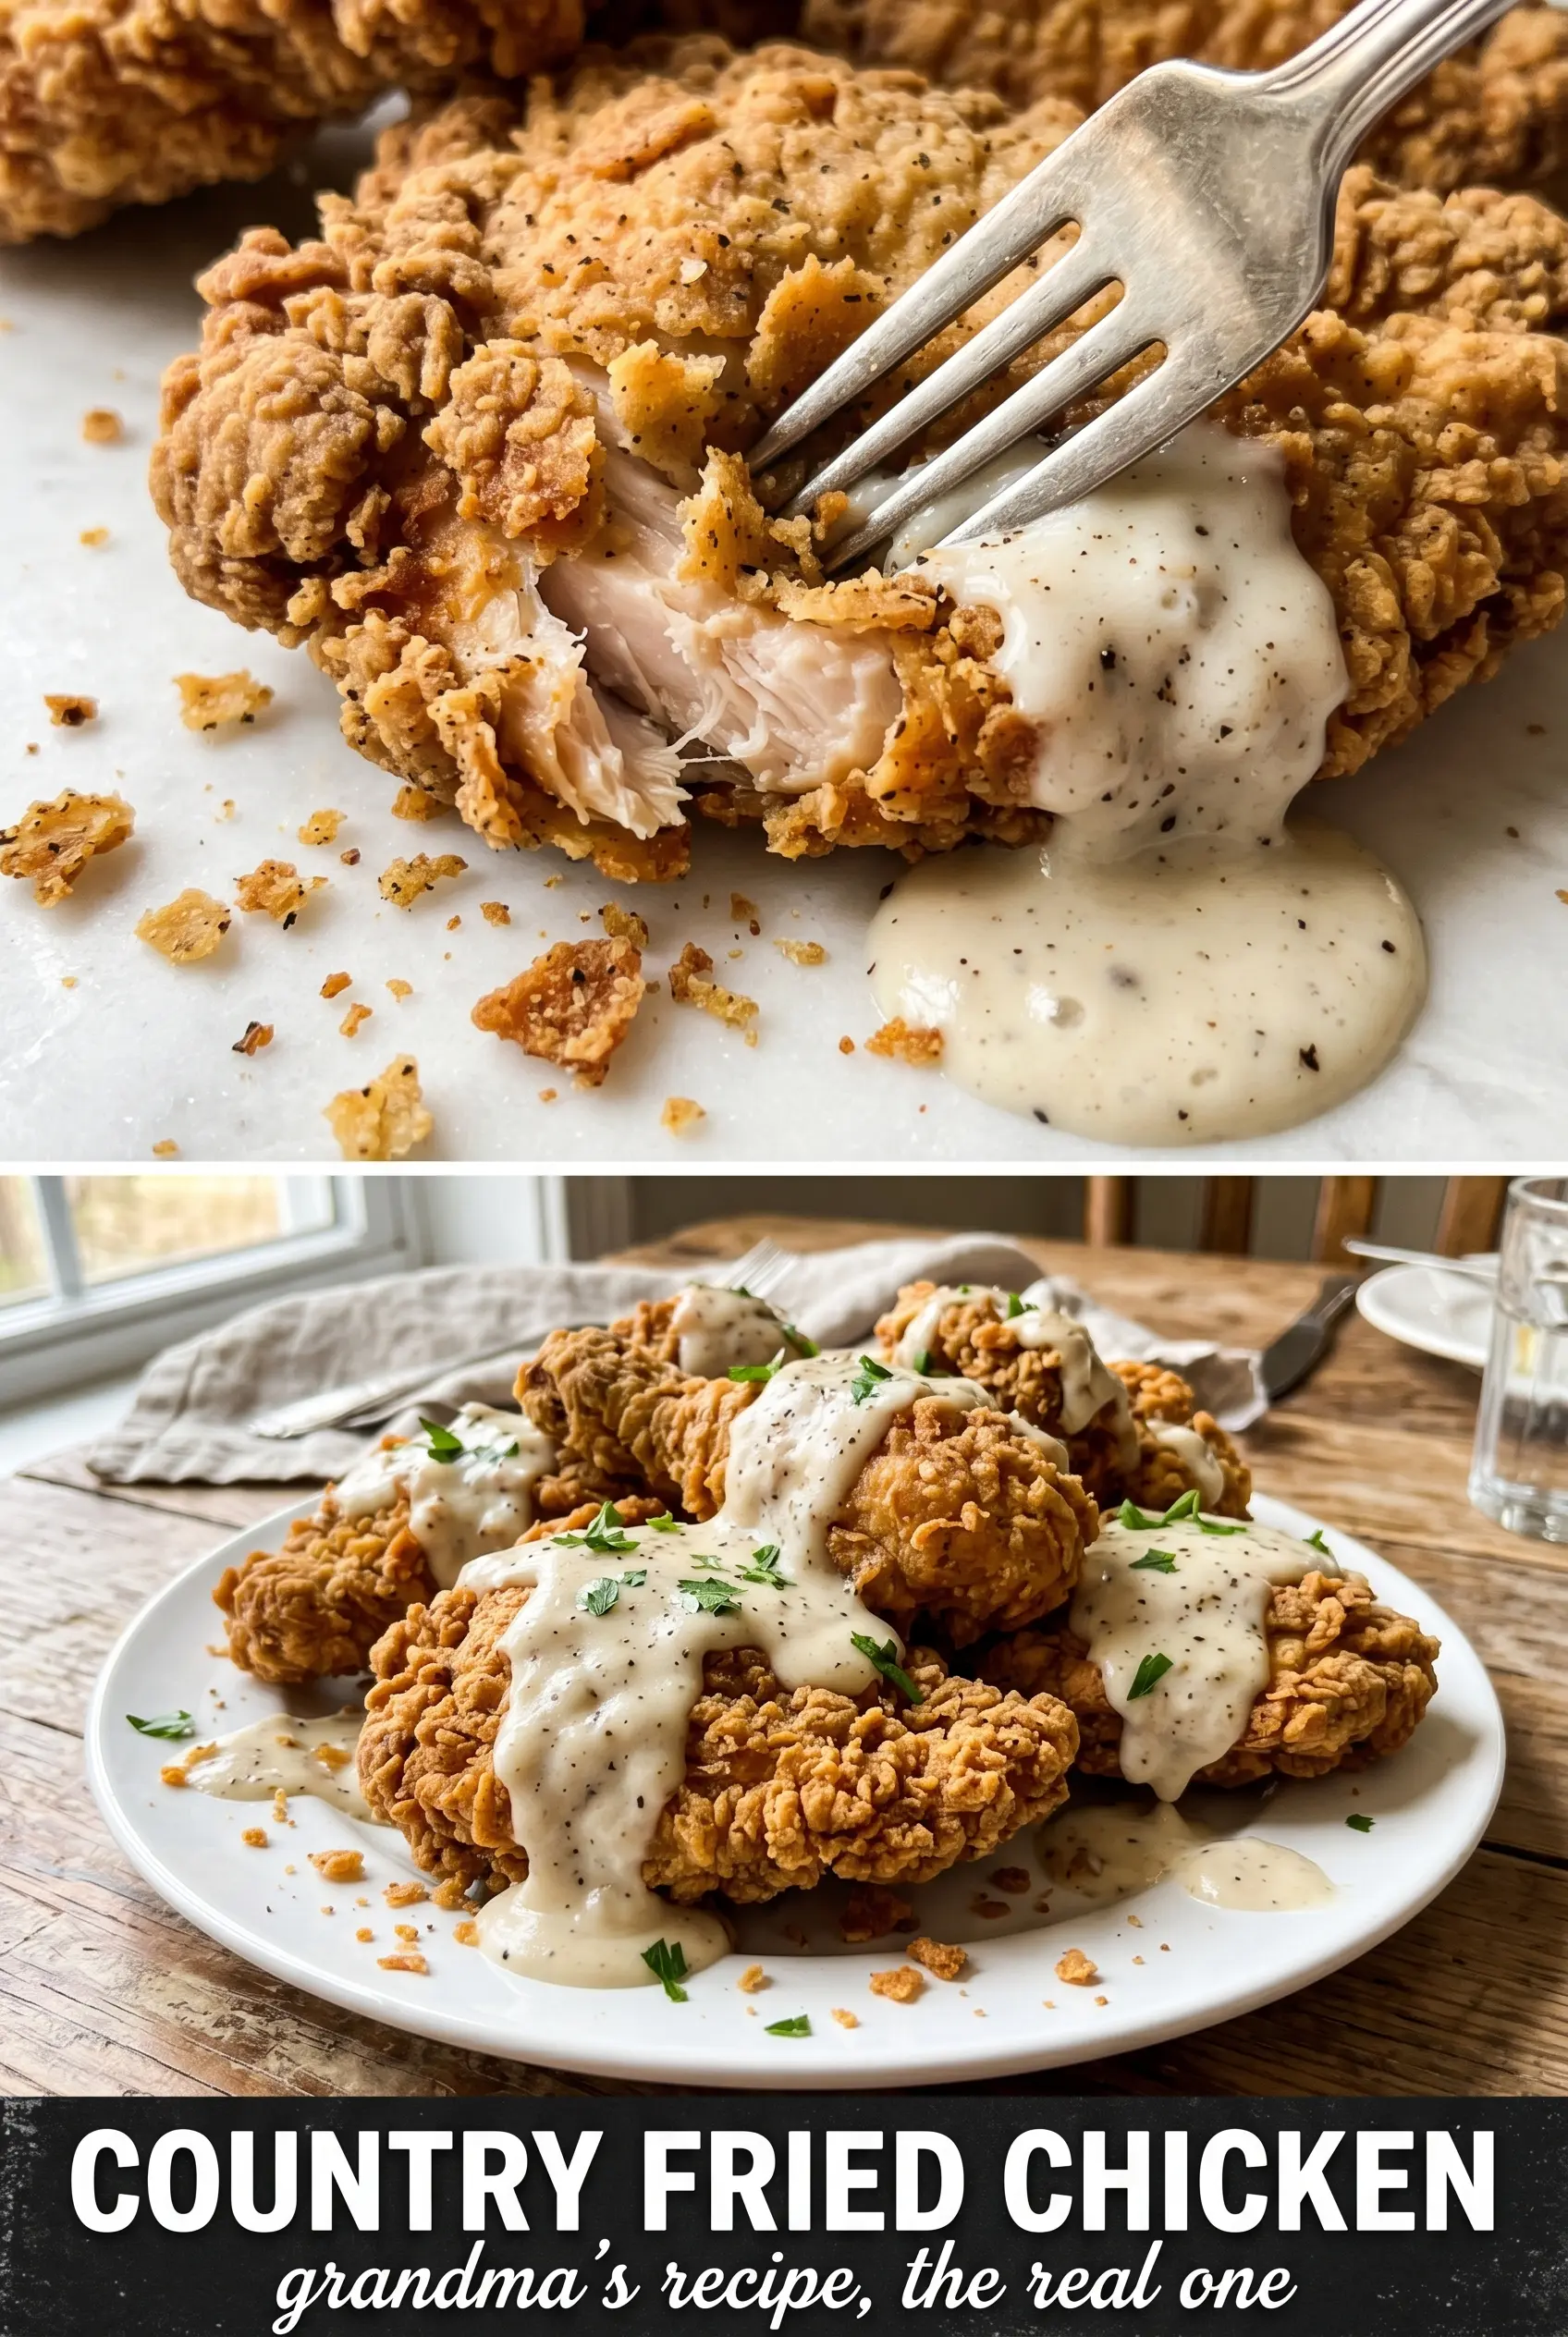
Country Fried Chicken
Ingredients
Equipment
Method
- Add bone-in chicken pieces to a bowl and pour in buttermilk and hot sauce, making sure every piece is coated. Let soak for at least 30 minutes or overnight for better flavor and crisping.
- In a shallow dish, whisk together all-purpose flour, garlic powder, onion powder, smoked paprika, cayenne pepper, salt, and cracked black pepper until evenly mixed. The coating should look speckled and uniformly colored.
- Remove each chicken piece from the buttermilk and hot sauce, letting excess drip off. Press the chicken firmly into the seasoned flour coating to form an even crust.
- Repeat the dip-and-dredge process for extra crunch by dipping again briefly and pressing into the flour a second time. Keep the coating thick and well-adhered.
- Heat 2–3 inches of vegetable oil in a large cast iron skillet to 350°F. Maintain the 350°F oil temperature for consistent browning.
- Fry the chicken for 10-12 minutes per side, turning once, until deeply golden and the internal temperature reaches 165°F. Drain on paper towels so the coating stays crisp.
- In the skillet over medium heat, whisk pan drippings and flour for 1 minute. This cooks off raw flour flavor and forms a smooth base.
- Gradually whisk in whole milk and cook until thickened. Season with salt and pepper to taste, stirring until silky.
- Serve the chicken immediately with white country gravy poured over the top. Allow the gravy to pool at the base right before eating.