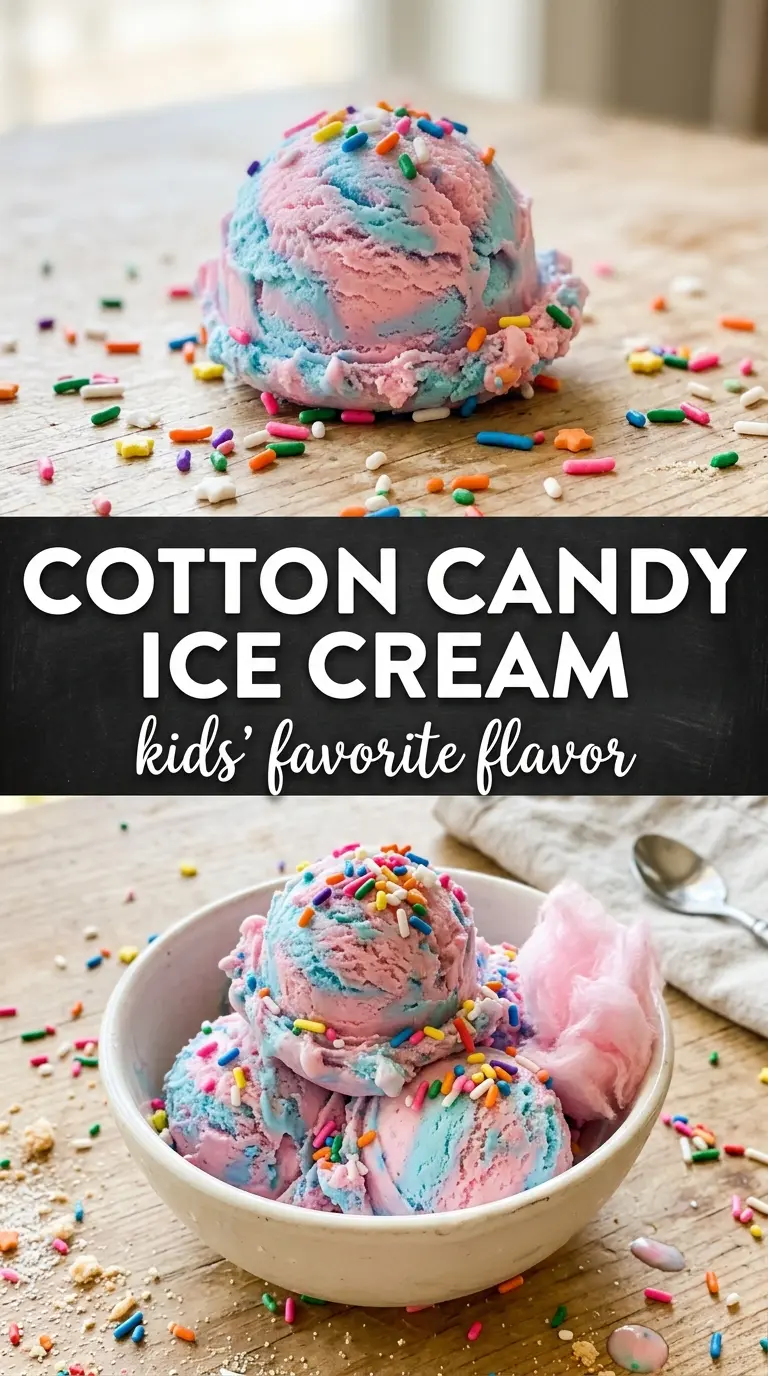
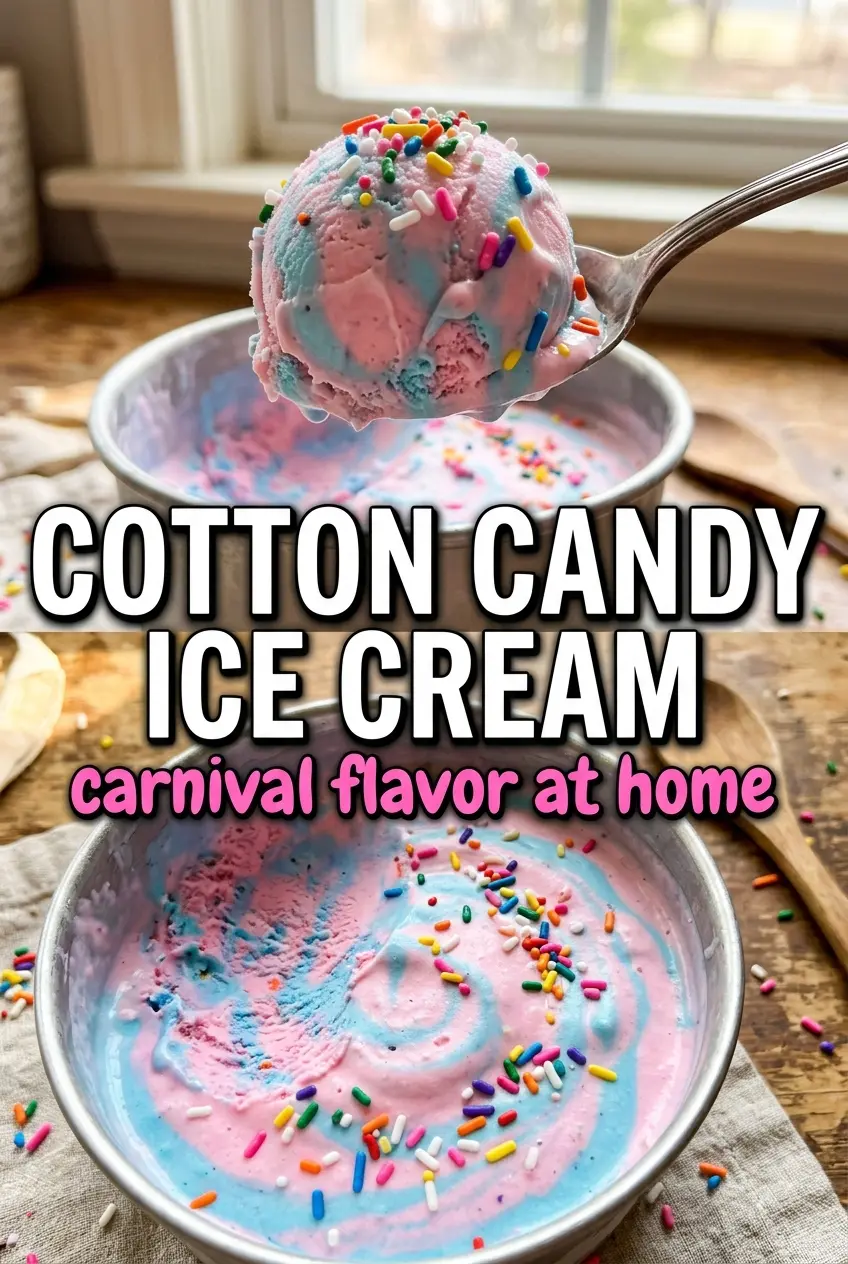
Vivid swirls of pink and blue make this cotton candy ice cream feel playful before you even take the first spoonful, but the real payoff is the texture: smooth, creamy, and rich enough to taste like a proper custard ice cream instead of a novelty scoop. The cotton candy flavor comes through cleanly, with just enough vanilla and salt to keep the sweetness from turning flat.
The trick is treating the base like real ice cream, not a shortcut. Egg yolks give the custard body, and cooking it to 175°F sets it up for a silkier churn. Chilling the custard all the way through matters here, because a cold base freezes faster and traps the swirl better instead of turning muddy.
Below, I’m walking through the easiest way to get that pink-and-blue finish without losing the creaminess, plus the small details that keep the flavor bright and the texture scoopable. If you’ve ever ended up with grainy custard, weak flavor, or a swirl that disappeared in the freezer, the notes in this post will help.
The custard froze up smooth and the pink-blue swirl stayed distinct instead of turning one muddy color. My kids thought it tasted just like the fair, and it scooped beautifully straight from the freezer.
Love the pink-and-blue swirl? Save this cotton candy ice cream for the next time you want a creamy custard dessert with a fairground look.
The Custard Stage Is What Keeps the Swirl Creamy
Cotton candy ice cream only works if the base has enough body to hold the color and the flavor without turning icy. That starts with the custard. The egg yolks thicken the mixture just enough to give you a smoother scoop, and cooking it gently matters more than rushing it. If the heat climbs too fast, the yolks can scramble before the base ever reaches the right consistency.
The other mistake people make is adding the flavoring before the custard is strained or cooled. Strain first so you catch any bits of cooked egg, then stir in the cotton candy flavoring, vanilla, and salt while the base is still warm enough to blend evenly but not so hot that the aroma gets lost. The flavor should taste light, sweet, and clear, not heavy or artificial.
- Egg yolks — These are what turn the mixture into a custard base. Whole eggs won’t give you the same silky texture, and leaving them out means a more icy finish.
- Heavy cream and whole milk — Cream gives richness, milk keeps the base from becoming too dense. Swapping in lower-fat milk will thin the body and make the ice cream freeze harder.
- Cotton candy flavoring — Use a real flavoring or extract made for baking. A little goes a long way, and too much can taste sharp instead of nostalgic.
- Food coloring — Gel coloring gives stronger color without watering down the custard. Liquid coloring works in a pinch, but you’ll need more of it and the shade will be softer.
What Each Ingredient Is Actually Doing in This Ice Cream
- Base ingredient (cream, milk, or custard) — This provides the foundation and richness. Quality matters.
- Sweetener (sugar, honey, or condensed milk) — This sweetens and prevents ice crystals. The ratio is critical.
- Flavor element (vanilla, fruit, chocolate, or other) — This defines the ice cream personality. Use quality ingredients.
- Egg yolks (if making custard base) — These create richness and silky texture. Optional but elevates ice cream.
- Churning (if using ice cream maker) — This incorporates air and prevents ice crystals. Critical for smooth texture.
- Freezing temperature and time — Proper freezing prevents rock-hard texture. Store at 0°F or below.
- Mix-ins (chocolate, cookies, fruit, or swirls) — These add texture and prevent one-dimensional flavor. Add near end of churning.
- Serving temperature (slightly soft, not rock hard) — This provides creamy mouthfeel. Remove from freezer 5 minutes before serving.
How to Churn the Colors Without Losing the Swirl
The best swirl comes from working with two fully chilled portions, not one half-cooled bowl and one cold bowl. Once the custard is cold, divide it evenly and color each bowl separately. If the base is still warm, the coloring can spread unevenly and the churn will take longer, which softens the edges of the swirl.
Heating the Dairy
Warm the cream and milk until they’re steaming but not boiling. You want enough heat to temper the yolks gradually, not shock them. If the dairy boils, it can create a cooked taste and make the custard harder to control once it goes back on the stove.
Tempering and Thickening
Whisk the hot dairy into the yolks and sugar slowly, then return everything to the saucepan and cook until it reaches 175°F. Stir constantly and keep the heat low enough that the custard thickens without clumping on the bottom. If it coats the back of a spoon and leaves a clean line when you drag a finger through it, it’s ready.
Coloring and Chilling
Strain the custard into two bowls, then tint one pink and one blue. Chill both bowls until they’re cold all the way through, not just cool on top. If you churn a warm base, the machine has to work harder and the final ice cream won’t set with the same clean, creamy texture.
Layering the Swirl
Churn each color separately or alternate spoonfuls into the freezer container if you want a more marbled look. Don’t overmix once the colors are combined, or you’ll lose the contrast and end up with pastel mud. Freeze until firm, then top with cotton candy right before serving so it doesn’t melt or disappear into the surface.
What to Change When You Need a Different Finish
Dairy-Free Version
Use full-fat coconut milk and a dairy-free cream alternative, then keep the custard-style method if your substitute can handle gentle heating. The texture will be a little softer and the coconut note may show through, so the cotton candy flavor should be a touch stronger to stand up to it.
No Ice Cream Maker
Pour the chilled base into a shallow freezer-safe container and stir every 30 to 40 minutes as it freezes. That breaks up the ice crystals, which is the main thing a machine would normally do for you. The result won’t be as airy, but it will still be creamy if you keep up with the stirring.
Stronger Carnival Flavor
Add the cotton candy flavoring in small increments after the custard is strained. This is the place to be careful: once it goes too far, the flavor can turn candy-store sharp instead of light and playful. Taste the base before chilling and stop as soon as the cotton candy note comes forward.
Storage and Reheating
- Refrigerator: Not recommended once churned; ice cream should go straight to the freezer after churning.
- Freezer: Keeps well for about 2 weeks in an airtight container, though the swirl looks best in the first few days. Press parchment or plastic wrap directly on the surface to slow ice crystals.
- Reheating: No reheating needed. Let the container sit at room temperature for 5 to 10 minutes before scooping so the edges soften without melting the center.
Answers to the Questions Worth Asking
Cotton Candy Ice Cream
Ingredients
Equipment
Method
- Heat the heavy cream and whole milk in a saucepan over medium heat until steaming, not boiling, about 3–5 minutes, until you see small steam bubbles around the edges. Keep the heat steady and watch for the first simmer-like signs.
- Whisk the egg yolks and granulated sugar in a bowl until smooth, then slowly whisk the hot cream mixture into the yolks in a thin stream. Continue whisking until the mixture looks glossy and evenly combined.
- Return the mixture to the saucepan and cook, stirring constantly, until it reaches 175°F, about 5–8 minutes. The custard should visibly thicken enough to coat the back of a spoon; scrape a line with your finger and it should hold.
- Strain the custard through a fine mesh strainer into a clean container, then whisk in the cotton candy flavoring or extract, vanilla extract, and salt. It should taste sweet and smell strongly of cotton candy.
- Divide the strained custard into two bowls, one for pink and one for blue, keeping them the same amount for balanced swirls. Add pink and blue food coloring and stir until the colors are vivid and uniform.
- Cover both bowls and chill completely in the refrigerator until cold throughout, about 3–4 hours. The custard should be fully chilled with no warmth at the center.
- Churn each chilled custard separately in an ice cream maker until soft-serve consistency, following your machine’s timing. The mixture should look thick and aerated when you stop the machine.
- For the swirl effect, alternate scooping the two colors into a freezer-safe container while layering them, or layer as you transfer from the churned batches. Aim for ribbon-like streaks so the pink and blue stay distinct.
- Freeze until firm, about 2–4 hours, until it holds a scoop cleanly. The texture should be thick and scoopable, not fluffy.
- Top with cotton candy right before serving to keep it airy. Add a small tuft centered on top for the carnival look.
- If you prefer, churn one base first, then swirl in both colors during the freeze step by layering spoonfuls of pink and blue on top. Keep layering gently so the swirls remain visible rather than fully blending.