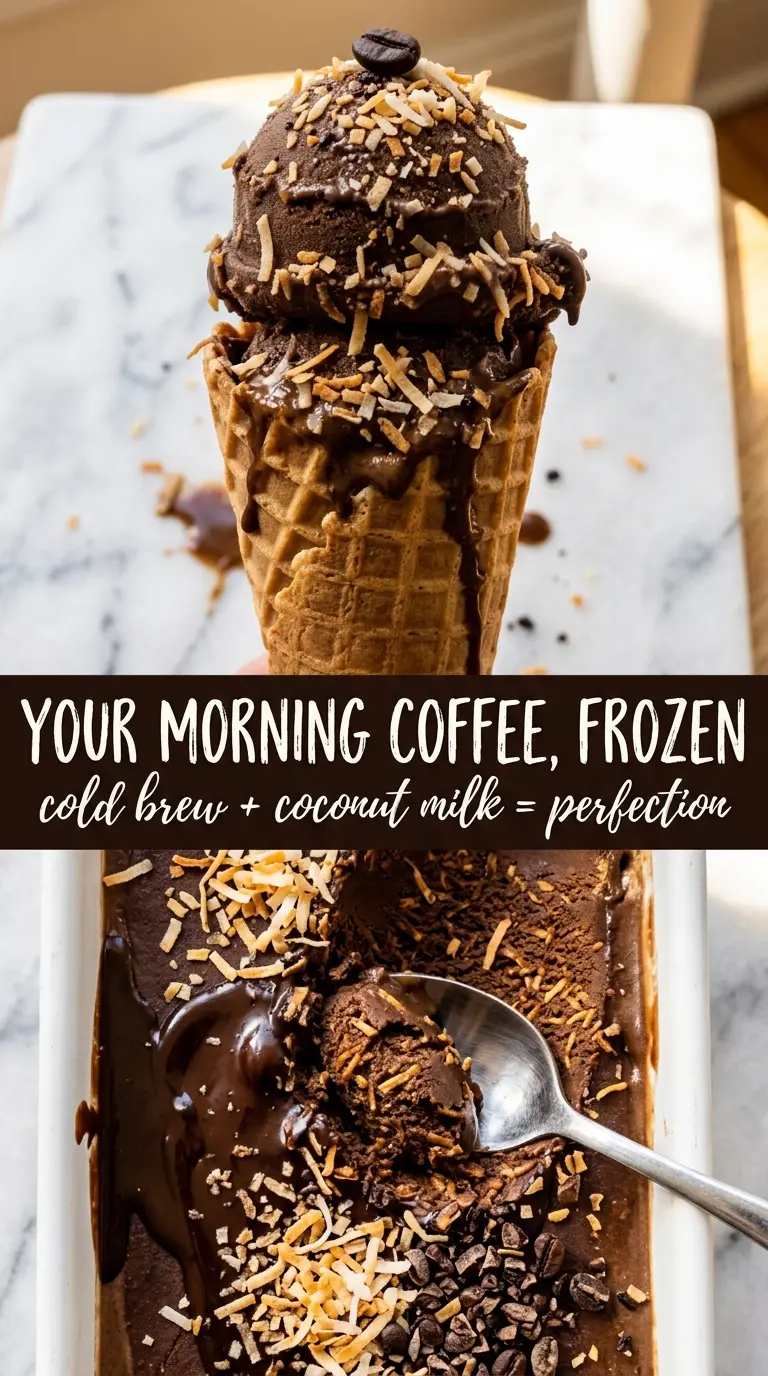
Cold brew coffee ice cream gets its best texture from a base that can hold onto the coffee without tasting thin or icy, and coconut milk does that job beautifully. The result is bold, creamy, and deeply roasted, with a smooth finish that tastes like an affogato met a scoop of dairy-free ice cream and stayed for dessert.
The trick here is balancing the coffee concentrate with enough fat and sugar to keep the base from freezing into a hard block. Full-fat coconut milk brings the richness, while a little arrowroot or cornstarch gives the mixture just enough body before it goes into the churn. That small bit of starch matters more than people think — it helps the ice cream stay softer and scoop cleaner after freezing.
Below you’ll find the exact chilling and churning rhythm that keeps the texture velvety, plus a few smart swaps if you want to use maple syrup instead of sugar or adjust the coffee intensity without wrecking the freeze.
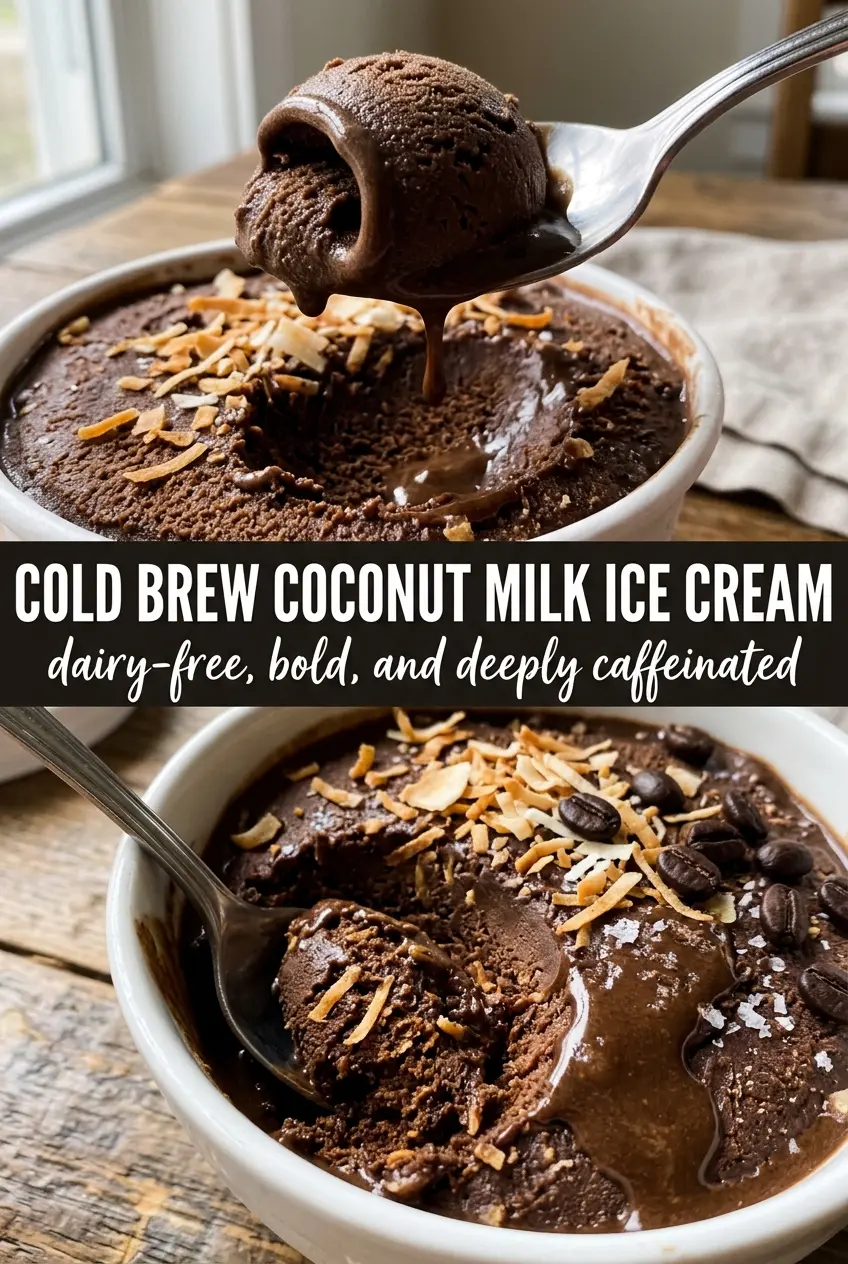
The coconut milk gave it this creamy, almost custard-like scoop, and the cold brew flavor stayed bold after freezing. I loved that it didn’t get icy in the freezer like other dairy-free ice creams I’ve tried.
Save this cold brew coffee and coconut milk ice cream for the days when you want a bold coffee dessert with a silky, dairy-free scoop.
The Base Won’t Taste Hollow if You Treat the Coffee Like an Ingredient, Not a Splash
The biggest mistake in coffee ice cream is adding just enough coffee for the flavor to vanish once the mixture freezes. Cold brew concentrate stands up better than brewed coffee because it brings intensity without extra water, which keeps the finished ice cream from turning dull or icy. Coconut milk does the rest of the work by adding fat and body, but it needs to be full-fat or the texture gets lean and brittle in the freezer.
The other thing worth respecting is heat. You only want to warm the base until the sugar dissolves and the mixture thickens slightly. If you boil it hard, the coconut milk can separate and the coffee can taste sharper than you want. That short stovetop step is about blending and thickening, not cooking the life out of the mixture.
- Cold brew coffee concentrate — This is where the coffee flavor comes from, so use a concentrate that tastes good on its own. If yours is especially strong, pull back slightly rather than compensating later with more sugar.
- Full-fat coconut milk — Light coconut milk won’t freeze into the same creamy texture. Shake the cans well, then whisk everything thoroughly so the richer part doesn’t stay stuck to the bottom.
- Arrowroot or cornstarch — Either one gives the base a little insurance against iciness. Arrowroot stays a bit cleaner in flavor, while cornstarch is easier to find and works well here if you whisk it in fully before heating.
- Maple syrup instead of sugar — It works, and it adds a deeper note that plays nicely with coffee. The ice cream will taste slightly softer and a touch less sharp, which is a good trade if you like a rounder finish.
What Each Ingredient Is Actually Doing in This Ice Cream
- Base ingredient (cream, milk, or custard) — This provides the foundation and richness. Quality matters.
- Sweetener (sugar, honey, or condensed milk) — This sweetens and prevents ice crystals. The ratio is critical.
- Flavor element (vanilla, fruit, chocolate, or other) — This defines the ice cream personality. Use quality ingredients.
- Egg yolks (if making custard base) — These create richness and silky texture. Optional but elevates ice cream.
- Churning (if using ice cream maker) — This incorporates air and prevents ice crystals. Critical for smooth texture.
- Freezing temperature and time — Proper freezing prevents rock-hard texture. Store at 0°F or below.
- Mix-ins (chocolate, cookies, fruit, or swirls) — These add texture and prevent one-dimensional flavor. Add near end of churning.
- Serving temperature (slightly soft, not rock hard) — This provides creamy mouthfeel. Remove from freezer 5 minutes before serving.
Cooking the Custard Without Breaking the Coconut Milk
Whisk Everything Before the Heat Goes On
Start with the cold ingredients in the saucepan and whisk until the sugar and starch are fully dissolved. This matters because dry pockets of starch can clump once the heat hits, and coconut milk doesn’t forgive that well. The mixture should look smooth and slightly opaque before it ever reaches the burner. If you see grainy streaks now, they’ll still be there later.
Cook Until It Barely Thickens
Set the pan over medium heat and whisk constantly, especially around the edges and bottom where the mixture wants to thicken first. You’re looking for a slight nape texture and a little steam, not a simmer or boil. It should coat the whisk and feel just a bit more substantial than it did at the start. Pull it off the heat as soon as the sugar is dissolved and the base looks lightly thickened.
Chill It Down Completely
Move the hot base to an ice bath, stirring now and then so the heat escapes evenly. If you rush this and refrigerate it warm, condensation can water down the mix and the churn will take longer. Once it’s cool, refrigerate it for at least 4 hours so the fat firms up and the churn starts from a cold base. Cold mixture equals smaller ice crystals and a smoother scoop.
Churn, Then Freeze to Set
Churn according to your machine’s directions until it looks like soft-serve with a dense, glossy body. Don’t wait for it to look firm in the machine; by then you’ve gone too far. Transfer it to a container, press parchment directly on the surface if you want to limit ice crystals, and freeze until it scoops cleanly. A final drizzle of cold brew concentrate right before serving sharpens the coffee flavor and keeps each bite from tasting muted.
How to Adjust This Ice Cream When You Want It Stronger, Sweeter, or Fully Maple-Sweetened
Make it extra coffee-forward
Use the stronger end of your cold brew concentrate range and keep the sugar where it is. More coffee sounds great in theory, but too much liquid can make the ice cream harder after freezing, so increase intensity with concentration, not volume.
Use maple syrup instead of granulated sugar
Swap the sugar for the same amount of maple syrup for a deeper, rounder sweetness that leans beautifully with coconut. The texture will stay a little softer in the freezer, which helps if you like a scoop that doesn’t need a long thaw.
Make it dairy-free and vegan without changing a thing
This one is already both. Just double-check that your sugar or maple syrup is aligned with the way you cook, then keep the base fully plant-based and let the coconut milk carry the creaminess.
Store it for the best scoop later
- Refrigerator: Store the chilled base up to 2 days before churning. After churning, move it straight to the freezer; the texture gets firmer each day.
- Freezer: It freezes well for about 2 weeks in an airtight container. Press parchment against the surface to help prevent ice crystals from forming.
- Reheating: Let the container sit at room temperature for 10 to 15 minutes before scooping. If it gets too hard, don’t microwave it — that melts the edges before the center softens.
Questions I Get Asked About This Recipe
Cold Brew Coffee and Coconut Milk Ice Cream
Ingredients
Equipment
Method
- In a saucepan, whisk full-fat coconut milk, cold brew coffee concentrate, granulated sugar or maple syrup, arrowroot or cornstarch, vanilla extract, and salt until fully combined and smooth.
- Heat the mixture over medium heat, whisking constantly, until it thickens slightly and the sugar dissolves, about 5 minutes, keeping the texture glossy.
- Cool completely over an ice bath, stirring occasionally, until the mixture is no longer warm to the touch.
- Cover and refrigerate at least 4 hours, until well chilled.
- Churn the chilled mixture in an ice cream maker according to the manufacturer’s instructions, until it reaches a soft-serve consistency.
- Transfer to a container and freeze until scoopable, then serve with an extra drizzle of cold brew coffee concentrate.