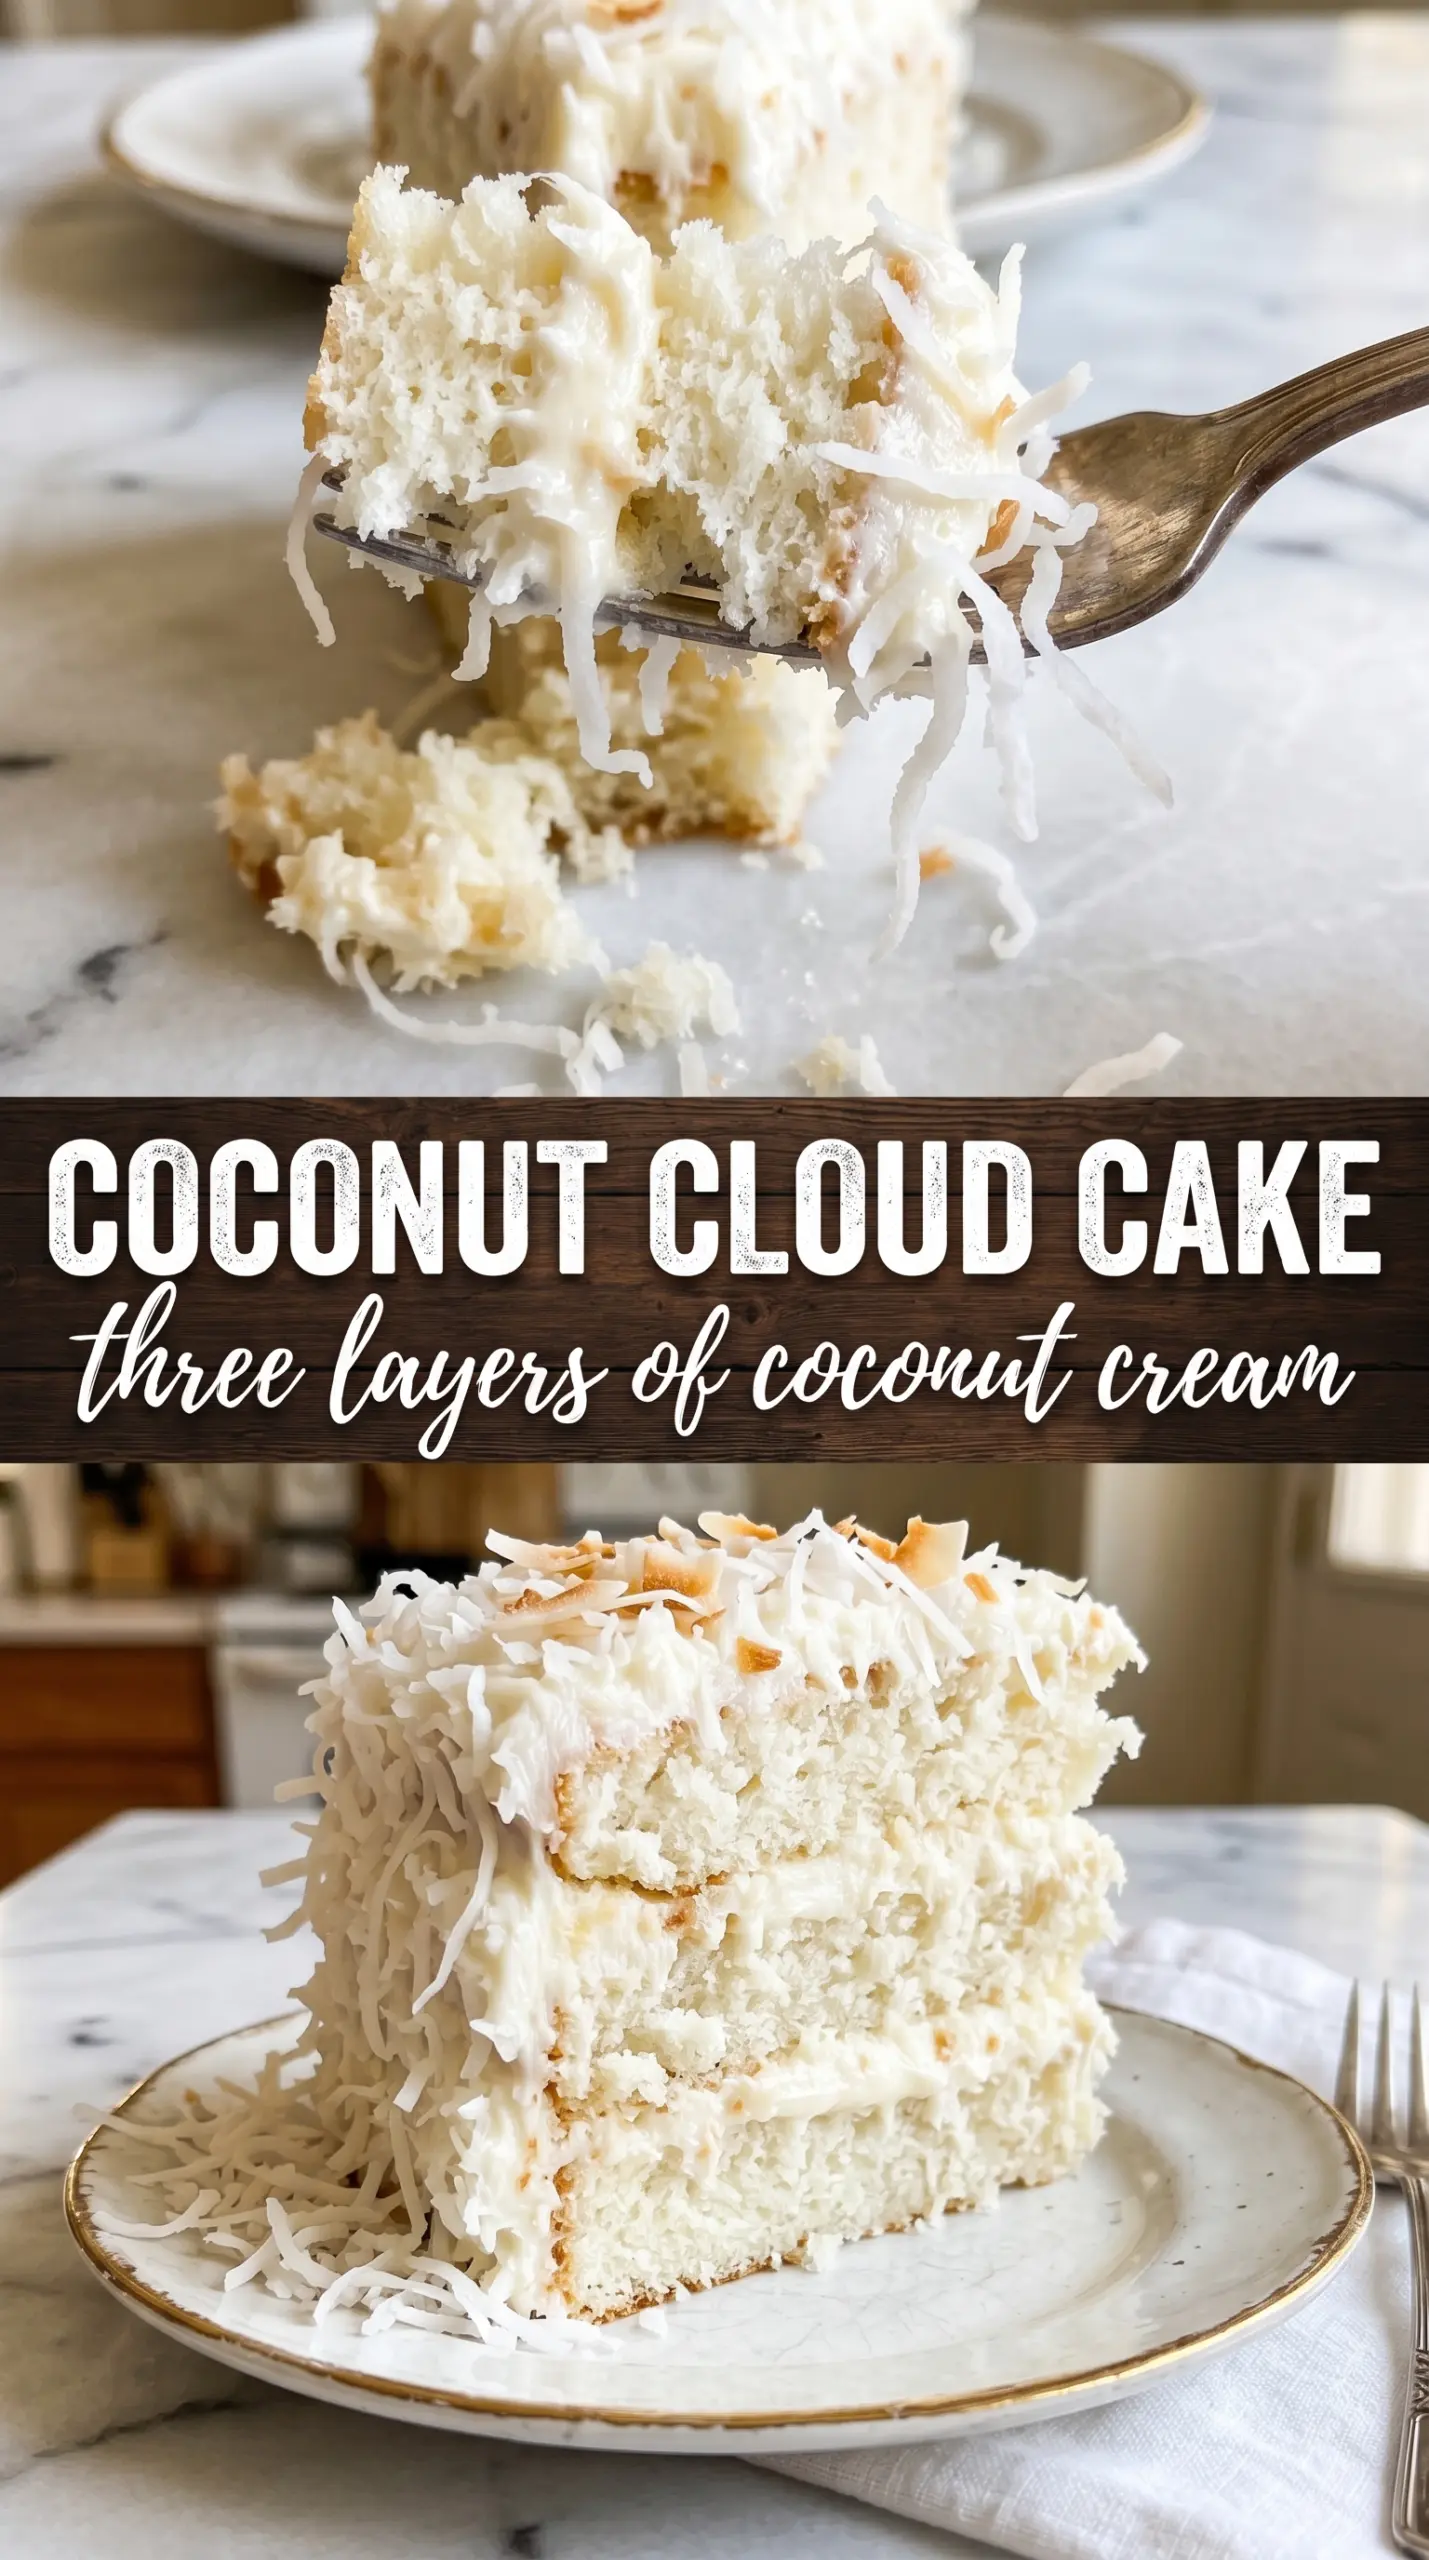
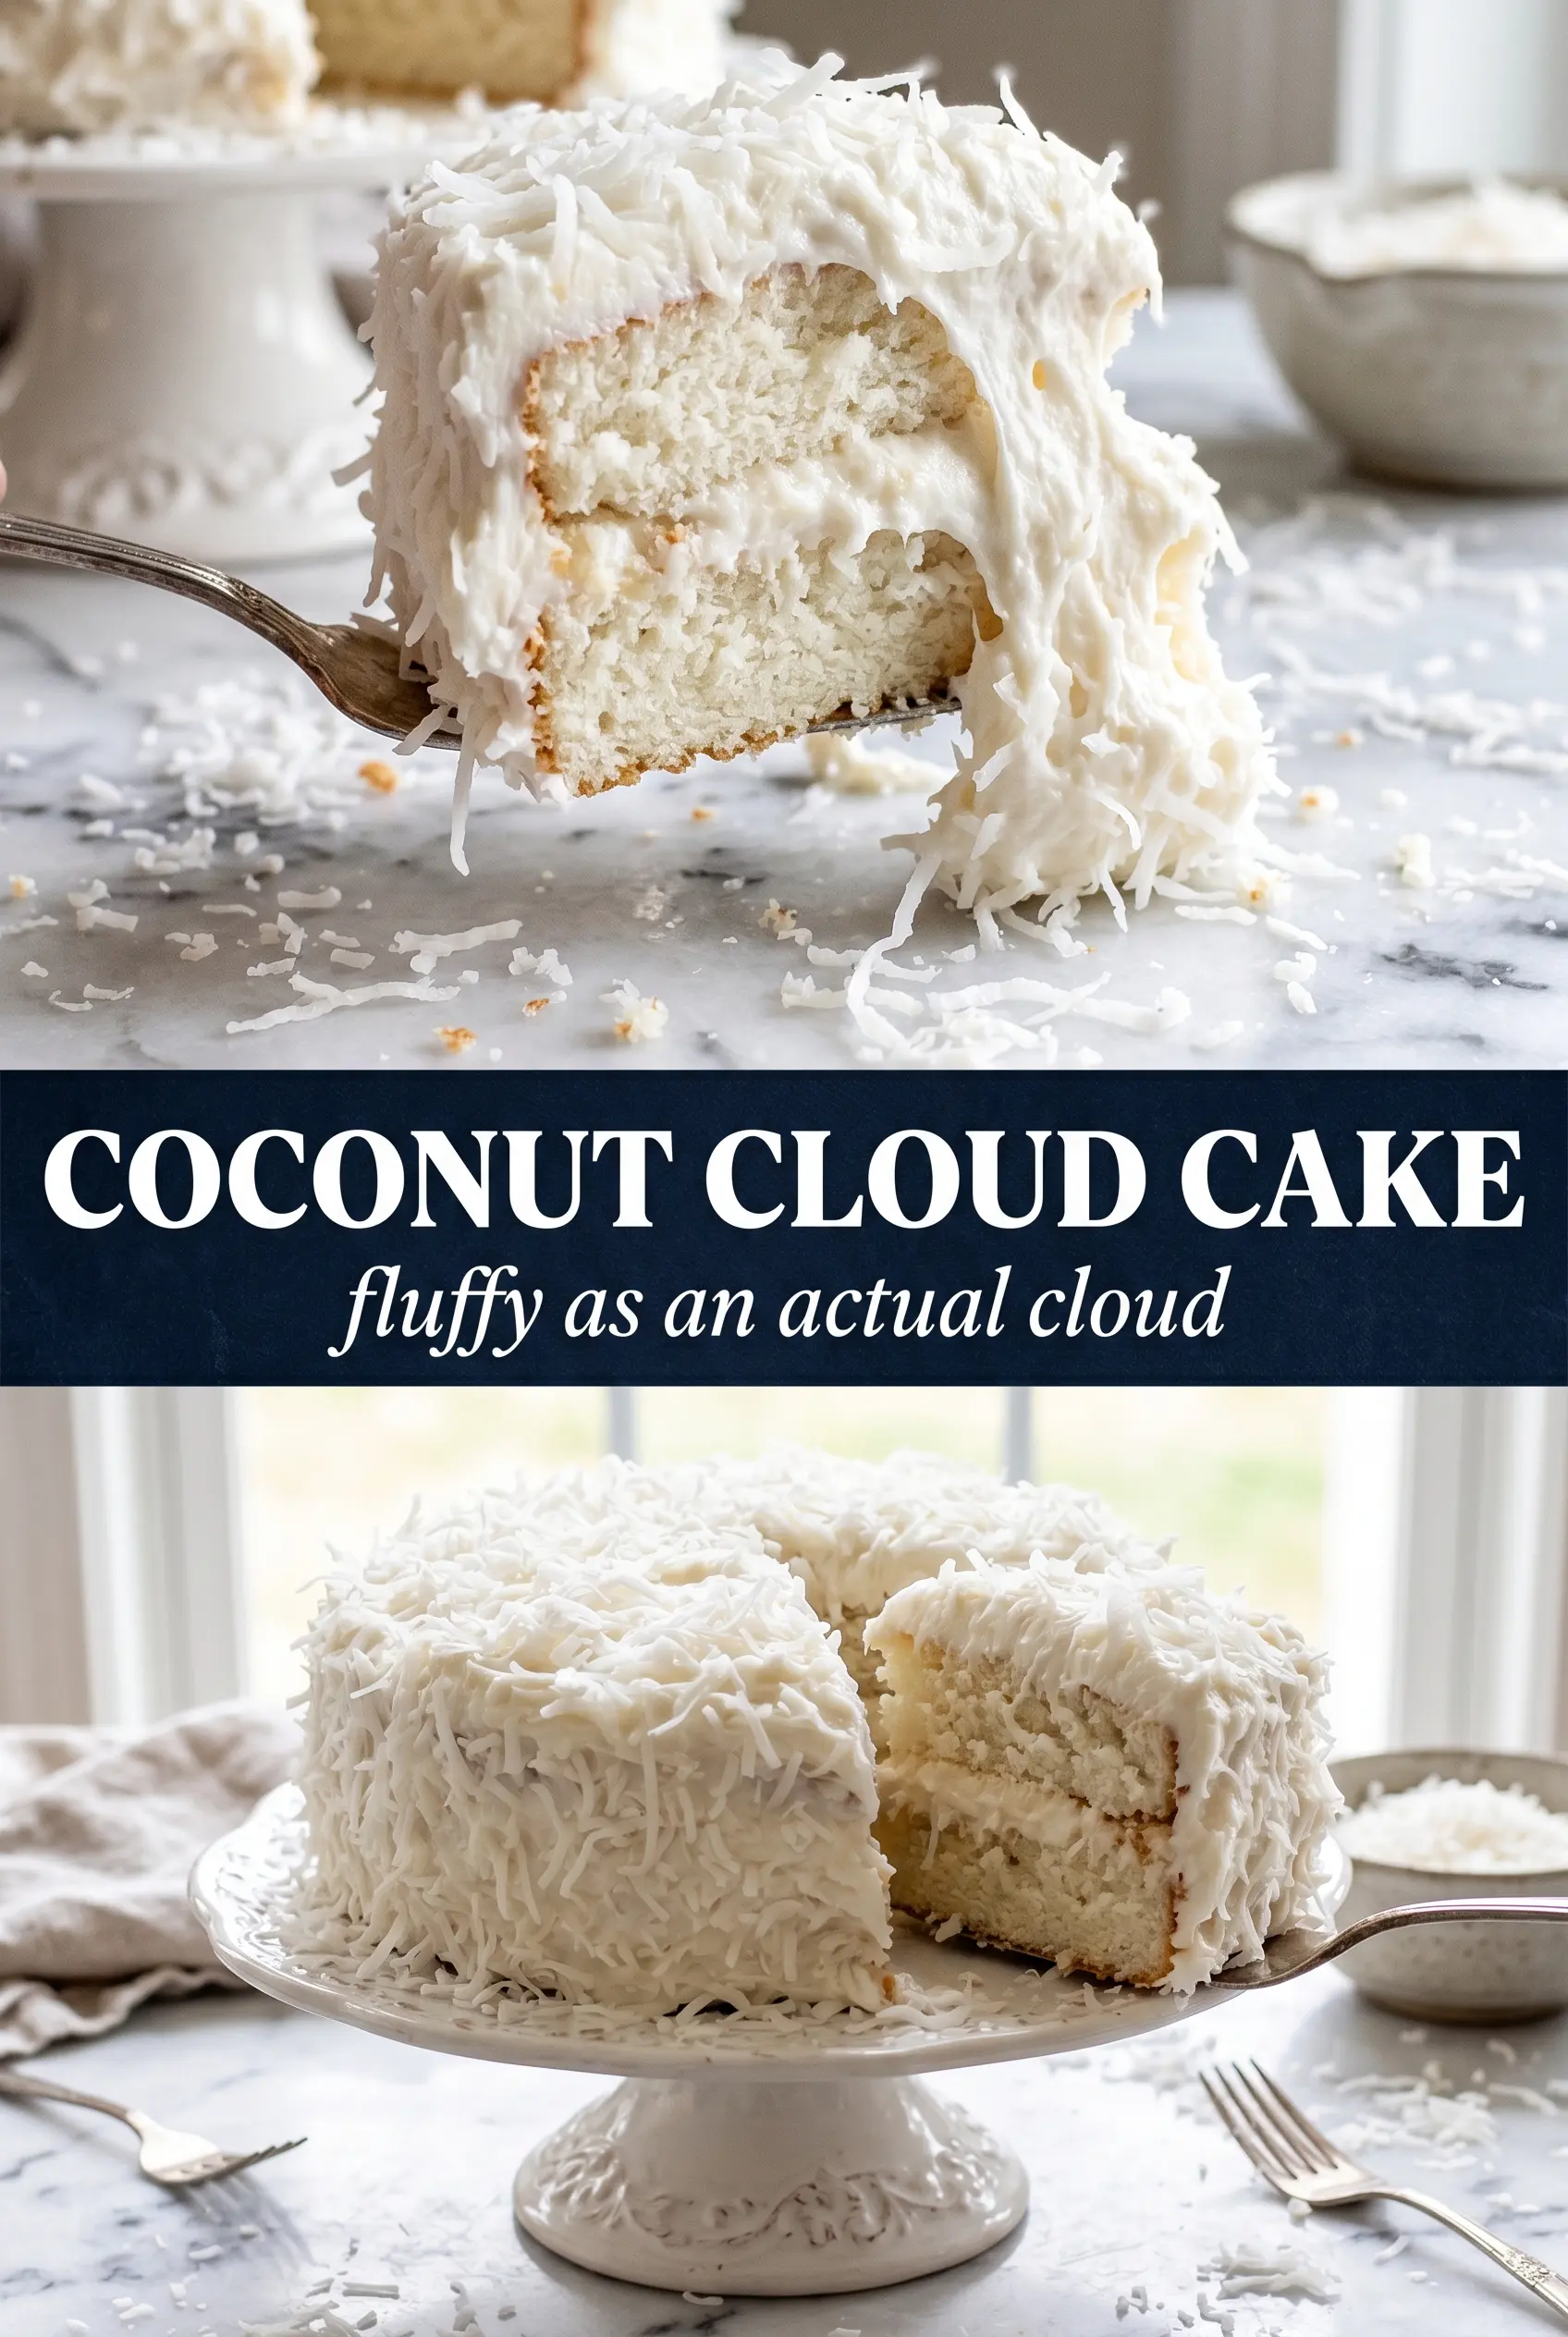
Snow-white layers, tangy coconut cream cheese frosting, and a full coat of toasted coconut turn this Coconut Cloud Cake into the kind of dessert people stop talking about mid-bite. The cake stays soft and plush, but it still slices cleanly, which matters when you want tall, neat layers instead of a cake that slumps the second you frost it. The toasted coconut on the outside gives every forkful a little crunch and a deeper coconut flavor that keeps the whole thing from tasting flat.
What makes this version work is the balance between the coconut milk, the shredded coconut in the batter, and the cream cheese in the frosting. Coconut milk keeps the crumb tender without making it greasy, while the shredded coconut adds texture without weighing the cake down. The frosting leans rich and tangy, so it cuts through the sweetness of the coconut coating instead of disappearing under it.
Below, I’ll walk you through the one part that matters most: how to keep the frosting thick enough to hold the coconut coating without tearing the cake. I’ve also included the best way to toast the coconut so it stays crisp and golden, not bitter or patchy.
The frosting stayed thick enough to hold the toasted coconut, and the cake layers came out so soft and even. I chilled it for 20 minutes before slicing and got the cleanest cuts.
Pin this Coconut Cloud Cake for the nights when you want a tall coconut layer cake with fluffy cream cheese frosting and a crisp toasted coconut finish.
The Secret to Keeping This Coconut Cake Tall Instead of Dense
The biggest mistake in coconut layer cakes is overmixing once the flour goes in. You want a batter that looks smooth and thick, but as soon as the flour is incorporated, stop. Overworking it tightens the crumb, and that’s how you end up with a cake that bakes up sturdy instead of cloud-soft.
Another place people lose the texture is with the frosting. Cream cheese frosting for a tall layer cake needs to be beaten until it’s fluffy, but not loose enough to slide off the sides. If your kitchen is warm, chill the bowl for a few minutes before assembling. A firm frosting gives you clean edges and keeps the toasted coconut from falling off in clumps.
What Each Coconut Ingredient Is Actually Doing Here
- Coconut milk — This brings moisture and a gentle coconut flavor without thinning the batter the way regular milk can. Full-fat coconut milk gives the best tender crumb, but canned lite coconut milk will work if that’s what you have. Shake the can well before measuring so the fat and liquid are mixed.
- Sweetened shredded coconut — Folded into the batter, it adds little pockets of chew and reinforces the coconut flavor without making the cake heavy. Desiccated coconut is too dry here and changes the texture, so stick with shredded if you can.
- Cream cheese — The tang is important. It keeps the frosting from reading as pure sugar and helps it stand up against the sweet toasted coconut coating. Use full-fat block cream cheese, not the spreadable tub kind, or the frosting can turn soft and slack.
- Butter — Butter shows up in both the cake and frosting for a reason. In the cake, it creates richness and structure; in the frosting, it helps the cream cheese whip into something stable enough to hold its shape. Softened means pliable, not oily.
Building the Batter and Frosting So Nothing Turns Heavy
Whipping the Butter and Sugar
Beat the butter and sugar until the mixture turns pale and fluffy, not just combined. That step traps air, and that air is what keeps the cake light once it hits the oven. If the butter is too cold, the mixture stays grainy; if it’s too warm, it turns greasy and won’t hold that aerated texture. The bowl should look creamy and almost mousse-like before the eggs go in.
Adding the Eggs and Dry Ingredients
Add the eggs one at a time and let each one disappear before the next goes in. That keeps the batter smooth and prevents it from curdling. Once you start alternating the flour mixture with the coconut milk, use a light hand and stop as soon as the last streaks disappear. The batter should look thick and silky, not whipped or elastic.
Baking and Cooling the Layers
Divide the batter evenly so the layers bake at the same pace. Pull the cakes when the tops spring back lightly and a toothpick comes out clean or with a few dry crumbs. Let them cool completely before frosting, because even a little warmth will melt the cream cheese frosting and make the coconut coating slide right off. If you’re in a hurry, a warm cake will punish you for it.
Frosting and Coating with Coconut
Beat the frosting until it’s spreadable and fluffy, then use it generously between the layers and on the outside. Press the toasted coconut on immediately while the frosting is still tacky. If you wait too long, the flakes won’t stick evenly and you’ll get bald spots. Work with your hands for the coating if needed; it gives you much better coverage than a spoon.
How to Adapt This Cake for Different Kitchens and Different Needs
Dairy-Free Coconut Cake
Use plant-based butter and a dairy-free cream cheese that firms up well when cold. The cake itself adapts nicely, but the frosting may be a little softer, so chill it before assembling and again after coating. You’ll still get the coconut-forward flavor, though the tang will be slightly less sharp.
Gluten-Free Version
Swap in a good 1:1 gluten-free baking flour blend that includes xanthan gum. The cake will still be tender, but it may be a touch more delicate, so let the layers cool fully before moving them. If the batter seems a little thicker than usual, that’s normal with many GF blends.
Cupcake Version
Bake the batter in lined muffin tins and start checking around 18 to 20 minutes. You lose the dramatic tall-layer look, but you gain faster baking and easier serving. Finish with a swirl of frosting and a pinch of toasted coconut on top for the same flavor in a more casual format.
Storage and Reheating
- Refrigerator: Store covered for up to 5 days. The frosting firms up in the fridge, and the coconut coating stays pleasantly crisp on day one and two.
- Freezer: Freeze individual slices well wrapped for up to 2 months. The texture stays best if you freeze the cake before adding the toasted coconut coating, then press on fresh coconut after thawing.
- Reheating: Let chilled slices sit at room temperature for 20 to 30 minutes before serving. Don’t microwave this cake, or the frosting will soften unevenly and the coconut coating will turn chewy.
Answers to the Questions Worth Asking
Coconut Cloud Cake
Ingredients
Equipment
Method
- Preheat the oven to 350°F and grease three 8-inch or two 9-inch round cake pans; line with parchment for easy release.
- Beat butter and sugar until very fluffy, then add eggs one at a time and mix until smooth after each addition.
- Mix in vanilla extract and coconut extract, keeping the batter consistent and creamy.
- Alternately add the flour mixture and coconut milk, mixing just until combined to avoid a dense crumb.
- Fold in the sweetened shredded coconut until evenly distributed through the batter.
- Divide batter between pans and bake for 25-30 minutes, until a toothpick comes out clean.
- Cool the cakes completely before frosting.
- Beat the cream cheese and butter until smooth, with no lumps remaining.
- Add powdered sugar and coconut extract, then beat until fluffy.
- Fill and frost the cake generously with coconut cream cheese frosting.
- Immediately press toasted coconut flakes firmly all over the outside and top until fully coated, so the flakes stick to the frosting.