Silky pumpkin pie slices cleanly, holds its shape on the plate, and still tastes like the kind of old-fashioned dessert people go back for after Thanksgiving dinner is over. The filling sets up smooth and custardy instead of grainy, and the spice balance stays warm without bulldozing the pumpkin. When the crust is baked just right, every bite lands with that contrast of flaky pastry and soft, spiced filling.
This version works because the filling is whisked until completely smooth before it ever goes into the shell, which keeps the texture even from edge to center. The short blast of high heat at the beginning helps the crust set and starts the filling’s structure, then the lower temperature finishes the custard gently so it doesn’t crack or overcook. Evaporated milk gives the pie a richer, silkier texture than regular milk, and the eggs do the real setting work once the pie cools.
Below, I’m covering the part most people get wrong: how to tell when pumpkin pie is actually done, not just hot. I’ve also included a few practical swaps and storage notes so you can make it ahead without losing that clean, creamy slice.
The filling set up beautifully and sliced clean after chilling overnight. I usually struggle with pumpkin pie cracking, but this one stayed smooth and the spice level was perfect.
Save this pumpkin pie for the smooth custard filling and flaky crust that slices clean every time.
The Trick to Pumpkin Pie That Sets Without Turning Rubbery
Pumpkin pie goes wrong when it bakes like a custard that needs aggressive heat. That’s how you end up with a filling that puffs, cracks, or turns dry around the edges before the center has a chance to finish. The two-stage bake in this recipe solves that problem: the first 15 minutes at 425F helps the crust and outer edge of the filling set, then the lower heat finishes the custard slowly.
The other thing that matters is the wobble test. The center should still jiggle a little when you nudge the pan, but it shouldn’t slosh. If it looks completely firm in the oven, it’s probably overbaked already, and the texture will go from silky to chalky once it cools.
- Pull it early, not late. The pie keeps setting from residual heat after it leaves the oven.
- Watch the edges first. They should be set before the center is fully firm.
- Skip the knife test. A clean knife in the center usually means you’ve gone too far.
What Each Ingredient Is Actually Doing in This Pie

- Pumpkin puree — This is the base of the filling, and canned puree gives the most consistent texture. Use plain pumpkin puree, not pumpkin pie filling, or the pie will come out over-sweetened and heavily spiced before you even start.
- Evaporated milk — This gives the filling a richer body than regular milk and helps it bake into that smooth, custardy texture. If you only have regular milk, the pie will still work, but it won’t be as lush.
- Eggs — These are what set the custard. Whisk them in fully so there aren’t streaks of egg white that bake into little firm bits.
- Spices — Pumpkin pie spice brings the rounded background flavor, while the cinnamon, ginger, cloves, and nutmeg sharpen it up. If you want a cleaner spice profile, reduce the cloves a touch; they’re powerful and can take over fast.
- Unbaked pie crust — A deep-dish shell is important here because the filling makes a generous amount. A tender, flaky crust matters more than a fancy design since the filling does the talking.
- Vanilla — It doesn’t make the pie taste like vanilla. It softens the spice edges and rounds out the filling.
From Smooth Batter to Clean Slice
Mixing the Filling Until It’s Completely Even
Whisk the pumpkin, evaporated milk, eggs, sugar, spices, salt, and vanilla until the mixture looks uniform and glossy. You shouldn’t see streaks of egg or darker pockets of spice. If the filling is lumpy now, those lumps usually stay in the finished pie, so this is the stage that decides whether the texture feels silky or patchy.
Filling the Crust Without Dragging in Air
Pour the filling into the unbaked pie shell slowly so it settles evenly. A steady pour helps prevent bubbles from forming on top, which can leave tiny craters after baking. If the crust is very soft or warm, chill the filled pie for a few minutes before it goes into the oven so the edges hold their shape better.
Watching for the Right Kind of Doneness
Bake at 425F for 15 minutes, then reduce the heat to 350F and continue until the edges are set and the center still has a slight wobble. The center should look a little soft, not liquid. If you wait until the middle is completely firm in the oven, the custard will overcook as it cools and the filling will turn dense instead of smooth.
Cooling Before You Even Think About Slicing
Let the pie cool completely at room temperature for at least 2 hours before refrigerating. Cutting too soon will make the filling ooze, even if it looked done in the oven. The chilling time isn’t optional if you want neat slices; it finishes the set and gives the custard its clean, steady structure.
Make It Dairy-Free Without Losing the Custard Texture
Use full-fat canned coconut milk in place of the evaporated milk. The pie will taste a little more coconut-forward and the filling will be slightly softer, but it still sets well. Don’t use thin plant milks here; they don’t give the custard enough body.
How to Use a Gluten-Free Crust
A good gluten-free pie crust works well as long as it’s sturdy enough to hold a wet filling. Blind baking isn’t required for this recipe, but if your crust is delicate, chill it well before filling so it doesn’t slump at the edges.
Scaling It for a Crowd
Double the filling only if you have two deep-dish crusts ready to go. The custard itself scales easily, but a single pie shell can only hold so much before it bakes over and stains the pan. Mix each pie in its own bowl if you want to keep the spice evenly distributed.
Storage and Reheating
- Refrigerator: Keep covered for up to 4 days. The crust softens a little after the first day, but the filling stays smooth.
- Freezer: Pumpkin pie freezes well. Wrap the fully cooled pie tightly, then freeze for up to 1 month. Thaw overnight in the refrigerator for the cleanest texture.
- Reheating: Serve chilled or let slices sit at room temperature for 20 to 30 minutes. If you warm it, use a low oven for a few minutes only. High heat will make the custard separate and the crust lose its flake.
Questions I Get Asked About This Recipe
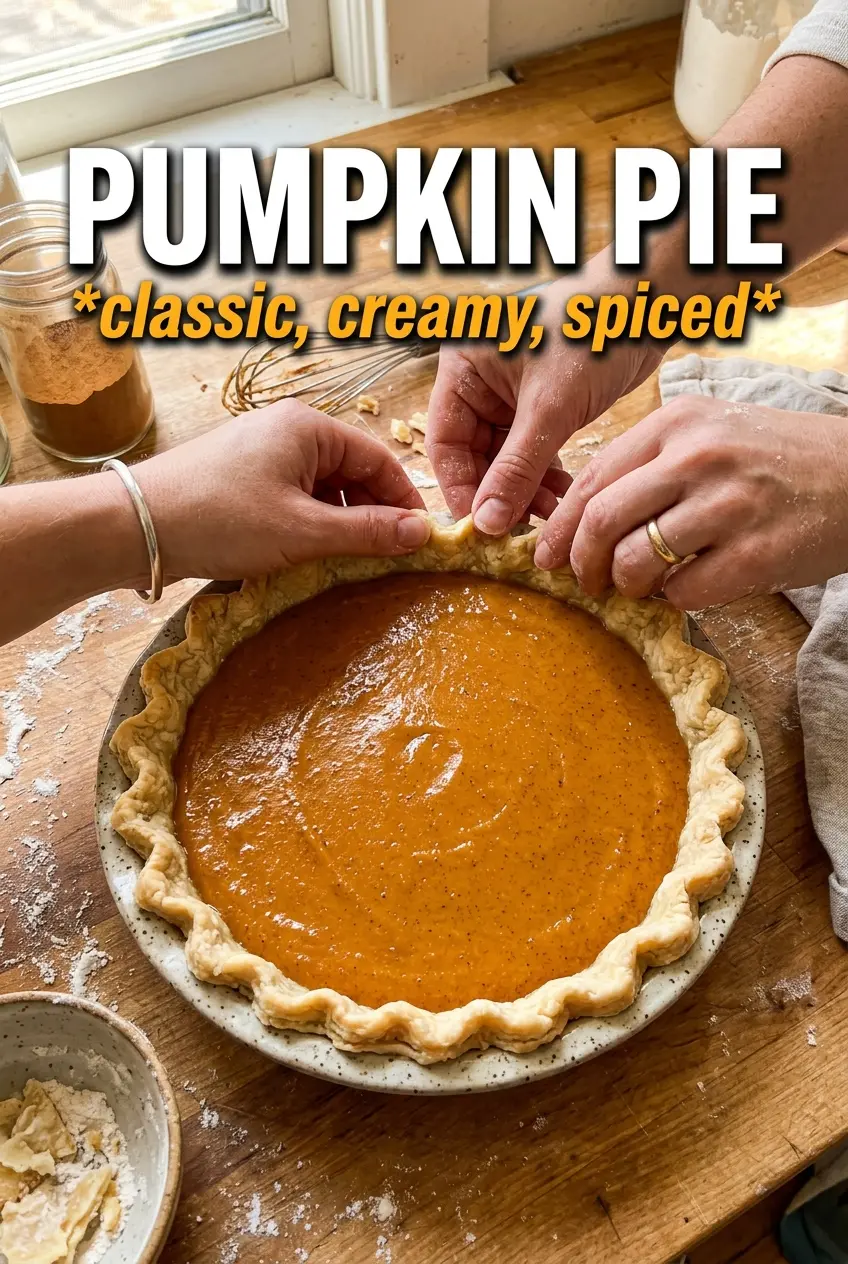
Classic Pumpkin Pie
Ingredients
Equipment
Method
- Preheat oven to 425F and place a sheet pan on the middle rack for gentle heat distribution.
- Whisk pumpkin puree, evaporated milk, eggs, granulated sugar, pumpkin pie spice, cinnamon, ginger, cloves, nutmeg, salt, and vanilla extract until completely smooth with no streaks.
- Pour the filling into the unbaked deep-dish pie crust and smooth the top for even baking.
- Bake at 425F for 15 minutes until the edges look set and the center begins to puff slightly.
- Reduce heat to 350F and bake 40-45 minutes until the edges are set and the center has just a slight wobble.
- Cool completely at room temperature for at least 2 hours until the filling is fully firm when gently jiggled.
- Refrigerate until ready to serve, then top each slice with whipped cream.