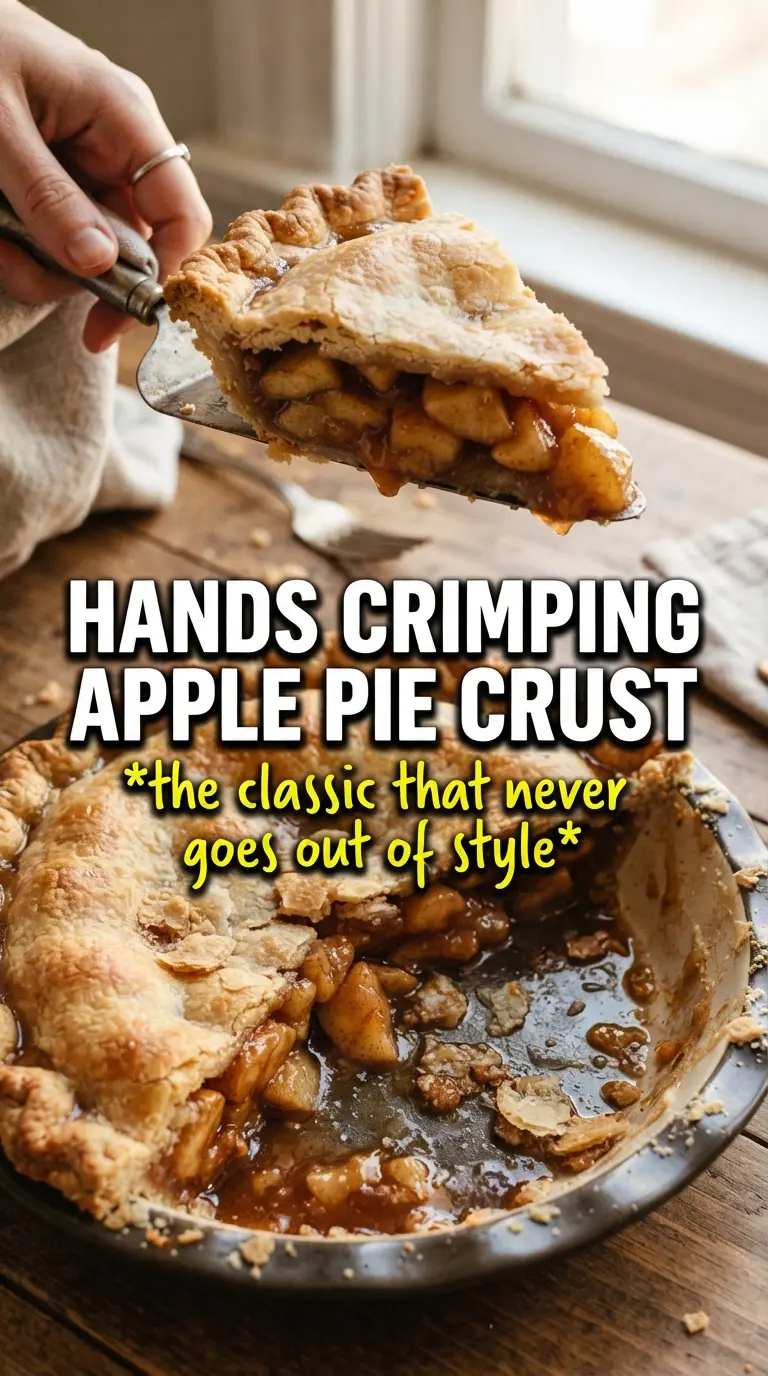
Flaky crust, tender apples, and a filling that slices clean instead of collapsing into soup — that’s the kind of apple pie worth making again. This version lands right in the sweet spot between sharp and cozy: the apples stay distinct, the spices read clearly, and the top crust bakes up deep golden with just enough cinnamon sugar to crackle under the knife.
What makes it work is the mix of apples and the short rest before baking. Granny Smith brings structure and tang, while Honeycrisp softens into a sweeter, juicier filling without turning mushy. Tossing the fruit with cornstarch and letting it sit gives the juices time to draw out, which means you can drain off the excess and avoid a watery pie. The result is a filling that thickens in the oven instead of leaking all over the plate.
Below, I’ve included the small details that matter most: how to keep the bottom crust from going pale, why the filling needs that 2-hour cool-down, and what to change if you want to use what’s already in your kitchen.
The apples held their shape and the filling set up perfectly after cooling. I used the Granny Smith and Honeycrisp mix, and the pie sliced clean without running everywhere.
Like this apple pie? Save it to Pinterest for the flaky double crust and perfectly spiced filling when you want a classic dessert that slices clean.
The Resting Time Is What Keeps the Filling from Going Soupy
The biggest mistake in apple pie is rushing the fruit straight into the crust after tossing it with sugar. Apples release a lot of juice once they sit, and that liquid needs to be managed before baking or it collects under the top crust and weakens the whole pie. This recipe solves that by letting the filling rest for 15 minutes, then draining off the excess liquid before it goes into the shell.
That step does two important things: it prevents a soggy bottom and it helps the cornstarch thicken the juices that are left. If you skip it, the pie can still taste good, but the filling won’t set with the same clean slice. The mounded center also matters, because the apples shrink as they bake.
- Granny Smith apples hold their shape and bring enough tartness to keep the pie from tasting flat.
- Honeycrisp apples soften a little more and add natural sweetness, which balances the sharper fruit.
- Cornstarch is the thickener here. Flour can work, but it leaves the filling a little cloudier and heavier.
- Lemon juice keeps the apples bright and helps prevent the filling from tasting dull after baking.
What Each Ingredient Is Actually Doing in This Pie
- Homemade or refrigerated pie crust both work. Homemade gives you more flavor and flake, but a good store-bought crust is a smart shortcut when the filling is already doing the heavy lifting.
- Mix of Granny Smith and Honeycrisp apples gives the best texture. All Granny Smith can taste a little sharp; all soft apples can turn mushy. The mix keeps the filling balanced.
- Brown sugar adds a deeper caramel note. If you only have white sugar, the pie will still work, but the flavor will be a little flatter.
- Butter on top of the filling melts into the apples as they bake and rounds out the spice. Don’t skip it if you want that classic bakery-style finish.
- Egg wash and cinnamon sugar give the top crust shine, color, and a little crunch. The egg wash is what helps the sugar stick and bake into a crisp finish.
How to Build the Pie So the Crust Stays Crisp and the Filling Sets
Fitting the Bottom Crust
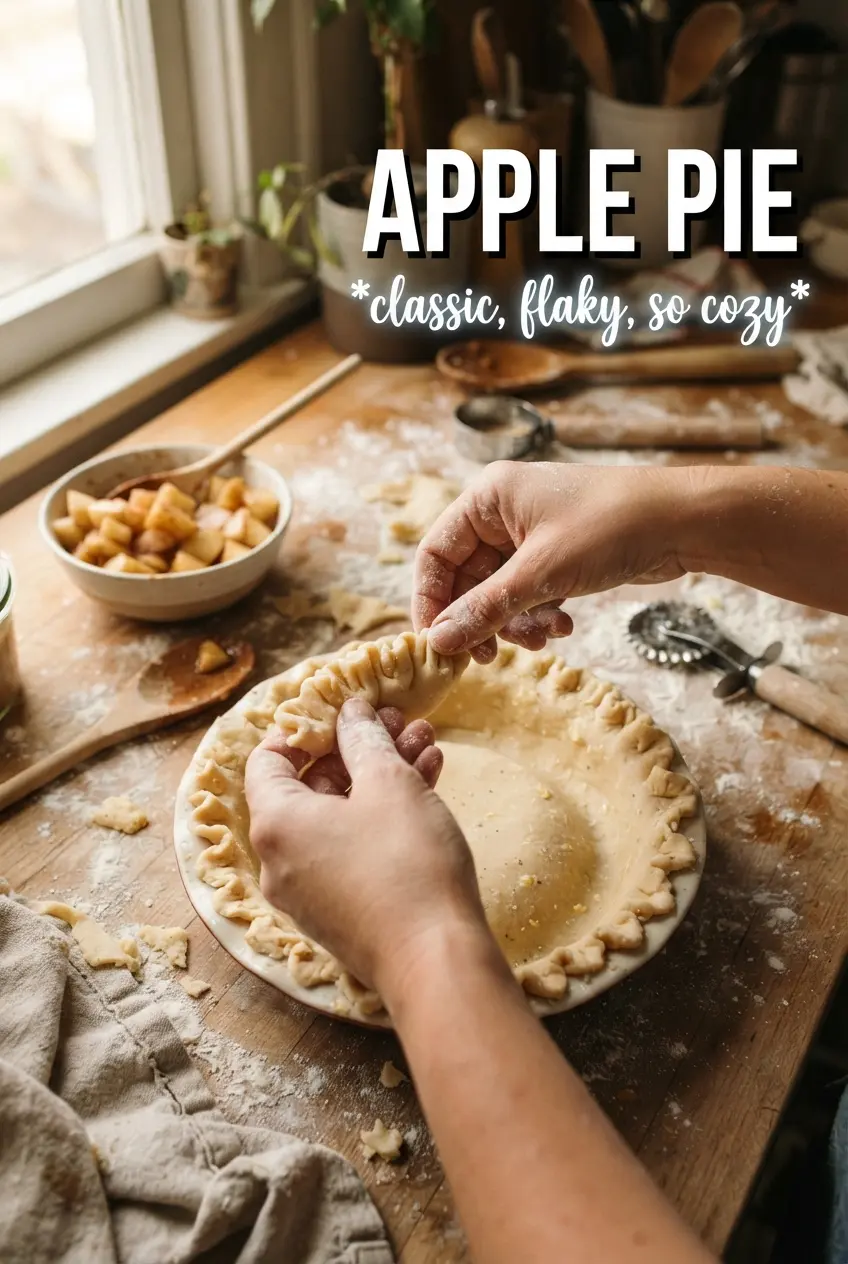
Press the first crust into a 9-inch pie dish without stretching it. If you pull the dough too tight, it shrinks back in the oven and can slide down the sides. Leave the edges overhanging slightly so you have enough dough to crimp after the top crust goes on. A cold crust going into a hot oven helps it hold its shape and bake up flaky instead of greasy.
Letting the Apples Release Their Juice
Toss the sliced apples with the sugars, spices, cornstarch, and lemon juice, then let them sit for the full 15 minutes. You’ll see liquid collect in the bowl, and that’s exactly what you want. Drain the excess before filling the pie, or it can overflow and dilute the thickener. The apples should look glossy, not swimming.
Baking in Two Heat Stages
Start hot at 425F for the first 25 minutes to set the crust and kick-start browning. Then drop to 375F so the apples cook through without burning the top. If the crust is already deep golden before the center is bubbling, cover the edges loosely with foil. The pie is done when the filling bubbles through the vents and the crust looks evenly browned.
Cooling Until the Filling Settles
Let the pie cool for at least 2 hours before slicing. Hot filling looks set for a few minutes, then slides apart the moment you cut into it. That cooling time lets the cornstarch finish thickening and gives you neat slices instead of a runny plate. Warm pie is good; properly cooled pie is what you serve when you want the clean cut.
How to Adapt This for Different Pies and Pantry Shortcuts
All Store-Bought Crust Shortcut
Use refrigerated pie crusts for both the bottom and top if you want to save time. Keep them cold until the last minute so they stay easy to handle and bake with better layers. The pie will still taste homemade because the filling carries the flavor.
Gluten-Free Version
Swap in a gluten-free pie crust and keep the filling as written. Cornstarch is already doing the thickening, so you don’t need to change the filling for the crust swap. The main difference is texture: gluten-free dough can be more fragile, so chill it well before baking.
Less Sweet, More Tart Pie
Cut the granulated sugar back a little and lean more heavily on Granny Smith apples. The filling will taste brighter and a little more old-fashioned, but it may also release slightly more juice, so keep the draining step. This version is best if you don’t want the pie to tip into candy-sweet territory.
Storage and Reheating
- Refrigerator: Store covered for up to 4 days. The crust softens a little in the fridge, but the filling stays nicely set.
- Freezer: Freeze baked pie for up to 2 months, tightly wrapped once completely cool. Thaw overnight in the refrigerator before reheating.
- Reheating: Warm slices in a 300F oven for 10 to 15 minutes. The common mistake is microwaving, which turns the crust limp and makes the filling weep.
Answers to the Questions Worth Asking
Apple Pie
Ingredients
Equipment
Method
- Preheat oven to 425°F, then fit one pie crust into a 9-inch pie dish.
- Keep the second pie crust chilled while you prepare the filling.
- Toss sliced apples with granulated sugar, brown sugar, cinnamon, nutmeg, allspice, cornstarch, and lemon juice, then let sit 15 minutes.
- Drain any excess liquid, then pile the apple filling into the crust, mounding in the center.
- Dot the filling with diced unsalted butter.
- Top with the second crust, then crimp the edges to seal.
- Cut steam vents in the top crust to let heat escape.
- Brush with egg wash (beaten egg mixed with water) and sprinkle with cinnamon sugar (sugar with cinnamon).
- Bake 25 minutes at 425°F, looking for the crust to start turning golden.
- Reduce heat to 375°F and bake 30 to 35 more minutes until the crust is deep golden and the filling bubbles.
- Cool at least 2 hours before slicing so the filling sets.