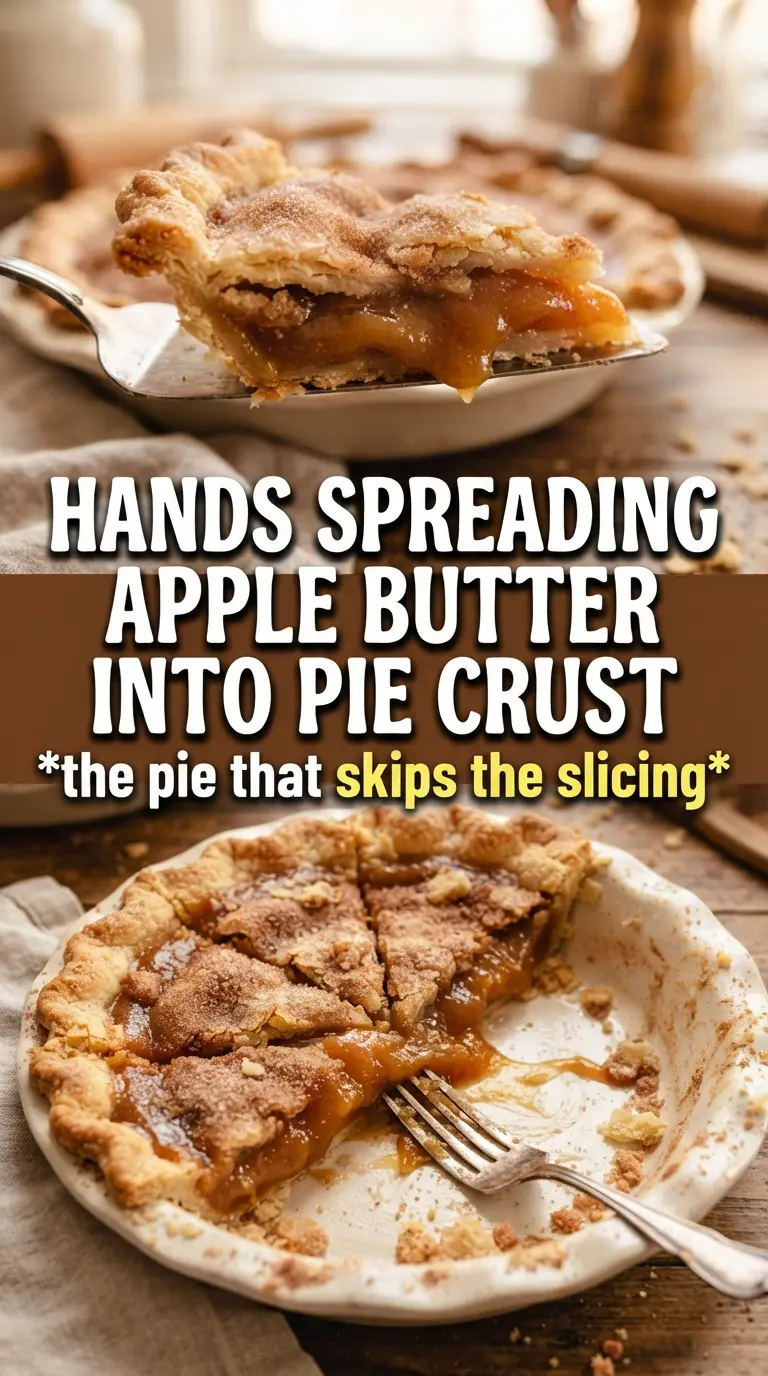
Cinnamon Sugar Apple Butter Pie bakes up with a flaky top crust, a thick spiced filling, and that deep caramel-apple flavor that tastes like the best part of a bakery pie. The apple butter does half the work here. It melts into the sliced apples as they bake, giving the filling body and a concentrated apple flavor that keeps the pie from tasting flat or watery.
The trick is balance. Fresh apples bring texture, while the apple butter fills in the gaps with richness and spice. Cornstarch helps the juices set instead of running all over the plate, and a little lemon juice keeps the filling tasting bright instead of heavy. The cinnamon sugar on top gives the crust a crackly finish that makes each slice feel special without adding any extra fuss.
Below you’ll find the small details that matter most, from keeping the bottom crust from turning soggy to the best way to slice it cleanly after baking. If you’ve ever had apple pie filling slump into a mess, this version will feel like a fix instead of another gamble.
The filling set up beautifully and the apple butter made the flavor taste like it had been simmering all day. I was worried the bottom crust would get soggy, but it held together once the pie cooled.
Save this Cinnamon Sugar Apple Butter Pie for the next time you want a spiced apple dessert with a crisp cinnamon sugar top and a filling that slices cleanly.
The Reason This Pie Slices Cleanly Instead of Sliding Apart
Most apple pies fall apart for one of two reasons: the fruit releases too much liquid, or the filling never gets enough heat to set. This pie avoids both problems by using apple butter as a thick base and cornstarch on the fresh apples before they go into the crust. The apple butter acts like a built-in binder, so the filling starts with structure instead of waiting for the fruit to collapse and thicken on its own.
The other key is the bake time. You want the filling bubbling through the vents before you pull it from the oven. That bubbling is not decoration — it’s the signal that the cornstarch has activated and the juices have thickened enough to hold together after cooling. If the crust looks done but you don’t see those bubbles, give it more time.
- Apple butter — This is the backbone of the filling. A thicker, smoother apple butter works best because it spreads easily and bakes into the sliced apples without leaving dry pockets.
- Apples — Use a firm baking apple that keeps its shape. Softer apples can work, but they break down faster and give you a mushier slice.
- Cornstarch — This is what turns the fruit juices into pie filling instead of apple soup. Arrowroot can work in a pinch, but it can set a little softer.
- Lemon juice — It keeps the apples from tasting dull and helps balance the sweetness of the apple butter and sugar.
Building the Filling So the Crust Stays Crisp
Layering the apple butter first
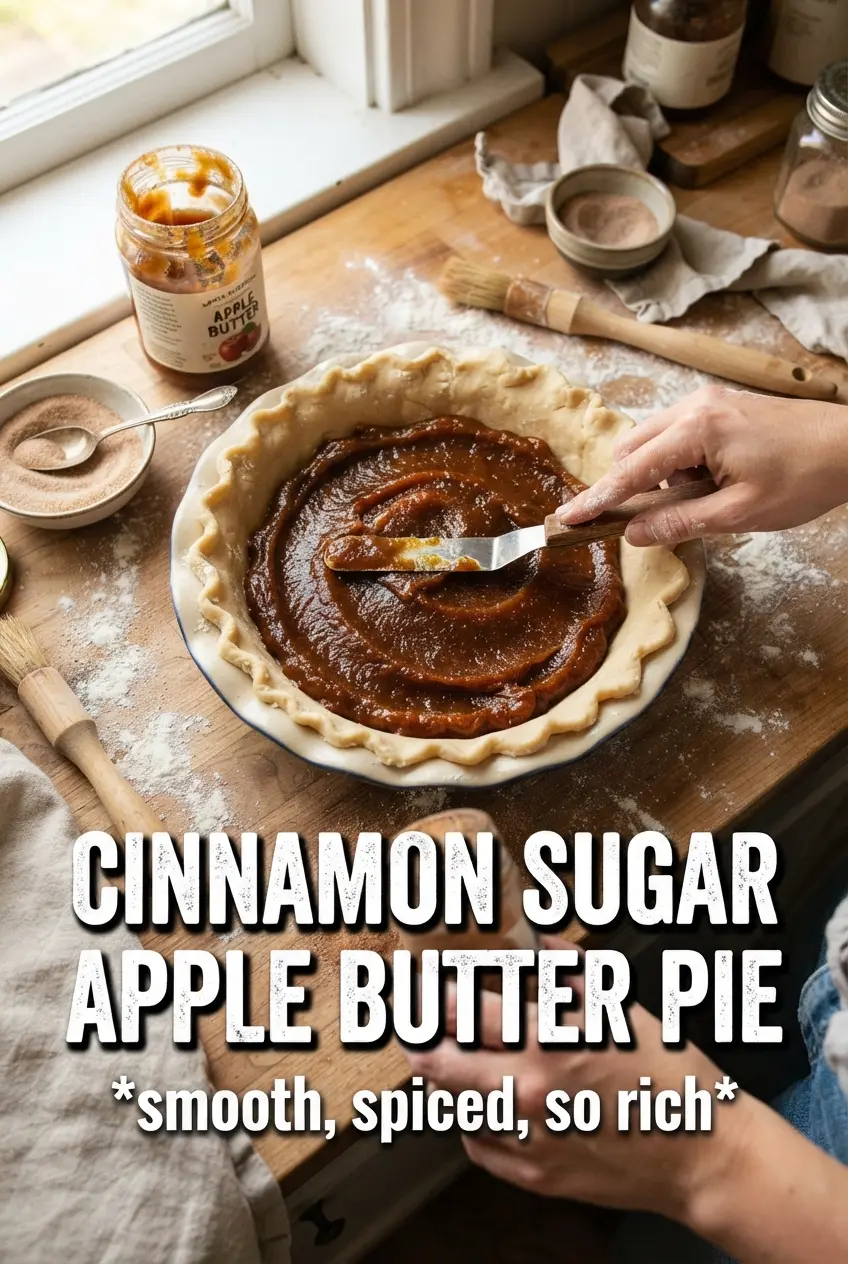
Spread the apple butter directly over the bottom crust before adding the fruit. That thin layer gives the filling a head start on thickness and keeps the apples from sitting on bare pastry, which helps the crust stay from getting soggy too quickly. Use the back of a spoon and work it nearly to the edges. If the layer is too thick in one spot, the filling can bake unevenly and stay loose in the center.
Tossing the apples until they look lightly coated
Mix the sliced apples with both sugars, cinnamon, nutmeg, cornstarch, and lemon juice until every slice looks glossy and lightly dusted. You don’t want wet clumps of cornstarch at the bottom of the bowl. The sugar draws out a little juice, and that moisture helps the cornstarch disperse before baking. If your apples seem dry and stubborn, let them sit for a few minutes after tossing so the coating can start working.
Baking until the vents are bubbling
After the top crust goes on, cut clear steam vents and brush the surface with egg wash before adding the cinnamon sugar. Bake until the crust is deeply golden and you can see filling bubbling through the vents. Pale crust usually means the center hasn’t finished thickening yet. Let the pie cool for at least an hour before slicing, or the filling will run and the layers won’t hold.
What the Apple Butter and Spice Are Doing Here
- Refrigerated pie crusts — These keep this dessert weeknight-friendly and still give you a flaky result. Homemade crust is great if you already have it, but the filling is rich enough that a good store-bought crust holds up well here.
- Apple butter — This is where the pie gets its deeper apple flavor. It brings sweetness, spice, and thickness at once, so the filling tastes layered instead of just sugary.
- Brown sugar — Use it with the granulated sugar for a little molasses depth. If you use only white sugar, the filling tastes a bit flatter.
- Egg wash and cinnamon sugar topping — The egg wash helps the sugar cling and gives the top crust that glossy, burnished finish. Without it, the sugar tends to fall off in the oven.
Use a firmer apple if you want cleaner slices
Granny Smith, Honeycrisp, Braeburn, or Jonagold all hold up well. A softer apple turns tender faster and gives you a looser filling, which can be nice if that’s what you want, but it won’t give the same defined layers.
Make it dairy-free without changing the structure
Use a dairy-free pie crust and swap the butter dot on top for a small amount of plant-based butter. The filling still sets the same way because the cornstarch and apple butter are doing the heavy lifting.
Cut the sweetness by reducing the granulated sugar slightly
If your apple butter is already sweet, drop the granulated sugar to 1/3 cup. Keep the brown sugar in place for depth, or the filling can taste sharp instead of balanced.
Storage and Reheating
- Refrigerator: Store covered for up to 4 days. The crust softens a little, but the filling stays set.
- Freezer: Wrap the baked and fully cooled pie well and freeze for up to 2 months. Thaw overnight in the refrigerator before reheating.
- Reheating: Warm slices in a 300F oven until the crust comes back to life. The microwave softens the pastry, so use it only if you don’t mind losing the crisp edges.
Answers to the Questions Worth Asking
Cinnamon Sugar Apple Butter Pie
Ingredients
Equipment
Method
- Preheat oven to 375F and set a rack in the center. Fit one pie crust into a 9-inch pie dish.
- Toss sliced apples with granulated sugar, brown sugar, cinnamon, nutmeg, cornstarch, and lemon juice until evenly coated. Spread apple butter over the bottom crust.
- Layer the spiced apple slices over the apple butter. Dot with diced unsalted butter.
- Top with the second crust and crimp the edges. Cut steam vents in the top crust so steam can escape.
- Brush the top crust with the beaten egg wash. Mix the remaining cinnamon and sugar, then sprinkle it over the top crust.
- Bake for 45-50 minutes at 375F until the crust is deeply golden and the filling is bubbling through the vents. Transfer to a cooling rack and cool at least 1 hour before slicing.