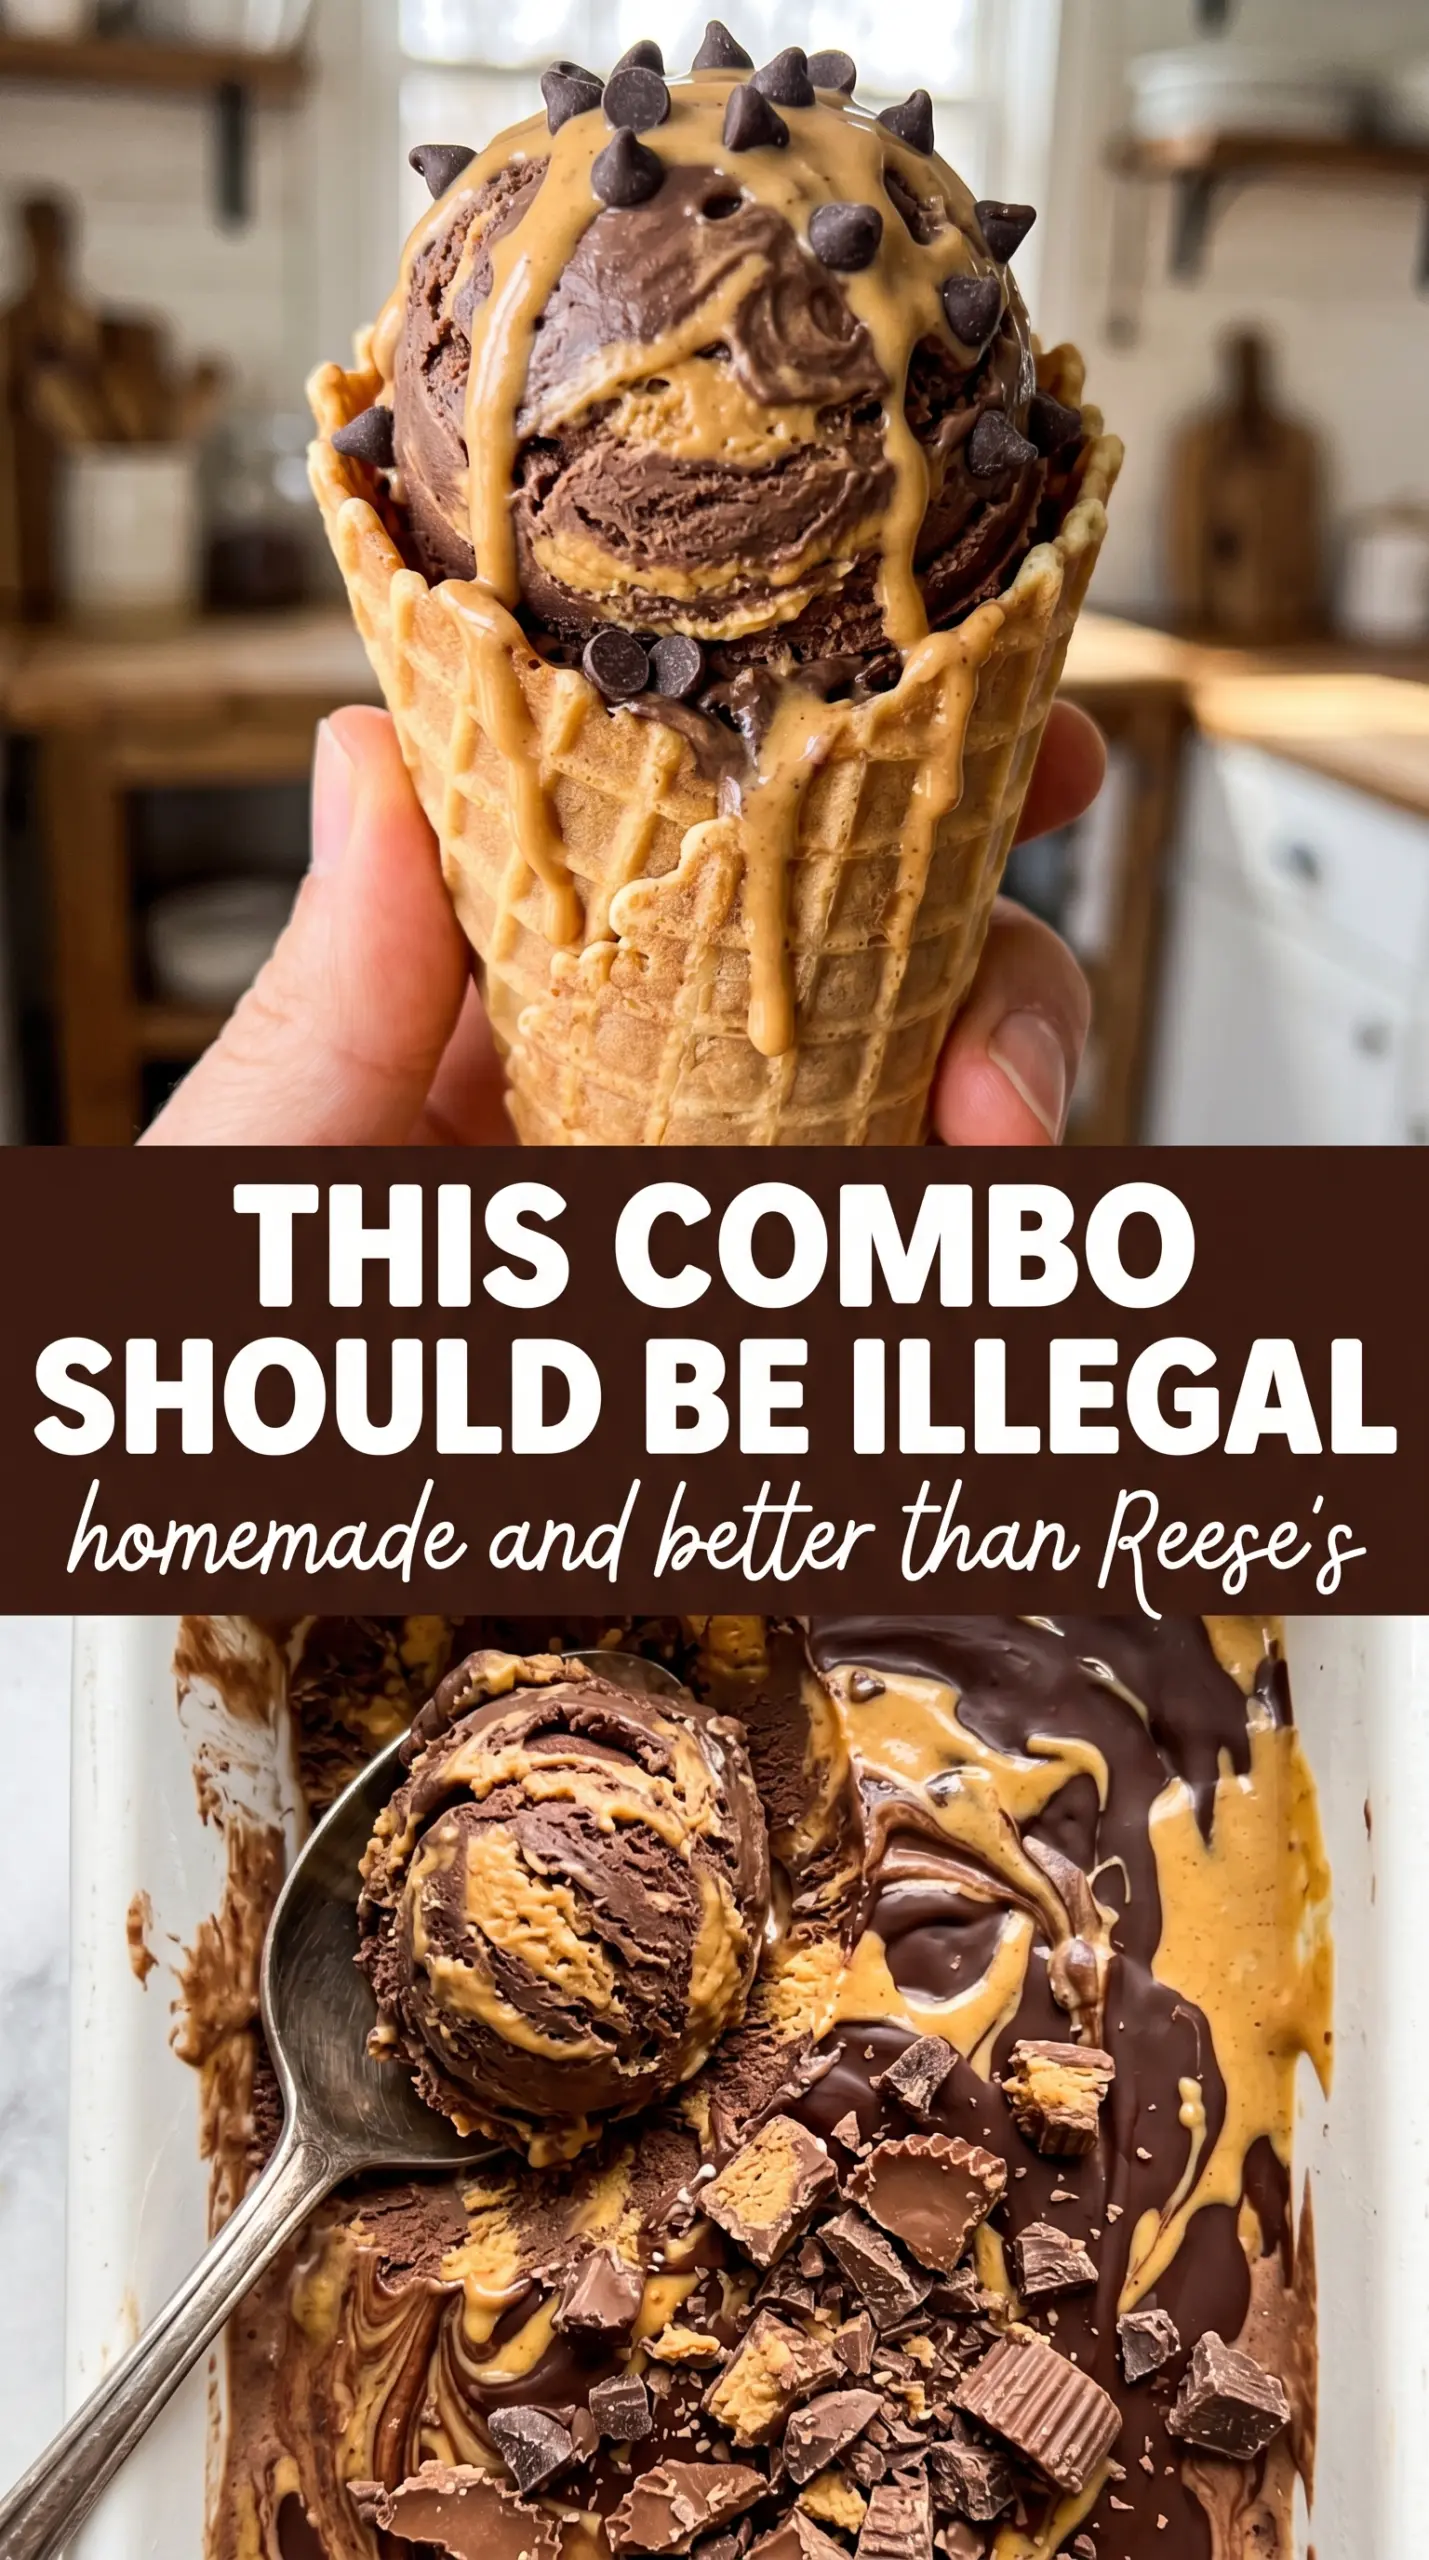
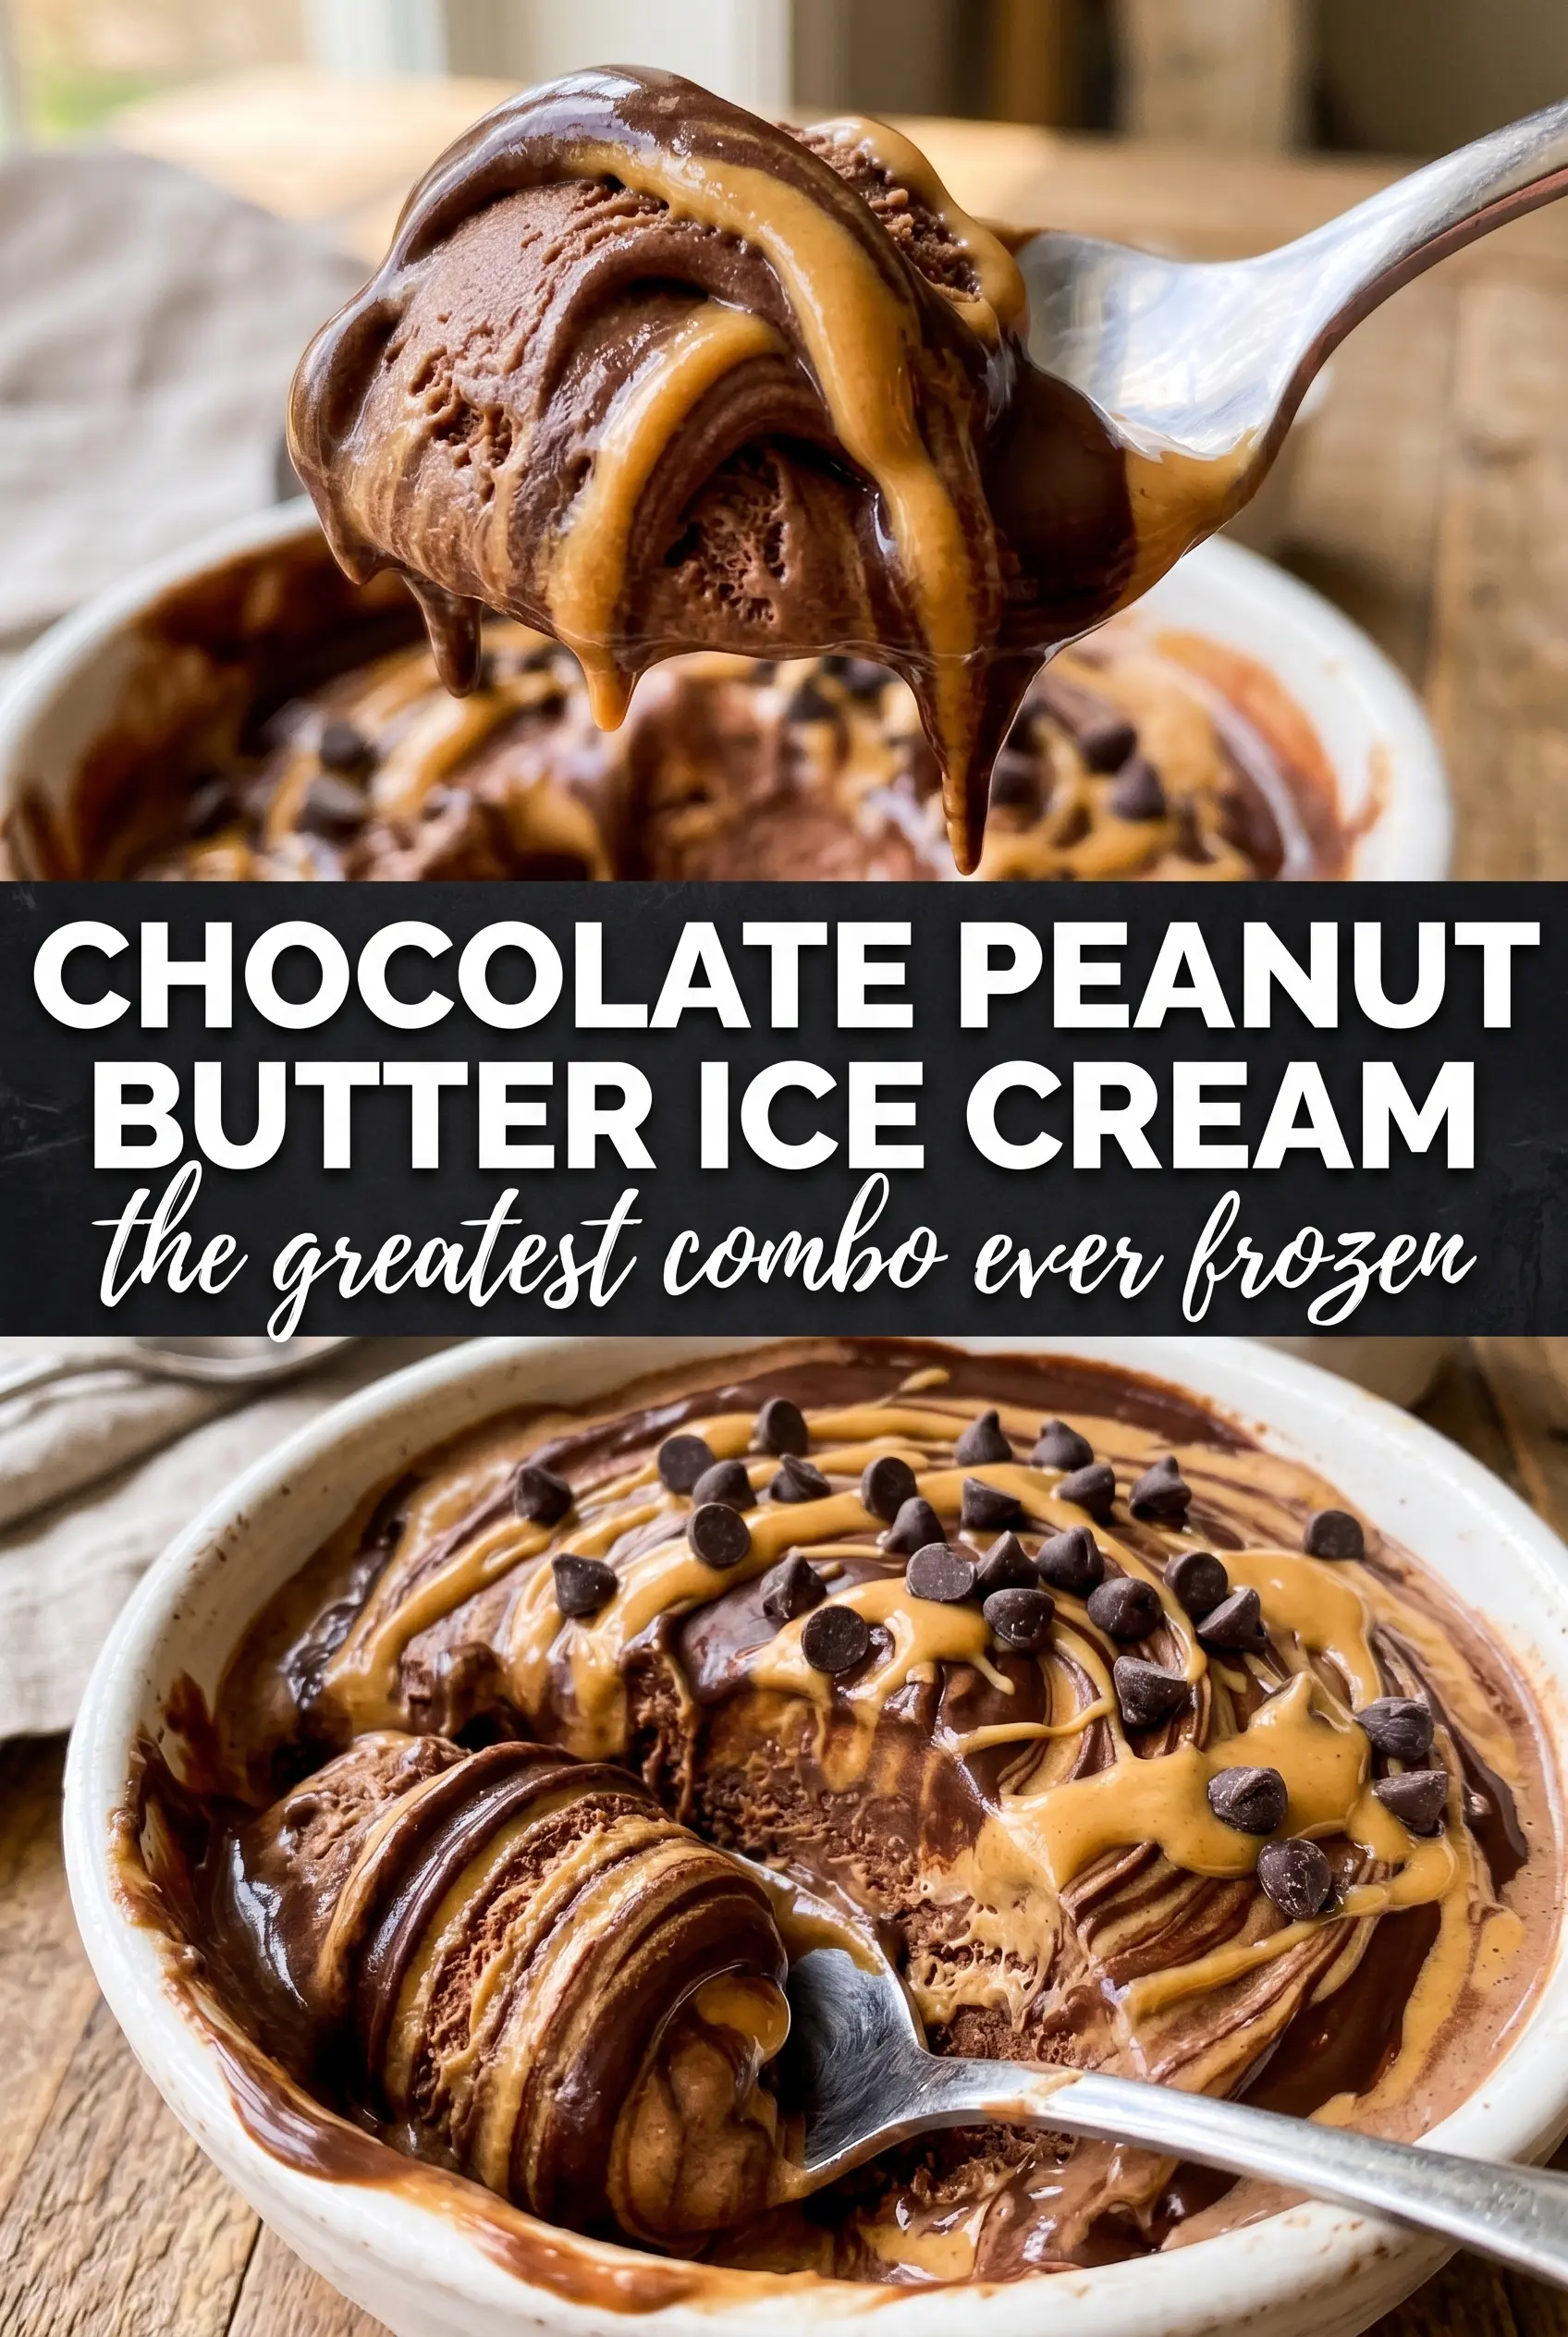
Deep chocolate ice cream with thick ribbons of peanut butter running through every scoop is the kind of dessert that disappears fast. The contrast is what makes it work: a dark, bittersweet base that freezes smooth and dense, then soft swirls of salty-sweet peanut butter that stay creamy instead of turning into hard little streaks. Every spoonful tastes like the best parts of a peanut butter cup, only colder and richer.
The trick here is building a proper custard base first, then chilling it all the way before it ever touches the churn. That gives you a smoother texture and a cleaner chocolate flavor, because the cocoa and chopped dark chocolate both get a chance to bloom before the eggs set the mixture. The peanut butter goes in after churning, while it’s still warm enough to drizzle but not so hot that it melts the ice cream into soup.
Below, I’ve included the exact cues I watch for when the custard is ready, plus the one peanut butter step that makes the swirl look dramatic instead of muddy. If you’ve ever ended up with grainy custard or peanut butter that sank straight to the bottom, you’ll want to read through the process section before you start.
The chocolate base turned out smooth and rich, and the peanut butter stayed in beautiful ribbons instead of disappearing into the ice cream. I chilled it overnight and it churned up perfectly creamy.
Love the dramatic peanut butter ribbons in this chocolate peanut butter ice cream? Save it to Pinterest for the next time you want a homemade churned dessert with a rich fudge-like swirl.
The Custard Needs Gentle Heat, Not Guesswork
The biggest mistake in chocolate ice cream is rushing the base after the eggs go in. If the heat is too high, you get scrambled yolks or a grainy texture that never smooths out again. Cook this one low and steady until it reaches 175F and lightly coats the back of a spoon; that temperature gives you a custard that’s thick enough to feel rich but not so hot that the eggs tighten.
Straining matters here because cocoa, melted chocolate, and egg custard can all pick up tiny bits as they cook. A fine mesh strainer gives you the silky finish you want in the finished scoop. The chocolate flavor also improves with a full chill, so don’t shorten that resting time just because the base tastes good warm.
What the Chocolate, Cocoa, and Peanut Butter Are Each Doing Here
The cocoa powder gives the ice cream its deep chocolate backbone, while the chopped dark chocolate adds body and a rounder, more lingering flavor. Using both keeps the base from tasting thin or one-note. A good dark chocolate matters more than a fancy one here; anything around 60 to 70 percent works well, as long as it melts smoothly.
- Heavy cream — This is what gives the ice cream its plush texture. I wouldn’t swap it out if you want that classic scoop-shop feel.
- Whole milk — It loosens the base enough for churning without making it icy. Lower-fat milk will freeze harder.
- Unsweetened cocoa powder — Dutch-process or natural both work, but Dutch-process gives a darker, smoother chocolate flavor.
- Dark chocolate — The melted chocolate deepens the base and helps it freeze with better structure. Chocolate chips work in a pinch, but a chopped bar melts more cleanly.
- Egg yolks — They make the custard rich and stable. There isn’t a true substitute if you want this exact texture.
- Creamy peanut butter — Warm it until pourable so it ribbons through the churned ice cream. Natural peanut butter can work if it’s well stirred, but standard creamy peanut butter gives the most reliable swirl.
Build the Custard First, Then Add the Swirl at the End
Blooming the Chocolate
Whisk the cocoa into the cream and milk before heating so it dissolves evenly instead of floating in dry pockets. When the mixture is steaming and the chocolate is added, whisk until every bit has melted and the base looks glossy and unified. If you see specks or graininess, keep whisking off the heat for a moment; that usually means the chocolate just needs a little more time, not more heat.
Tempering the Yolks
Whisk the yolks and sugar until they look pale and a little thicker, then add the hot chocolate cream slowly while whisking constantly. That gradual stream keeps the yolks from cooking into bits the second they hit the pan. Once everything is combined, return it to the saucepan and cook gently, stirring all the way across the bottom so nothing sticks and scorches.
Chilling for a Clean Freeze
After straining, stir in the vanilla and salt, then cool the custard completely before refrigerating. The base needs to be cold all the way through before churning or the ice cream maker won’t set it properly and you’ll get a softer, icier result. Four hours is the minimum, but overnight gives you a cleaner, denser scoop.
Swirling in the Peanut Butter
Churn until the ice cream is thick and soft-serve consistency, then layer it into a container with warm peanut butter drizzled between each layer. Use a knife to make just a few broad swirls; if you stir too much, the peanut butter disappears into the base instead of creating ribbons. Freeze until firm, and if it gets too hard after a long freeze, let it sit on the counter for 5 to 10 minutes before scooping.
How to Change the Swirl Without Losing the Texture
Make it dairy-free
Use full-fat canned coconut milk in place of the cream and whole milk. The texture will be a little softer and the coconut flavor will peek through, but it still churns into a creamy ice cream if you chill it fully before freezing.
Skip the egg yolks
If you want a faster, egg-free version, leave out the yolks and cook the chocolate base just until smooth and steaming. The result will be lighter and a little less custardy, but it still gives you a good chocolate ice cream with the peanut butter swirl on top.
Turn it into a peanut butter cup ice cream
Fold in chopped peanut butter cups during the last minute of churning, then keep the warm peanut butter swirl. You’ll get more texture and a sweeter finish, which leans the dessert closer to a classic candy-bar style ice cream.
Use almond butter instead
Almond butter works if you want a nuttier, less sweet finish. Warm it the same way so it ribbons well, but expect a thinner swirl and a more toasted flavor than the classic peanut butter version.
Storage and Reheating
- Refrigerator: Not recommended. This ice cream needs the freezer to hold its texture.
- Freezer: Store in an airtight container for up to 2 weeks for the best texture. After that, it still tastes good, but the swirls can get a little firmer and more icy around the edges.
- Reheating: Let it stand at room temperature for 5 to 10 minutes before scooping. If it’s rock hard, don’t microwave the whole container; that melts the edges and leaves the center frozen.
Questions I Get Asked About This Recipe
Chocolate Peanut Butter Ice Cream
Ingredients
Equipment
Method
- Whisk cocoa powder into the heavy cream and whole milk, then heat in a saucepan until steaming with tiny bubbles at the edges, about 5 minutes. Visual cue: the mixture should look glossy and dark before you add the chocolate.
- Add the chopped dark chocolate and whisk until fully melted and smooth, about 2 to 3 minutes. Visual cue: no chocolate lumps remain; the surface looks uniform.
- Whisk the egg yolks and granulated sugar until pale and slightly thick, about 2 to 3 minutes. Visual cue: the mixture lightens in color and ribbons slowly from the whisk.
- Slowly whisk the hot chocolate cream into the egg yolks to temper, drizzling in a thin stream. Visual cue: the yolk mixture should not curdle or look grainy.
- Return everything to the saucepan and cook, stirring constantly, until it reaches 175°F, about 8 to 10 minutes. Visual cue: it coats the back of a spoon and the custard holds a clear line when you run a finger through it.
- Strain the custard, then whisk in vanilla extract and salt and stir to combine. Visual cue: the custard becomes smooth and evenly colored.
- Cool completely to room temperature, then cover and refrigerate for at least 4 hours until cold. Visual cue: the custard should be fully chilled with a skin that you can smooth out when stirring.
- Warm the creamy peanut butter until pourable, about 20 to 40 seconds in the microwave, then set aside. Visual cue: it should flow easily like a thick sauce.
- Churn the chilled chocolate custard in an ice cream maker until thick and the texture looks like soft-serve, about 15 to 20 minutes. Visual cue: it should mound in the churner rather than pour.
- Layer the churned ice cream into a freezer container, drizzling the warm peanut butter between each layer. Visual cue: you’ll see dark chocolate and golden peanut butter bands throughout.
- Swirl the layers with a knife just enough to create ribbons, not fully mixed marbling. Visual cue: distinct swirl streaks remain visible at the surface.
- Freeze for at least 2 hours until firm. Visual cue: the ice cream should scoop with clean edges and minimal wobble.