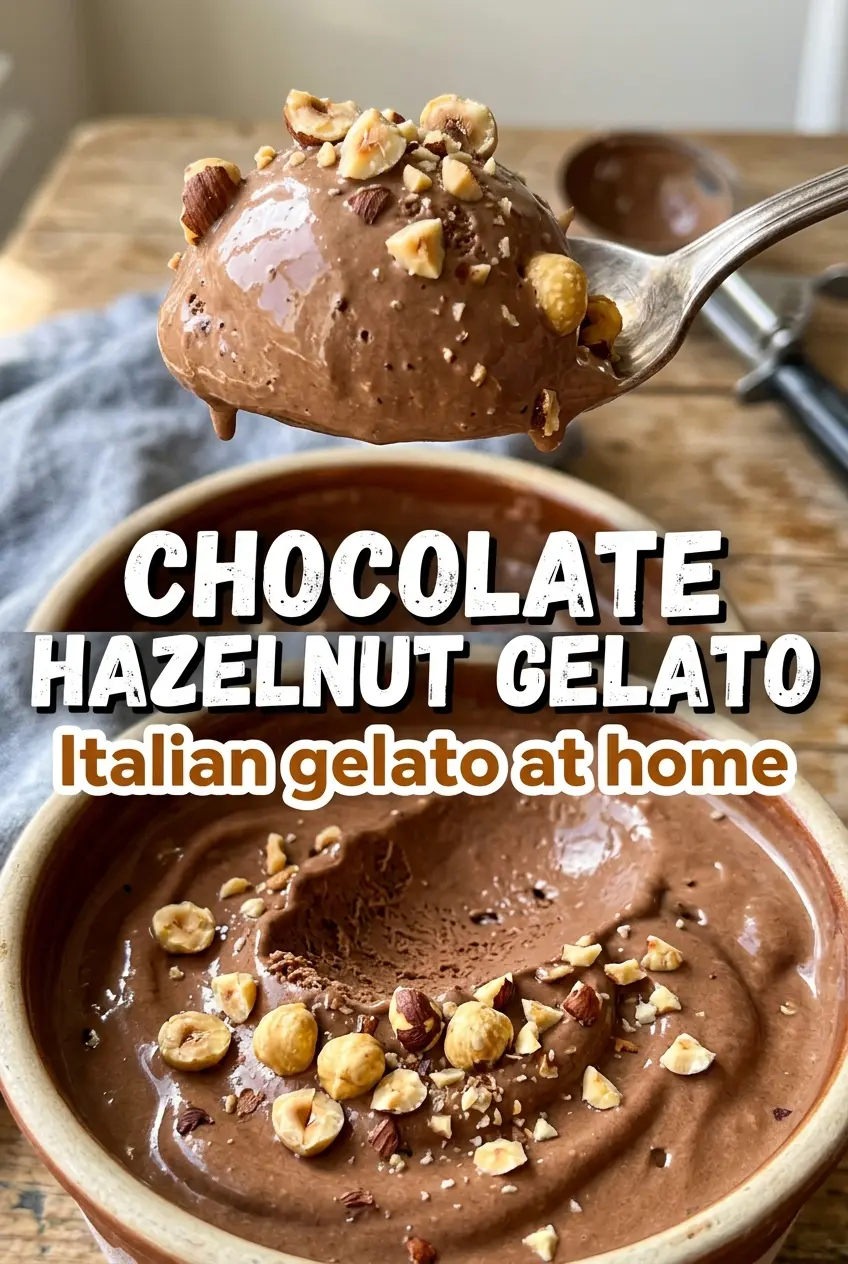
Chocolate-hazelnut gelato hits that sweet spot between deep cocoa and toasted nut richness, and when it’s done right, the texture is what makes people go back for a second scoop before the first one has even softened. This version stays dense and silky instead of airy, with the kind of spoon-coating body you expect from a good gelato shop scoop. The flavor leans into gianduia territory: dark, nutty, and smooth without tasting heavy.
The trick is building a custard base with egg yolks and a little cornstarch, which gives the gelato body without making it eggy or sticky. Cocoa gets whisked into the dairy first so it blooms properly, and the hazelnut paste melts in while the mixture is still hot enough to turn completely smooth. If you’ve ever had homemade frozen desserts turn icy or thin, the cold rest and low-speed churn are what keep this one tight and creamy.
Below, I’m walking through the point where most homemade gelato goes wrong, plus the small ingredient choices that make the chocolate and hazelnut taste deeper instead of flat.
The gelato came out dense and scoopable, and the toasted hazelnuts stayed crunchy instead of disappearing into the base. My husband said it tasted like the best chocolate-hazelnut spread turned into gelato.
Save this chocolate-hazelnut gelato for the nights when you want that dense gianduia-style scoop with real roasted nut flavor.
The Custard Has to Thicken Before It Curdles
Gelato sounds simple, but the line between silky and scrambled is narrow if you rush the stovetop. The yolks need enough heat to thicken the base, while the cornstarch gives you a little insurance so the mixture sets before the eggs tighten. That combination lets you cook the custard to a nappe-like thickness without chasing a temperature that’s too risky for home stovetops.
The other thing that matters is the churn. Gelato should feel denser than ice cream, so you’re not trying to whip in a lot of air here. If the base goes into the machine too warm, it won’t freeze cleanly; if it hasn’t chilled long enough, the texture turns loose and slushy instead of smooth and compact.
What Each Ingredient Is Actually Doing in This Gelato
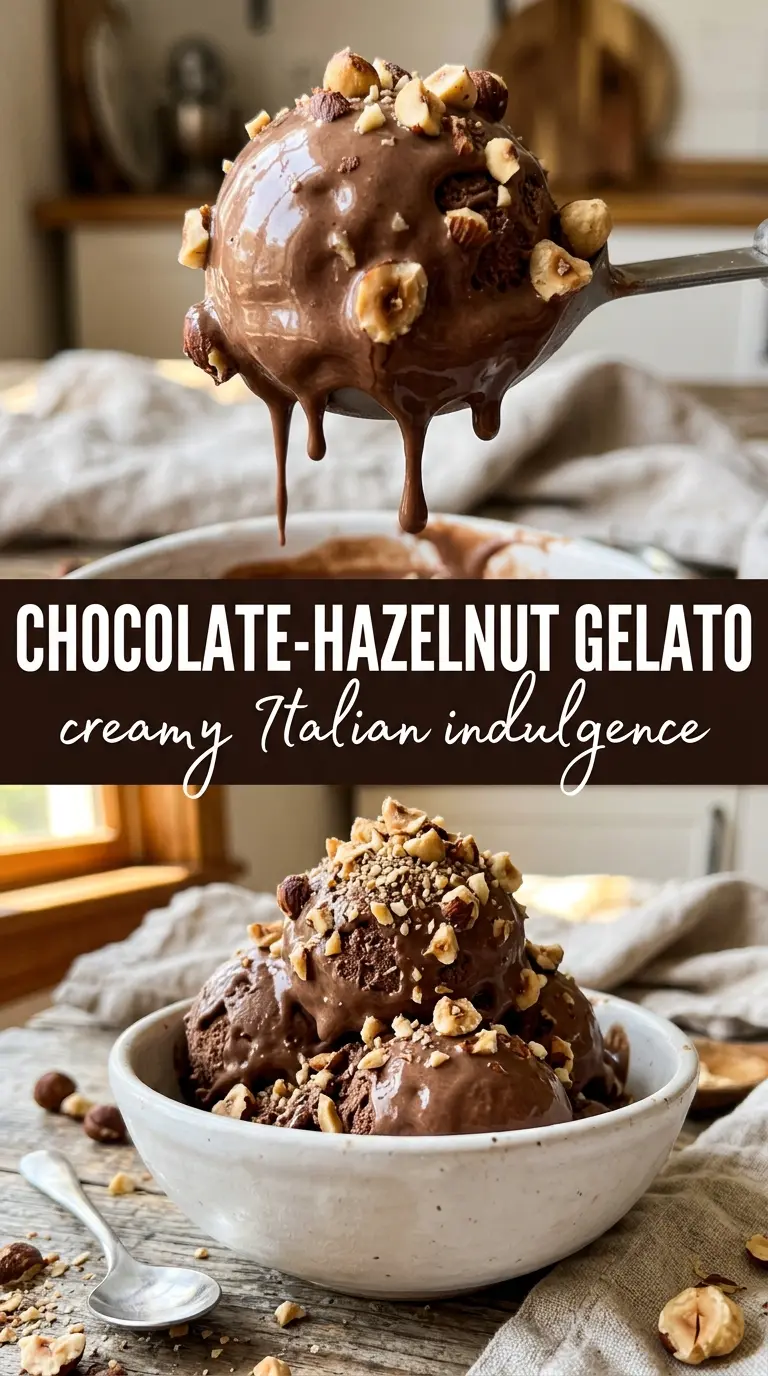
- Hazelnut paste or Nutella — Hazelnut paste gives the cleanest, most roasted flavor. Nutella works too, and it makes the base sweeter and a little softer because of the sugar and oil already in it. If you use Nutella, keep the cocoa as written; if you use pure hazelnut paste, the cocoa carries more of the chocolate backbone.
- Whole milk and heavy cream — The milk keeps the gelato from tasting cloying, while the cream adds enough fat for a smooth finish. Don’t replace both with lower-fat dairy unless you want a thinner, icier result.
- Dutch-process cocoa powder — This is worth using. It gives the base that dark, rounded chocolate flavor and dissolves more smoothly than a sharper natural cocoa. Natural cocoa will work in a pinch, but the result tastes brighter and less like classic gianduia.
- Egg yolks and cornstarch — The yolks bring richness and body, while the cornstarch helps the base thicken without needing to be overcooked. That’s the safety net here, and it’s part of why the texture stays plush instead of grainy.
- Toasted hazelnuts — Fold them in at the end so they stay distinct. Raw hazelnuts taste flat in frozen dessert; toasting wakes them up and makes the chocolate taste deeper beside them.
Building the Base Without Scrambling the Yolks
Bloom the cocoa in the dairy
Warm the milk and cream with the cocoa until the mixture is steaming and the cocoa has disappeared into the liquid. This step matters because dry cocoa can clump and taste dusty if it never gets fully hydrated. Whisk in the hazelnut paste while the dairy is hot enough to melt it cleanly, and keep whisking until the base looks uniform and glossy.
Temper the yolks slowly
Whisk the yolks, sugar, and cornstarch until the mixture turns pale and a little thick. Then add the hot dairy in a thin stream while whisking constantly. If you dump it in all at once, the yolks can seize into bits before the custard has a chance to form.
Cook to the right thickness
Return everything to the saucepan and cook over medium heat, stirring constantly and scraping the bottom and corners. You’re looking for a custard that coats the back of a spoon and leaves a clear path when you drag a finger through it. If the mixture starts to steam heavily and bubble in thick bursts, pull it off the heat; once it reaches that point, it’s thick enough.
Chill hard before churning
Stir in the vanilla and salt, then cool the base over an ice bath before it goes into the refrigerator. A cold base churns smaller ice crystals, which is what gives gelato that dense, smooth body. Don’t rush this part. If the mixture is still warm, it’ll take longer to freeze and the finished texture will turn looser.
Three Ways to Adjust the Scoop Without Losing the Gelato Texture
Nutella Shortcut Version
Use Nutella instead of hazelnut paste for a sweeter, more familiar chocolate-hazelnut flavor. The base will be a little softer and sweeter, so keep the salt in place and don’t reduce the cocoa. This version tastes closer to a spread-forward dessert and freezes beautifully.
Dairy-Free Chocolate-Hazelnut Gelato
Swap in full-fat oat milk for the whole milk and a thick coconut cream for the heavy cream. The texture won’t be quite as clean as the dairy version, but it still churns into a dense, rich frozen dessert if you keep the custard thick and chill it fully. Use hazelnut paste here instead of Nutella so you’re not adding extra dairy.
Extra Crunch for Serving
Fold in just half the toasted hazelnuts and save the rest for the top. You’ll get a cleaner scoop with a little crunch on each bite instead of nuts spread through every spoonful. This is the move if you want a more shop-style presentation.
Storage and Reheating
- Refrigerator: The base can sit chilled for up to 2 days before churning. The flavor deepens a little as it rests.
- Freezer: Freeze the finished gelato in a shallow container for up to 2 weeks. After that, it starts to pick up ice crystals and the texture gets less smooth.
- Reheating: Not applicable. For the best scoop, let the gelato stand at room temperature for 5 to 10 minutes before serving so it softens at the edges instead of cracking the scoop.