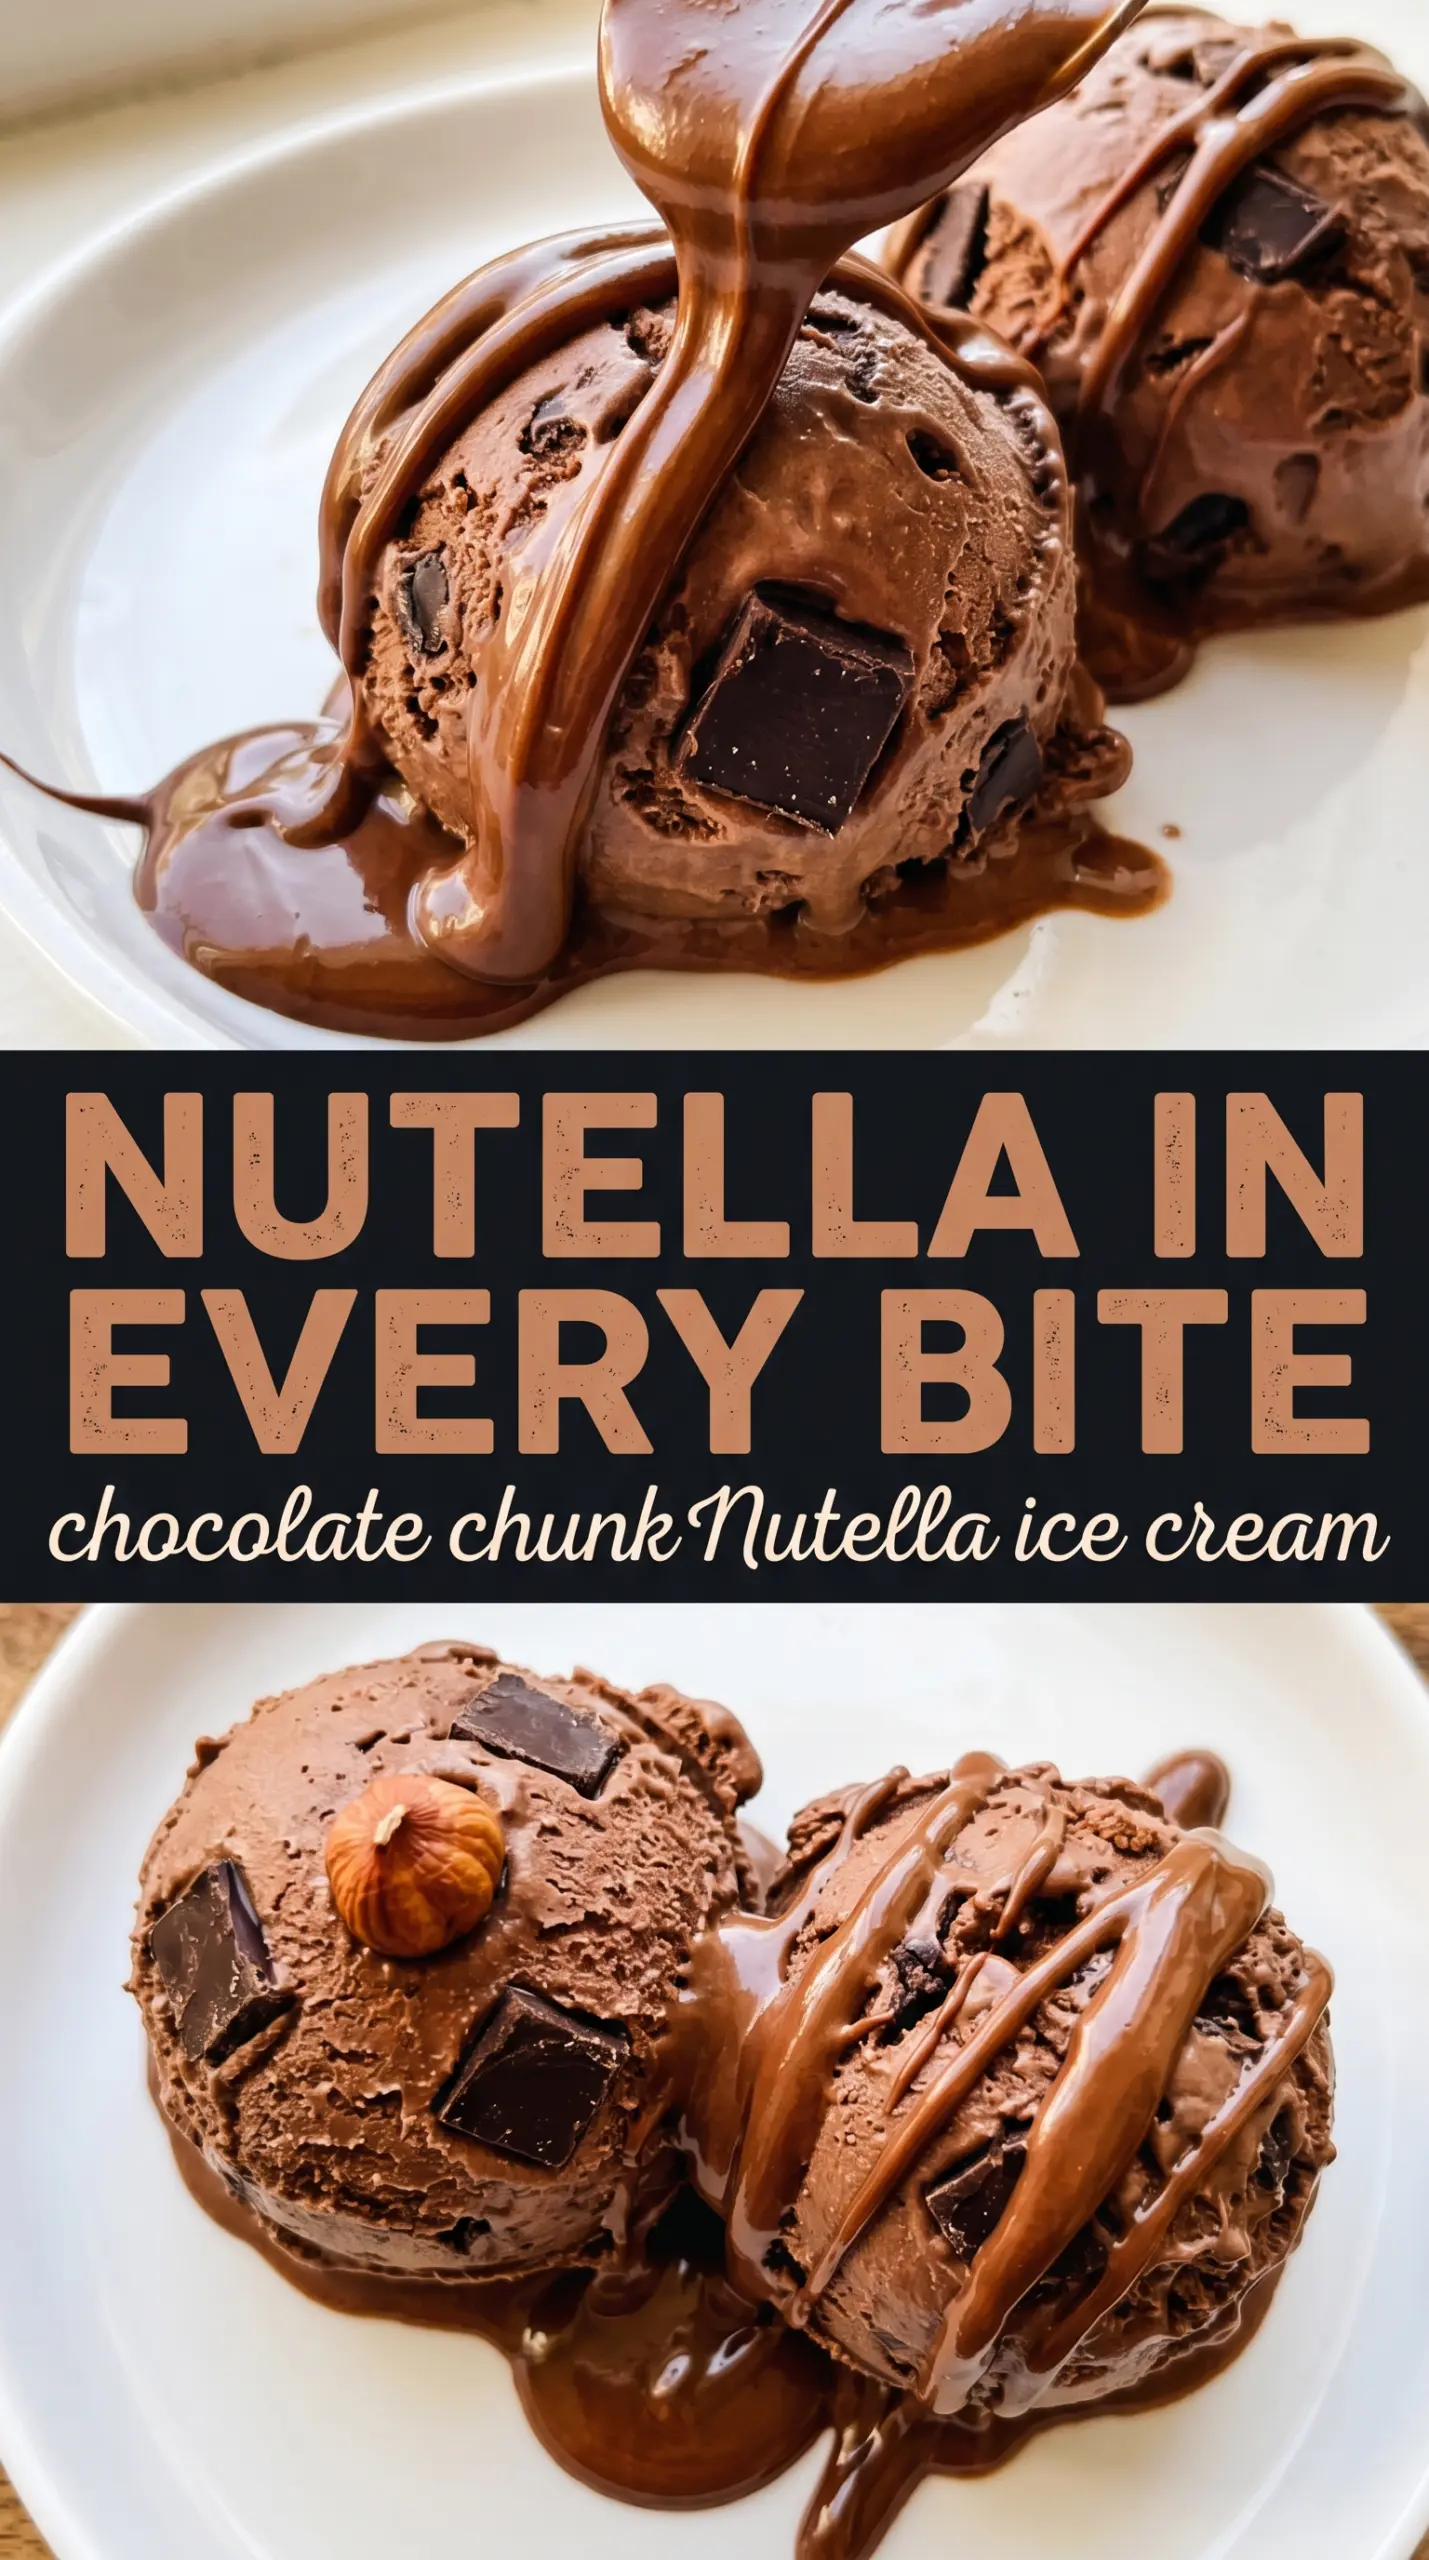
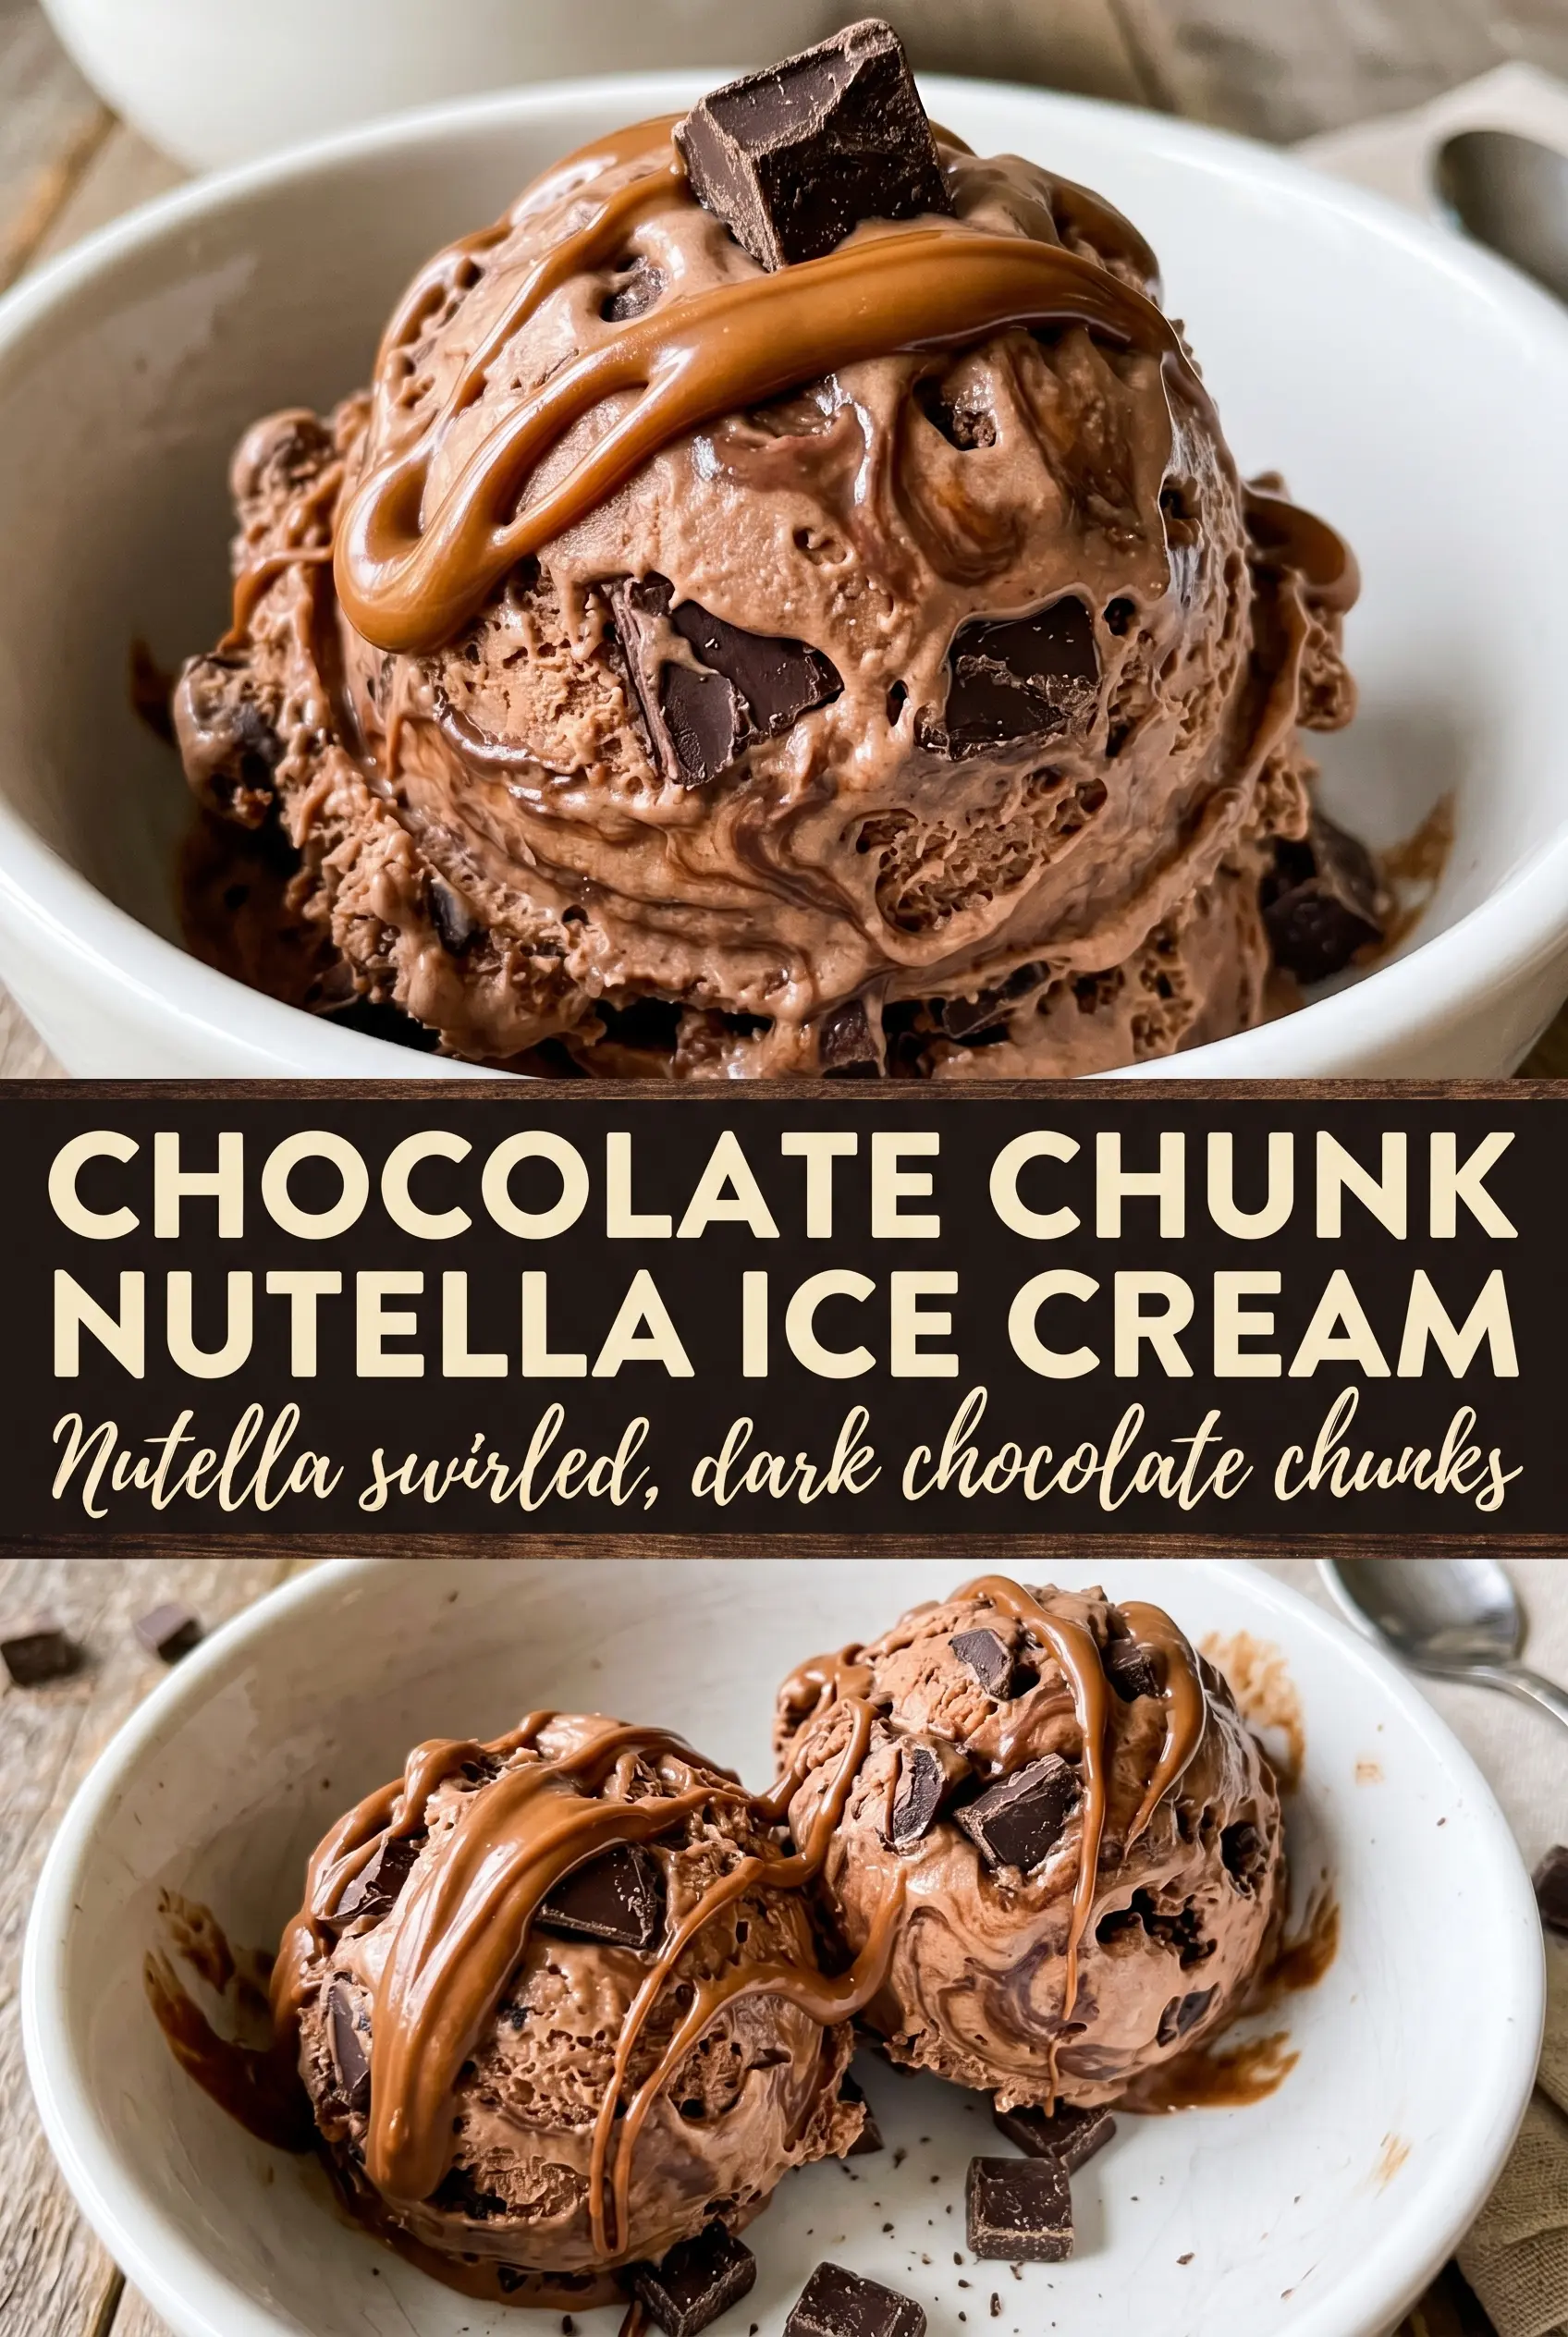
Chocolate Chunk Nutella Ice Cream lands with that rich hazelnut-cocoa flavor you expect from a spoonful of Nutella, but the texture is what makes it memorable: airy, scoopable, and packed with dark chocolate chunks that stay pleasantly snappy in the freezer. The extra swirl on top gives each scoop a little ribbon of concentrated Nutella, which is exactly the kind of detail that makes a homemade no-churn dessert feel finished instead of flat.
The trick here is balancing the whipped cream with the sweetened condensed milk so the base stays light without turning icy. Warming the Nutella first matters because it blends smoothly into the dairy instead of leaving little streaks behind, and folding everything together gently keeps the whipped cream from collapsing. Once the mixture is in the pan, the chocolate chunks and top swirl give you texture contrast in every bite.
Below, I’ve included the part that matters most for no-churn ice cream: how to keep the base smooth, how to avoid a dense freezer brick, and what to change if you want to lean harder into the chocolate or hazelnut side.
The Nutella blended in perfectly once I warmed it first, and the chocolate chunks stayed crunchy instead of getting lost in the base. It froze up creamy, not icy, and the swirl on top made every scoop taste like the real thing.
Like this Nutella chocolate chunk ice cream? Save it to Pinterest for the nights when you want a no-churn dessert with deep hazelnut flavor and a fudge-like swirl on top.
The Part That Keeps No-Churn Ice Cream Creamy Instead of Icy
No-churn ice cream depends on air and sugar doing the work that a machine would normally handle. The whipped cream gives the base its lift, and the sweetened condensed milk lowers the freezing point enough that the finished dessert stays scoopable. If you overmix after combining them, you knock out that air and the ice cream turns dense.
The other place people run into trouble is the Nutella itself. Straight from the jar, it can clump or streak through the base, especially if your cream is on the colder side. Warming it for a few seconds makes it fluid enough to blend cleanly, which gives you a uniform hazelnut-chocolate base instead of little pockets of paste.
What Each Ingredient Is Actually Doing in This Ice Cream
- Heavy cream — This is the structure and the volume. Whip it to stiff peaks so it holds enough air to keep the finished ice cream soft and spoonable. Light cream won’t hold up the same way.
- Sweetened condensed milk — This keeps the base from freezing hard and also brings the sweetness. There isn’t a true substitute here if you want the same no-churn texture, because the thickness and sugar concentration are what make the method work.
- Nutella — Warmed Nutella is the flavor backbone. Heating it just enough to loosen it matters more than brand loyalty; any hazelnut chocolate spread with a similar texture will work, but the classic flavor is what gives this dessert its identity.
- Dark chocolate chunks — These give you contrast against the soft base. Chips work fine, but chopped chunks create better bite and uneven little shards that feel more homemade.
- Vanilla and salt — Vanilla rounds out the chocolate, and salt keeps the sweetness from flattening out. Don’t skip the salt; even a small amount makes the Nutella taste deeper.
Building the Base Without Deflating the Cream
Whip the cream until it holds its shape
Start with very cold heavy cream and whip until you get stiff peaks that stand up when you lift the beaters. If the cream is underwhipped, the ice cream will freeze softer but lose body; if it’s overwhipped, it can turn grainy and start looking buttery. Stop as soon as it’s fluffy and stable.
Mix the Nutella layer until it’s completely smooth
Whisk the warmed Nutella with the condensed milk, vanilla, and salt until there are no streaks left. The mixture should look glossy and pourable. If the Nutella is still thick, warm it again for a few seconds and whisk immediately so it doesn’t seize into ribbons.
Fold, don’t stir, once both bowls come together
Add the Nutella mixture to the whipped cream in two or three additions and fold with a spatula, scraping from the bottom up. The goal is to keep the mixture airy while combining it fully. Stop when you no longer see white streaks; a few small marbled streaks are fine, but aggressive stirring will flatten the texture.
Swirl and freeze for a clean scoop
Transfer the base to a loaf pan and drizzle extra Nutella across the top, then drag a knife through it once or twice. That gives you a soft ribbon instead of fully mixing it in. Cover the pan and freeze for at least 6 hours, but overnight gives the cleanest scoop and the best set.
How to Change It Without Losing the Texture
Make it darker and less sweet
Swap the dark chocolate chunks for chopped 70% chocolate and use a little less Nutella in the swirl on top. The base will taste more grown-up and less candy-like, with a firmer chocolate finish instead of a sweeter hazelnut hit.
Go dairy-free
Use a full-fat coconut whipping cream and a dairy-free condensed milk alternative. The texture will still be creamy, but you’ll pick up a faint coconut note, so this works best if you’re happy with that extra flavor in the background.
Make it extra chunky
Fold in half chocolate chunks and half toasted chopped hazelnuts. The nuts echo the Nutella flavor and add crunch, but use them sparingly if you want easy scooping straight from the freezer.
Storage and Reheating
- Refrigerator: Don’t store this in the fridge; it melts and loses structure within hours.
- Freezer: Keep it covered in the loaf pan or transfer to an airtight container for up to 2 weeks. After that, it can start to pick up freezer flavor and get a little harder around the edges.
- Reheating: No reheating needed. Let it sit at room temperature for 5 to 10 minutes before scooping so the first spoonful doesn’t crack the top. If it’s rock hard, it just needs a short rest, not heat.
Answers to the Questions Worth Asking
Chocolate Chunk Nutella Ice Cream
Ingredients
Equipment
Method
- Whip the heavy cream to stiff peaks until it holds clear ridges when the whisk is lifted. Visual cue: the cream should look thick and glossy, not runny.
- Whisk the sweetened condensed milk, warmed Nutella, vanilla extract, and salt until smooth. Visual cue: the mixture should look uniform in color with no streaks.
- Gently fold the Nutella mixture into the whipped cream until just combined. Visual cue: you should no longer see white streaks, but keep the foaminess.
- Fold in the dark chocolate chunks or chips. Visual cue: chunks should be evenly distributed throughout the base.
- Transfer the mixture to a 9x5 loaf pan and drizzle extra Nutella on top, swirling with a knife. Visual cue: visible hazelnut-brown ribbons should form across the surface.
- Freeze at least 6 hours or overnight until firm. Visual cue: the center should hold shape when scooped or when sliced from the loaf.