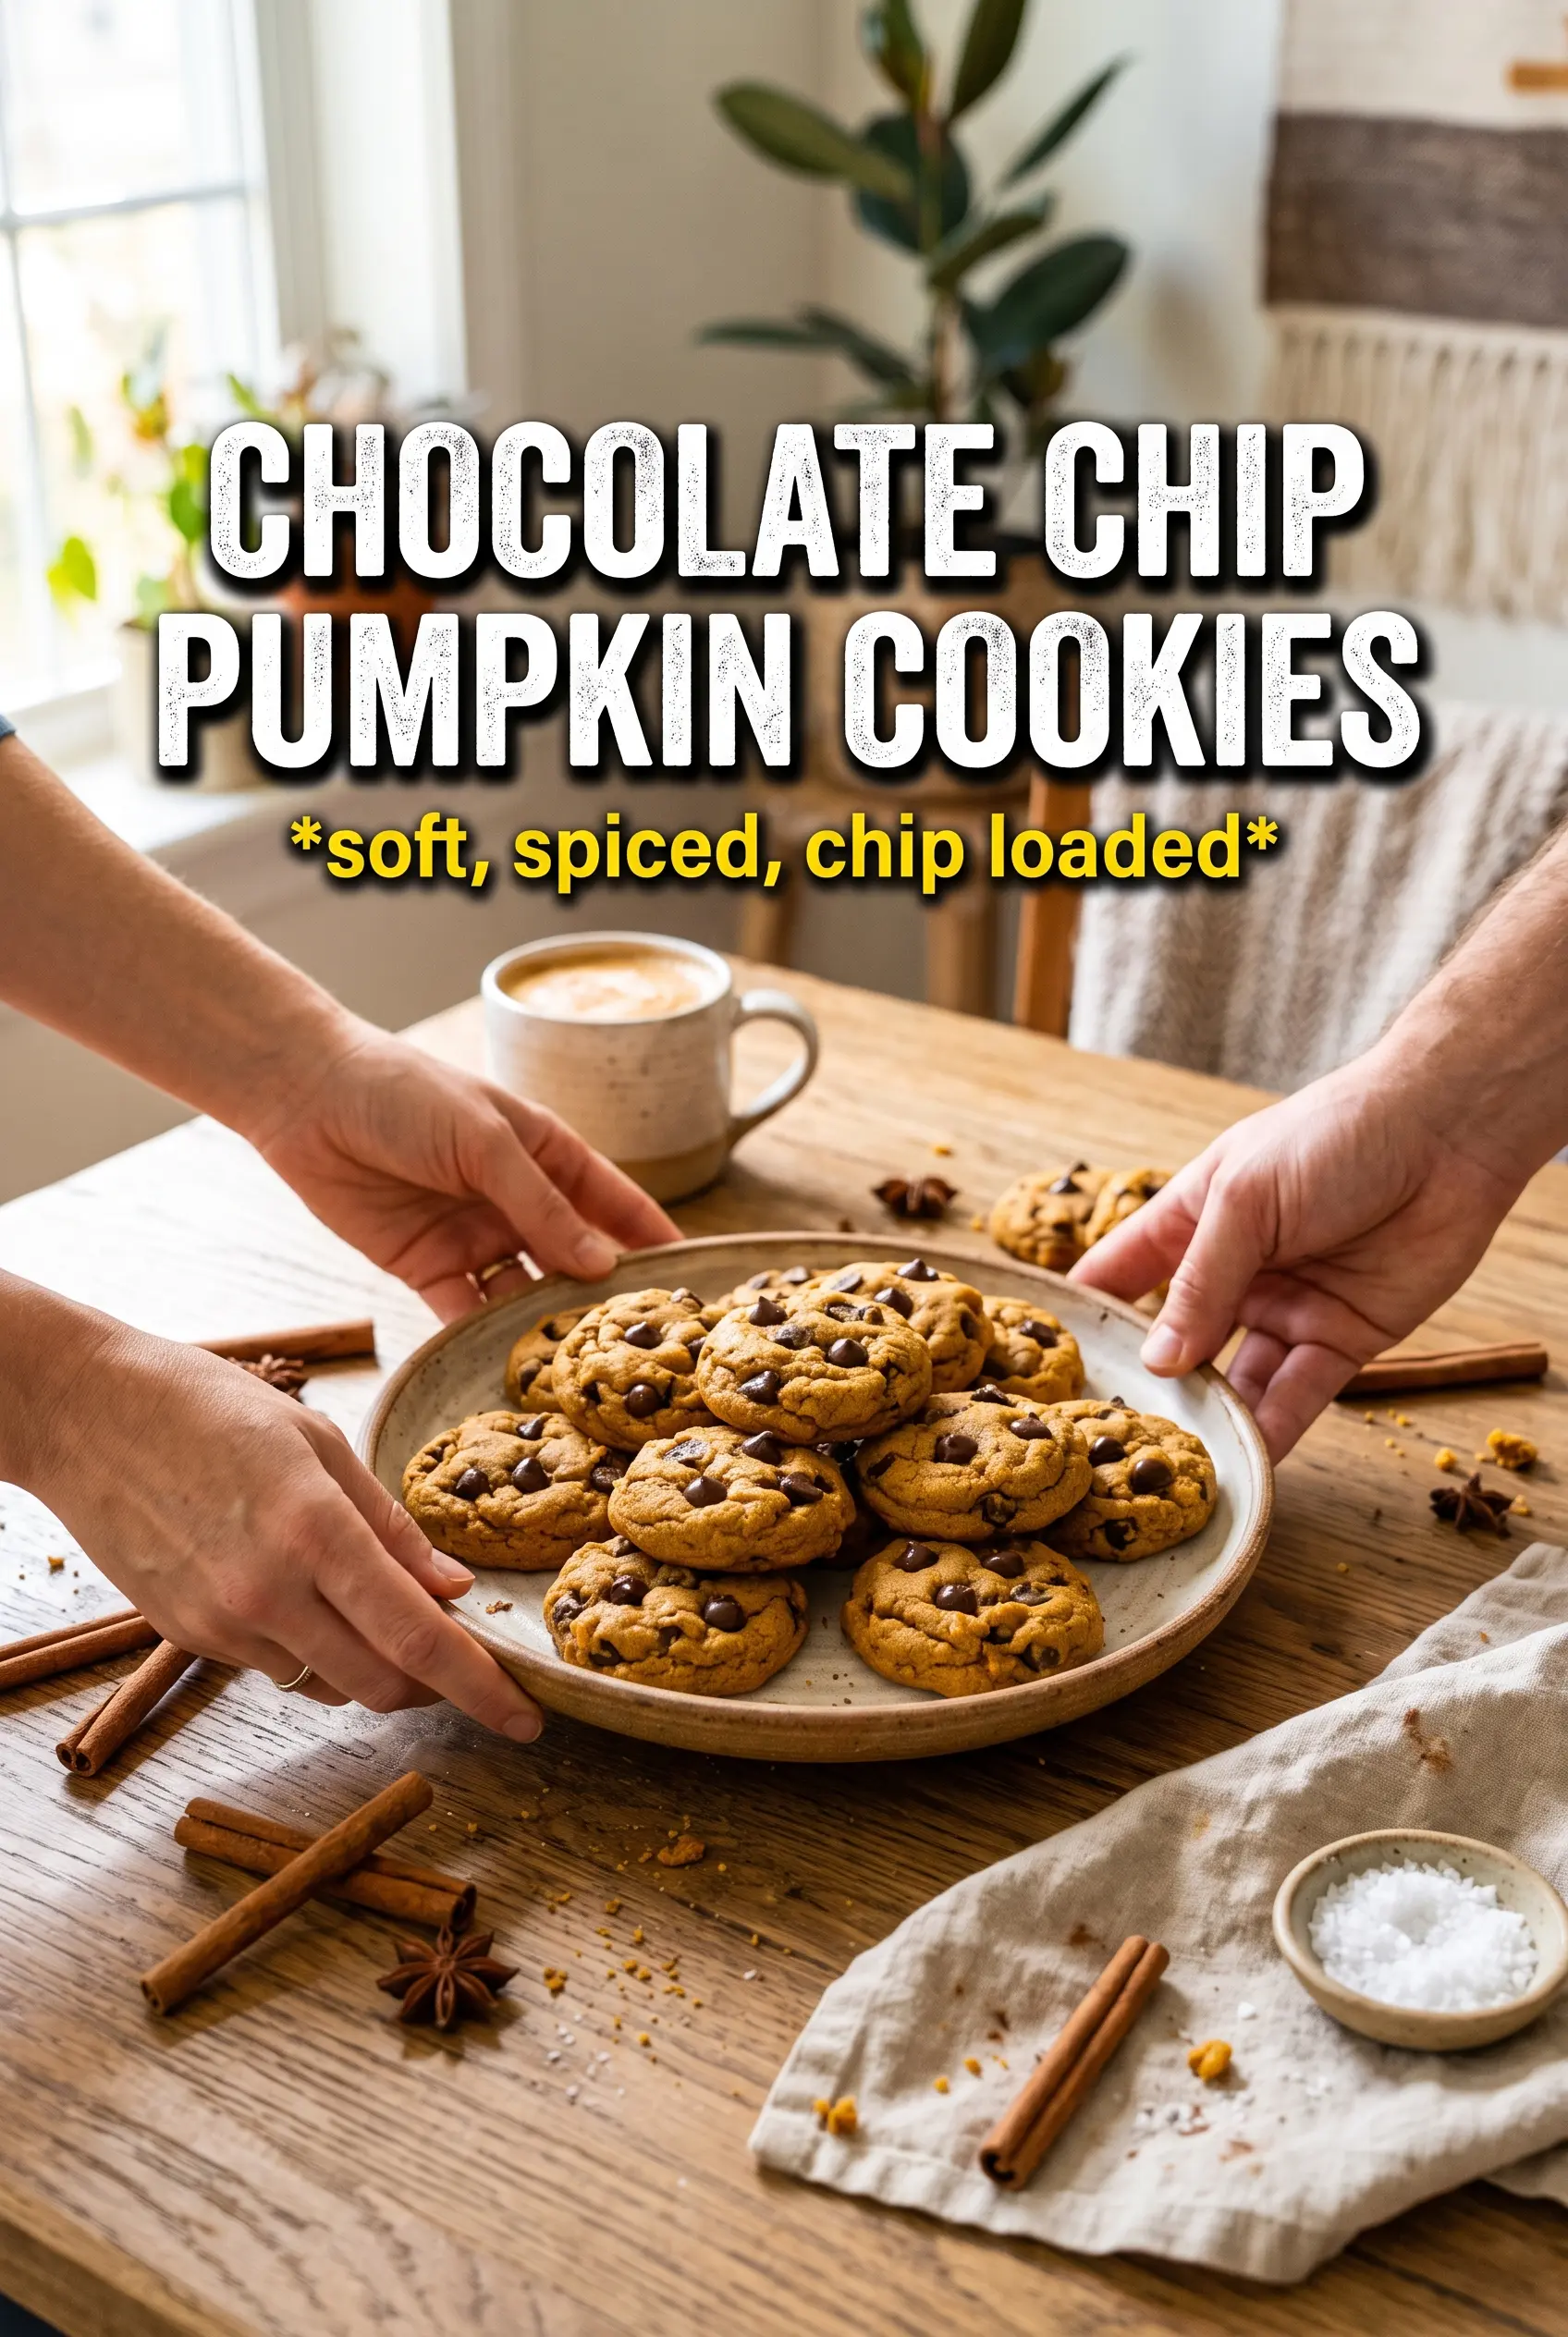
Soft centers, golden edges, and pockets of melted chocolate make these chocolate chip pumpkin cookies the kind of fall bake that disappears faster than you expect. They’re thick enough to feel like a real cookie, but still tender and plush inside, with just enough spice to taste like pumpkin without turning muddy or heavy.
The trick is keeping the pumpkin under control. Blotting the puree until it’s dry pulls out excess moisture, which helps the cookies hold their shape instead of baking up cakey and pale. Cornstarch gives the dough a softer bite, while the mix of brown sugar and granulated sugar keeps the edges set and the middles chewy. A little flaky salt on top wakes up the chocolate and keeps each bite from leaning too sweet.
Below, I’ve included the small details that matter here: how dry the pumpkin should be, why the dough doesn’t need chilling in every case, and the best way to keep the cookies soft for days.
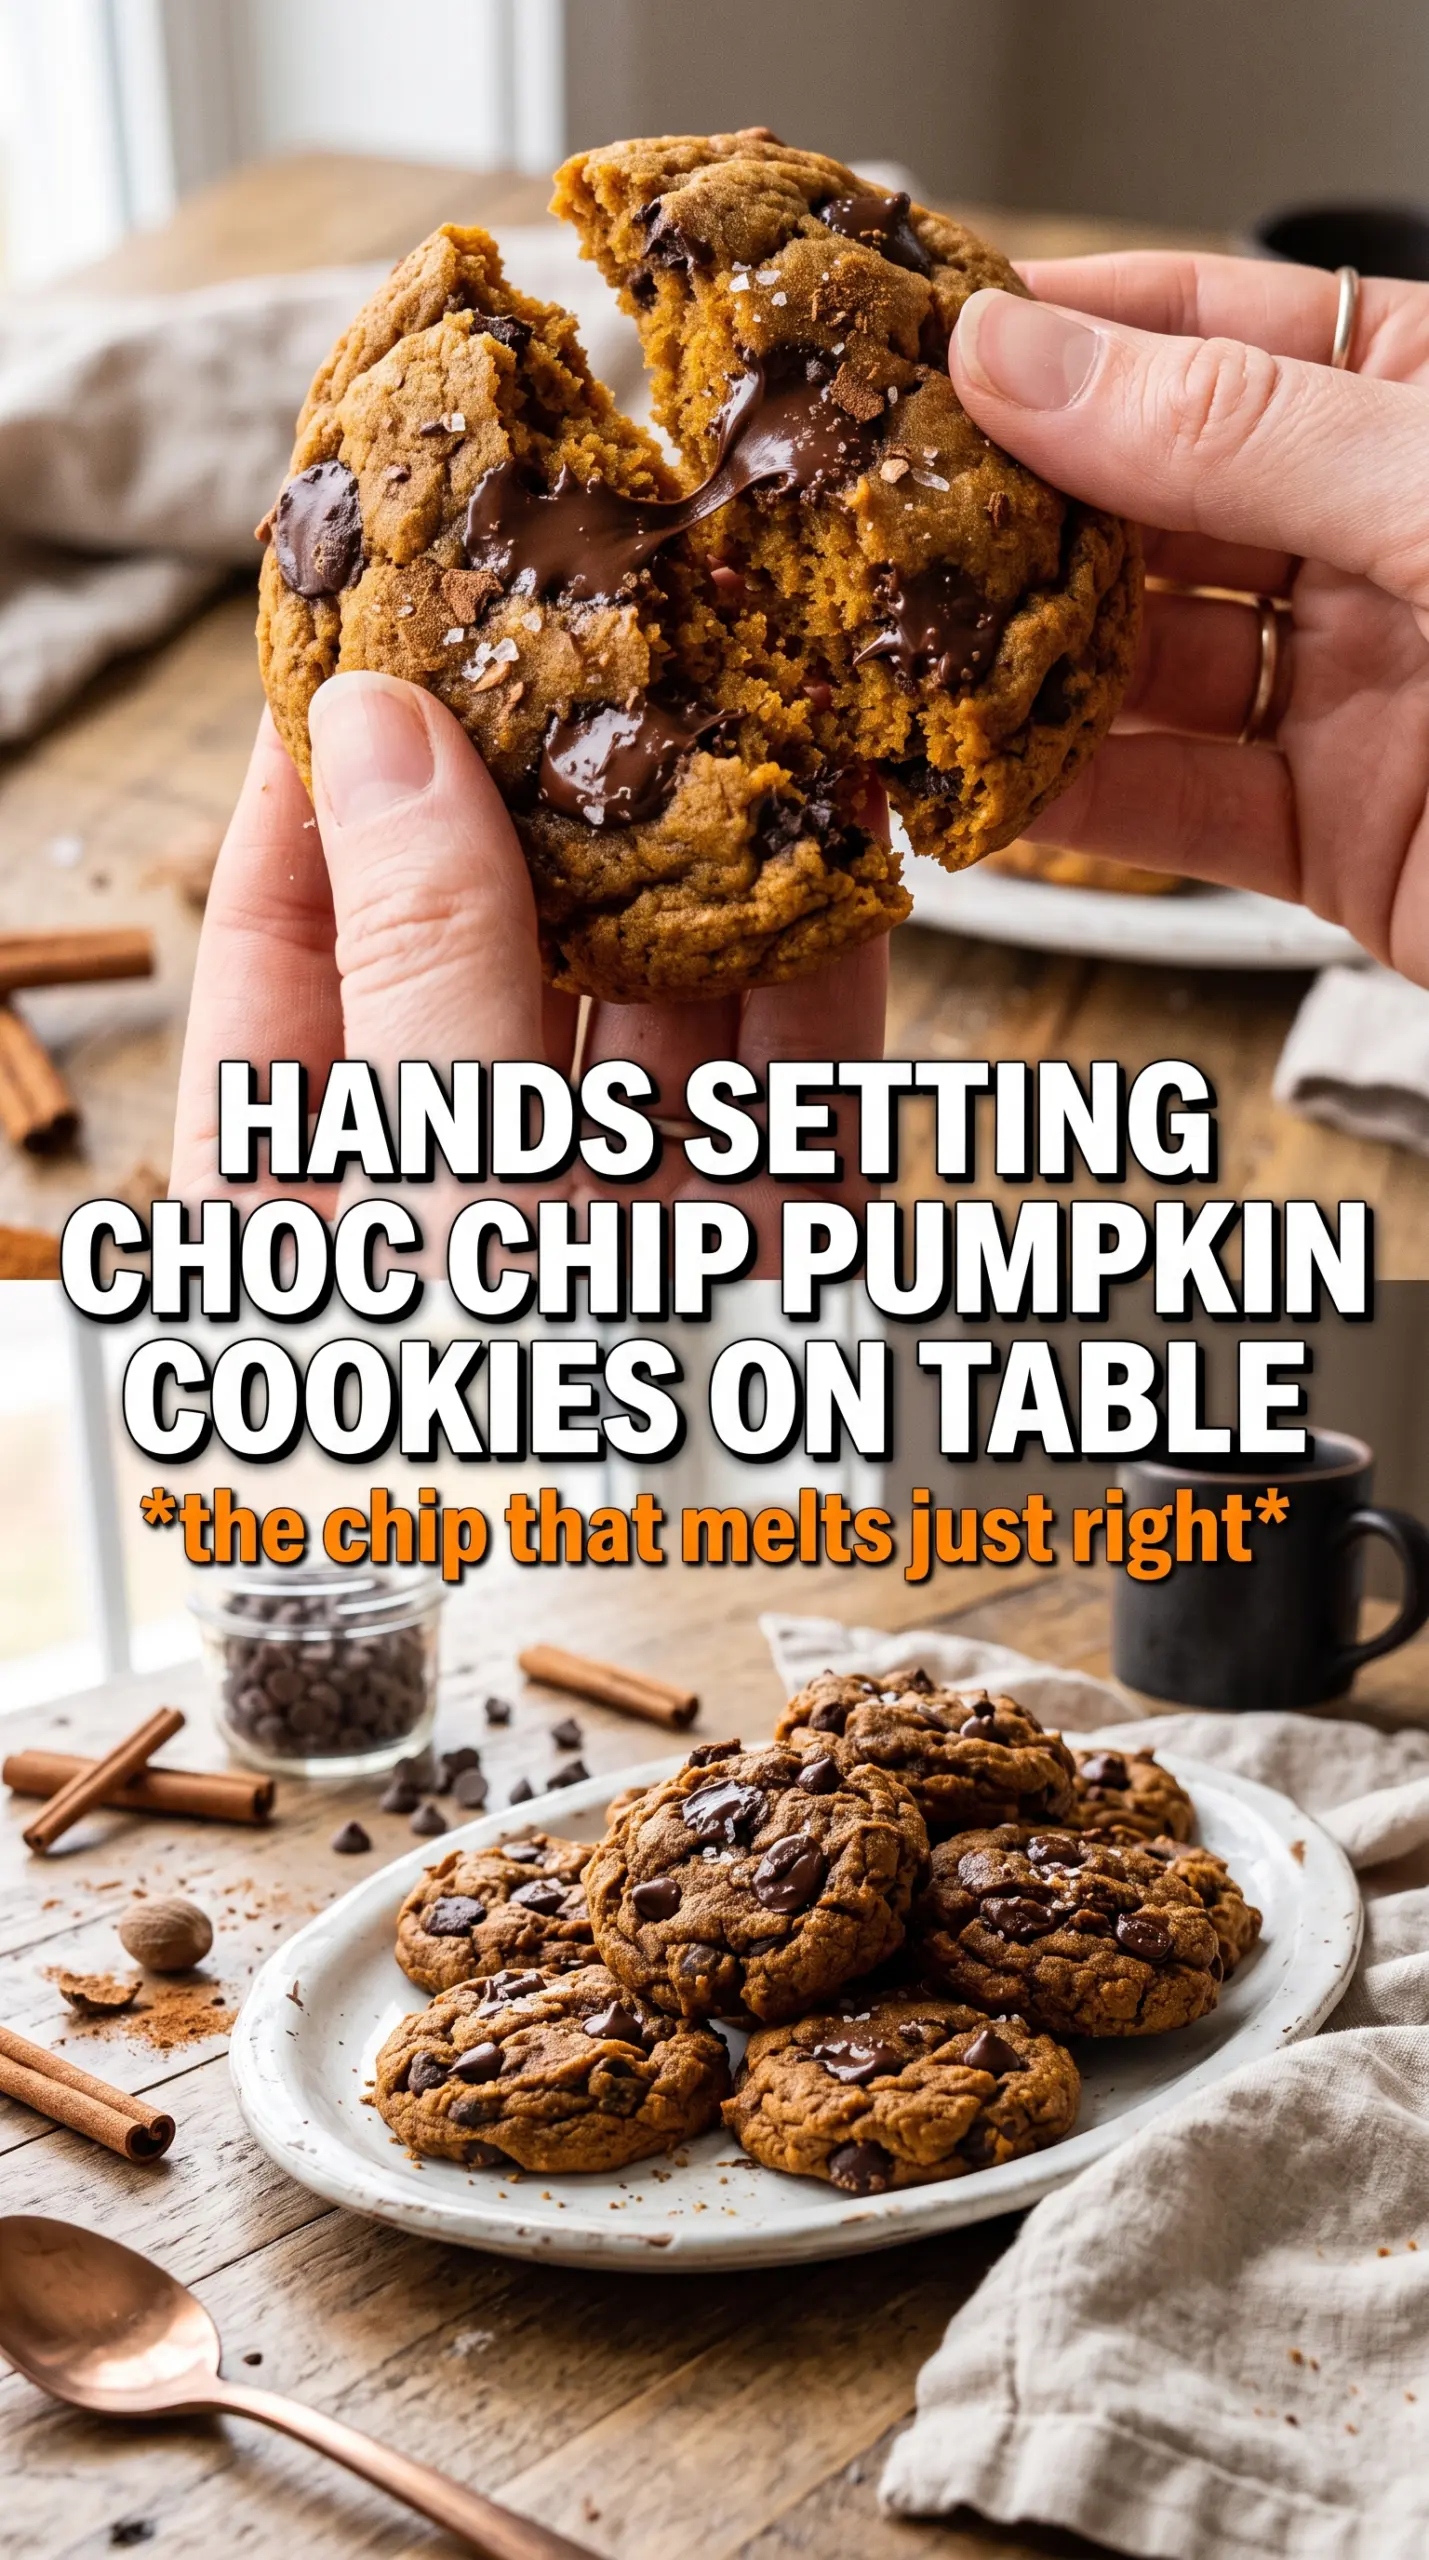
The cookies baked up thick instead of cakey, and blotting the pumpkin made a huge difference. The chocolate stayed melty in the middle, and the flaky salt on top was the perfect finish.
Save these chocolate chip pumpkin cookies for the days when you want thick, soft cookies with melty chocolate and a salty finish.
The Pumpkin Moisture Problem Most Cookies Never Solve
Pumpkin puree looks harmless, but it carries a lot of water, and that extra moisture is what turns a promising cookie dough into something that bakes up puffy, soft, and underbrowned. Blotting the pumpkin until it looks almost pasty is the move that keeps these cookies thick and chewy instead of cakey. It also helps the butter and sugars cream properly, which gives you more structure before the flour goes in.
The other thing worth watching is the bake itself. These are done when the edges look set and lightly golden while the centers still look a little soft. If you wait until the middle looks fully baked in the oven, they’ll be dry by the time they cool. Pumpkin cookies finish on the pan, not in the oven.
What Each Ingredient Is Actually Doing in These Cookies
- Pumpkin puree — Use canned puree, but blot it well. Fresh pumpkin tends to carry even more moisture, and that makes the dough unpredictable. The puree gives the cookies their pumpkin flavor and soft texture, but only after you’ve removed enough water for the dough to behave.
- Brown sugar — This brings chew and depth. It helps the cookies stay soft after baking, while the granulated sugar encourages a little spread and keeps the edges from tasting heavy.
- Cornstarch — This is the quiet texture helper. It softens the crumb without making the cookies fragile, and there isn’t a substitute that gives quite the same tender lift.
- Pumpkin pie spice plus cinnamon — The spice blend gives the warm, rounded pumpkin note, while extra cinnamon sharpens it a bit. If you only have pumpkin pie spice, you can use it alone, but the added cinnamon keeps the flavor from fading into the background.
- Semi-sweet chocolate chips — Semi-sweet is the right balance here because pumpkin and spice already read sweet. Dark chocolate works if you want a deeper contrast, but milk chocolate can push the cookies toward cloying.
- Flaky sea salt — Don’t skip it. It doesn’t just decorate the tops; it makes the chocolate taste more chocolatey and keeps each bite from feeling one-note.
Getting the Dough Together Without Losing the Texture
Dry the Pumpkin First
Spread the pumpkin puree on a plate or pile it into a paper towel-lined bowl and blot it until it feels thick and almost dry to the touch. You should lose some volume, and that’s normal. If the pumpkin still looks glossy and wet, it will loosen the dough and make the cookies spread too much.
Cream the Butter and Sugars Until They Look Light
Beat the softened butter with both sugars until the mixture looks fluffy and a little paler. That step traps air and gives the cookies their lift. Add the pumpkin, egg, yolk, and vanilla after that, and expect the mixture to look slightly curdled before the flour goes in; that’s fine and it will smooth out once the dry ingredients are folded through.
Mix the Flour Just Until It Disappears
Whisk the flour, baking soda, cornstarch, spices, and salt separately, then fold them into the wet mixture with a light hand. Stop as soon as the last streak of flour disappears. Overmixing here tightens the dough and gives you cookies that bake up tougher than they should. Fold in the chocolate chips at the end so they stay distributed without getting smashed.
Bake Until the Edges Set
Scoop the dough into 2-tablespoon mounds and bake until the edges are golden and the centers still look slightly soft. Pull the tray out and let the cookies sit on the hot pan for five minutes, because that carryover heat finishes the middle without drying it out. Sprinkle the flaky salt right after they come out so it clings before the tops set.
How to Adapt These Cookies for Different Kitchens and Cravings
Gluten-Free Version
Swap in a good 1:1 gluten-free baking flour that includes xanthan gum. The cookies will still be soft and pumpkin-forward, but they may spread a touch less and bake up slightly more delicate, so use a gentle hand when transferring them off the tray.
Dairy-Free Cookies
Use a dairy-free butter substitute that’s meant for baking, not a soft tub spread. The flavor will still be rich, though you may lose a little of the browned-butter style depth that real butter brings to the cookies.
Extra-Spiced Version
Add another 1/4 teaspoon cinnamon and a pinch of ground ginger if you want the spice to stand out more against the chocolate. That version tastes warmer and a little sharper, which works well if you’re serving these with coffee or tea.
Storage and Reheating
- Refrigerator: Store in an airtight container for up to 5 days. They stay soft, but the chocolate chips will firm up once chilled.
- Freezer: Freeze baked cookies for up to 2 months, or freeze scooped dough balls and bake from frozen with 1 to 2 extra minutes.
- Reheating: Warm a cookie in the microwave for 8 to 10 seconds, just until the chocolate loosens again. Don’t overheat them or they’ll go dry fast.
Answers to the Questions Worth Asking
Chocolate Chip Pumpkin Cookies
Ingredients
Equipment
Method
- Preheat the oven to 375°F and line baking sheets with parchment or silicone liners (visual cue: the oven reaches temperature before baking).
- Blot the pumpkin puree very dry—this step is critical for cookies that spread (visual cue: the puree looks thick and less wet after blotting).
- Whisk together the all-purpose flour, baking soda, cornstarch, pumpkin pie spice, cinnamon, and salt (visual cue: the spice mixture is evenly streak-free).
- Beat the softened unsalted butter with the brown sugar and granulated sugar until smooth and slightly lighter (visual cue: the mixture looks glossy).
- Add the blotted pumpkin puree, egg, egg yolk, and vanilla, then beat just until combined (visual cue: the mixture turns uniformly orange).
- Fold in the flour mixture until no dry spots remain (visual cue: streaks of flour disappear).
- Fold in the semi-sweet chocolate chips (visual cue: chips are distributed throughout the dough).
- Scoop 2-tablespoon rounds onto the lined baking sheets (visual cue: they look evenly portioned and spaced).
- Bake at 375°F for 10–12 minutes, until the edges look golden (visual cue: centers look set but still soft).
- Sprinkle flaky sea salt over the tops, then cool on the pan for 5 minutes (visual cue: cookies firm slightly and hold their shape).