Chicken piccata works because it gives you contrast in every bite: crisp-edged chicken, a bright lemony sauce, and little salty pops from the capers. When it’s done right, the sauce clings to the cutlets instead of sliding off the plate, and the whole dish tastes sharp, buttery, and balanced without feeling heavy.
The trick is keeping the chicken thin enough to cook fast and staying patient with the pan sauce. A light flour dredge helps the cutlets brown and gives the sauce just enough body to turn silky, while the wine and broth lift all the browned bits from the skillet. That’s where the flavor lives. The final swirl of cold butter off the heat is what makes the sauce glossy instead of greasy.
Below you’ll find the exact cues I watch for in the skillet, plus a few useful swaps if you need to work around what’s in your kitchen. The details matter here, but the method is straightforward once you see how the pieces fit together.
The sauce thickened up beautifully and stayed silky even after I returned the chicken to the pan. I used the lemon slices at the end like you suggested, and they gave the whole dish a fresh finish without turning bitter.
Save this chicken piccata for the nights when you want a crisp cutlet and a glossy lemon-caper sauce in under 40 minutes.
The Thin-Cutlet Trick That Keeps Chicken Piccata Tender
Most chicken piccata turns dry because the chicken is too thick by the time the coating browns. Thin cutlets solve that problem before it starts. They cook fast, stay juicy, and give you a wider surface area for the sauce to coat. If the cutlets are uneven, pound them gently after halving the breasts so they finish at the same time.
The other common failure is crowding the pan. If the chicken steams, the flour paste softens before it has a chance to turn crisp and golden. Cook in batches and leave space around each piece. You want a steady sizzle the whole time; if the pan goes quiet, the heat has dropped too far or the skillet is overloaded.
What the Flour, Wine, and Butter Are Each Doing Here
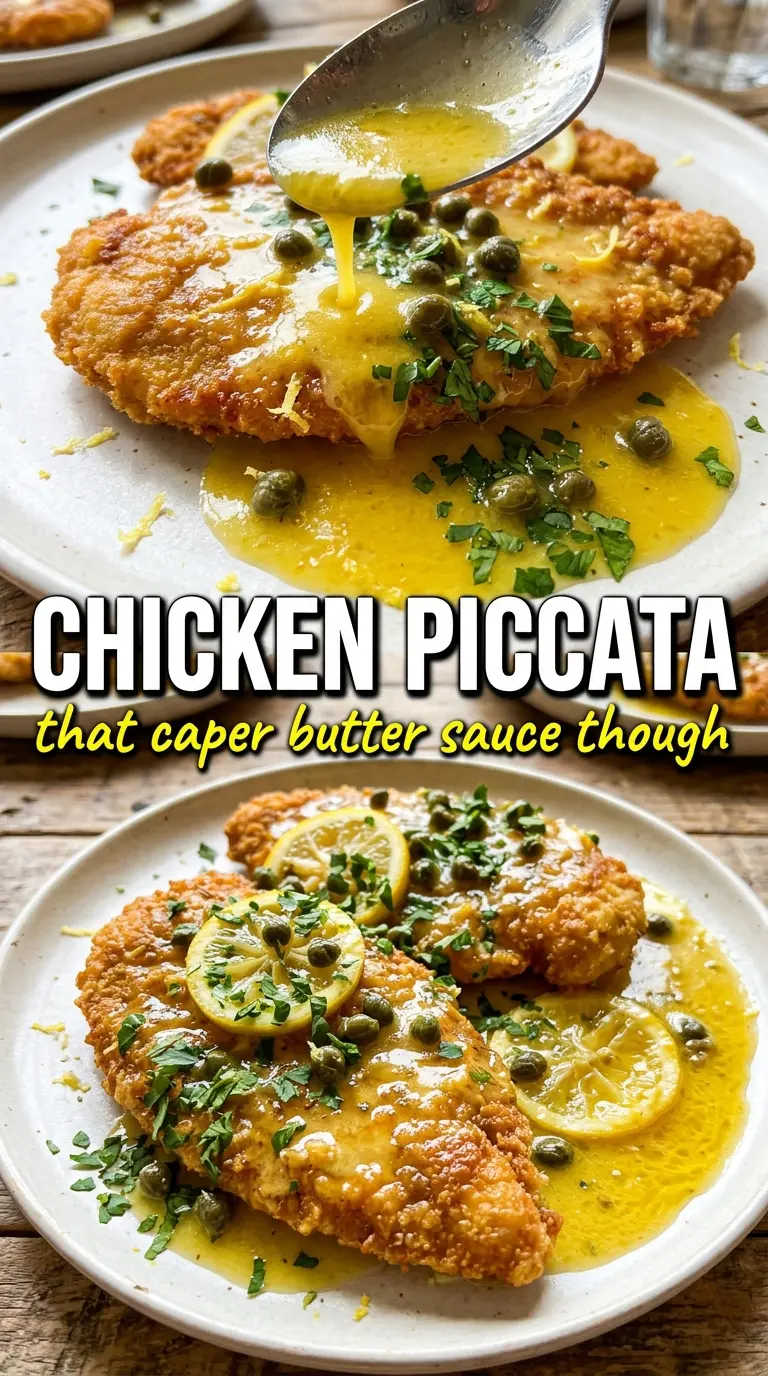
- Chicken breasts — Halving them into thin cutlets is nonnegotiable if you want the classic piccata texture. Thicker pieces need longer heat, which makes the outside tough before the inside is done.
- All-purpose flour — This light coating helps the chicken brown and gives the sauce enough structure to cling. A very thin dusting is enough; if the coating looks pasty, shake off more before the chicken hits the pan.
- Dry white wine — This brings the pan sauce to life by loosening the browned bits and adding acidity. Use a wine you’d actually drink; if you skip it, replace it with extra chicken broth plus a small splash more lemon juice, but the sauce will lose some depth.
- Capers — Their salty, briny bite is what makes piccata taste like piccata. Drain them, but don’t rinse them unless they’re extremely salty, or you’ll wash away the sharpness that balances the butter.
- Cold butter at the end — Swirling it in off the heat is what makes the sauce glossy and smooth. If the pan is boiling when the butter goes in, the sauce can split and look greasy instead of silky.
Building the Sauce So It Stays Bright, Not Broken
Seasoning and Dredging the Cutlets
Season the chicken before it goes into the flour so the meat itself tastes like something, not just the coating. Dredge lightly, then shake off the excess until the cutlet looks dusted, not buried. Too much flour turns gummy in the pan and thickens the sauce into paste later. The goal is a pale, even coating that browns fast.
Getting a Deep Golden Sear
Heat the oil and butter until the butter foams, then add the chicken without crowding. You’re looking for a steady sizzle and golden edges that release cleanly when you lift them with tongs. If the cutlet sticks hard, it needs another minute; forcing it early tears the coating. Cook the chicken until just done, then get it out of the skillet so it doesn’t overcook while the sauce comes together.
Building the Pan Sauce
Add the garlic only long enough to smell it, about 30 seconds, because it burns fast in a hot pan. Pour in the wine and scrape the bottom well; those browned bits dissolve into the sauce and give it the savory backbone that plain lemon juice can’t. Let the liquid simmer until it loses its raw sharpness, then add broth, lemon juice, capers, and lemon slices. The sauce should reduce by about a third and look slightly syrupy before you finish it.
Finishing with Butter
Take the skillet off the heat before adding the remaining butter. Swirl it in gently until the sauce turns glossy and lightly thickened. If you keep boiling at this stage, the butter can separate and the sauce will look oily. Return the chicken to the pan just long enough to warm through and coat each cutlet.
How to Adapt Chicken Piccata Without Losing What Makes It Work
Gluten-Free Chicken Piccata
Swap the all-purpose flour for a 1:1 gluten-free flour blend or a light dusting of rice flour. Rice flour gives an especially crisp crust, while a blend behaves more like regular flour in the sauce. Either way, keep the coating thin so it browns instead of turning heavy.
Dairy-Free Version
Use all olive oil for cooking and finish the sauce with a dairy-free butter alternative that melts smoothly. You’ll lose a little of the classic buttery roundness, but the lemon, capers, and pan drippings still carry the dish. Pull the pan off the heat before stirring in the substitute so the sauce stays emulsified.
No Wine in the Pan
Replace the wine with extra chicken broth plus 1 to 2 teaspoons of lemon juice to keep the sauce bright. The result is a little less complex, because wine adds acidity and depth at the same time, but the piccata will still taste clean and lively. Just let the broth reduce a bit longer so the sauce doesn’t taste flat.
Storing and Reheating Leftovers
- Refrigerator: Store leftovers in an airtight container for up to 3 days. The coating softens in the fridge, but the flavor stays strong.
- Freezer: The cooked chicken freezes, but the sauce can separate a bit when thawed. Freeze portions tightly wrapped for up to 2 months if you don’t mind a slightly less silky finish.
- Reheating: Warm gently in a skillet over low heat with a splash of broth or water. High heat dries out the chicken and can make the sauce look broken before the center is hot.
Questions I Get Asked About This Recipe
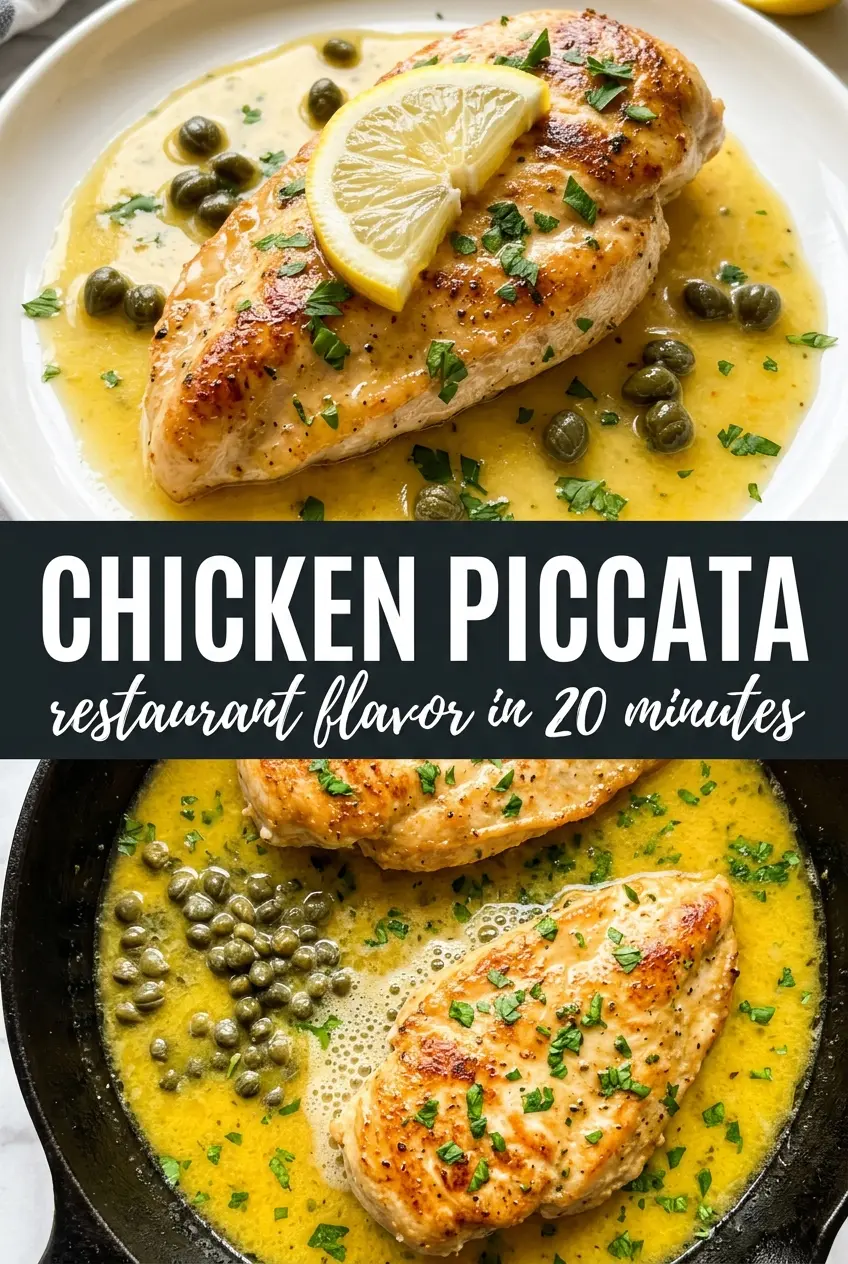
Chicken Piccata
Ingredients
Equipment
Method
- Season the chicken cutlets with salt and pepper, then dredge lightly in all-purpose flour and shake off the excess.
- Heat olive oil and 2 tablespoons butter in a large cast iron skillet over medium-high heat until shimmering.
- Cook the chicken in batches for 3-4 minutes per side, until golden and cooked through, then remove to a plate.
- Add garlic to the skillet and cook for 30 seconds, stirring until fragrant.
- Pour in dry white wine and scrape up the browned bits from the pan, then simmer for 2 minutes.
- Add chicken broth, fresh lemon juice, capers, and lemon slices, then simmer for 4-5 minutes until the sauce reduces by a third.
- Remove the skillet from the heat and swirl in the remaining 2 tablespoons cold butter until the sauce looks glossy.
- Return the chicken cutlets to the skillet, spoon the sauce over each cutlet, and garnish with chopped fresh parsley.