Caramel Apple Cheesecake Bars bring three things together that rarely behave this well in the same pan: a crisp graham cracker crust, a smooth cheesecake layer, and apples that stay tender instead of turning watery. The bars slice cleanly once chilled, and each bite gives you that contrast of buttery base, tangy filling, and warm cinnamon apples finished with caramel.
The part that makes this version work is the pre-cooked apple topping. Raw apples release too much juice in the oven and can make the cheesecake layer slide around or weep after chilling. A quick sauté with butter, brown sugar, and cinnamon softens them just enough to keep the texture balanced without turning them mushy. The cheesecake layer also bakes up more evenly when the cream cheese is fully softened and the eggs go in one at a time.
Below you’ll find the little details that keep the crust from crumbling, the filling from cracking, and the bars easy to lift out of the pan in neat squares.
The apples stayed in little tender pieces and the cheesecake layer set up beautifully after chilling. I was worried the caramel would make it soggy, but the bars cut clean after 3 hours in the fridge.
Save these Caramel Apple Cheesecake Bars for the dessert table when you want crisp edges, creamy filling, and a caramel apple topping that slices cleanly.
The Reason These Bars Slice Clean Instead of Smearing
The difference between neat cheesecake bars and a soft mess usually comes down to two things: temperature and thickness. If the filling goes into the oven with lumpy cream cheese, it never bakes into an even layer. If the bars are cut before they’re fully chilled, the filling and apples drag through the crust instead of holding their shape.
This recipe solves both problems by using softened cream cheese and a full chill after baking. The crust is also pressed firmly into the pan, which matters more here than in a standard cookie bar. A loose crust breaks when you lift the squares out, and once the caramel goes on top, there’s no hiding that.
- Softened cream cheese gives you a smooth batter without beating air into it. Cold cream cheese leaves small lumps that don’t disappear later.
- Pre-cooked apples keep the fruit layer tender and concentrated instead of leaking juice into the cheesecake.
- A long chill turns the filling firm enough to slice. Warm bars will look fine for about 30 seconds, then fall apart on the knife.
What Each Ingredient Is Doing in the Pan
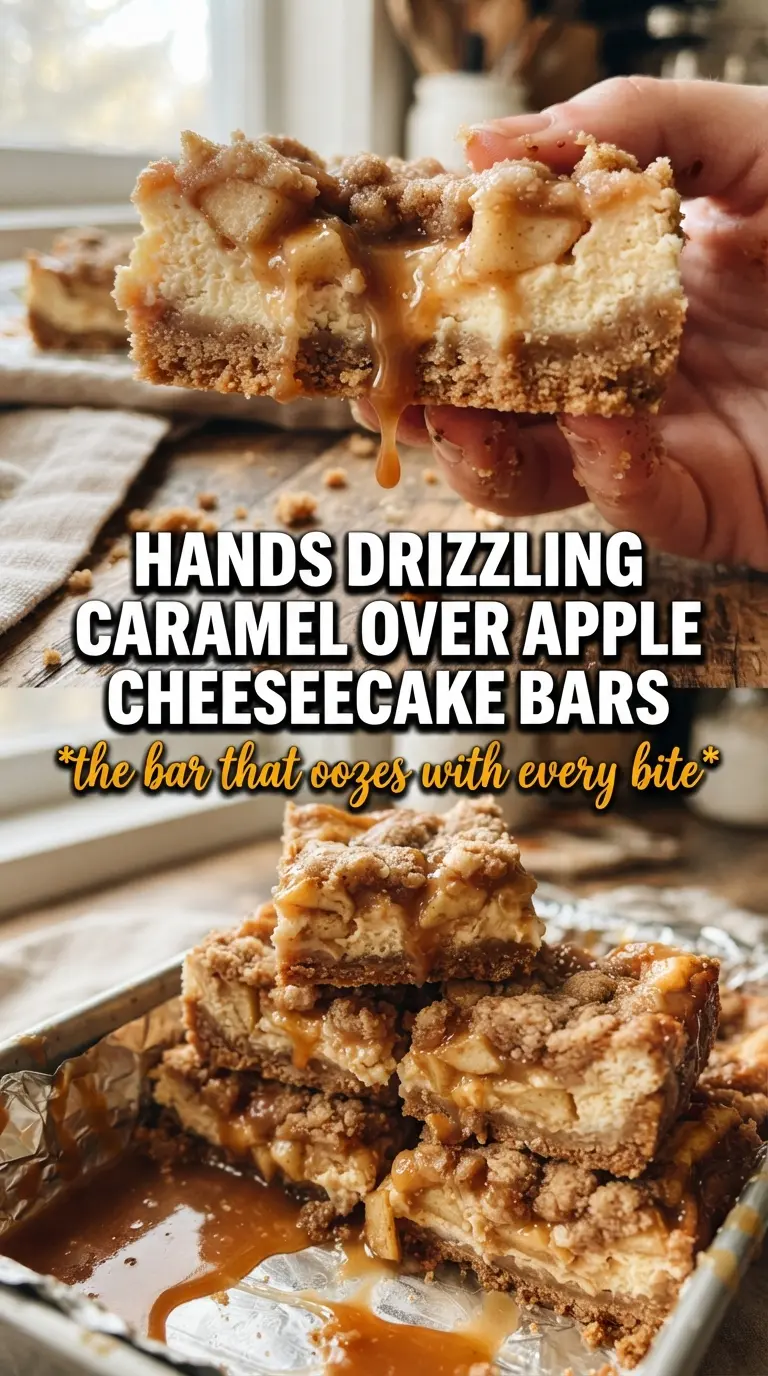
- Graham cracker crumbs form the base and give the bars that classic cheesecake-shop flavor. Fine crumbs pack best; if yours are coarse, crush them a little more so the crust holds together.
- Cream cheese is the structure of the filling, so use full-fat if you want a firm, rich slice. Reduced-fat cream cheese can work, but the bars won’t set as cleanly.
- Sour cream adds a little tang and helps the filling stay smooth instead of dense. Plain full-fat Greek yogurt can stand in, but the texture will be a bit tighter.
- Apples should be peeled and diced small so they soften quickly and distribute evenly. Firmer apples like Honeycrisp, Granny Smith, or Braeburn hold their shape better than mealy varieties.
- Caramel sauce goes on at the end for the right texture. If you bake it on top, it can sink into the fruit and disappear into the filling.
Building the Layers Without Overworking Them
Pressing the Crust Until It Feels Packed
Mix the graham crumbs, sugar, and melted butter until every crumb looks evenly damp, then press the mixture into the parchment-lined pan with real pressure. The crust should feel dense and level, not sandy. If it’s loosely packed, the bars will crumble when you lift them out. A flat-bottom measuring cup works well here because it compresses the crust without digging holes in it.
Whipping the Filling Just Until Smooth
Beat the cream cheese and sugar until the mixture looks completely creamy, then add the eggs one at a time. Stop mixing as soon as the batter is uniform. Overbeating adds too much air, and that extra air expands in the oven, then collapses as the bars cool and can leave cracks across the top.
Cooking the Apples Before They Go On Top
Cook the diced apples with butter, brown sugar, and cinnamon for about 5 minutes, just until they soften and the pan smells caramelized. You want the fruit to hold its shape but lose that raw, crunchy edge. If there’s a puddle of liquid in the skillet, keep cooking for another minute or two so the topping stays glossy instead of wet. Let the apples cool slightly before scattering them over the filling so they don’t start melting the cheesecake layer.
Baking Until the Center Barely Moves
The bars are done when the edges look set and the center still has the tiniest wobble when you nudge the pan. Don’t wait for the middle to look fully firm in the oven; it finishes setting as it cools. Overbaking dries out the cheesecake layer and makes the top more likely to split.
Chilling Before the Caramel Goes On
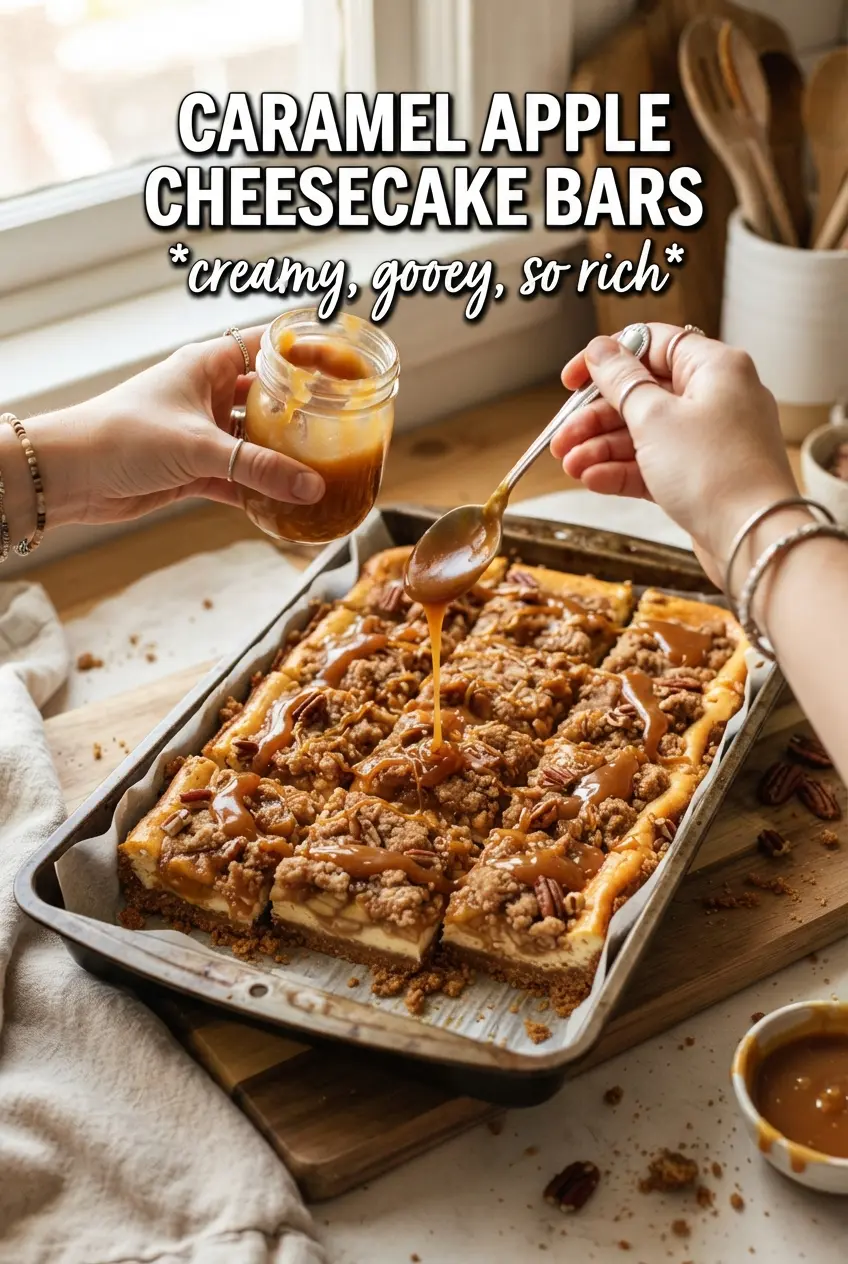
Cool the pan completely, then refrigerate it for the full 3 hours before drizzling on caramel and slicing. That rest time is what gives you clean squares. If you cut too soon, the filling clings to the knife and the caramel smears across the top instead of sitting in neat ribbons.
Three Ways to Adjust These Bars Without Losing the Good Texture
Gluten-Free Crust Swap
Use certified gluten-free graham crackers or gluten-free vanilla cookies in place of standard graham crumbs. The flavor stays close, but the texture can be a touch more delicate, so pack the crust firmly and chill the bars well before slicing.
Lighter Apple Topping
Cut the brown sugar in the apple topping to 2 tablespoons if you want the fruit a little less sweet. The apples will taste brighter and less syrupy, but the topping won’t thicken quite as much in the pan, so cook off any extra moisture before spooning it over the filling.
Dairy-Free Version
Use a dairy-free cream cheese, plant-based butter, and a thick dairy-free sour cream alternative. The bars will still set, but the filling may bake a little softer, so give them the full chill time and cut them straight from the cold fridge.
Make-Ahead Storage and Reheating
- Refrigerator: Store covered for up to 5 days. The crust stays sturdy, though the caramel will soften slightly on top.
- Freezer: Freeze the bars without the caramel drizzle for up to 2 months. Wrap tightly and thaw overnight in the refrigerator before serving.
- Reheating: These bars are best served cold or slightly cool, not warmed. Heat softens the cheesecake and turns the crust crumbly, so add the caramel after chilling instead of trying to reheat the finished bars.
Answers to the Questions Worth Asking
Caramel Apple Cheesecake Bars
Ingredients
Equipment
Method
- Preheat the oven to 325F and line a 9x13 pan with parchment.
- Combine graham cracker crumbs, granulated sugar, and melted unsalted butter, then press firmly into the pan.
- Bake the crust for 10 minutes, then set aside while you make the filling.
- Beat the cream cheese and granulated sugar until smooth.
- Add the eggs one at a time, mixing after each addition.
- Mix in the vanilla extract and sour cream until fully combined.
- Pour the cheesecake filling over the baked crust.
- Sauté the diced apples with butter, brown sugar, and cinnamon for 5 minutes until softened, then cool slightly.
- Scatter the apples over the cheesecake filling.
- Bake at 325F for 35-40 minutes, until the center is just set.
- Cool completely, then refrigerate for 3 hours to chill and firm up the bars.
- Drizzle the caramel sauce over the chilled cheesecake bars, then cut into bars.