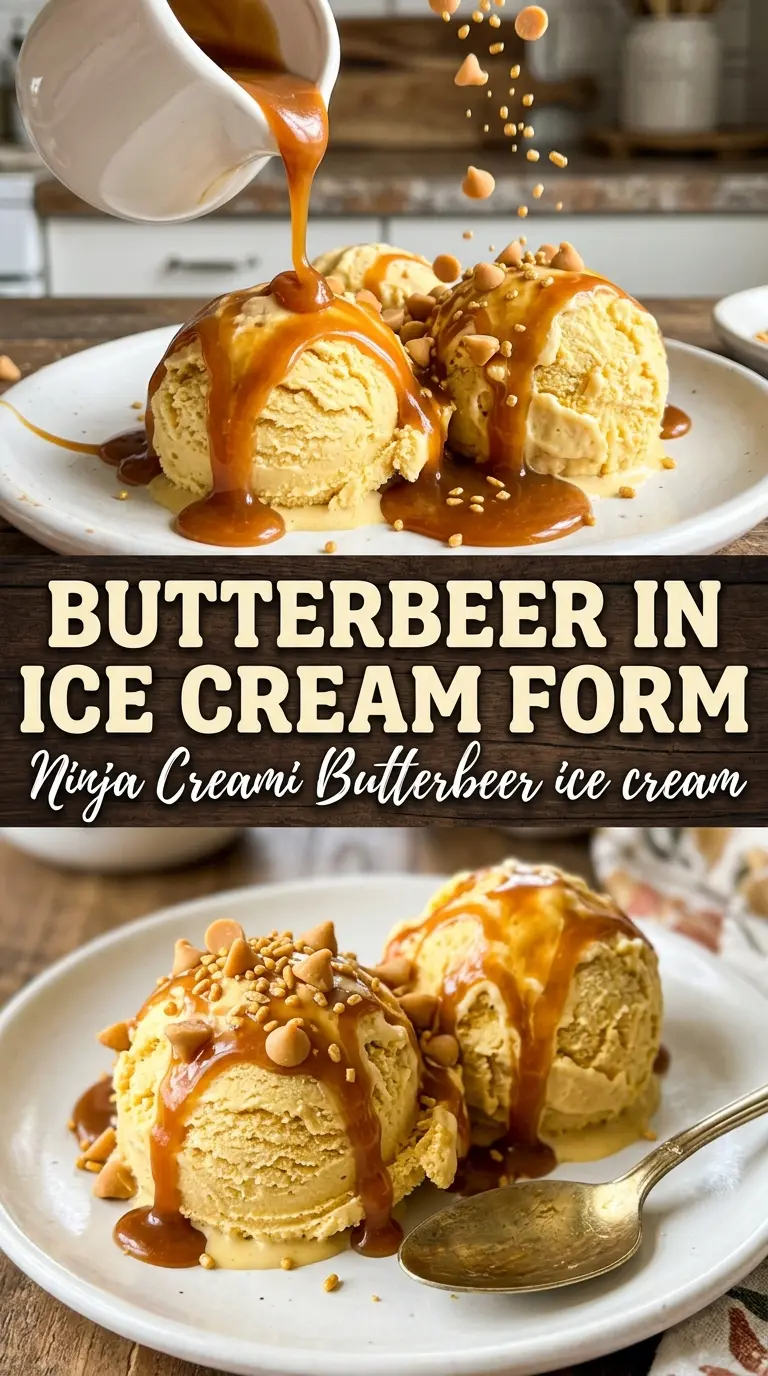
Butterbeer ice cream in the Ninja Creami turns that nostalgic cream soda and butterscotch combination into a scoopable dessert with a soft, custardy body and a clean, buttery finish. The texture lands somewhere between ice cream and frozen mousse, which is exactly what makes it dangerous in the best way — one spoonful leads straight into another.
The trick is balancing the sweetness before it ever hits the freezer. Cream soda brings the signature Butterbeer note, but it also carries enough carbonation and sugar to throw off the texture if you rush it. Letting it go flat and blending it with cream cheese gives the base a smoother body, while a little brown sugar and butter extract push the flavor toward that warm, toasty butterscotch edge instead of plain vanilla soda cream.
Below, I’m walking through the details that matter most: how to keep the base from turning icy, why the first spin sometimes needs a splash of cream, and a few smart swaps if you want to lean harder into the butterscotch side or make it dairy-free.
The first spin came out thick and creamy, and the butterscotch stayed front and center without tasting greasy. I added a tablespoon of cream for the re-spin like you suggested and it turned into the smoothest Butterbeer ice cream I’ve made.
Love the creamy Butterbeer flavor? Save this Ninja Creami butterbeer ice cream for the night you want a butterscotch dessert that tastes like a wizarding-world treat.
The Reason Cream Soda Needs to Go Flat Before It Freezes
The biggest mistake in a Butterbeer base is trapping carbonation in the pint. If the cream soda is still fizzy, the mixture can foam up in the blender, freeze with little air pockets, and spin up crumbly instead of smooth. Flattening it first gives you a denser base that the Ninja Creami can shave into proper ice cream instead of frozen soda slush.
The cream cheese is doing quieter but important work here. It adds enough body and stabilizing fat to keep the texture from tasting thin, and it softens the sharp edge that cream soda can have once it’s frozen. Brown sugar deepens the butterscotch note, but don’t overdo the sweetener or the base can freeze too soft and lose that clean scoop.
What Each Ingredient Is Actually Doing in This Butterbeer Base
- Cream soda — This is the Butterbeer backbone. Let it go flat first; otherwise, you’ll fight foam and a looser freeze. The flavor won’t be the same if you swap in plain soda water, because the vanilla-caramel sweetness is part of the point.
- Heavy cream — This gives the pint richness and helps the re-spin turn silky instead of icy. Half-and-half can work in a pinch, but the finished texture won’t be as lush.
- Butterscotch sauce — This is where the dessert gets its round, cooked-sugar depth. A thick, good-quality sauce tastes better here than a thin topping sauce that disappears into the base.
- Cream cheese — You don’t taste cheesecake, but you do taste the smoothness it brings. Softened cream cheese blends cleanly; cold cream cheese leaves tiny lumps that show up after freezing.
- Butter extract — This pushes the flavor from “cream soda ice cream” into Butterbeer territory. If you skip it, the dessert still works, but it lands flatter and more like vanilla butterscotch.
How to Get a Silky Spin Instead of a Crumbly Pint
Blend Until the Base Looks Completely Uniform
Blend the flattened cream soda, cream, butterscotch sauce, brown sugar, softened cream cheese, vanilla, butter extract, and salt until the mixture looks smooth and a little glossy. Any little specks of cream cheese left behind will firm up in the freezer and make the first spin less even. If your blender struggles, stop and scrape down the sides once rather than forcing it into a foamy mess.
Freeze the Pint on a Level Shelf
Pour the base into the Ninja Creami pint, leaving about an inch of headspace, then freeze it flat and undisturbed for 24 hours. A tilted pint freezes unevenly, and that shows up later as a lopsided, dry spin. The base should feel rock solid all the way through before you process it.
Spin, Then Re-Spin Only If It Needs It
Run the Ice Cream setting first and check the texture before touching anything else. If it comes out powdery or too firm, add about a tablespoon of cream and re-spin; that extra splash loosens the frozen edges just enough to bring everything together. If it looks creamy already, don’t force a re-spin just because you expected one — overworking it can turn the texture past the sweet spot.
Finish With Toppings That Echo the Base
Whipped cream and a drizzle of butterscotch sauce keep the flavor on theme without muddying the pint itself. Add them right before serving so the top stays light and the sauce doesn’t sink in and melt the first layer. A pinch of flaky salt is optional, but it sharpens the butterscotch in a way that makes the whole thing taste more finished.
How to Tweak the Pint for Different Diets and Flavor Preferences
Dairy-Free Butterbeer Version
Use full-fat coconut cream in place of the heavy cream and a dairy-free cream cheese substitute for the body. The flavor stays close, but the coconut note will be faintly present, especially before freezing. Choose a dairy-free butterscotch or caramel-style sauce that’s thick enough to hold its flavor after spinning.
Extra Butterscotch, Less Soda
If you want the dessert to taste deeper and less like a floating cream soda, increase the butterscotch sauce by another tablespoon and reduce the cream soda slightly. The result is richer and more caramel-forward, but it loses a little of the classic Butterbeer brightness.
Stronger Vanilla Finish
Add another splash of vanilla if you like the sweeter, creamier side of Butterbeer more than the butterscotch edge. This doesn’t change the texture much, but it softens the butter extract and makes the whole pint taste rounder and more dessert-like.
Storage and Reheating
- Refrigerator: Ice cream doesn’t hold in the fridge; it will melt quickly and lose its structure.
- Freezer: Store the processed pint with a lid for up to 1 week for the best texture. After that, it can get noticeably icier.
- Reheating: This isn’t a reheated dessert. If it hardens after refreezing, let the pint sit at room temperature for 5 to 10 minutes before spinning again instead of microwaving it.
Answers to the Questions Worth Asking
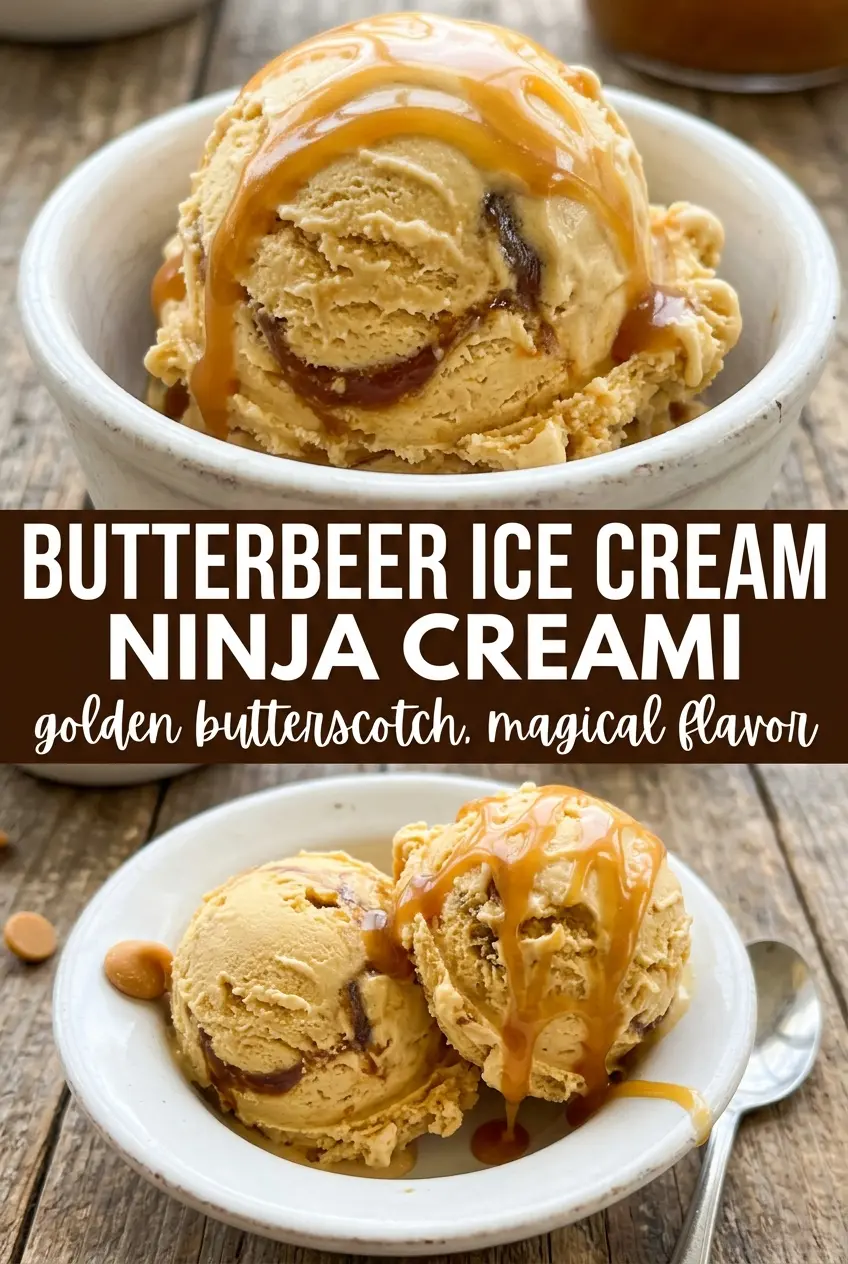
Butterbeer Ice Cream in the Ninja Creami
Ingredients
Equipment
Method
- Let the cream soda go flat by resting it at room temperature, then stir vigorously to reduce excess fizz. Add it to a blender with the heavy cream, butterscotch sauce, brown sugar, cream cheese, vanilla extract, butter extract, and salt.
- Blend until completely smooth with no visible cream cheese lumps, pausing as needed to scrape down the sides for an even texture. Stop blending only when the mixture looks glossy and uniform.
- Pour the mixture into the Ninja Creami pint container, leaving 1 inch of headspace at the top. Smooth the surface so the center freezes evenly.
- Freeze for 24 hours until fully firm. Keep it undisturbed so the base forms a stable, scoop-ready block.
- Process on the Ice Cream setting to churn into a creamy, soft-serve texture. If it’s too firm, re-spin on Ice Cream with 1 tablespoon heavy cream added to the container.
- Top the ice cream with whipped cream for a foamy, Butterbeer-like finish. Finish with a drizzle of butterscotch sauce so each scoop gets a glossy caramel note.