Sticky brown sugar pineapple chicken hits that sweet spot between weeknight comfort and takeout-style payoff. The chicken sears up with a proper golden crust, then gets coated in a glossy glaze that clings instead of pooling on the plate. Pineapple chunks hold their shape in the sauce, so every bite lands with a little burst of tang against the caramelized sweetness.
What makes this version work is the balance in the glaze and the order of the cooking. Pineapple juice brings acidity and fruit, brown sugar adds the deep caramel note, and soy sauce keeps the sauce from tasting flat or candy-like. The cornstarch goes in after the sauce has had a chance to simmer, which gives you that thick, shiny finish without turning it gluey.
Below, I’ll walk through the sear, the glaze, and the one timing detail that keeps the chicken juicy while the sauce turns sticky. There’s also a storage note for leftovers, because this chicken reheats better than you’d expect if you handle it the right way.
The glaze thickened up exactly like you said, and the pineapple stayed in pieces instead of dissolving. My chicken came out juicy, and the sauce was perfect over rice.
Save this brown sugar pineapple chicken for nights when you want a glossy skillet dinner with sticky glaze and tender pineapple in every bite.
The Mistake That Keeps Pineapple Glazes Thin Instead of Sticky
The biggest reason pineapple chicken turns watery is that the sauce gets rushed. Pineapple juice needs a little time on the heat to reduce before the cornstarch slurry goes in, or you end up thickening a sauce that still tastes sharp and loose. Let the mixture come to a steady simmer first, then stir in the slurry and give it a full minute or two to turn glossy.
Another thing that helps here is searing the chicken before the glaze goes into the pan. That browned fond left behind in the skillet dissolves into the sauce and gives it depth, so the final dish tastes cooked, not assembled. If you skip the sear or overcrowd the pan, the chicken steams and the glaze never gets that caramelized edge.
What Each Ingredient Is Doing in the Skillet
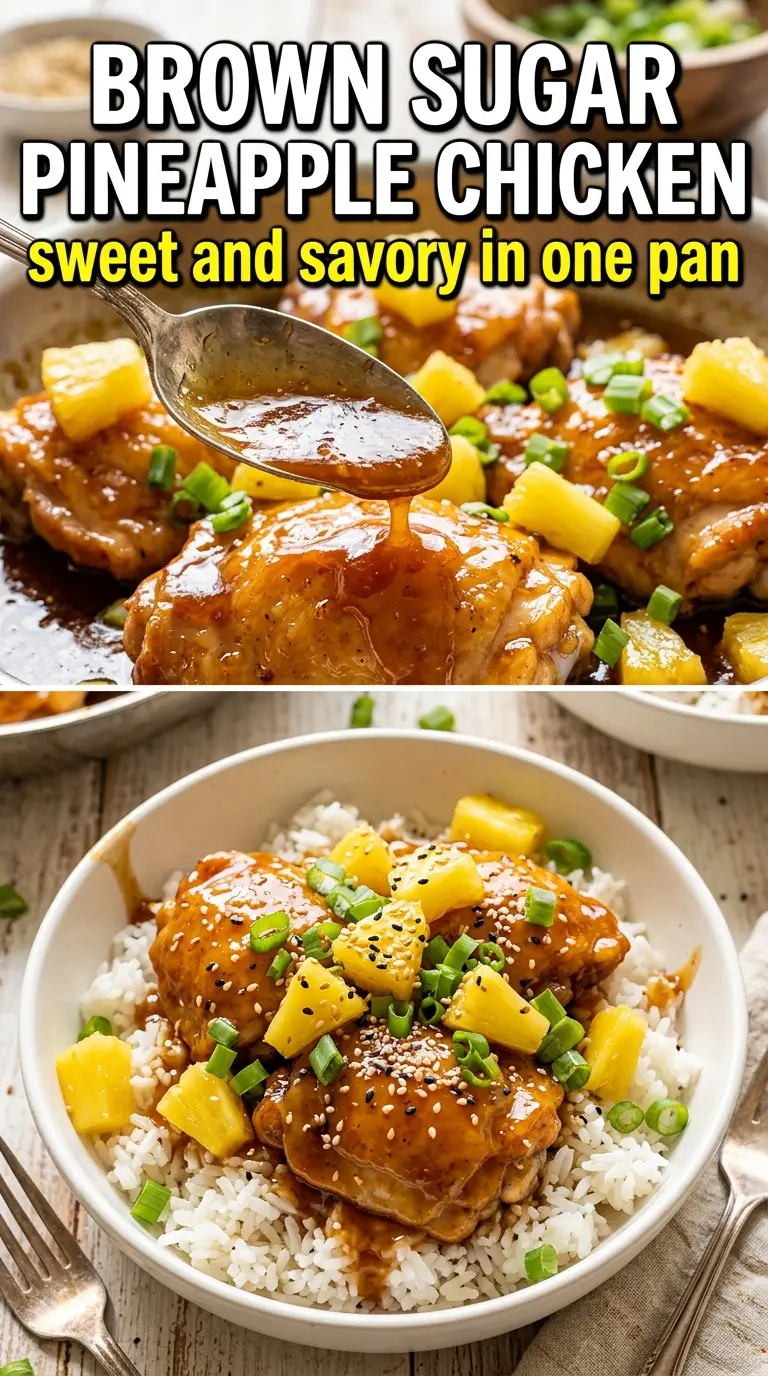
- Chicken breasts — Boneless skinless breasts keep this fast, and they slice cleanly once they rest. If yours are thick on one end, pound them to an even thickness so they cook at the same rate and stay juicy.
- Pineapple juice — This is the backbone of the glaze. Fresh or bottled both work, but unsweetened juice gives you more control because the brown sugar already brings plenty of sweetness.
- Brown sugar — This is what gives the sauce its sticky, caramel edge. Light or dark brown sugar both work; dark brown sugar makes the glaze deeper and a little richer.
- Soy sauce — It keeps the glaze from tasting one-note and gives it that savory saltiness that makes the sweetness land. Use low-sodium if that’s what you keep on hand, then taste before adding extra salt at the end.
- Cornstarch slurry — Don’t add the cornstarch straight to the pan or it will clump. Mixing it with cold water first lets it disperse evenly and thicken the sauce into a smooth glaze.
- Pineapple chunks — Add these near the end so they stay bright and intact. If you use canned pineapple, drain it well first so the extra liquid doesn’t thin the sauce again.
Getting the Chicken Seared Before the Glaze Goes In
Building the Crust
Season the chicken well before it hits the pan. The salt, pepper, garlic powder, and smoked paprika should look evenly dusted, not heavy or patchy. Heat the oil until it shimmers, then lay the chicken in without moving it for the first few minutes so a crust can form. If it sticks at first, it usually needs another minute; once the sear is there, it releases more easily.
Making the Glaze in the Same Pan
After the chicken comes out, keep the skillet on the heat and pour in the pineapple juice, brown sugar, soy sauce, ketchup, garlic, and ginger. Scrape up the brown bits with a spoon as the mixture simmers. That’s the flavor base of the sauce, so don’t clean the pan. Once the liquid looks slightly darker and smells less sharp, stir in the slurry and let it bubble until it coats the back of a spoon.
Finishing Without Drying Out the Chicken
Return the chicken to the pan only after the glaze has thickened. Coat it well, then let it simmer just long enough for the sauce to cling and the chicken to warm through. The goal here is not to cook the chicken a second time from scratch. It just needs a couple of minutes in the glaze so the outside picks up flavor without the meat overcooking.
Make It Gluten-Free
Swap the soy sauce for tamari or a certified gluten-free soy sauce. The glaze stays just as glossy and savory, and you won’t lose the balance that keeps the pineapple from tasting too sweet.
Use Thighs Instead of Breasts
Boneless skinless thighs work well if you want a richer, more forgiving cut. They’ll need a few extra minutes in the skillet, but they stay juicy even if they sit in the sauce a little longer.
Make It a Little Spicier
Add a pinch of red pepper flakes or a spoonful of chili garlic sauce to the glaze. That heat cuts through the sweetness and gives the chicken more contrast without changing the basic method.
Storage and Reheating
- Refrigerator: Store leftovers in an airtight container for up to 4 days. The sauce will thicken as it chills, which is normal.
- Freezer: It freezes well for up to 2 months, though the pineapple softens a bit after thawing. Freeze the chicken and sauce together in a sealed container, then thaw overnight in the fridge.
- Reheating: Reheat gently on the stove over low heat with a splash of water or pineapple juice. High heat can tighten the chicken and make the glaze stick to the pan instead of loosening back up.
Questions I Get Asked About This Recipe
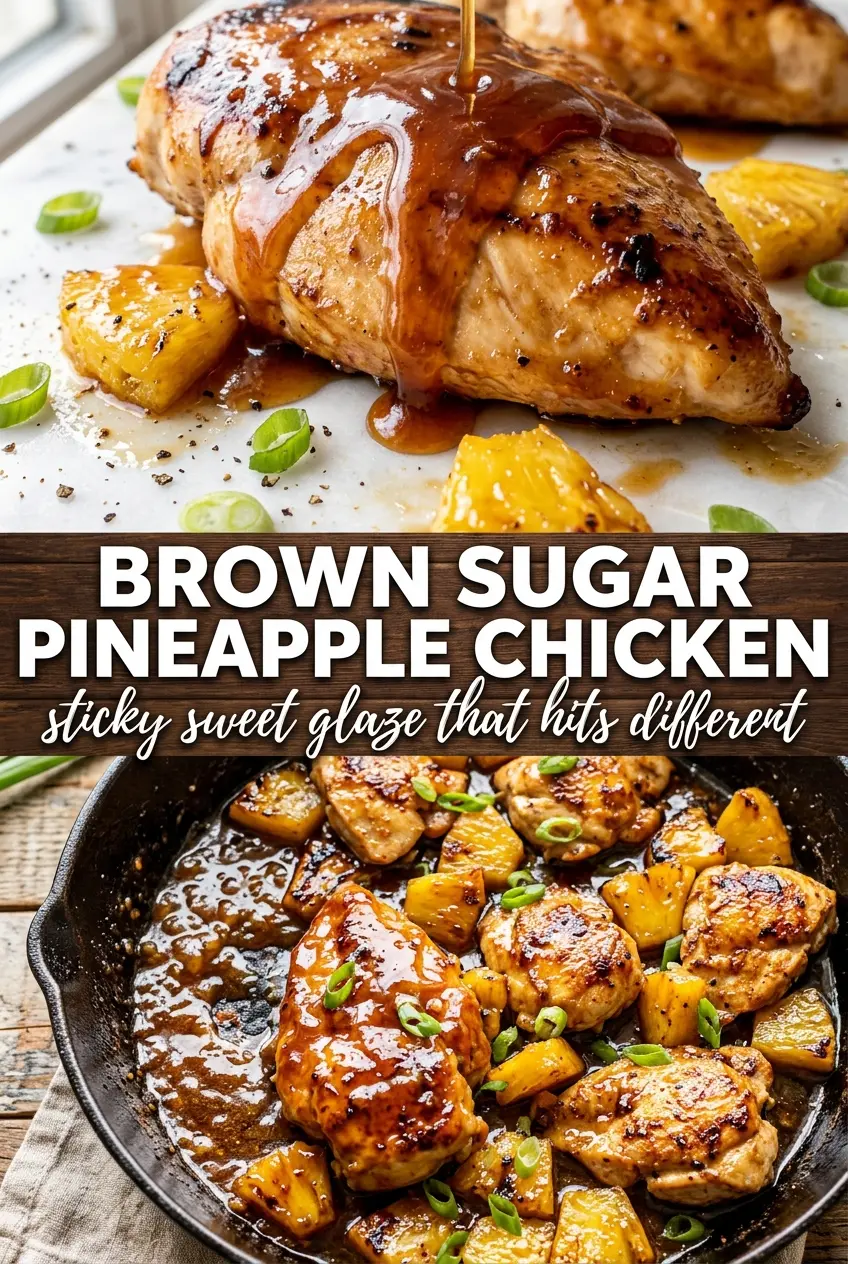
Brown Sugar Pineapple Chicken
Ingredients
Equipment
Method
- Lightly season the chicken breasts with salt, pepper, garlic powder, and smoked paprika, then let them sit for 20 minutes to marinate while you prep the glaze; cover and keep at cool room temperature or refrigerate. Visual cue: the surface looks evenly speckled with spices.
- Heat olive oil in a large cast iron skillet over medium-high heat, then sear the chicken for 5-6 minutes per side until golden and cooked through to 165°F; remove to a plate. Visual cue: browned caramel color on the outside and clear juices when pierced.
- Whisk pineapple juice, packed brown sugar, soy sauce, ketchup, minced garlic, and grated ginger in the same pan, then bring to a simmer over medium heat. Visual cue: small bubbles break the surface and the sauce smells sweet and tangy.
- Stir in the cornstarch slurry and cook 2-3 minutes until the sauce thickens into a glaze, then add pineapple chunks. Visual cue: the sauce coats the back of a spoon and the chunks look glossy.
- Return the chicken to the pan and turn to coat in the brown sugar pineapple glaze, then cook 2 more minutes. Visual cue: the glaze clings and dark amber caramelization forms around the chicken edges.
- Garnish with sesame seeds and sliced green onions. Visual cue: green and beige toppings stand out against the amber sauce.
- Serve the brown sugar pineapple chicken over steamed rice. Visual cue: glaze pools lightly at the bottom of the chicken and rice.