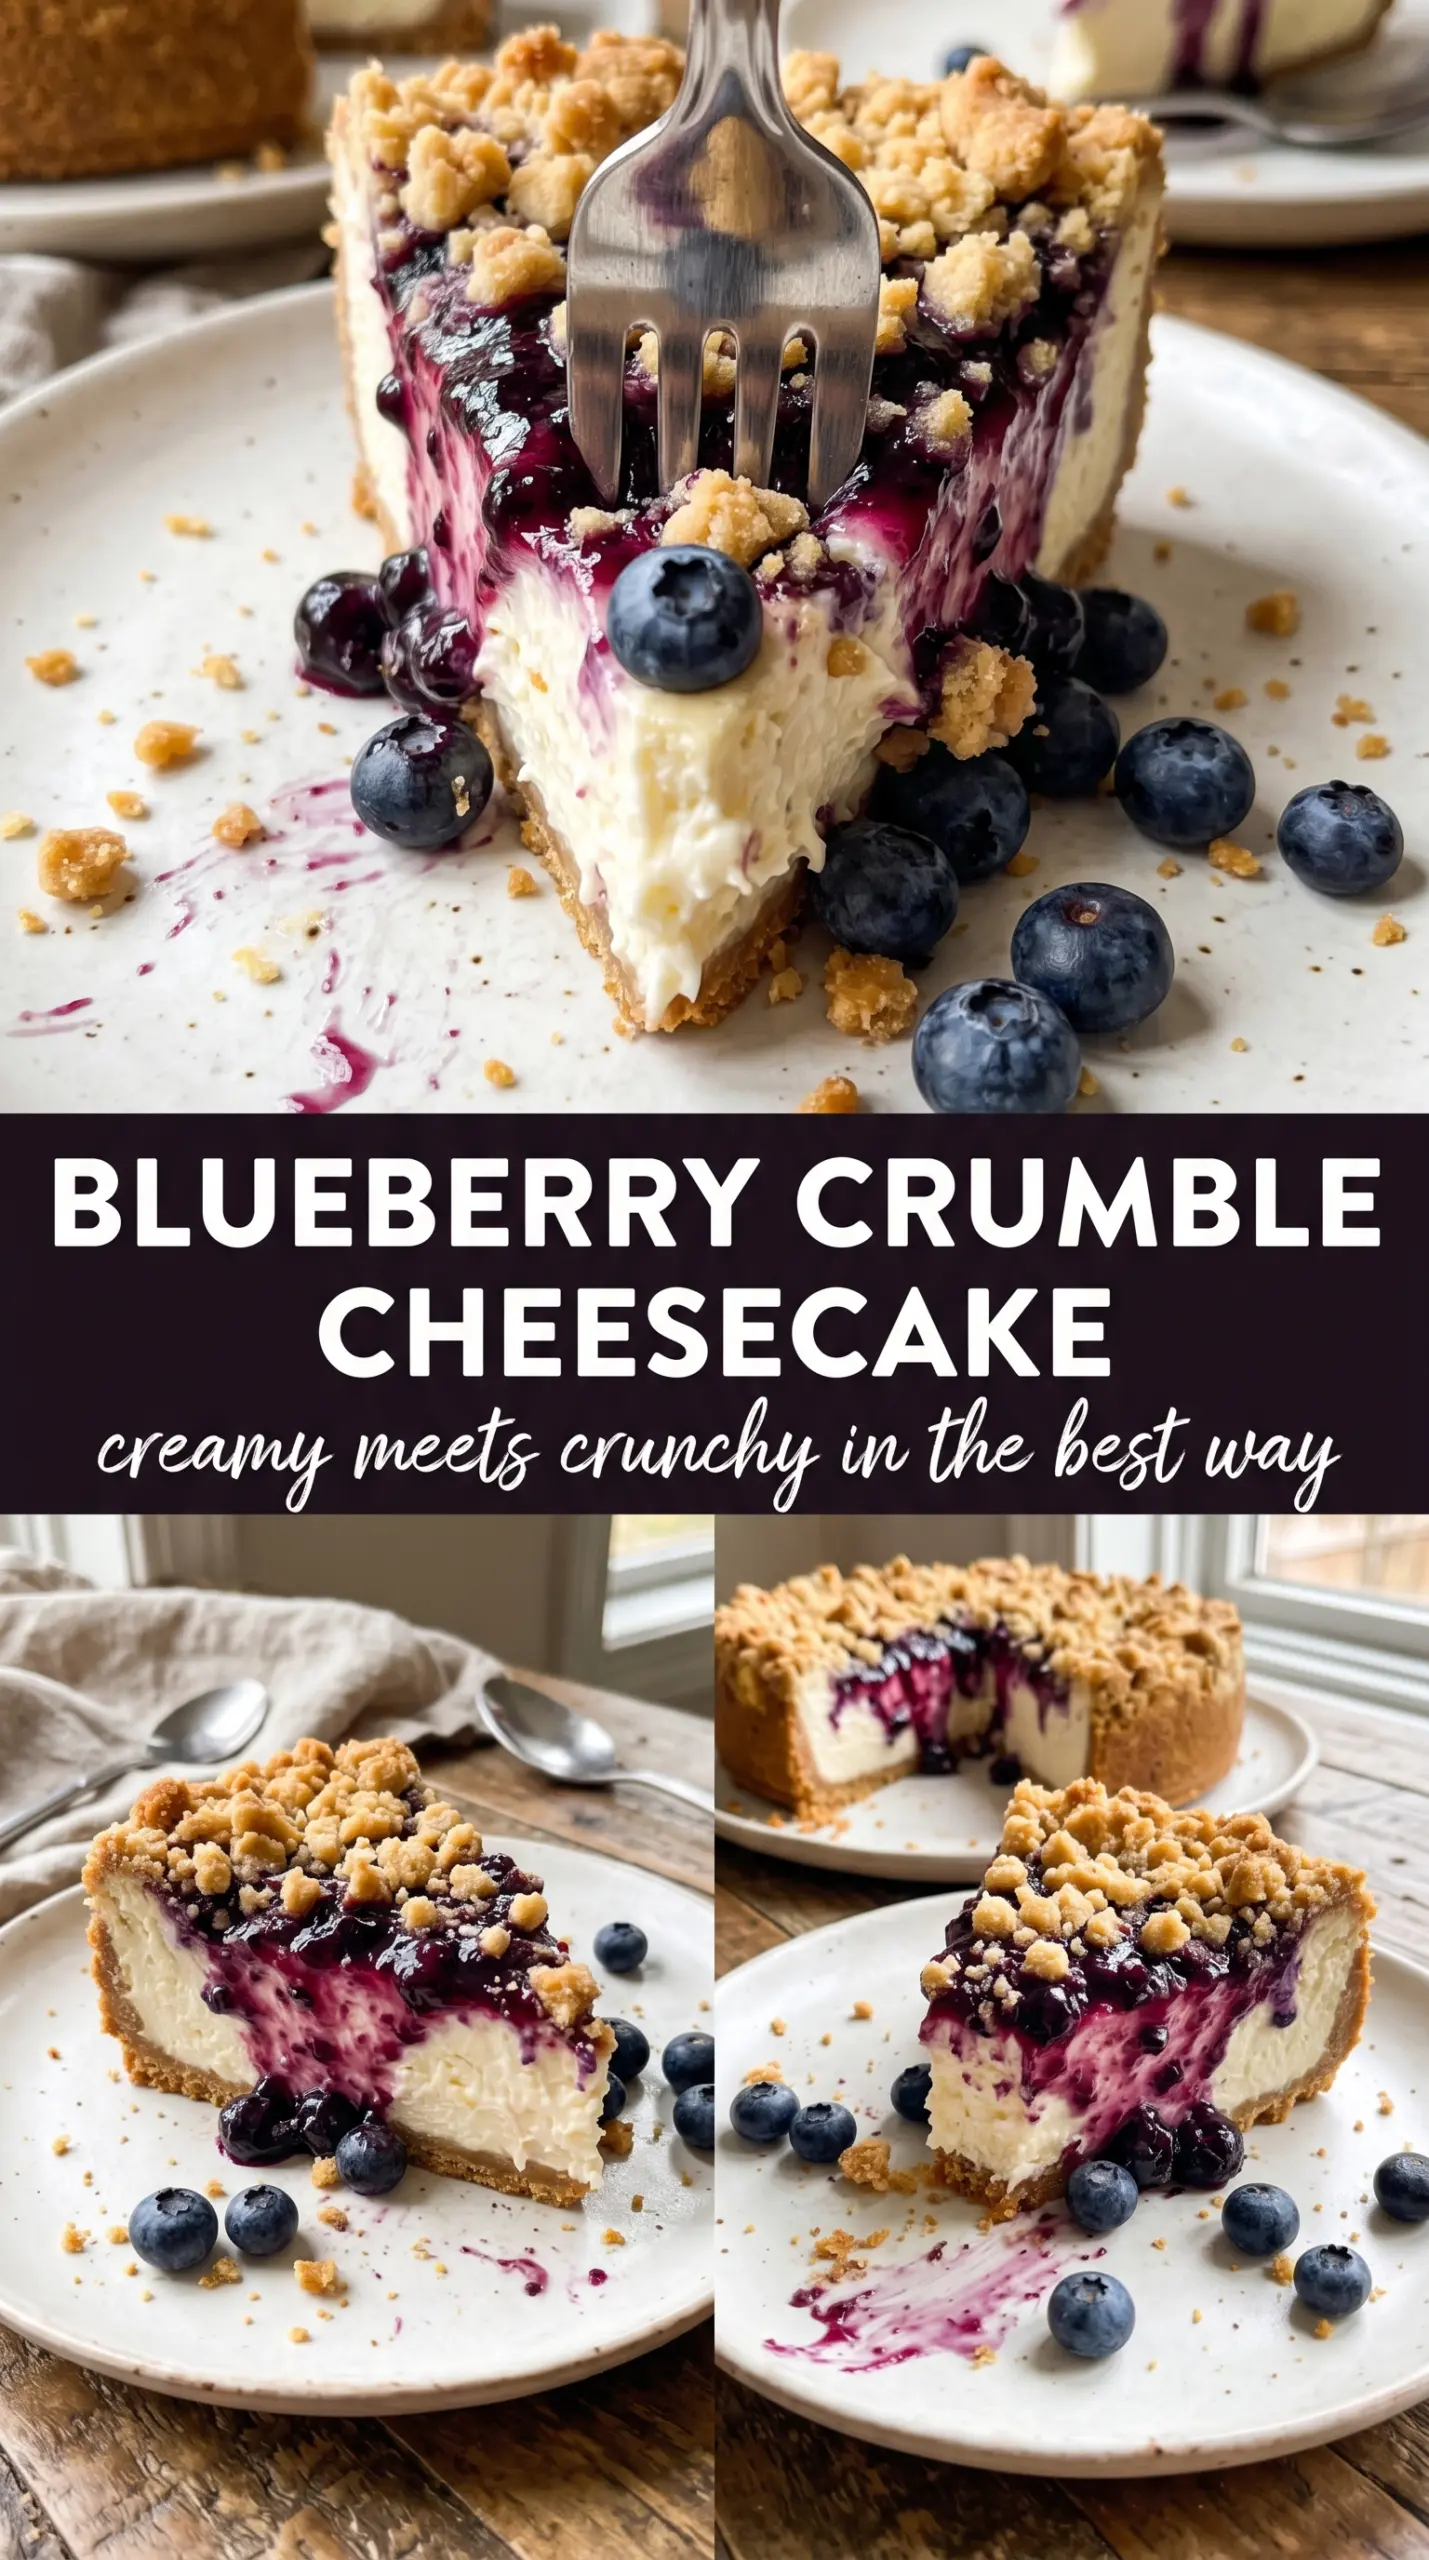
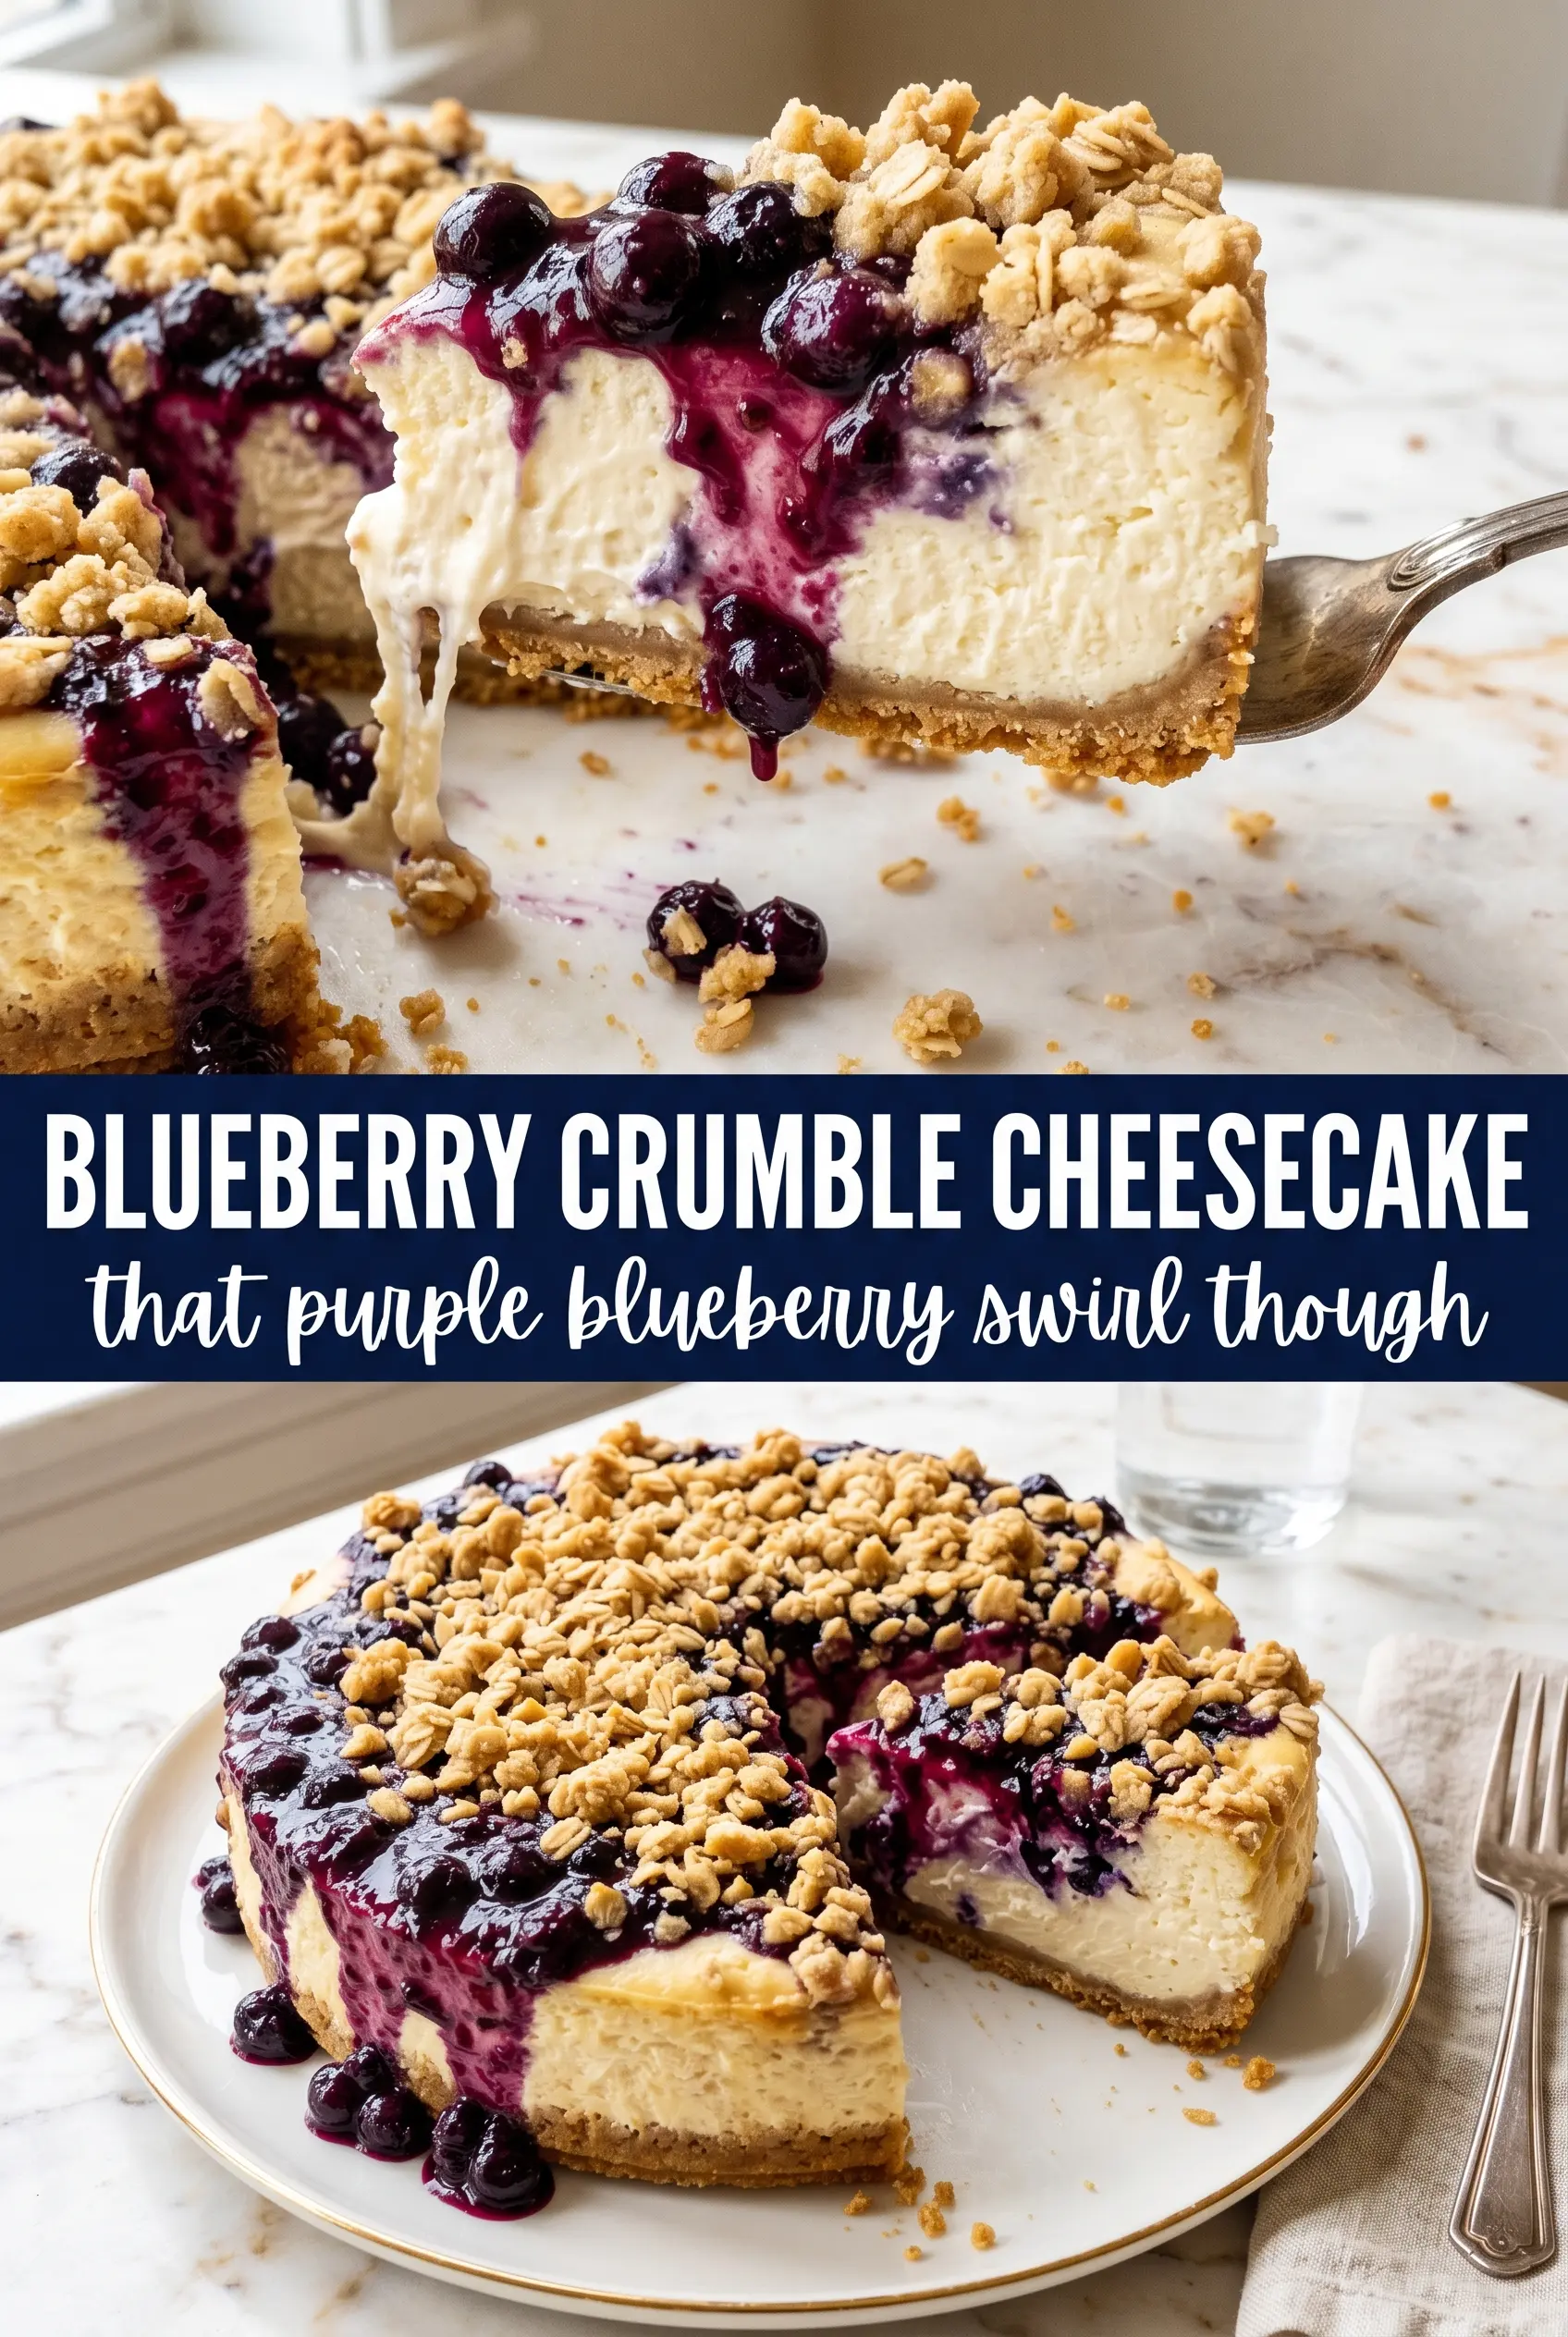
Blueberry crumble cheesecake has that rare combination that keeps people going back for one more slice: a buttery graham crust, a smooth tangy filling, a juicy blueberry layer, and a crisp oat crumble that stays golden instead of sinking into the batter. Every bite gives you contrast. Creamy, jammy, and crunchy all at once.
The trick is keeping each layer distinct. The cheesecake batter stays rich and stable because the cream cheese is beaten until smooth before the eggs go in, then sour cream loosens it just enough for a velvety set. The blueberry layer is thickened with a little cornstarch so it bakes into a spoonable topping instead of leaking purple juice through the whole cake, and the crumble goes on last so it browns on top instead of disappearing into the filling.
Below, I’ll walk through the small details that matter most, including how to keep the cheesecake from cracking and how to get that oat topping crisp instead of sandy. If you’ve ever wanted a blueberry cheesecake that looks bakery-level but still feels doable at home, this one is worth your time.
The blueberry layer stayed bright and thick, and the crumble stayed crisp even after chilling overnight. I cut into it the next day and the slices held their shape perfectly.
Like this blueberry crumble cheesecake? Save it to Pinterest for the creamy, jammy dessert with a crisp oat topping.
The Part That Keeps the Cheesecake from Going Dense
The biggest mistake in a baked cheesecake is overworking the filling after the eggs go in. Once the eggs are added, the batter only needs enough mixing to disappear into the cream cheese. Whip it hard and you’ll build too much air, which can puff the cheesecake in the oven and leave you with cracks as it cools. A smooth, thick batter is what you want here, not an airy one.
The water bath matters too, especially with the blueberry layer and crumble on top. It buffers the heat so the cheesecake bakes gently from the outside in. If your oven runs hot, the edges will set before the center has a chance to turn creamy, and that’s when the middle gets dry or the top splits. The bake is done when the center still has a slight wobble, like set custard.
What Each Layer Is Doing in This Cheesecake
- Cream cheese — Full-fat brick cream cheese gives the cheesecake its structure and rich body. Tub-style cream cheese is too soft and can make the filling loose, so stick with blocks and let them soften at room temperature before mixing.
- Sour cream — This keeps the filling tangy and smooth. It also helps the cheesecake stay tender after chilling, which is why this layer tastes lighter than a plain cream cheese filling.
- Blueberries — Fresh berries hold their shape better than frozen ones here. Frozen berries release more liquid, which can thin the topping, so if you need to use them, don’t thaw them first and expect a slightly softer set.
- Rolled oats — These give the crumble a real nubby texture instead of a sandy streusel. Quick oats won’t have the same bite, and they can turn pasty when mixed with butter.
- Butter for the crumble — It needs to be cold so the topping bakes into clumps. If the butter is too soft, the crumble melts into the blueberries instead of staying in crisp little shards on top.
Building the Layers Without Blurring Them Together
The Graham Crust Base
Press the crust mixture firmly into the bottom of the springform pan, including the corners where the base meets the sides. An even, tight crust keeps the cheesecake from slipping when you slice it. A short pre-bake helps it set, which keeps the bottom from tasting soft or sandy under the filling. Let it cool before the batter goes in so the cheesecake starts on a stable base.
The Creamy Filling
Beat the cream cheese and sugar until there are no visible lumps, then add the eggs one at a time. That order matters because eggs need a smooth base to blend into cleanly. Once the sour cream, vanilla, and lemon zest go in, mix only until combined. If the batter looks glossy and thick, you’re in the right place.
The Blueberry Layer and Crumble Top
Stir the blueberries with sugar, cornstarch, and lemon juice until the berries look lightly coated and a little glossy. Spoon that mixture over the batter instead of dumping it in one spot, or it can sink. Mix the crumble with your fingertips until it forms uneven clumps, then scatter it across the top. The uneven pieces bake up better than a uniform sandy layer and give you that dramatic crunch in the first cut.
The Slow Cool-Down
When the cheesecake is done, turn the oven off and crack the door. That slow cooling step keeps the center from collapsing too fast, which is one of the main reasons cheesecakes crack after baking. After that, it still needs the fridge time. The cheesecake firms up as it chills, and the blueberry layer settles into the top instead of sliding around when you slice it.
Three Ways to Change the Finish Without Losing the Soul of It
Make it gluten-free
Use gluten-free graham crackers for the crust and swap the all-purpose flour in the crumble for a 1:1 gluten-free baking blend. The texture stays close to the original, though the topping may bake a touch more delicately, so keep an eye on it near the end of baking.
Make it dairy-free
Use dairy-free cream cheese and a thick plant-based sour cream substitute, then replace the butter in both the crust and crumble with a firm vegan butter. The filling won’t taste identical, but you’ll still get a creamy center and a crisp topping if the substitute is sturdy enough to hold its shape.
Swap in mixed berries
Raspberries and blackberries work well in place of some of the blueberries, but keep the total amount the same. The topping will be a little sharper and juicier, so the cornstarch matters even more if you want clean slices.
Storage and Reheating
- Refrigerator: Store covered for up to 5 days. The crumble softens a bit over time, but the cheesecake itself stays creamy and sliceable.
- Freezer: Freeze whole or in slices, tightly wrapped, for up to 1 month. Thaw overnight in the refrigerator. The blueberry layer holds up better than you might expect, though the crumble won’t stay as crisp.
- Reheating: Serve chilled or let slices sit at room temperature for 15 to 20 minutes. Don’t microwave this cheesecake or the filling can turn soft and greasy before the center warms through.
Answers to the Questions Worth Asking
Blueberry Crumble Cheesecake
Ingredients
Equipment
Method
- Preheat oven to 325°F. Press graham cracker crumbs, sugar, and melted butter into a 9-inch springform pan and bake for 8 minutes, then cool.
- Beat cream cheese and granulated sugar until smooth. Add eggs one at a time, then mix in sour cream, vanilla extract, and lemon zest until fully combined.
- Pour the cheesecake batter over the cooled crust and spread into an even layer, keeping the surface level.
- Combine fresh blueberries, sugar, cornstarch, and lemon juice until the berries are coated. Spoon the mixture over the cheesecake batter so it forms a visible blueberry layer.
- Mix rolled oats, all-purpose flour, and brown sugar, then rub in cubed cold butter with fingertips until clumpy. Scatter the golden crumble over the blueberry layer so it’s generously distributed.
- Bake in a water bath at 325°F for 55-65 minutes, until the center barely jiggles when gently shaken. Cover and cool the cheesecake in the oven with the door cracked for 1 hour.
- Refrigerate the cheesecake for at least 4 hours until fully set. Unmold and serve with crumble topping that shatters at the cut.