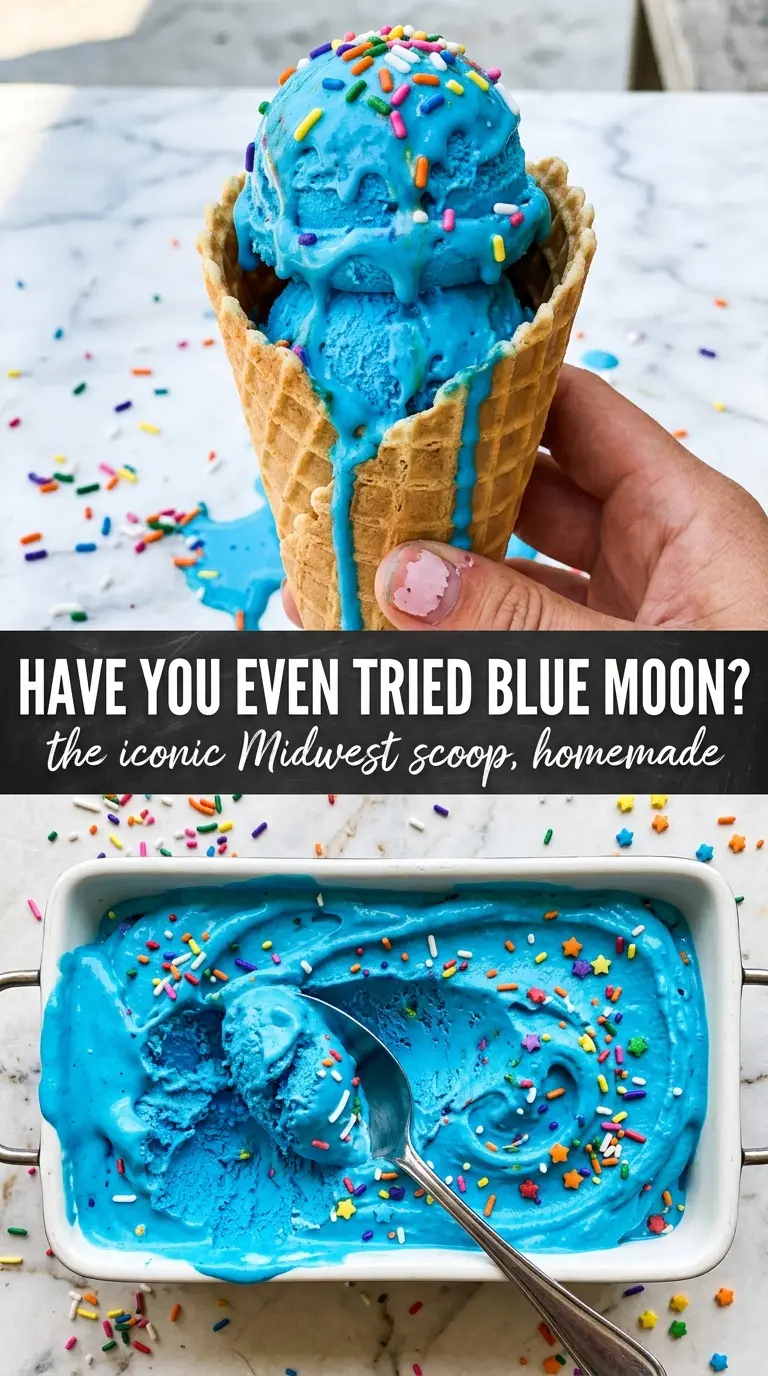
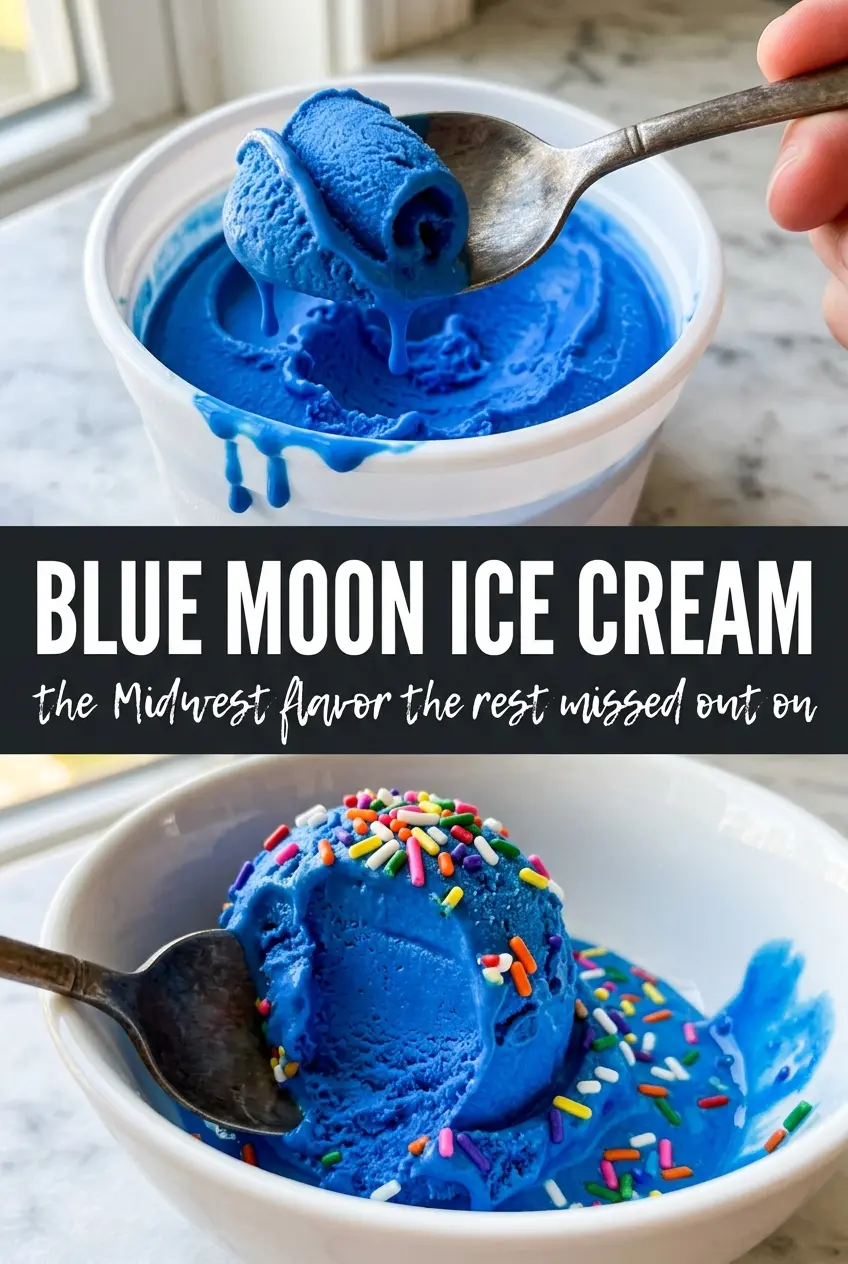
Electric blue Blue Moon ice cream always turns heads first, then wins people over with that odd, nostalgic flavor that sits somewhere between almond, vanilla, fruity candy, and a little floral-citrus brightness. The texture matters just as much as the color here: rich, custard-based, smooth enough to scoop cleanly, and firm enough to hold that dramatic shade without tasting flat.
The custard base gives this ice cream its plush body, which is important because Blue Moon flavor can come across thin if it’s built on milk alone. Cooking the yolks to 175°F thickens the base enough for a creamy finish, and adding the extracts after cooking keeps the almond and fruit notes from getting muddied by heat. The blue food coloring goes in at the end, a few drops at a time, so you can stop where the color looks vivid instead of neon in an artificial way.
Below, you’ll find the technique that keeps the custard silky, the ingredient choices that matter most, and a few smart variations if you want to adjust the flavor or make room for what’s already in your pantry.
The custard came out unbelievably smooth, and the blue raspberry with almond extract gave it that exact Midwest Blue Moon taste I remembered from childhood. It scooped perfectly after a full freeze, not icy at all.
Love that electric blue custard and nostalgic almond-fruit flavor? Save this Blue Moon Ice Cream recipe for the next time you want a scoop that looks wild and tastes like childhood.
The Step That Keeps Blue Moon Custard Smooth Instead of Eggy
Blue Moon ice cream has a delicate flavor, so the base has nowhere to hide. If you rush the custard or let the yolks scramble, the whole thing turns heavy and bland instead of creamy and clean-tasting. The trick is to temper the egg yolks slowly, then cook just until the mixture reaches 175°F and lightly coats the back of a spoon.
That temperature matters. Go much higher and the custard tastes cooked, which dulls the almond and fruity notes that make Blue Moon recognizable. Straining the base after cooking catches any tiny bits of egg before they end up in the churn, and that extra minute pays off in a smoother scoop later.
What Each Flavoring Is Actually Doing Here
- Heavy cream — This gives the ice cream its plush, scoopable body. Lower-fat dairy makes the flavor taste sharper and the texture icier, which works against what Blue Moon should be.
- Whole milk — The milk keeps the base from becoming too rich and lets the extracts read clearly. Don’t swap in skim milk; you’ll lose body and the churned ice cream will freeze harder.
- Egg yolks — The yolks build the custard and help the finished ice cream stay smooth after freezing. If you want a more straightforward shortcut, you can use a no-cook base, but it won’t have the same velvety texture.
- Almond, vanilla, raspberry, and lemon extracts — This combination is what creates the classic Blue Moon impression. Almond gives the recognizable base note, vanilla rounds it out, raspberry adds the candy-fruit edge, and lemon keeps it from tasting flat.
- Blue food coloring — Use it sparingly and add a few drops at a time after the base is cooled. The color should look electric, not gray-blue, and it deepens a little once the ice cream freezes.
Building the Custard, Chilling It, Then Churning It Right
Heating the Dairy Without Scorching It
Warm the cream and milk until they’re steaming and small bubbles form around the edge, but don’t let them boil. Boiling can give the dairy a cooked taste and makes tempering the yolks messier. Whisk the hot dairy into the sugar-yolk mixture in a slow stream so the eggs warm gradually instead of turning into little bits of scrambled custard.
Cooking to the Right Thickness
Return the mixture to the saucepan and stir constantly over medium-low heat until it reaches 175°F. At that point it should coat a spoon and leave a clear line when you drag a finger through it. If you can smell egg or see even one grainy curd forming, pull it off the heat immediately and strain it right away.
Adding the Signature Flavor and Color
Stir in the extracts after the custard is off the heat so the floral and fruity notes stay bright. Then add blue food coloring a few drops at a time until it looks vividly blue in the bowl. A base that looks pale before churning usually ends up even lighter after freezing, so don’t stop too soon if you want that classic electric color.
Chilling Before the Churn
Cool the custard completely, then refrigerate it for at least 4 hours. Cold base churns faster and traps smaller ice crystals, which is what gives homemade ice cream a smoother finish. If the mixture is still warm, the machine will struggle and the texture will turn soft instead of dense and creamy.
Make It More Almond-Forward
Raise the almond extract slightly and pull back a little on the raspberry flavoring. That leans the ice cream toward a more classic, bakery-style Blue Moon flavor, but too much almond can start to taste sharp, so add in small increments.
Dairy-Free Version
Use full-fat canned coconut milk in place of the cream and whole milk, then skip the custard and make a no-churn base. You’ll lose some of the classic custard richness, but the flavor still comes through and the blue color stays bold.
Skip the Food Coloring for a Natural Look
Leave out the blue coloring if you care more about flavor than the signature color. The taste stays the same, but the finished ice cream will be pale cream with a slight tint from the extracts instead of that dramatic Midwest-blue shade.
Storage and Freezer Time
- Refrigerator: Keep the chilled base up to 2 days before churning. After that, the flavor starts to flatten a little.
- Freezer: The churned ice cream keeps well for about 2 weeks in a tightly sealed container with parchment pressed on top. It freezes firmer over time, so expect to let it sit at room temperature before scooping.
- Reheating: Not applicable, but for serving, let it stand on the counter 5 to 10 minutes before scooping. If you try to dig in straight from a deep freeze, the texture will feel hard and brittle instead of creamy.
Questions I Get Asked About This Recipe
Blue Moon Ice Cream
Ingredients
Equipment
Method
- Heat the heavy cream and whole milk in a saucepan until steaming, then keep it at a gentle simmer. Visual cue: small steam bubbles should appear around the edges, not a rolling boil.
- Whisk the egg yolks with the granulated sugar until smooth, then slowly whisk the hot cream mixture into the yolks. Visual cue: the mixture should lighten and become cohesive as you drizzle.
- Return the custard to the saucepan and cook, stirring constantly, until it reaches 175F. Visual cue: the custard should coat the back of a spoon and look slightly thickened.
- Strain the custard into a clean container and cool slightly. Visual cue: the strained liquid should be smooth with no scrambled bits visible.
- Stir in the almond extract, vanilla extract, raspberry extract (or blue raspberry flavoring), and lemon extract. Visual cue: the mixture will smell distinctly citrus-almond as it comes together.
- Add blue food coloring a few drops at a time until the desired electric blue is achieved. Visual cue: the color should turn vivid and bright, not pale pastel.
- Cool the custard completely, then refrigerate for 4 hours. Visual cue: it should be fully chilled before churning.
- Churn the chilled custard in an ice cream maker according to the manufacturer’s instructions. Visual cue: it thickens from pourable to soft-serve consistency.
- Transfer to a freezer-safe container and freeze until firm. Visual cue: the surface should look set and scoopable without slumping.