Blender strawberry ice cream hits that sweet spot between frozen fruit and a scoopable dessert: bright, creamy, and cold enough to feel like ice cream, but fast enough to make when the craving shows up out of nowhere. The texture lands somewhere between soft serve and old-fashioned churned ice cream, with the strawberries doing most of the work and the banana smoothing out the edges.
The trick is balance. Frozen strawberries give the vivid color and tartness, while the banana adds body without needing an ice cream maker. A small amount of cream keeps it from tasting icy, and the honey or maple syrup helps everything blend into a glossy puree instead of a chunky slush. If you’ve ever had blended frozen fruit turn grainy, the fix is simple: let the fruit soften for a few minutes, then blend long enough for the mixture to turn fully smooth and creamy.
Below, I’ve included the one blending detail that makes the biggest difference, plus a few smart swaps for dairy-free and banana-free versions. There’s also a note on freezing it if you want something more scoopable later.
The texture came out shockingly creamy for something made in a blender, and the banana blended right in without taking over the strawberry flavor. I froze it for an hour after blending and it scooped like a dream.
Save this blender strawberry ice cream for the days when you want a creamy frozen dessert without waiting on a machine.
The Blender Trick That Keeps Frozen Fruit From Turning Grainy
Frozen fruit desserts usually fail for one of two reasons: the blender stalls before the mixture comes together, or the final texture stays icy because there isn’t enough fat or sweetness to keep the fruit moving. This recipe avoids both problems by starting with fruit that has softened just enough to give the blades a little traction. That short rest makes a bigger difference than people expect.
The banana is doing more than adding sweetness. It gives the mixture a custard-like body and helps the strawberries emulsify into something smooth instead of fluffy and icy. If your blender struggles, the issue is usually order, not effort — heavy ingredients on the bottom, frozen fruit on top, then blend and stop to scrape the sides instead of pouring in extra liquid and thinning the whole thing out.
- Frozen strawberries — These carry the flavor and the color. Fresh berries won’t give the same thick, chilled texture without extra freezing time.
- Frozen banana — This is the ingredient that makes the blender ice cream feel creamy instead of icy. If you skip it, the dessert will still work, but it will taste more like a fruit slush.
- Heavy cream or coconut cream — A small amount gives the mix body and helps it turn glossy. Coconut cream is the best dairy-free swap because it brings the same richness.
- Honey or maple syrup — Use just enough to round out the tart strawberries. If your berries are very sweet, you can pull this back a little, but don’t remove it entirely or the flavor can taste flat.
What Each Ingredient Is Actually Doing in This Blender Dessert
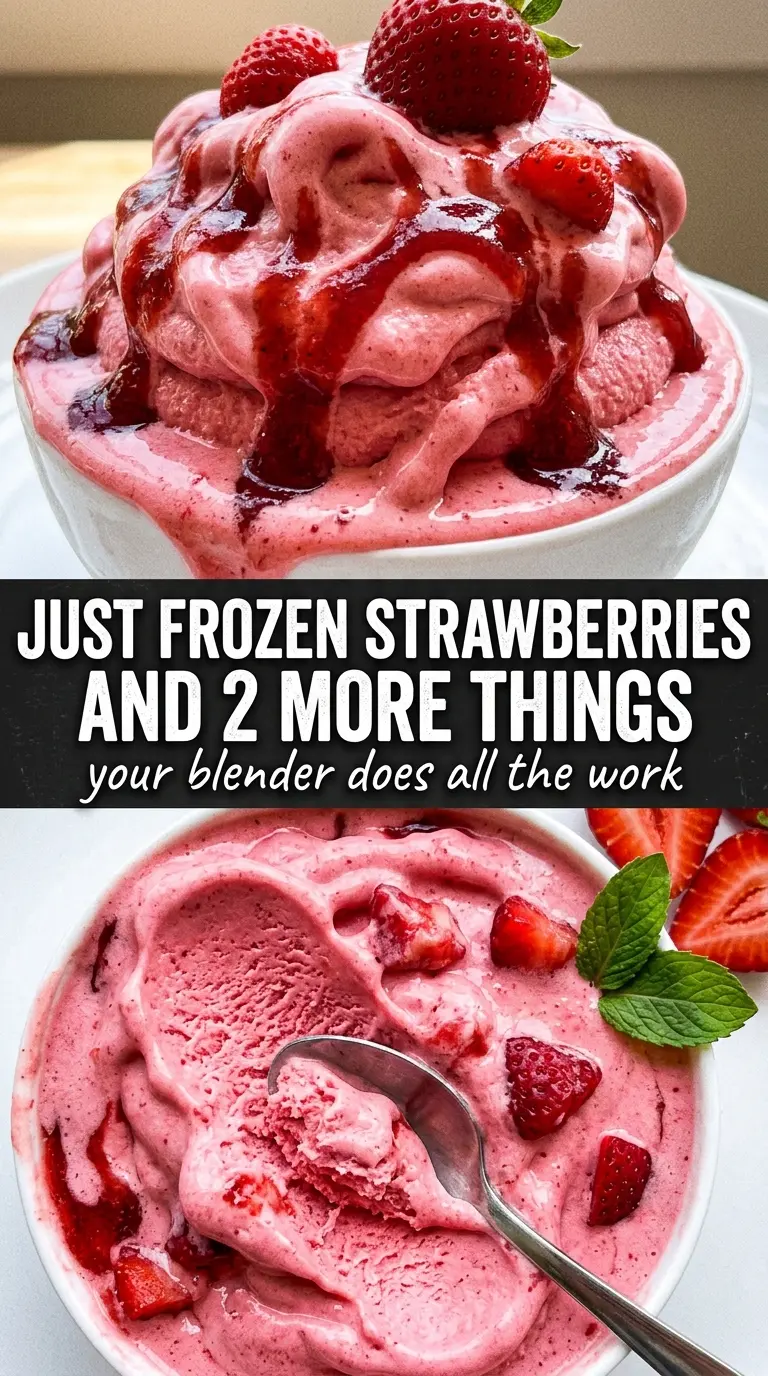
- Frozen strawberries — The berries need to be fully frozen for the right texture, but letting them sit out for 5 minutes keeps the blender from seizing up. If your strawberries are large, halving them before freezing helps them blend faster.
- Frozen banana — A ripe banana gives the sweetest, smoothest result. The riper it is before freezing, the less honey you’ll need later.
- Heavy cream or coconut cream — This is the richness that keeps the dessert from tasting like blended fruit. Coconut cream works well if you want a dairy-free version, but use the thick part from the can, not the watery liquid.
- Vanilla extract — Vanilla softens the sharpness of the berries and makes the whole thing taste more like ice cream. It doesn’t need to be fancy, but it should be real vanilla extract for the best result.
- Pinch of salt — Salt doesn’t make this salty. It wakes up the strawberries and keeps the sweetness from tasting one-note.
The Two Minutes in the Blender That Matter Most
Let the Fruit Relax Before Blending
Set the frozen strawberries and banana out for about 5 minutes before they go into the blender. That tiny thaw gives the blades something to catch, which helps the mixture move instead of locking into a frozen block. If the fruit is still rock-hard, the blender works too hard and the texture ends up uneven.
Blend Until the Color Looks Uniform
Add everything to a high-powered blender and start on high, stopping to scrape the sides as needed. At first it will look chunky and stubborn, then it will suddenly turn glossy and pink once the fruit starts breaking down. If the mixture keeps spinning above the blades, use the tamper if your blender has one, or stop and push it down with a spatula between short bursts.
Serve Soft or Freeze for a Scoop
The dessert is ready as soon as it turns smooth and creamy. For a soft-serve texture, eat it right away. For scoopable ice cream, spread it in a freezer-safe container and freeze for 1 to 2 hours; any longer and it gets much harder, so let it sit at room temperature for a few minutes before scooping.
How to Adapt This Blender Strawberry Ice Cream Without Losing the Creamy Texture
Dairy-Free Coconut Version
Use coconut cream instead of heavy cream. It brings the same richness and keeps the dessert thick, but it does add a light coconut note that sits nicely with strawberries.
Banana-Free Strawberry Ice Cream
Skip the banana and add an extra 1/4 cup frozen strawberries plus a few spoonfuls more cream. The result is a little less silky and a little more sharply strawberry, which is great if you don’t want the banana flavor in the background.
No Added Sweetener
If your strawberries are very ripe and sweet, you can leave out the honey or maple syrup. The texture will still work, but the flavor will be a little sharper, so taste before serving and add a small drizzle only if needed.
Storage and Reheating
- Refrigerator: This dessert doesn’t hold well in the fridge; it melts quickly and turns into a thick smoothie.
- Freezer: It freezes for 1 to 2 hours into a scoopable texture, but after a full day it gets firm. Cover it tightly to avoid ice crystals.
- Reheating: There isn’t a reheating step. Let frozen leftovers sit at room temperature for 5 to 10 minutes until the edges soften, then scoop. Microwaving will melt the cream and ruin the texture.
Answers to the Questions Worth Asking
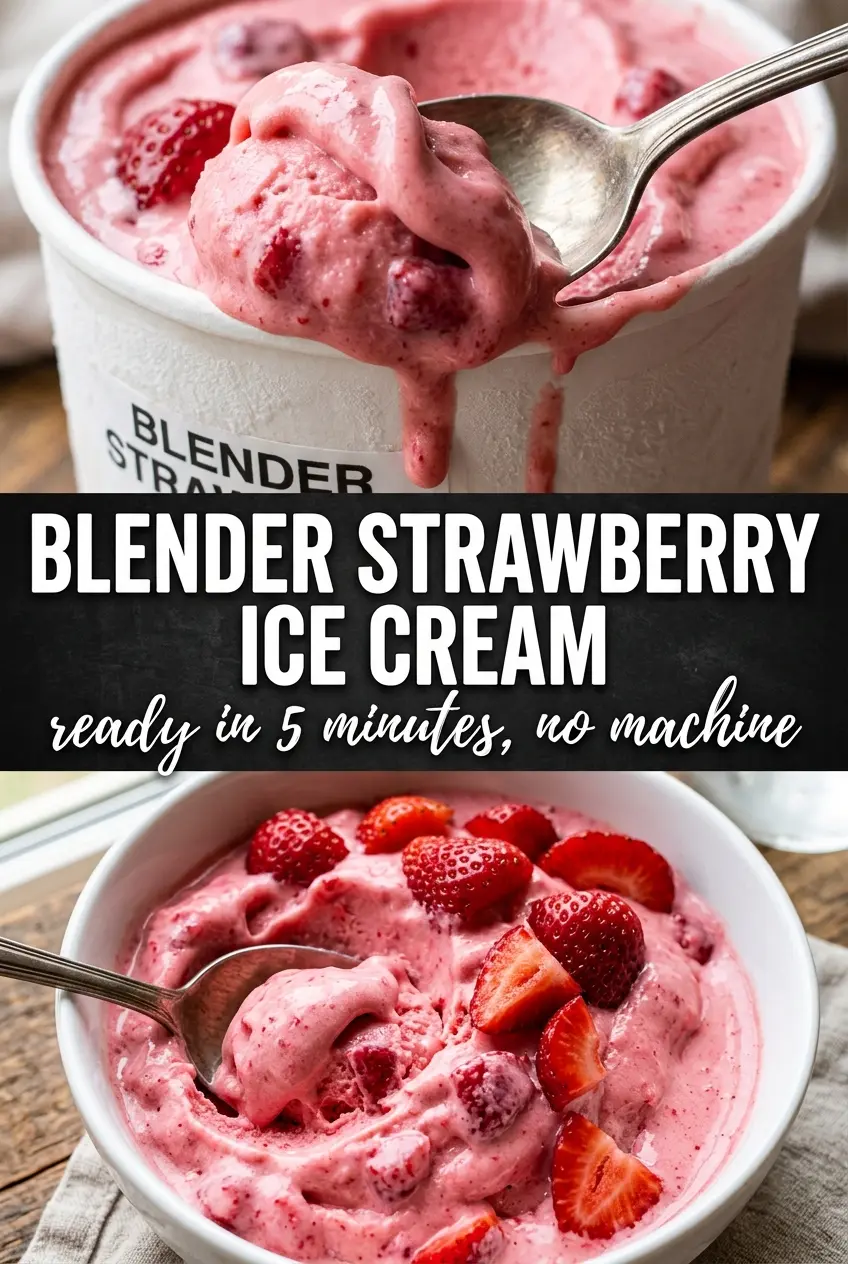
Blender Strawberry Ice Cream
Ingredients
Equipment
Method
- Let the frozen strawberries and the frozen banana sit at room temperature for 5 minutes to soften slightly, until the surface feels less rock-hard.
- Add the strawberries, banana, cream, honey (or maple syrup), vanilla, and salt to a high-powered blender.
- Blend on high for about 2 minutes, stopping to scrape down the sides as needed, until completely smooth and creamy with a vivid pink color.
- Serve immediately as soft serve for the instant frozen dessert texture, or transfer to a freezer container.
- Freeze for 1 to 2 hours until scoopable, with a firm but not icy consistency.