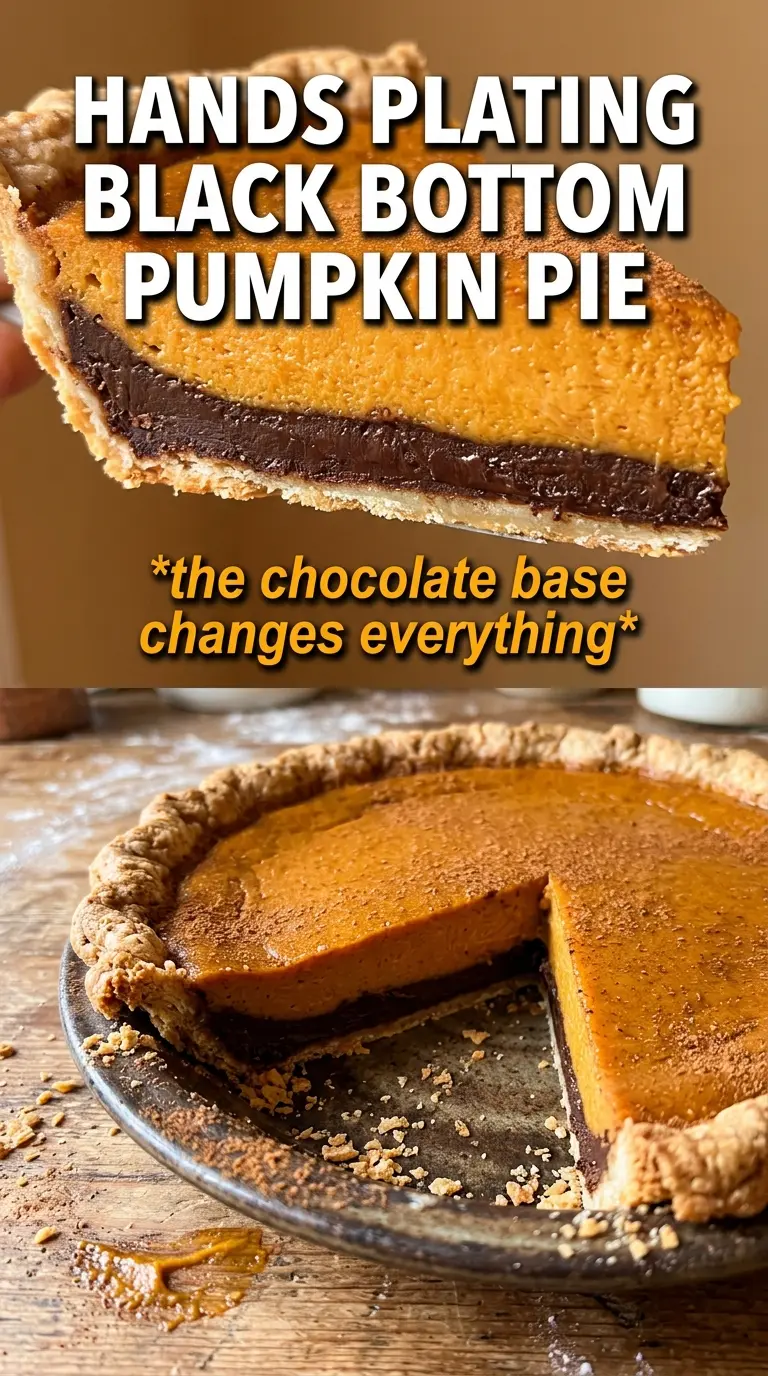
Black Bottom Pumpkin Custard Pie brings two desserts into one neat slice: a silky pumpkin custard on top and a thin chocolate ganache layer underneath that stays glossy and distinct after baking. The first bite lands with flaky crust, then deep chocolate, then that familiar spiced pumpkin finish. It’s the kind of pie that gets a quiet pause at the table, because the layers look impressive without asking for fancy technique.
The part that makes this pie work is control. The crust gets a short blind bake so it doesn’t go soggy under the filling, and the chocolate layer gets a quick freeze so the pumpkin custard can sit on top instead of sinking in and muddling the two layers together. The custard itself stays smooth because the eggs are whisked with the pumpkin and evaporated milk until completely uniform before it ever goes into the shell.
Below you’ll find the small timing details that keep the layers clean, plus a few swaps for when you need to work with what’s in the pantry. The method is straightforward, but a couple of small choices make the difference between a pie that slices neatly and one that slumps at the table.
The ganache set up just enough under the pumpkin filling, and the slices came out clean after chilling. My husband kept going back for “just one more sliver” because the chocolate layer made it taste like pie and tart in the same bite.
Save this Black Bottom Pumpkin Custard Pie for a layered dessert with clean slices, deep chocolate, and silky pumpkin custard.
The Trick to Keeping the Chocolate Layer Separate
The black bottom only stays black bottom if the ganache firms up before the pumpkin custard goes in. If you pour the custard over a warm chocolate layer, the two fillings start to mingle and you lose that clean two-tone slice. The 15-minute freezer rest is short, but it matters more than almost anything else in the recipe.
The other thing that saves this pie is the blind-baked crust. Pumpkin custard carries a lot of moisture, and an underbaked shell turns soft at the base before the pie is even chilled. Ten minutes at 375F is enough to set the crust without pushing it all the way to brown, which gives it a head start before the long bake.
- Blind-baked crust — This prevents the bottom from turning damp and gummy under the custard. Don’t skip the cooling step; a scorching hot shell can soften the chocolate layer before it sets.
- Quick-frozen ganache — The chocolate layer needs to be firm enough to support the custard, not rock hard. Fifteen minutes in the freezer is usually enough, but if your kitchen is warm, give it a few extra minutes.
- Gentle bake — The pie should come out with set edges and a slight wobble in the center. If the middle looks firm in the oven, it’s already overbaked and will crack as it cools.
What Each Ingredient Is Actually Doing in This Pie
- Dark chocolate chips — These give the bottom layer its deep color and slightly bittersweet edge. Semi-sweet chips work too, but milk chocolate makes the layer too soft and too sweet for the pumpkin filling above it.
- Heavy cream and butter — Together they make a ganache that stays smooth after chilling. Don’t swap in milk here; it won’t emulsify the same way and the layer won’t set as cleanly.
- Pumpkin puree — Use plain pumpkin puree, not pumpkin pie filling. Pie filling already has sugar and spices mixed in, which throws off the balance and can make the custard taste flat or overly sweet.
- Evaporated milk — This gives the filling its creamy, custardy texture without making it heavy. Regular milk works in a pinch, but the pie will bake up a little looser and less rich.
- Brown sugar — Brown sugar brings a deeper, caramel note that plays nicely with the chocolate. Light or dark both work; dark brown sugar just pushes the molasses flavor a little further.
- Pumpkin pie spice and cinnamon — The spice mix carries the familiar autumn baking warmth, while extra cinnamon keeps the filling from tasting one-note. If your spice blend is old and faded, the pie will taste dull no matter how good everything else is.
Building the Layers Without Muddying the Filling
Set the Crust First
Bake the crust just until it looks dry and lightly set, then let it cool a bit before filling. You don’t want a deep golden shell here; you want structure. If you pour the ganache into a hot crust, the butter in the filling can melt too fast and the layer will slide before it firms.
Make the Ganache Smooth, Not Hot
Heat the cream and butter until you see small bubbles around the edge, then pour it over the chocolate chips and leave it alone for two minutes. That pause gives the chocolate time to soften evenly. Stir from the center outward until the mixture turns glossy and smooth; if you keep heating it hard, the ganache can turn grainy or split.
Pour, Freeze, Then Add the Custard
Spread the ganache in an even layer, then freeze it just long enough for the top to look matte and feel set to a light touch. The custard should be whisked until no streaks of pumpkin remain. Pour it slowly over the back of a spoon if you want extra insurance that the chocolate layer stays in place, then bake until the edges are set and the center still has a slight wobble.
Chill Before the First Slice
This pie needs a full cool-down before it behaves. The custard finishes setting as it chills, and the chocolate layer firms into a clean band at the bottom. If you cut it while it’s still warm, the layers smear and the slices slump no matter how carefully you use the knife.
Gluten-Free Crust Swap
Use a gluten-free deep-dish pie crust and blind bake it the same way. The filling is naturally gluten-free, so the crust is the only place you need to change anything. A sturdier GF crust works best here because it has to hold both a ganache layer and a custard filling.
Dairy-Free Version
Swap the heavy cream for full-fat coconut cream and use a plant-based butter if needed. The ganache will taste a little coconut-forward, but it still sets well enough to keep the layers separate. I wouldn’t use a thin dairy-free milk here; it won’t give the chocolate layer the body it needs.
Extra-Spiced Holiday Version
Add a pinch of ginger or cloves if you want the pumpkin filling to lean warmer and more bakery-style. Keep the amount small, because too much spice will cover up the chocolate layer instead of balancing it. The pie still needs the same chill time either way.
Storage and Reheating
- Refrigerator: Keeps well for 4 days. The filling stays creamy, though the crust softens a little by day three.
- Freezer: You can freeze slices, tightly wrapped, for up to 1 month. Thaw overnight in the fridge; the texture is best after a slow thaw, not on the counter.
- Reheating: This pie is best served cold or cool, not reheated. Warmth softens the ganache and turns the custard loose, which works against the clean layered look.
Answers to the Questions Worth Asking
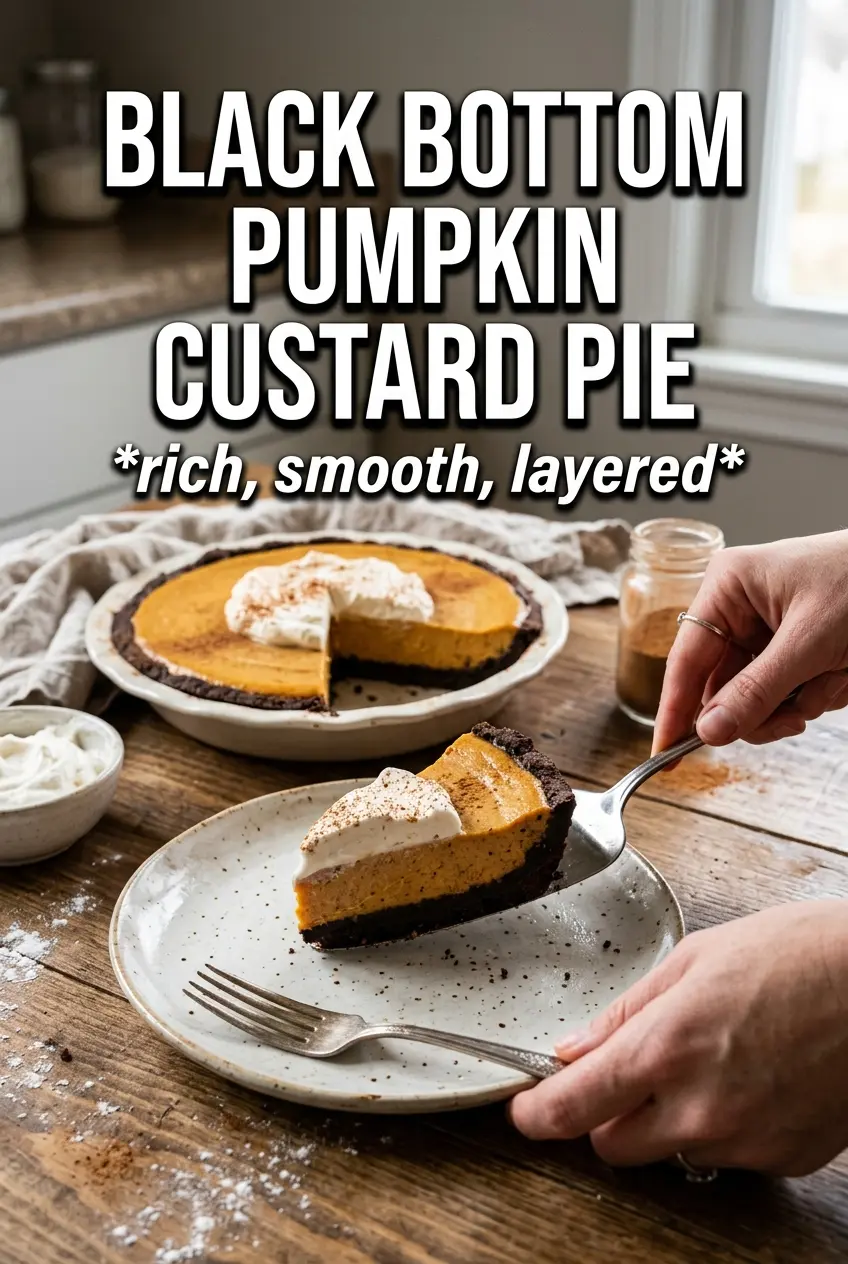
Black Bottom Pumpkin Custard Pie
Ingredients
Equipment
Method
- Heat oven to 375F and bake the deep-dish pie crust blind-baked for 10 minutes, until just set. Cool slightly while you prepare the filling.
- In a small saucepan, heat the heavy cream and butter until simmering. Pour the hot mixture over the dark chocolate chips and rest 2 minutes, then stir until smooth.
- Pour the ganache into the cooled crust and spread evenly. Freeze for 15 minutes to firm the chocolate layer.
- Whisk the pumpkin puree, eggs, brown sugar, evaporated milk, pumpkin pie spice, cinnamon, salt, and vanilla until smooth. Pour the custard carefully over the set chocolate layer.
- Bake at 350F for 45-50 minutes, until the edges are set with a slight center wobble. Remove from the oven and cool completely.
- Refrigerate the pie for 3 hours to fully chill and set the custard. Serve each slice with whipped cream.