Biscoff apple crumble hits that sweet spot between cozy and memorable: tender spiced apples underneath a bronzed, cookie-studded topping that stays crisp at the edges and melts into the filling where the juices bubble up. The Biscoff spread gives the fruit a deep caramel note that plain apple crumble just doesn’t have, and the cookie crumbs on top bring a warm spice that tastes like it was made for apples.
What makes this version work is the layering of textures. The apples are tossed with cornstarch, which turns the juices into a glossy sauce instead of a watery puddle, and the cold butter in the crumble keeps the topping from turning pasty. A little melted Biscoff drizzled over the crumb mixture adds extra flavor without making the whole top heavy.
Below you’ll find the exact cues I watch for in the oven, plus a few smart swaps and storage notes so you can serve this warm with vanilla ice cream and get the same result every time.
The topping stayed crisp even after the apples baked down, and the Biscoff flavor came through without making it too sweet. I served it with vanilla ice cream and the pan was basically gone.
Save this Biscoff apple crumble for the nights when you want bubbling apples, a crunchy cookie topping, and a scoop of vanilla ice cream.
The Secret to Keeping the Biscoff Crumble Crisp Over Juicy Apples
The mistake most apple crumbles make is letting the topping sit too close to a wet filling without enough structure. You get a soft, damp top before the dish even leaves the oven. Here, the flour and oats give the crumble something sturdy to cling to, and the crushed Biscoff cookies add flavor without replacing the dry ingredients that hold everything together.
The other detail that matters is how the topping is scattered. Don’t press it down into the apples. Keep it loose and craggy so steam can escape and the butter can bake into little crisp pockets. If the top looks sandy before baking, it needs a few more quick squeezes with your fingers or a fork until some larger clumps form.
- Cold butter — This is what creates the crisp, layered topping. Soft butter will blend into a paste and bake up flat.
- Rolled oats — They keep the crumble from turning sandy and add a nubby texture that stands up to the baked fruit.
- Biscoff spread — The cookie butter isn’t just for sweetness; it deepens the caramel note in the apples and makes the topping taste unmistakably like Biscoff.
- Cornstarch — This thickens the apple juices as they bake. Flour can work in a pinch, but it won’t give you the same glossy, clean finish.
What Each Ingredient Is Actually Doing in the Filling and Topping
- Apples — Use a firm baking apple that holds its shape, like Honeycrisp, Granny Smith, Braeburn, or a mix. Softer apples turn mushy before the topping browns.
- Lemon juice — It keeps the sliced apples from browning while you work and lifts the sweetness of the sugar and Biscoff. Fresh juice is better here than bottled because the flavor is cleaner.
- Biscoff cookie butter — In the filling, it melts into the fruit and makes the juices taste richer. A peanut butter swap will not give the same caramel-cookie flavor, but almond butter can work if you just want extra body.
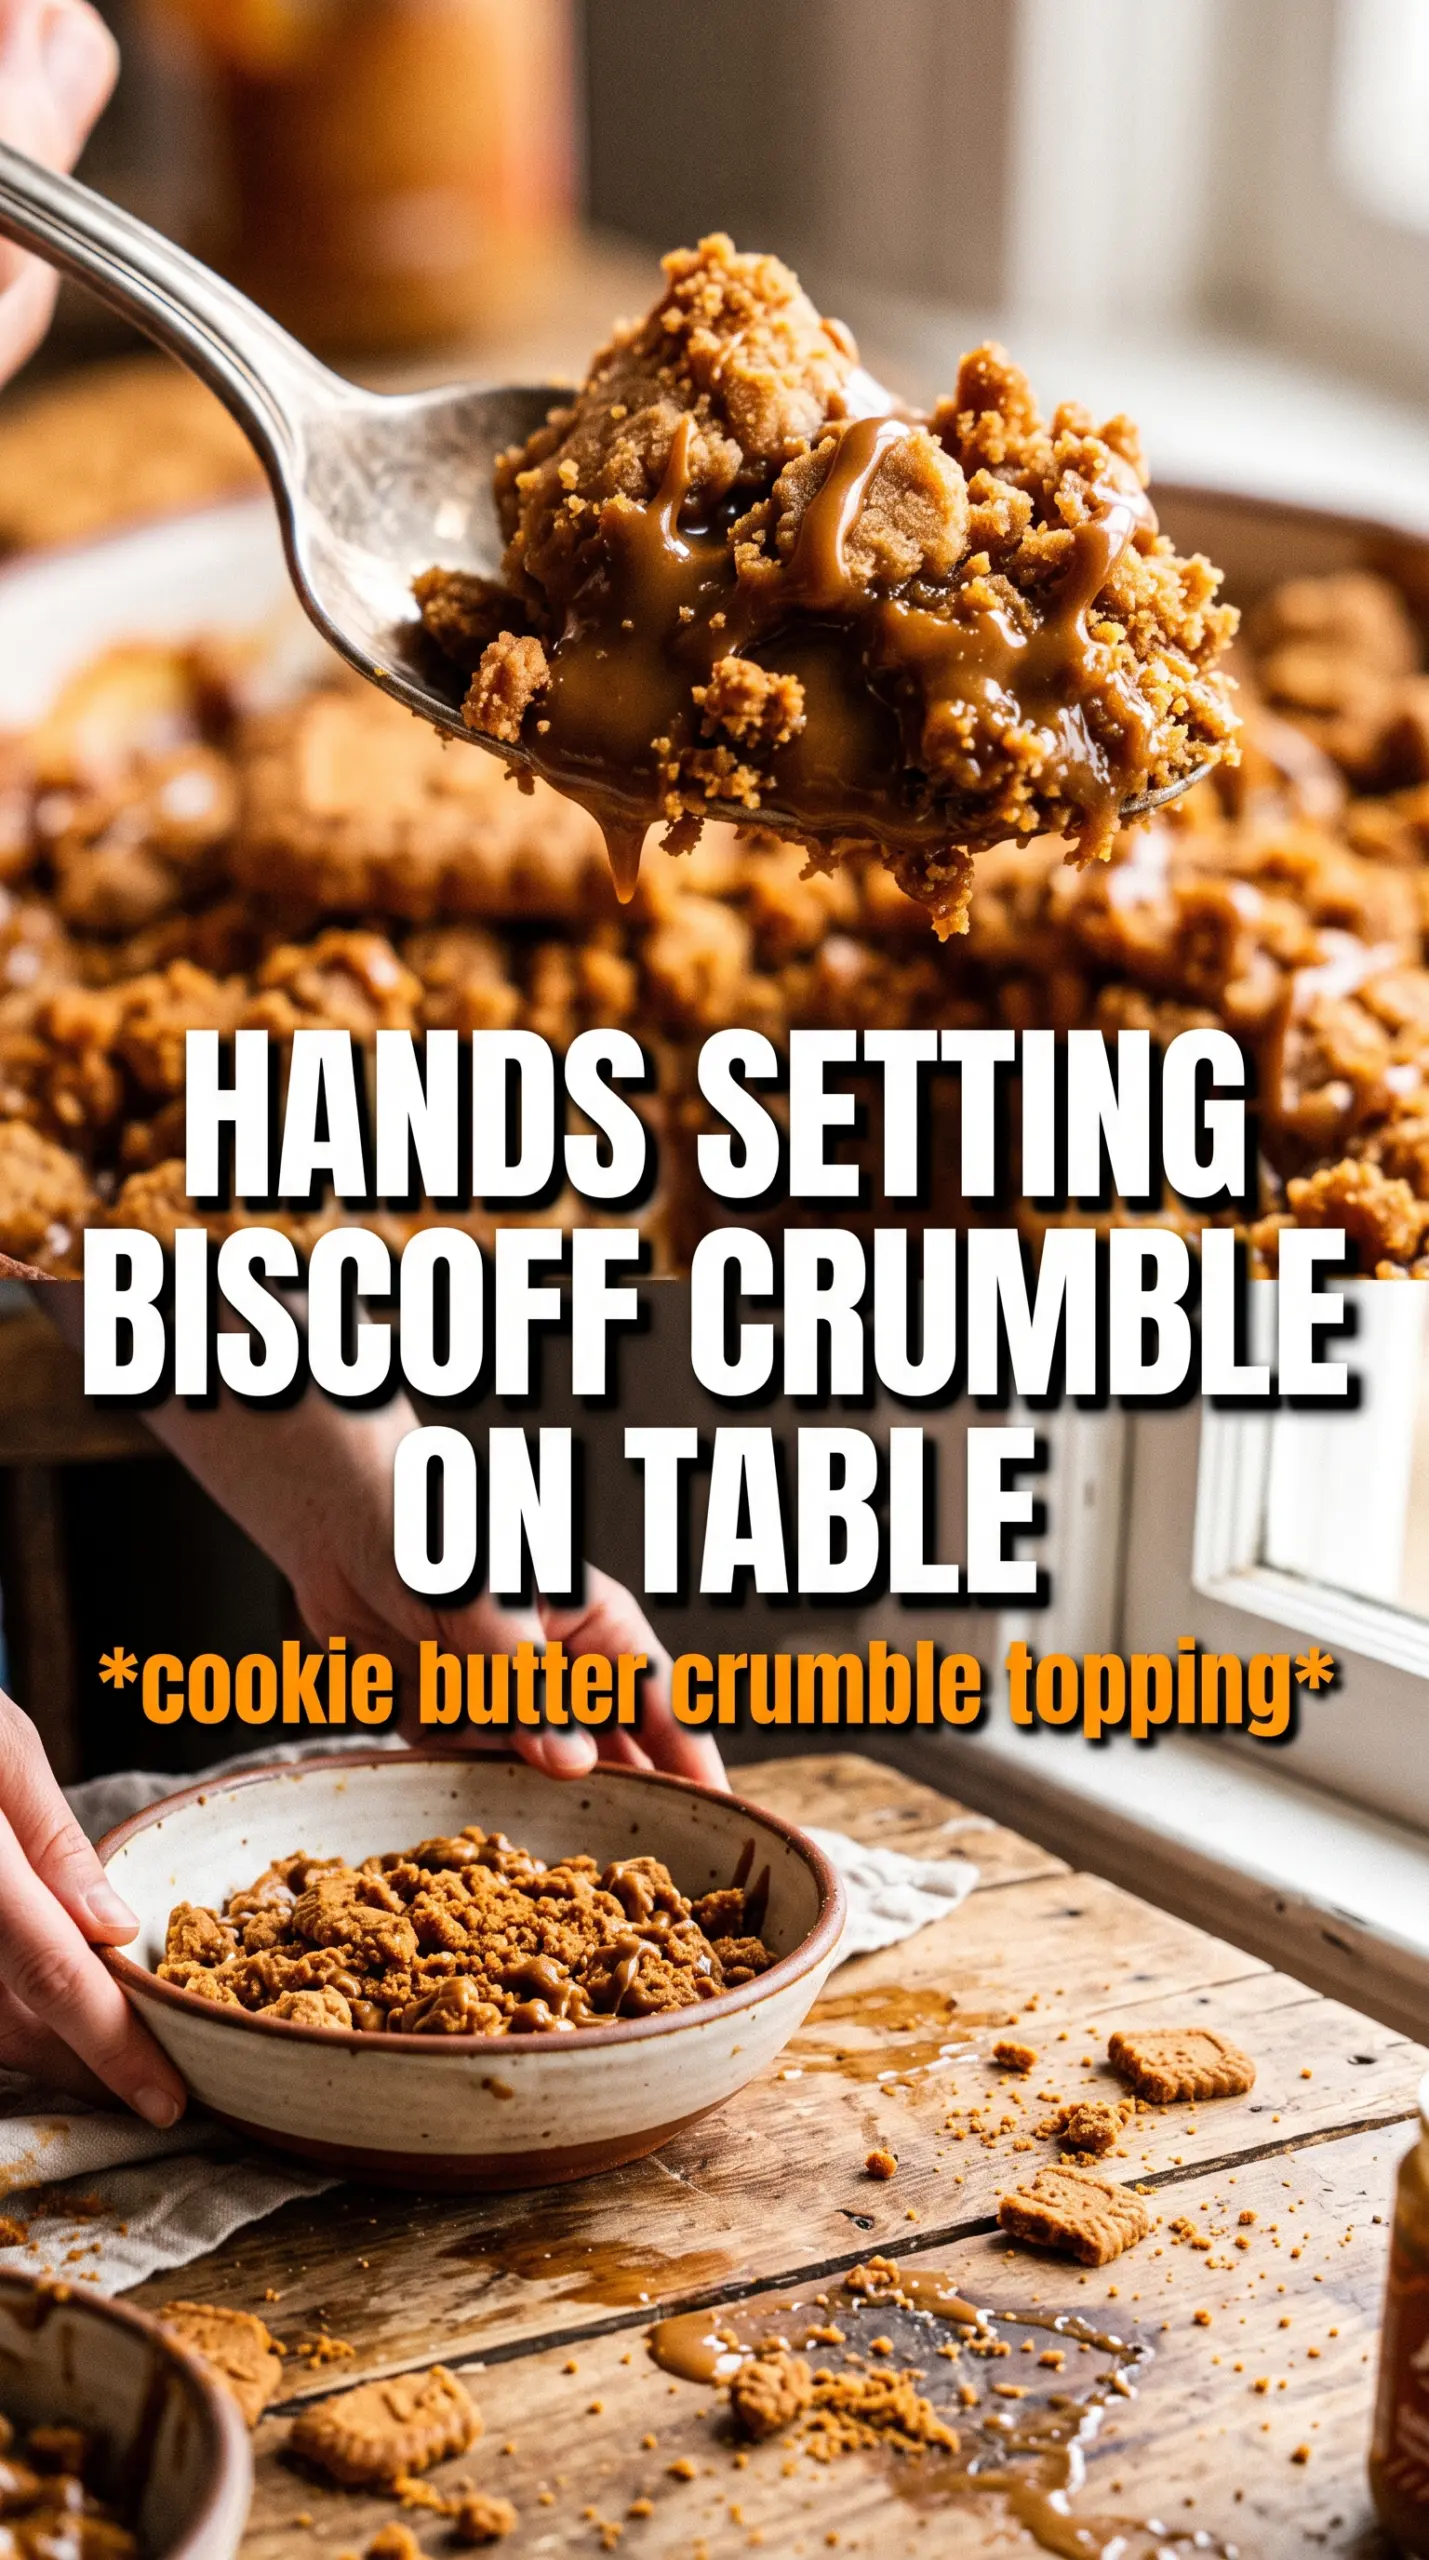
- Crushed Biscoff cookies — These bring the signature spice and sweetness. Crush them into small pieces, not dust, so they stay noticeable in the final topping.
- Brown sugar — It adds moisture and a hint of molasses, which fits the cookie butter better than plain white sugar would.
Building the Crumble So It Bakes Instead of Melting
Coating the Apples First
Toss the apple slices with the sugar, spices, cornstarch, lemon juice, and cookie butter until every slice looks lightly coated. The cornstarch won’t look like much at first, but it starts thickening once the apples give off heat and juice in the oven. Spread the fruit in an even layer so it cooks at the same pace; a piled-up center stays underdone while the edges collapse.
Cutting the Butter Into the Dry Mix
Combine the crushed cookies, flour, oats, brown sugar, and cinnamon, then work in the cold butter until you see uneven clumps the size of peas and almonds. That mix bakes into crisp peaks and tender crumbles. If the whole bowl looks like wet sand, the butter was too soft or overworked. Chill it for a few minutes before topping the apples if that happens.
Finishing With the Melted Biscoff
Drizzle the melted Biscoff over the crumb mixture and toss just until it streaks through the topping. You don’t want to stir until uniform; a few sticky ribbons are what give you those extra caramelized pockets on top. Scatter the mixture over the apples without packing it down, then bake until the top is deep golden and the filling is bubbling at the edges.
Make it gluten-free
Use a good 1:1 gluten-free flour blend in place of the all-purpose flour and swap in certified gluten-free oats. The topping still gets crisp, but it may brown a little faster, so start checking a few minutes early.
Use pears instead of apples
Firm pears can stand in for part or all of the apples if that’s what you have, but they soften faster and taste sweeter. Keep the lemon juice in the filling so the dessert doesn’t drift cloying, and check for bubbling sooner.
Make it dairy-free
Swap the butter for a solid plant-based baking stick. Coconut oil works in a pinch, but it sets differently and can make the topping a little more fragile once cooled.
Scale it for a smaller pan
Halve the recipe and bake it in an 8×8-inch dish for a smaller crowd. The bake time may shorten by 5 to 10 minutes, and you’ll know it’s ready when the filling is actively bubbling through the topping.
Storage and Reheating
- Refrigerator: Store covered for up to 4 days. The topping softens a bit as it sits, but the flavor gets even deeper.
- Freezer: Freeze the baked crumble in portions for up to 2 months. Wrap it well and thaw overnight in the refrigerator before reheating.
- Reheating: Warm in a 325F oven until the center is hot and the topping crisps back up, about 15 to 20 minutes. The microwave will heat the filling, but it turns the crumble soft.
Answers to the Questions Worth Asking
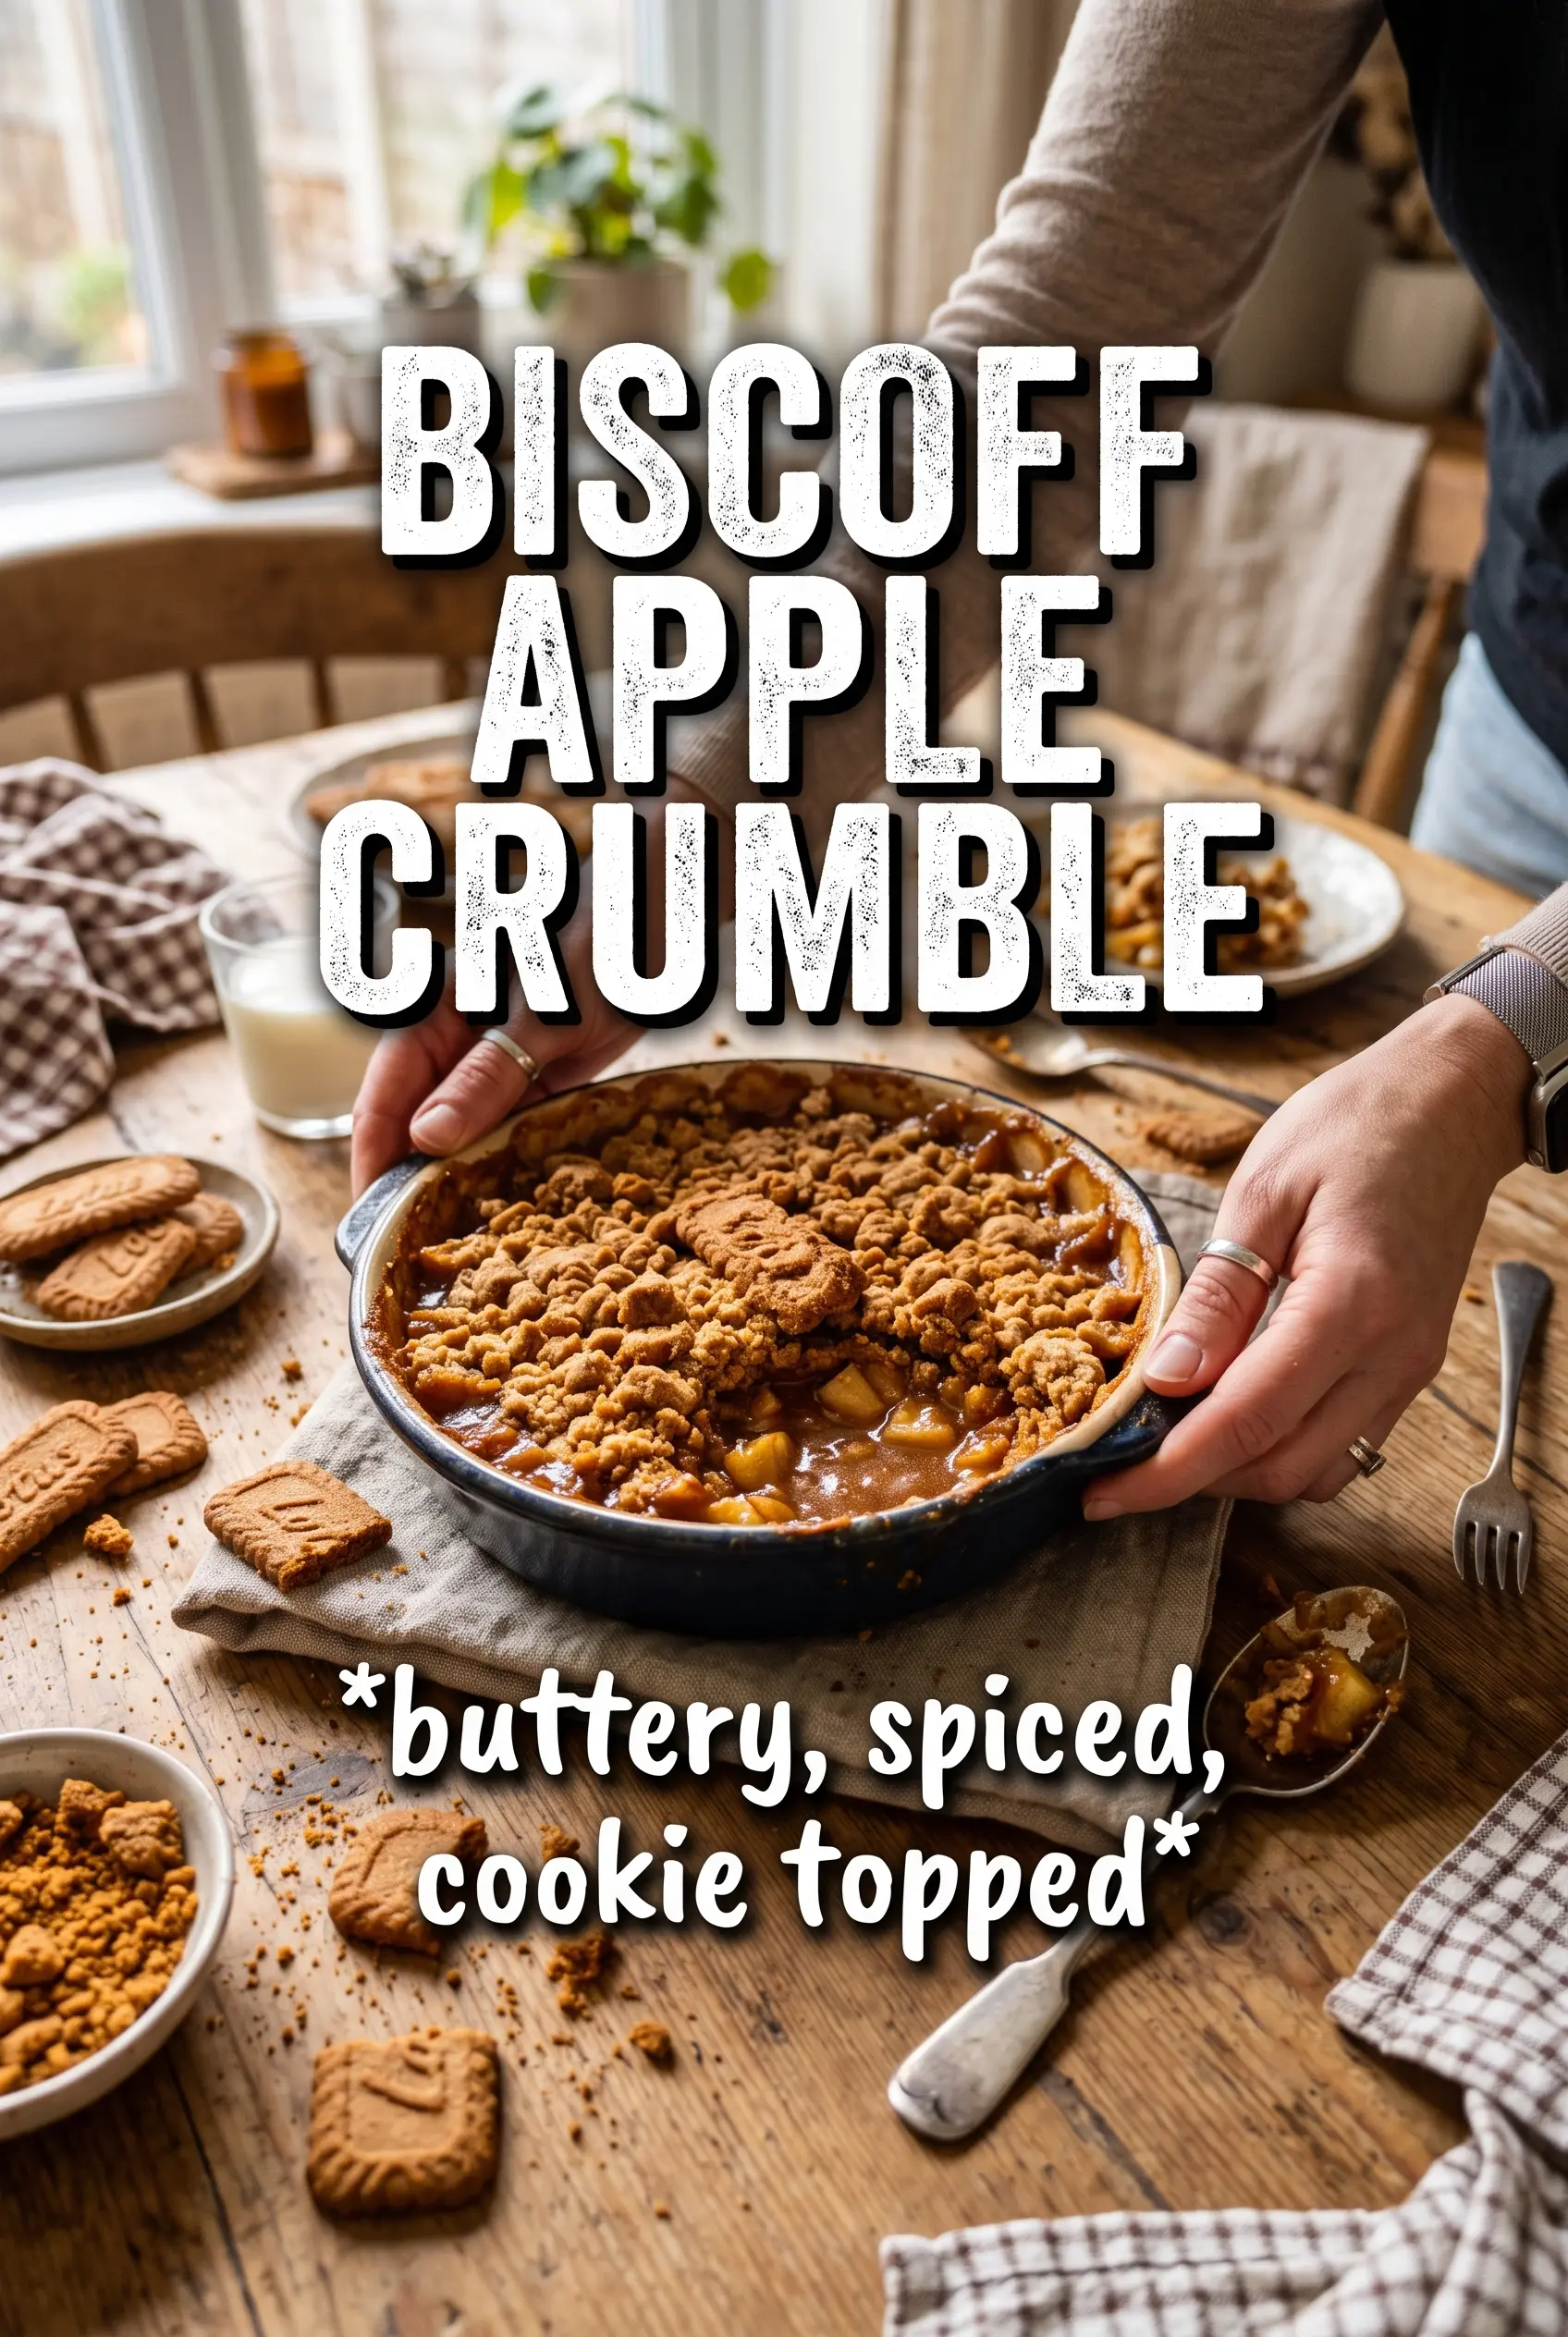
Biscoff Apple Crumble
Ingredients
Equipment
Method
- Preheat the oven to 375°F and grease a 9x13 baking dish, then set it on a sheet pan for easier handling.
- Toss the apple slices with granulated sugar, cinnamon, nutmeg, cornstarch, lemon juice, and Biscoff cookie butter, then spread them evenly in the dish.
- Combine crushed Biscoff cookies, all-purpose flour, rolled oats, brown sugar, and cinnamon, then cut in the cold cubed butter until clumpy.
- Drizzle the melted Biscoff over the crumble mixture and toss briefly to distribute it, leaving visible crumbs.
- Scatter the crumble evenly over the apples to cover as much surface as possible.
- Bake at 375°F for 35-40 minutes until the top is golden and the apple filling is visibly bubbling at the edges.
- Serve the crumble warm with vanilla ice cream.