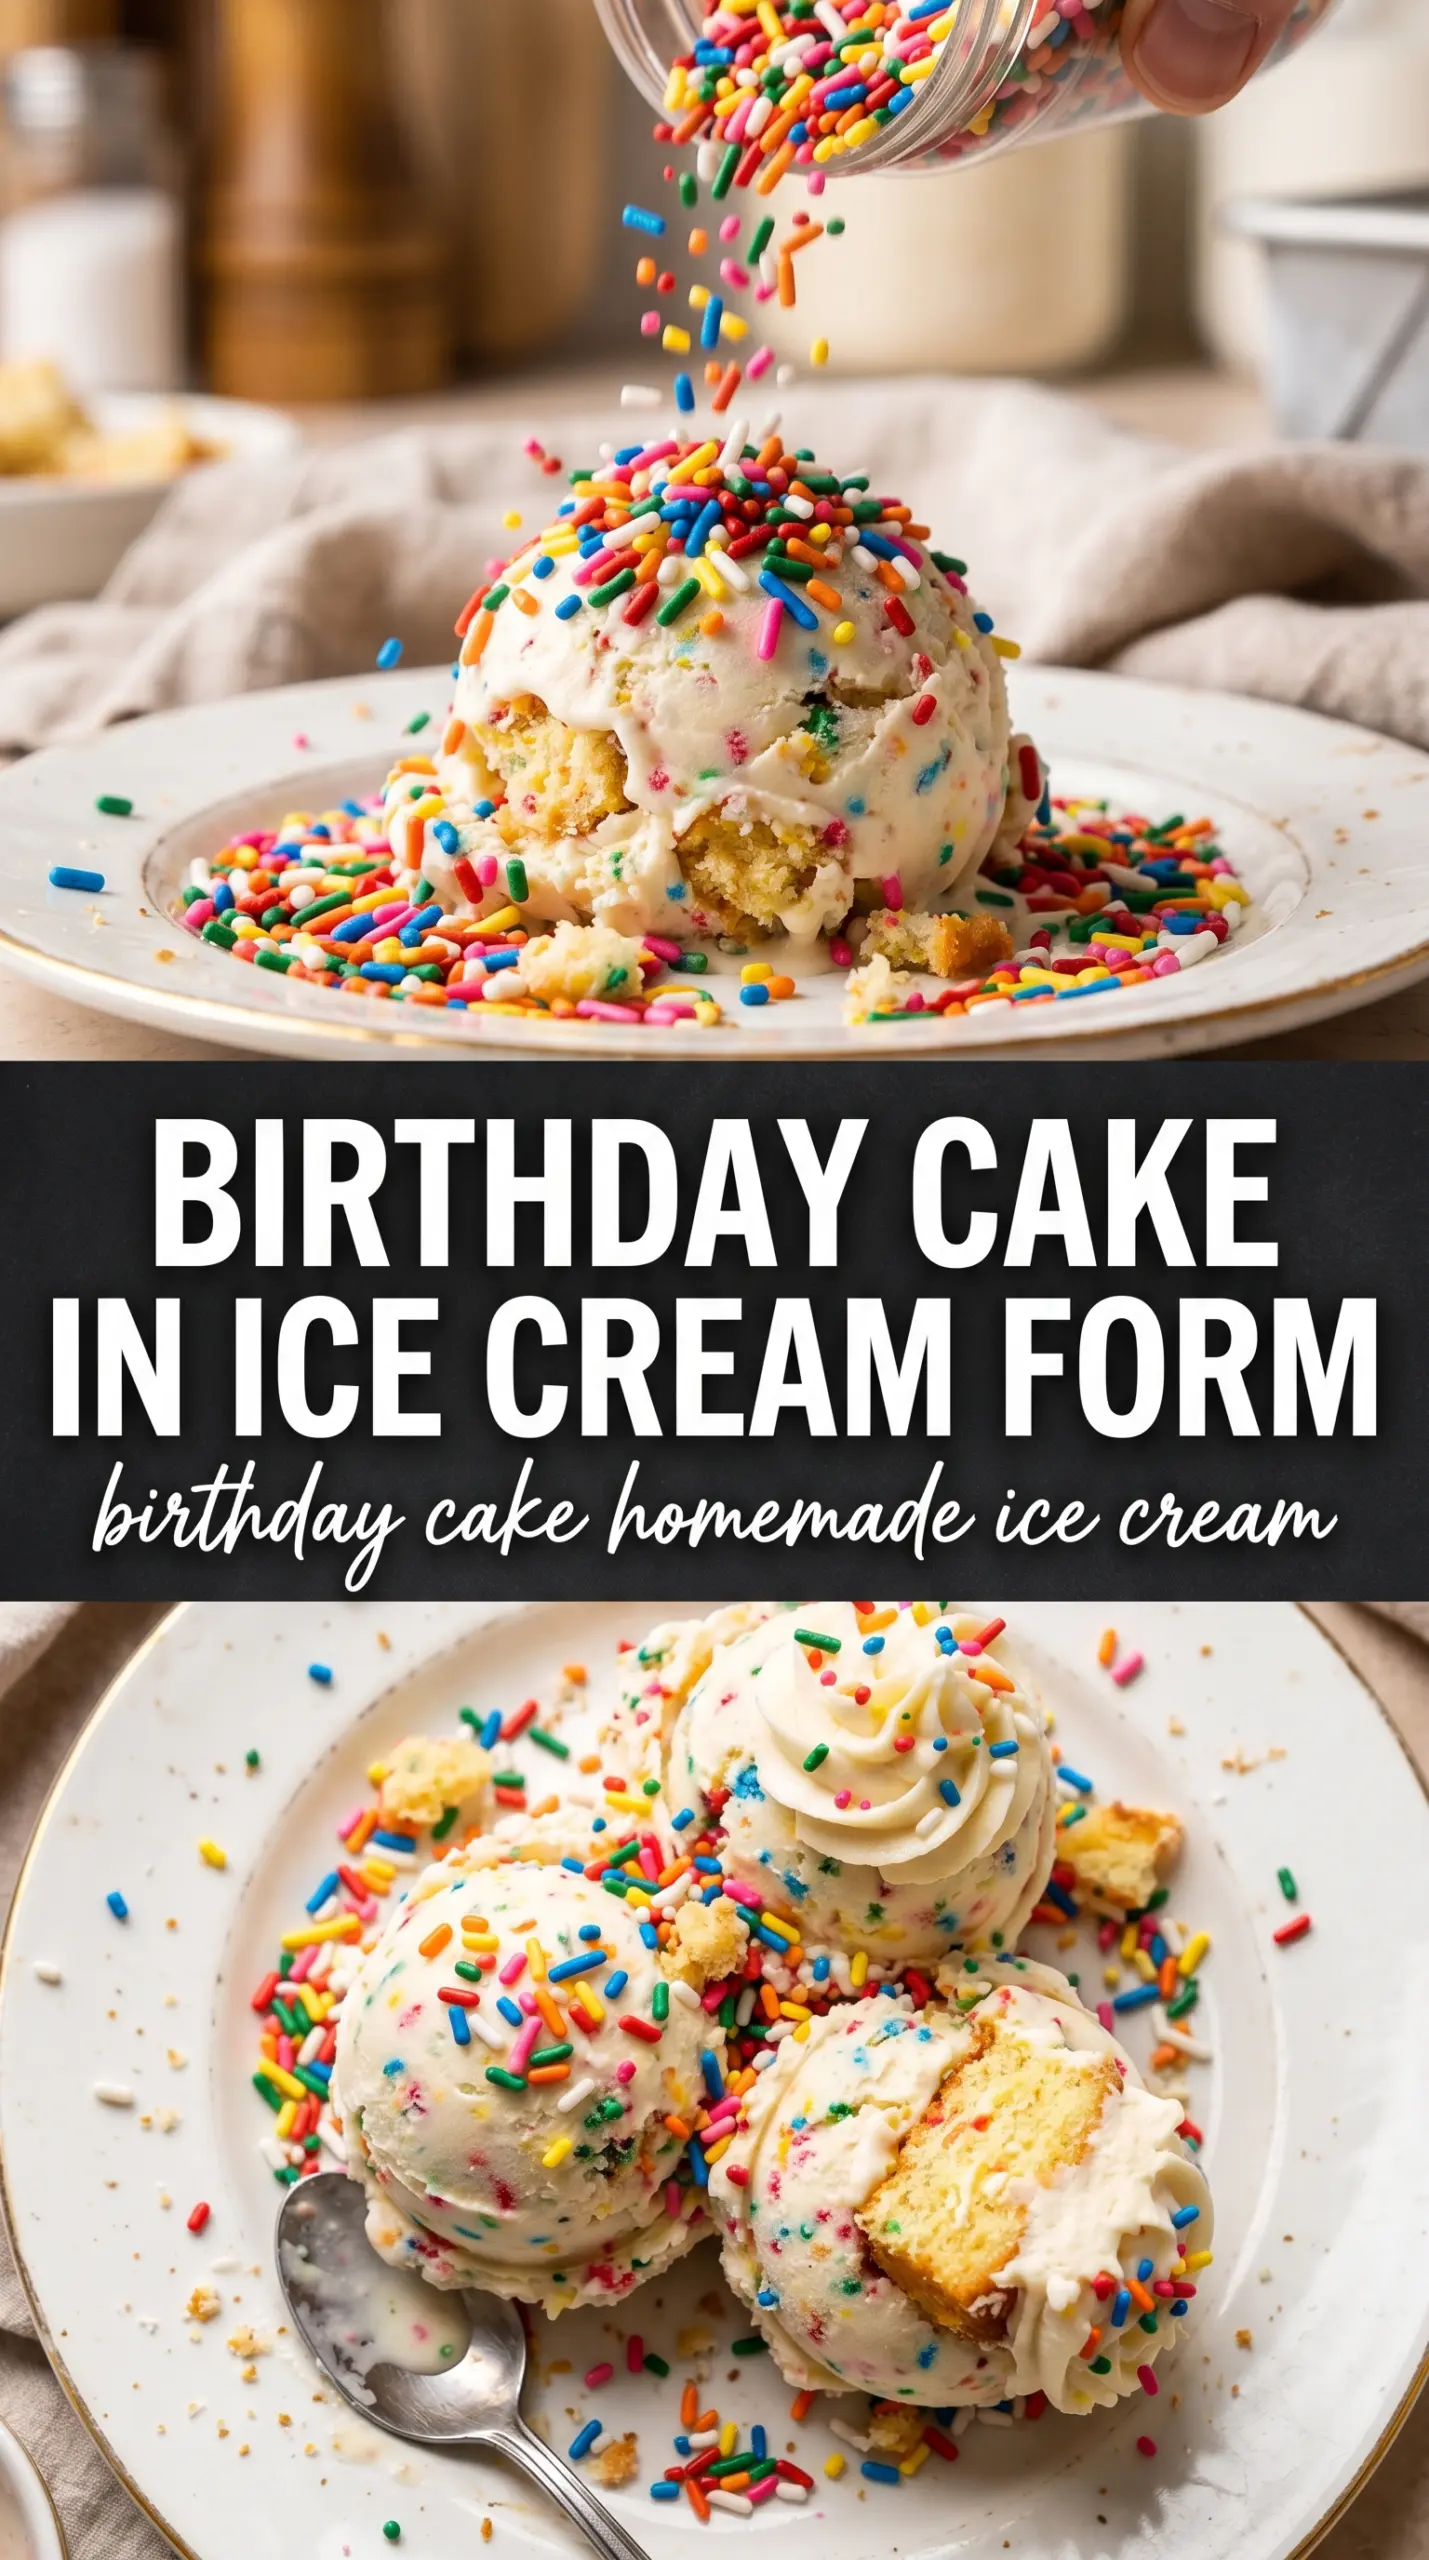
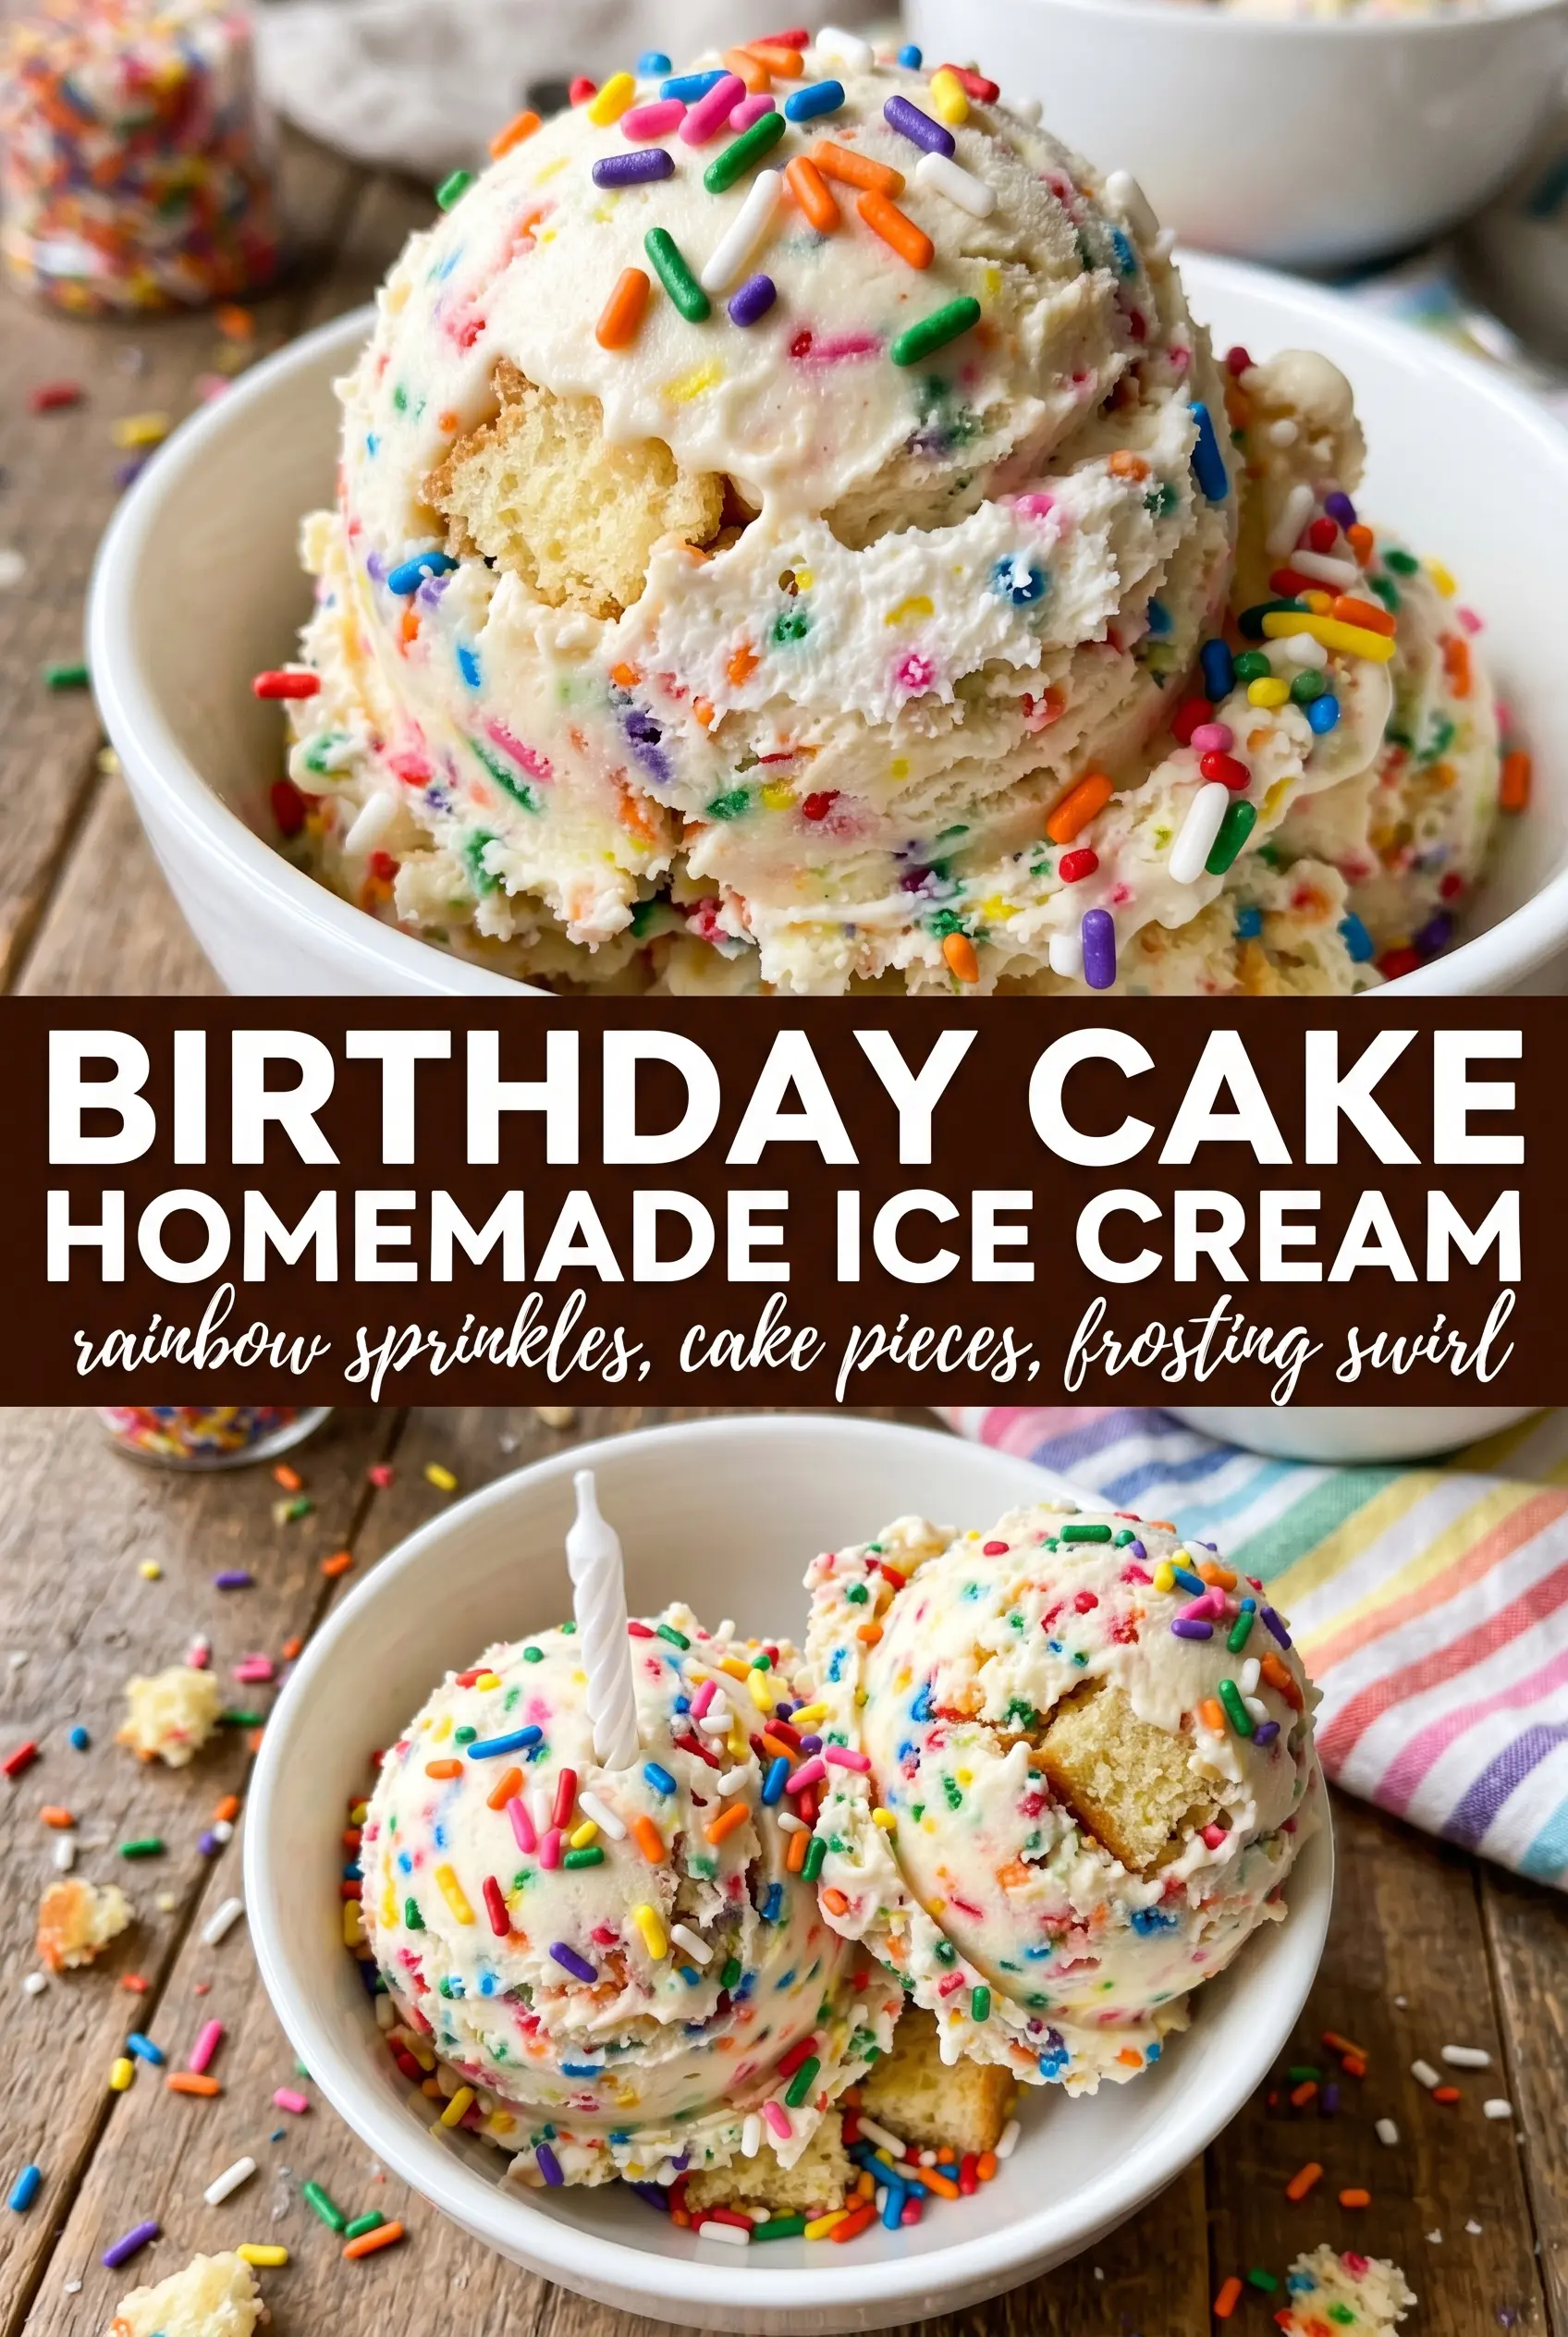
Creamy birthday cake homemade ice cream tastes like the inside of a funfetti layer cake turned into a frozen scoop, with that soft vanilla-butter flavor and rainbow sprinkles running through every bite. The base freezes smooth instead of icy, and the sprinkles stay festive instead of disappearing into the mixture, so you get a real birthday-cake feel all the way through.
The trick is building a custard base and cooking it just enough to thicken without scrambling the yolks. Butter extract does the heavy lifting for that classic cake-batter note, while a little almond extract keeps the flavor from tasting flat. The sprinkles go in at the end of churning so they hold their color better and don’t bleed into the ice cream base.
Below you’ll find the one step that keeps the custard silky, plus the best way to add sprinkles so the color stays bright. If you’ve ever wanted an ice cream that tastes like celebration in a bowl, this version delivers it without needing any boxed mix.
The custard turned out silky and the sprinkles stayed bright even after freezing overnight. The butter extract gives it that real cake batter taste, and it scooped beautifully after about 10 minutes on the counter.
Love the cake batter flavor and rainbow sprinkle look? Save this birthday cake homemade ice cream for the next celebration scoop.
The Custard Temperature That Keeps This Ice Cream Smooth
Homemade ice cream gets grainy when the yolks cook too fast or the custard never thickens enough before churning. Here, the base is cooked to 175F, which is hot enough to set the yolks and give you body, but not so hot that they curdle. That middle ground is what gives this ice cream its rich, scoopable texture instead of a thin, icy freeze.
The other part that matters is patience during the chill. Churning a warm custard is a fast way to get a loose, sloppy base that never firms up properly. Once the mixture is completely cold, the churn does its job quickly and the freezer finishes the structure without beating out the creaminess.
What Each Ingredient Is Doing in the Birthday Cake Flavor
- Heavy cream — This gives the ice cream its plush, rich body. You can’t fully fake that with lower-fat dairy, because the fat is what keeps the finished texture soft instead of icy.
- Whole milk — Milk lightens the custard so it doesn’t taste heavy or dense. Using all cream makes the ice cream taste luxurious but flat; the milk keeps the flavor more balanced.
- Egg yolks — Yolks thicken the base and help it freeze with a smoother, custard-style scoop. Whisk them with the sugar first so they’re ready for the hot dairy and less likely to scramble.
- Butter extract — This is the ingredient that makes the whole batch read as cake batter instead of plain vanilla. If you skip it, the ice cream still tastes good, but it loses the birthday-cake identity.
- Almond extract — Use it sparingly. It adds that bakery note you recognize in funfetti cake, but too much turns the ice cream marzipan-like fast.
- Rainbow sprinkles — Add them at the very end of churning so they stay visible and don’t streak the base. Jimmies-style sprinkles work best here because they hold up better than tiny nonpareils.
Building the Base Without Scrambling the Yolks
Warm the dairy gently
Heat the cream and milk until steaming, not boiling. You want small wisps of steam and a few tiny bubbles around the edge of the pan. If the dairy boils hard, it can cook the yolks unevenly once you temper them in. Keep the heat steady and low enough that the mixture stays calm.
Temper, then thicken
Whisk the hot dairy into the yolks and sugar slowly at first, then return everything to the saucepan. Stir constantly over medium-low heat until the custard reaches 175F and coats the back of a spoon. If the mixture starts to look grainy or you see little curds, pull the pan off the heat right away and whisk fast. A strained custard is a good custard.
Finish with flavor and chill hard
Strain the custard, then stir in the butter extract, vanilla, almond extract, and salt after it comes off the heat. That keeps the extracts bright instead of cooked off. Cool the base completely, then refrigerate it for the full four hours. If you churn warm custard, it won’t freeze efficiently and the texture will suffer.
Churn and fold at the end
Churn until the ice cream looks like soft serve with some body, then add the sprinkles in the last two minutes. Waiting until the end keeps the colors from bleeding into the whole batch. Don’t overmix here or the sprinkles will start to dissolve and the contrast disappears.
How to Adjust It Without Losing the Birthday Cake Feel
Dairy-Free Version
Use full-fat coconut milk in place of the cream and milk, but expect a light coconut note in the final flavor. The custard will still freeze well if you keep the yolks, though it won’t taste quite as neutral as the original.
No Ice Cream Maker
Pour the chilled base into a shallow freezer-safe pan and stir it every 30 minutes until frozen. The texture won’t be as airy as churned ice cream, but the flavor still comes through. Add the sprinkles during one of the last stirs so they stay visible.
Extra Birthday Cake Crunch
Fold in crushed baked vanilla cake pieces right before the final freeze if you want a more literal birthday-cake texture. Keep the pieces small so they don’t turn into icy chunks. This variation tastes great, but it does soften faster than the plain version.
Lower-Sugar Batch
You can reduce the sugar slightly, but don’t cut it too far or the ice cream will freeze harder and taste flatter. Sugar helps the texture stay scoopable, not just sweet. If you lower it, plan on letting the container sit on the counter a few extra minutes before serving.
Storage and Reheating
- Refrigerator: Not applicable once the ice cream is finished. Keep the base chilled up to 24 hours before churning if needed.
- Freezer: Store tightly covered for up to 2 weeks for the best texture. After that, it still tastes fine, but the surface can get a little icy.
- Reheating: Let the container sit at room temperature for 8 to 12 minutes before scooping. Don’t microwave it, because that melts the edges before the center softens.
Questions I Get Asked About This Recipe
Birthday Cake Homemade Ice Cream
Ingredients
Equipment
Method
- In a saucepan, heat the heavy cream and whole milk until steaming, not boiling, then turn off the heat when steam is clearly rising. Visual cue: tiny bubbles begin at the edges and the surface looks steamy.
- In a bowl, whisk the egg yolks with the granulated sugar until smooth and slightly thick. Slowly pour the steaming cream mixture into the yolks while whisking constantly to avoid scrambling.
- Return the mixture to the saucepan and cook, stirring constantly, until it reaches 175°F. Visual cue: the custard coats the back of a spoon and looks glossy.
- Strain the custard into a clean container to remove any bits of cooked egg. Visual cue: the strained liquid flows smoothly.
- Stir the strained custard with butter extract, vanilla extract, almond extract, and salt until fully combined, then cool to room temperature. Visual cue: the base becomes evenly colored, pale golden, and silky.
- Cover and refrigerate for 4 hours until thoroughly chilled. Visual cue: the custard feels cold throughout with no warmth in the center.
- Churn the chilled base in an ice cream maker according to the manufacturer’s instructions until it reaches a soft-serve consistency. Fold in the rainbow sprinkles during the last 2 minutes of churning so they stay suspended.
- Transfer to a freezer-safe container and freeze until firm. Visual cue: the ice cream becomes scoopable and holds a shape, then serve with more rainbow sprinkles.