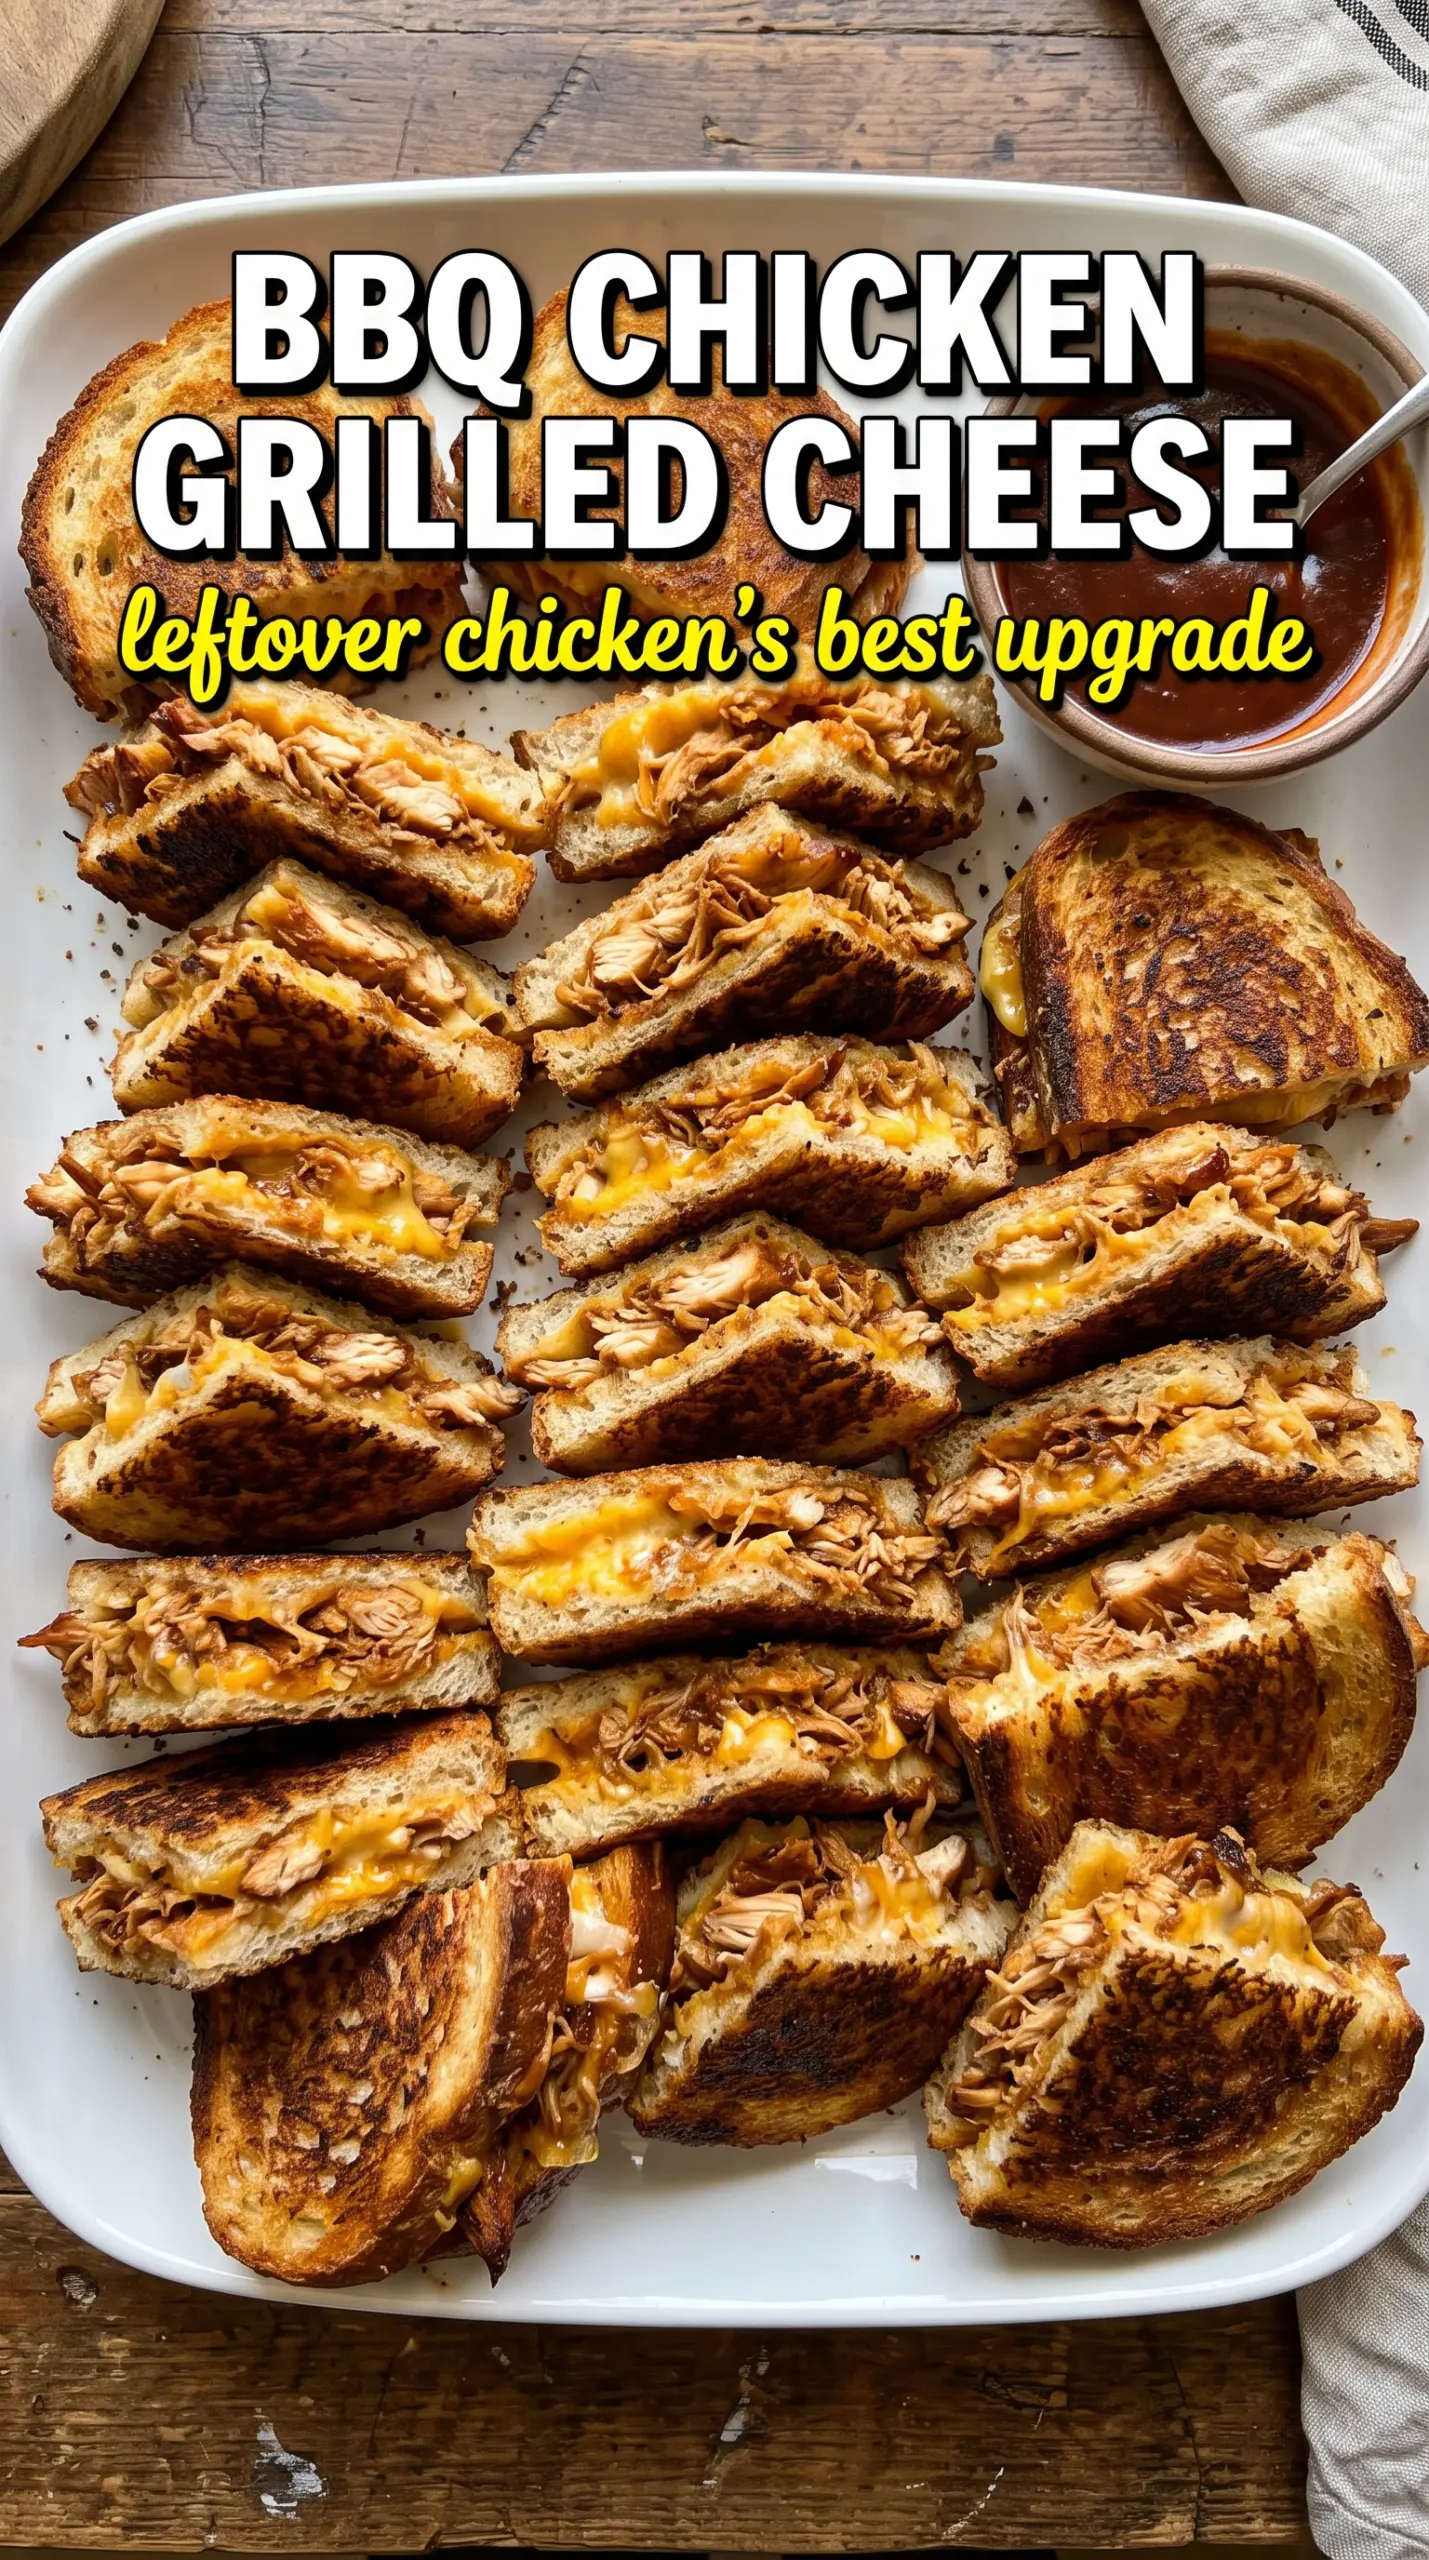
BBQ chicken grilled cheese lands in that sweet spot between comfort food and a smart leftover dinner. The bread gets deeply golden and crisp, the cheese melts into a stretchy layer that holds the saucy chicken together, and the red onion cuts through the richness just enough to keep every bite interesting. It eats like something you’d order at a good diner, only it comes together in your own skillet in about ten minutes.
The trick is keeping the filling balanced. The chicken should be coated, not drenched, so the bread can still toast instead of going soggy. A blend of sharp cheddar and mozzarella gives you both flavor and melt, which is a better setup than using either one alone. Medium-low heat matters here too. Too hot, and the bread burns before the cheese in the center has a chance to loosen and melt.
Below, I’ve included the sandwich-building details that keep the filling in place, plus a few swaps if you’re working with different bread, cheese, or leftover chicken.
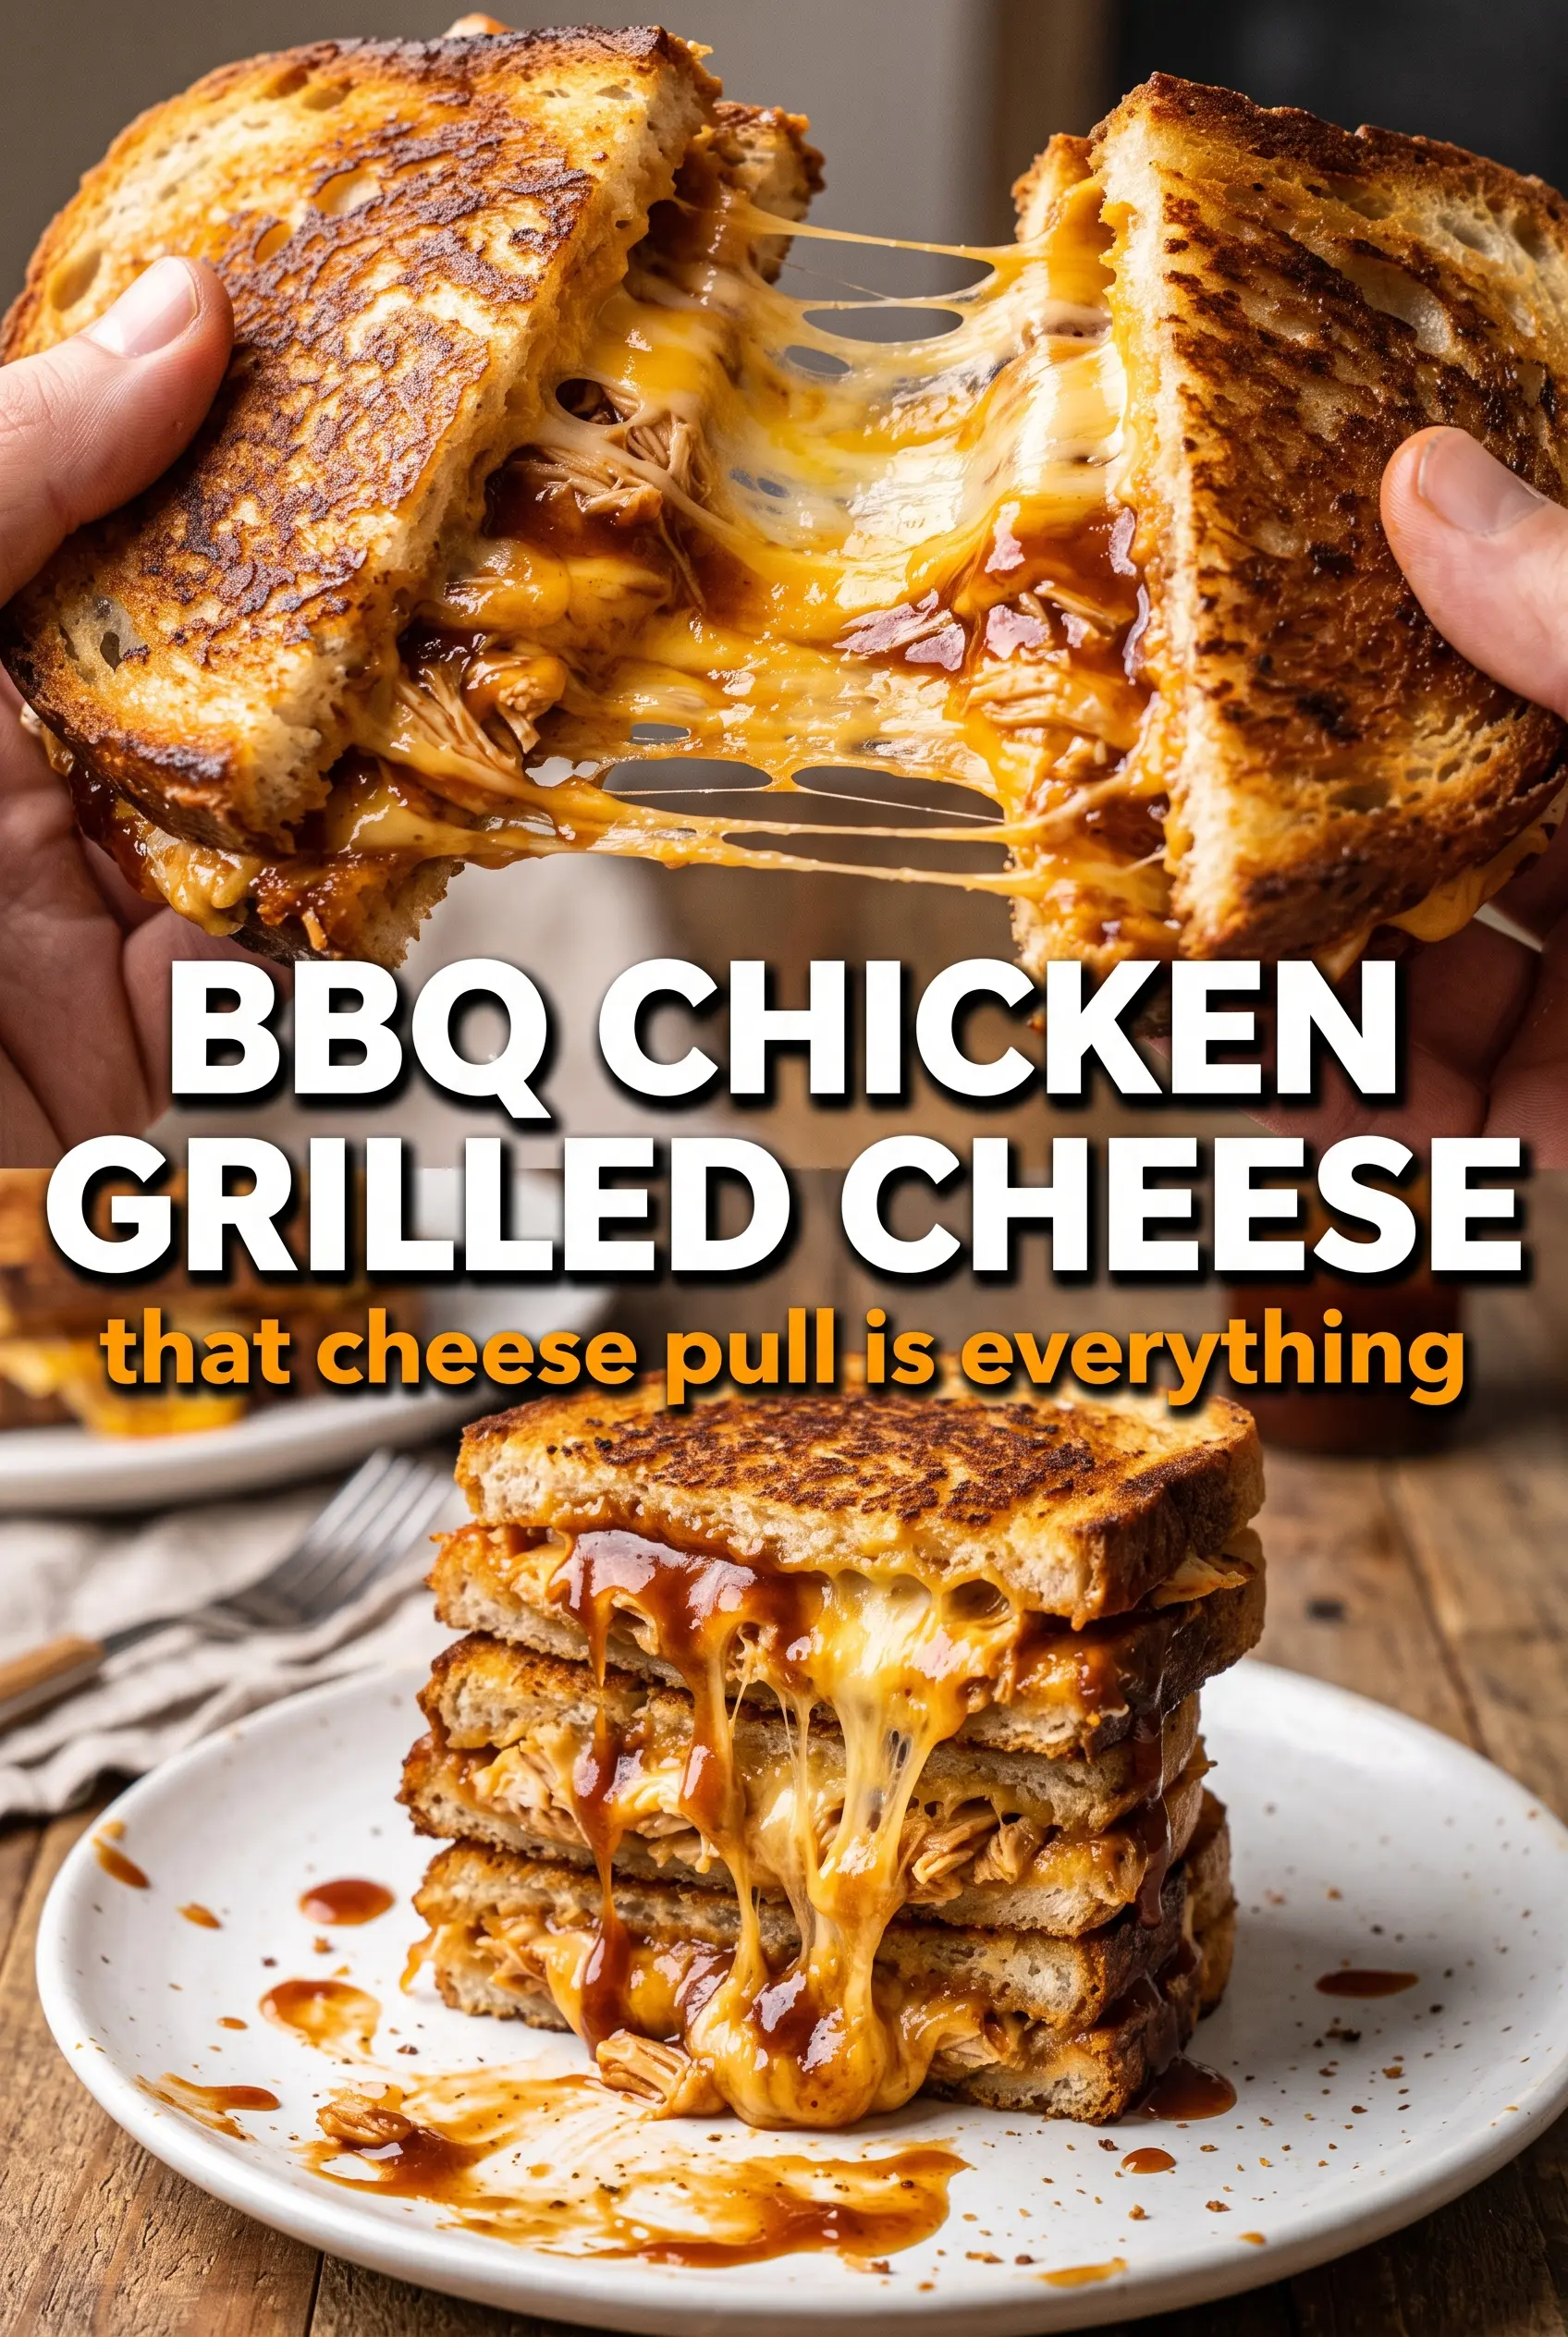
The BBQ chicken stayed tucked inside and the cheddar-mozzarella melted into that perfect pull without making the bread greasy. I used leftover rotisserie chicken and the sandwich still crisped up beautifully in the skillet.
Pin this BBQ chicken grilled cheese for the nights when you want smoky BBQ, gooey cheese, and a crisp skillet crust in one sandwich.
The One Thing That Keeps This Sandwich Crisp Instead of Soggy
BBQ sauce brings the flavor, but it’s also the thing that can wreck the texture if you overdo it. The chicken needs enough sauce to coat every shred, not enough to pool in the pan or leak out the sides. Once the bread starts soaking, you lose the crisp edge that makes grilled cheese worth eating in the first place.
Using two cheeses helps control that problem. Cheddar gives you sharpness and structure, while mozzarella melts into long, stretchy strands that bind the filling together. Thick bread matters too. Thin sandwich bread collapses under the weight of the filling and browns too fast, which leaves you with a hot center and a tired crust.
- Shredded chicken — Rotisserie chicken works well because it’s already tender and easy to shred. Chop it finer if the pieces are long or stringy so the sandwich presses together cleanly.
- BBQ sauce — Use a sauce you’d actually eat on its own. If it’s very sweet, the sandwich can taste flat, so a smoky or tangy sauce gives better balance.
- Sharp cheddar — This is the cheese that makes the sandwich taste like more than melted dairy. Pre-shredded works in a pinch, but freshly shredded melts smoother.
- Mozzarella — It’s there for the melt, not the flavor. It softens the cheddar and gives you that pull when you cut the sandwich open.
- Red onion — Slice it paper-thin so it softens while cooking. Thick pieces stay crunchy and throw off the texture of the filling.
What Each Ingredient Is Actually Doing in This Recipe
- Primary ingredient (the star) — Quality matters most. Choose the best you can find.
- Cooking medium (oil, butter, or broth) — This carries flavors and prevents dryness.
- Seasonings (salt, pepper, spices, herbs) — Layer flavors so nothing overpowers. Build depth gradually.
- Aromatics (garlic, onion, herbs) — Cook with fat to bloom flavors. Become the foundation.
- Supporting ingredients — Complement the main ingredient without overpowering it.
- Sauce or liquid (if applicable) — Brings flavors together. Balance richness with acid.
- Acid (lemon, vinegar, wine, or other) — Brightens and prevents flat-tasting results.
- Final finish (garnish, glaze, or sauce) — Prevents one-dimensional taste and adds visual appeal.
Building the Sandwich So the Filling Stays Put
Coating the Chicken
Toss the shredded chicken with the BBQ sauce until every piece looks lightly glazed. You want the meat coated enough to taste saucy in every bite, but not so wet that the sandwich turns slippery inside. If the mixture looks glossy and clumps together when stirred, you’re in the right place.
Laying Out the Cheese
Mix the cheddar and mozzarella before assembling so the melt is even across the sandwich. Put some cheese under the chicken and some over it if you want the filling locked in tighter; that helps keep the sauce from escaping. The cheese should surround the chicken, not just sit in one flat layer.
Cooking Low Enough to Melt Through
Set the skillet over medium-low heat and give the bread time to brown slowly. If the heat is too high, the butter browns too fast and the cheese inside stays stiff. Press the sandwich gently with a spatula so the bread makes full contact with the pan, but don’t smash it flat or the filling will squeeze out the sides.
Cutting for the Best Pull
Let the sandwich sit for a minute before slicing. That short pause helps the cheese settle just enough so the filling doesn’t run out the cut side. Slice diagonally for the best stretch and the easiest bite.
How to Change the Sandwich Without Losing the Good Part
Use leftover pulled chicken or rotisserie chicken
This is the fastest path to dinner. Just shred the chicken finely so it mixes evenly with the sauce and doesn’t create big gaps inside the sandwich. If the chicken is already seasoned, taste the mixture before assembling because some store-bought rotisserie chickens bring enough salt on their own.
Make it gluten-free with sturdy sandwich bread
Use a gluten-free bread that can handle buttering and skillet heat without crumbling. Thicker slices work best because they hold the filling and brown more evenly. Keep the heat on the lower side since gluten-free bread can go from pale to overdone quickly.
Swap the cheese for pepper jack
Pepper jack adds heat and melts smoothly, so it’s a good fit if you want a sharper finish. The sandwich will taste a little less classic and a little more punchy, especially with a smoky BBQ sauce. Use it in place of some or all of the cheddar, depending on how much heat you want.
Leave out the onion for a milder sandwich
If raw onion isn’t your thing, skip it or use a few very thin pickled onion slices instead. You’ll lose a little bite, but the sandwich will still have enough salt, smoke, and creaminess to stand on its own. Pickled onion adds brightness without the sharp crunch.
Storage and Reheating
- Refrigerator: Store the cooked sandwiches for up to 2 days. The bread softens a bit, but the filling still holds up well.
- Freezer: Not ideal once assembled. The bread turns dense after thawing, so freeze the chicken mixture separately if you want to plan ahead.
- Reheating: Warm in a skillet over low heat until the bread crisps again and the center melts. The biggest mistake is using the microwave, which makes the toast limp before the cheese fully loosens.
Questions I Get Asked About This Recipe
BBQ Chicken Grilled Cheese
Ingredients
Equipment
Method
- Toss shredded chicken with BBQ sauce until evenly coated, so every strand is glossy and smoky.
- Mix shredded sharp cheddar cheese with shredded mozzarella cheese until combined into one melting blend.
- Butter one side of each slice of thick sourdough or Texas toast bread.
- Assemble sandwiches with BBQ-sauced shredded chicken, the cheddar-mozzarella cheese blend, and very thinly sliced red onion on the unbuttered sides; close with buttered sides facing out.
- Cook sandwiches in a large skillet over medium-low heat for 4-5 minutes per side, pressing gently, until deep golden brown.
- Continue cooking until the cheese is fully melted, with bubbling visible at the edges.
- Slice sandwiches diagonally and serve immediately so the cheese stays stretchy.