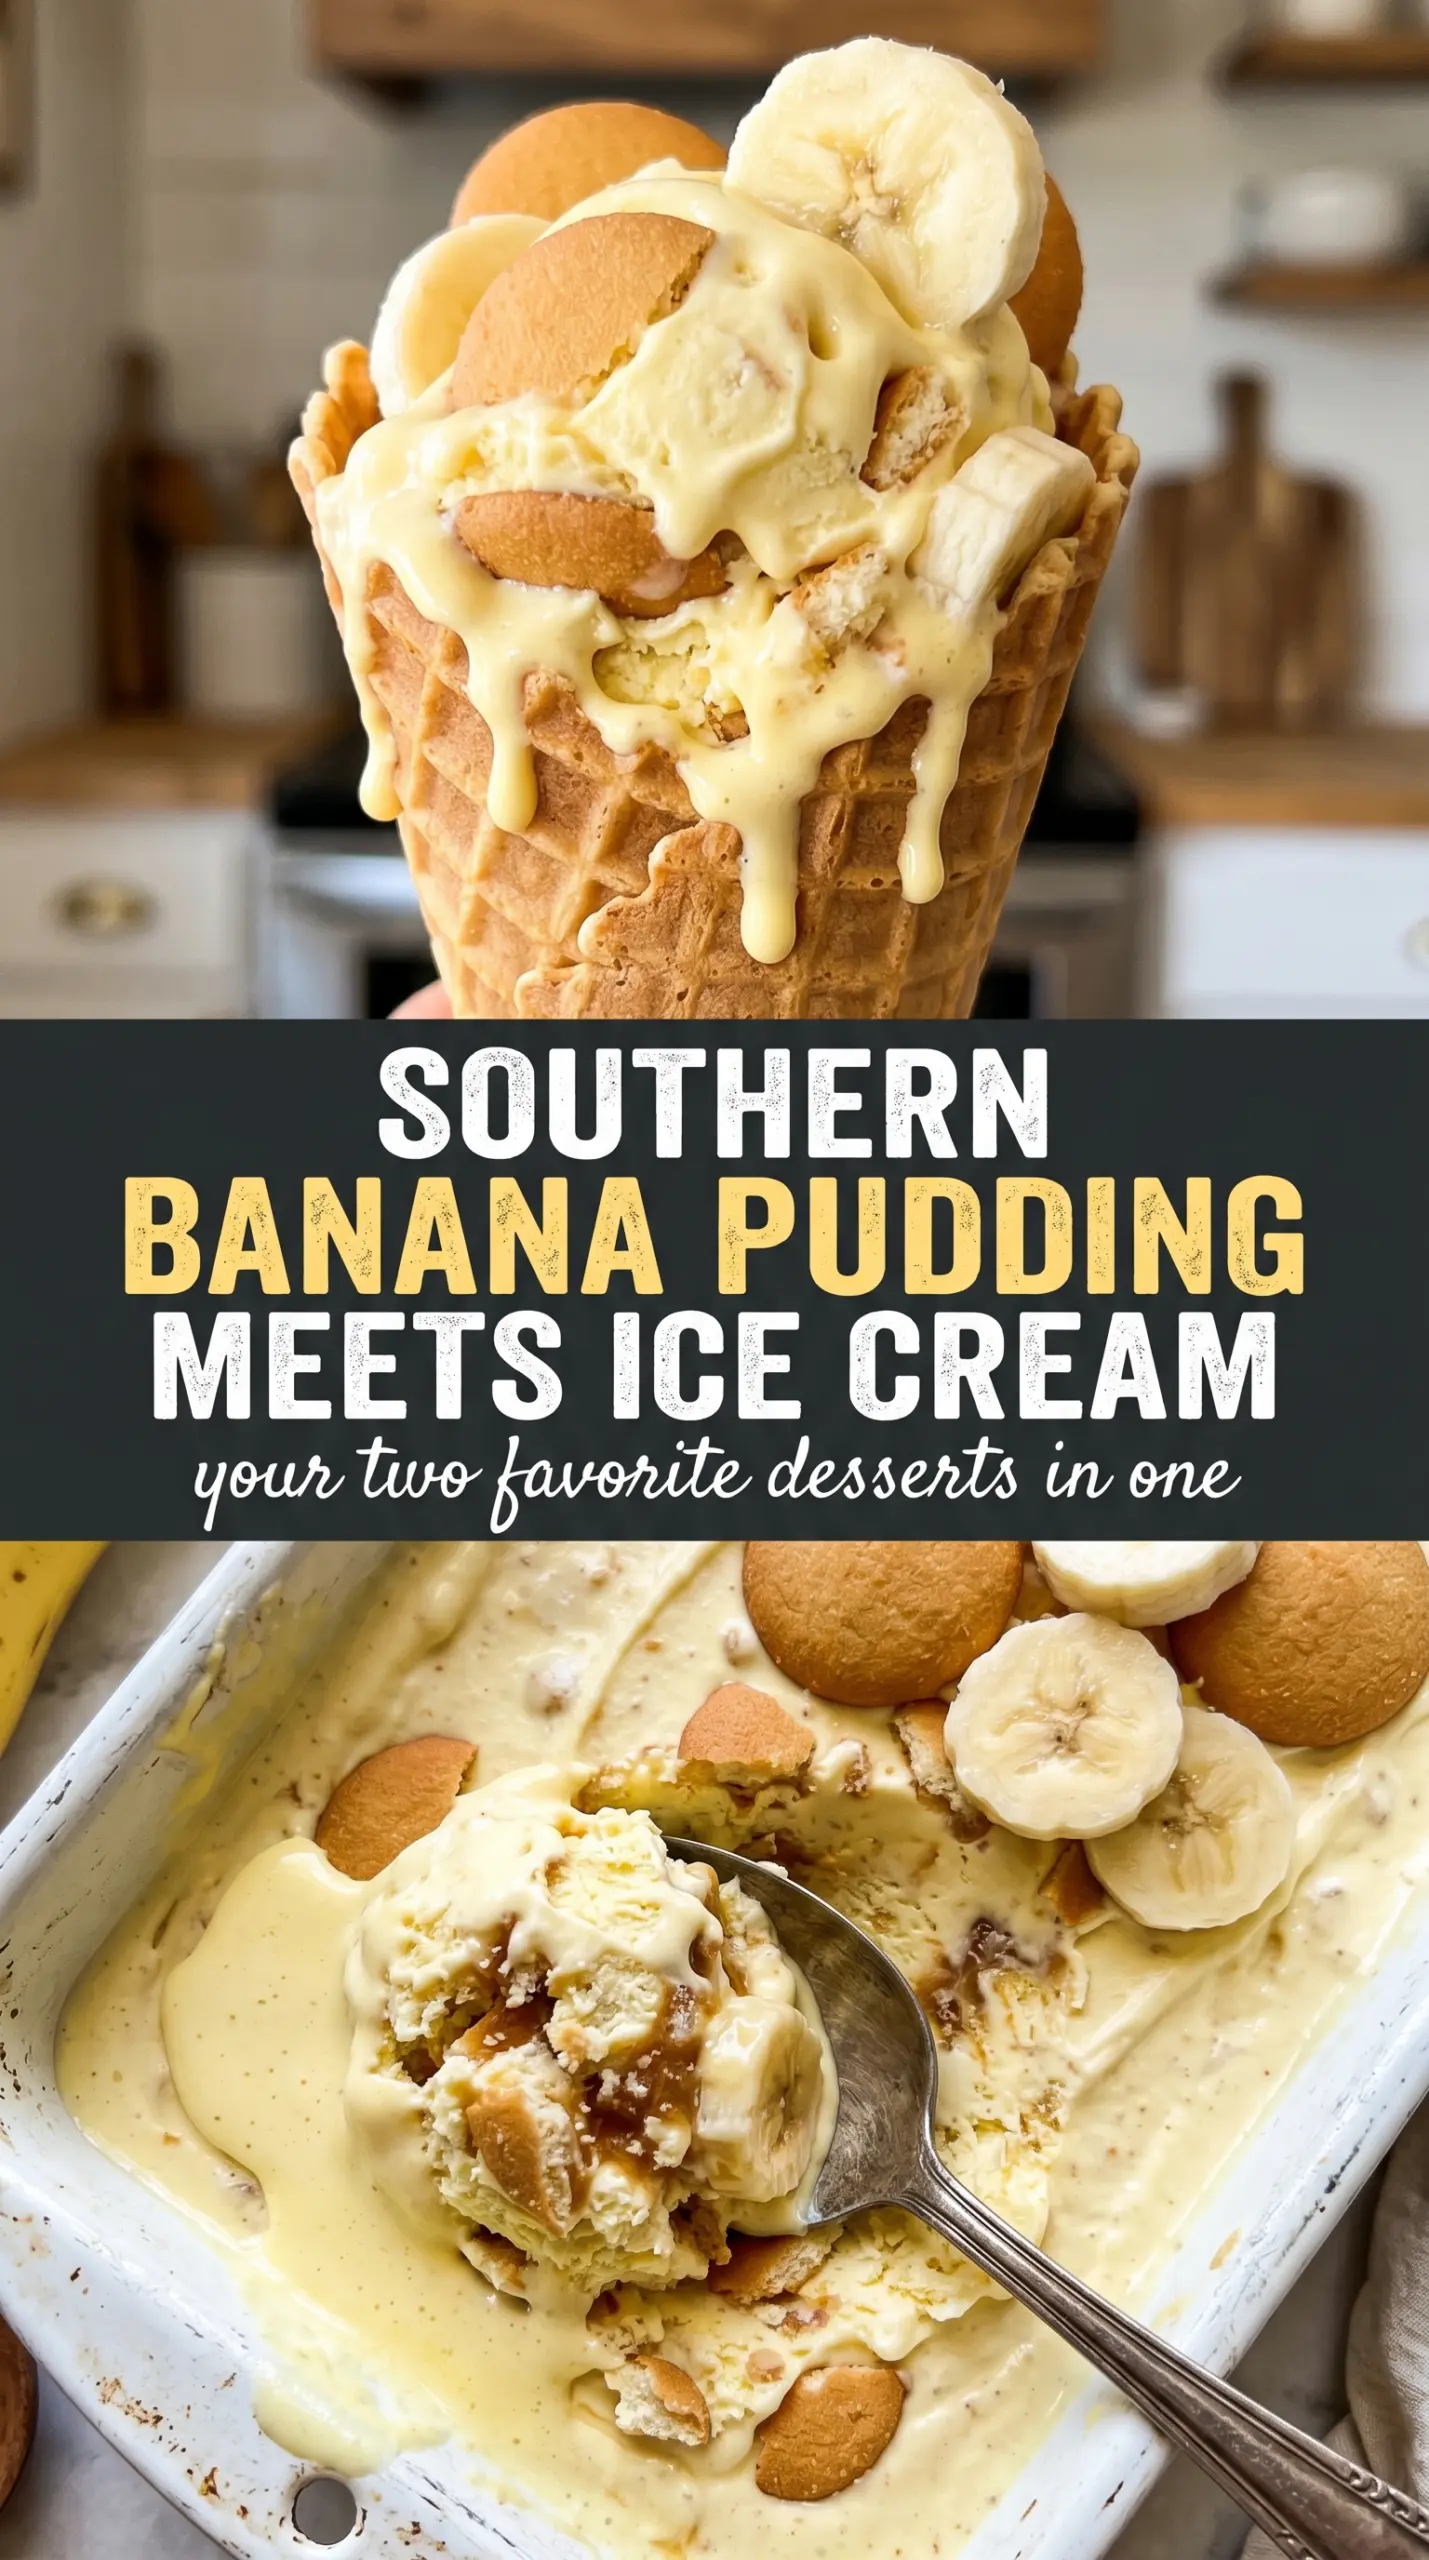
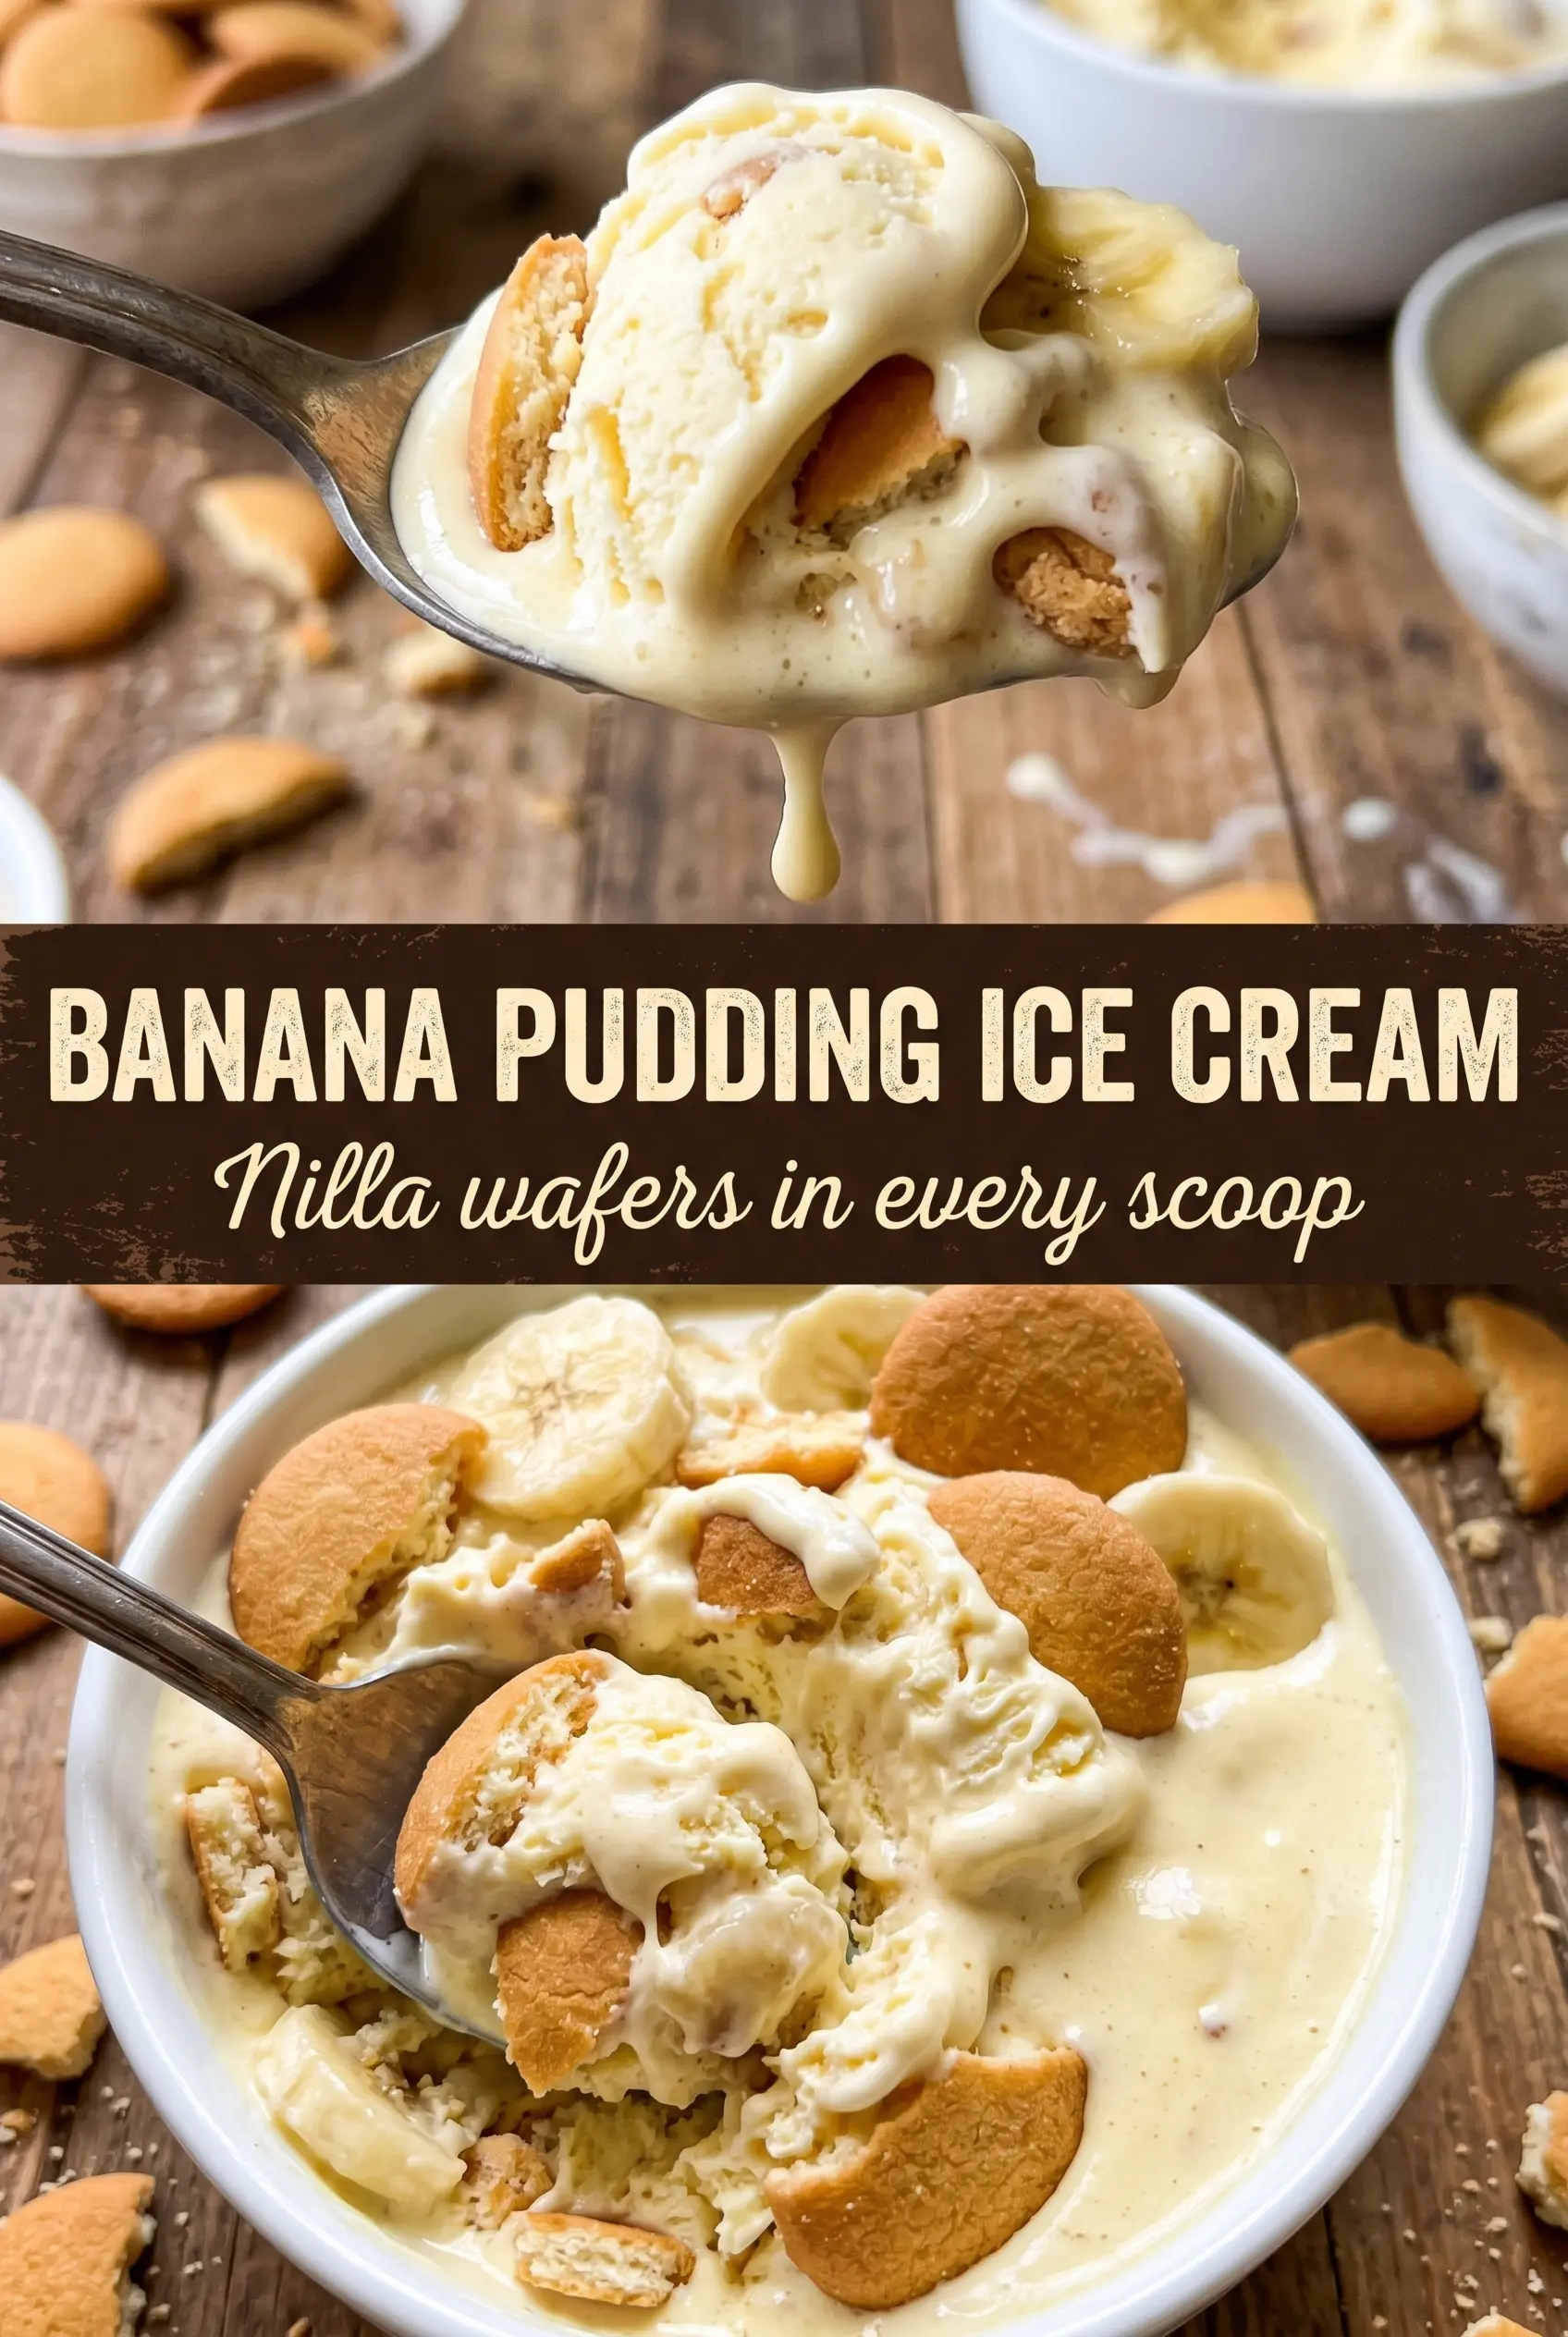
Creamy banana pudding ice cream lands somewhere between old-fashioned custard ice cream and the kind of banana pudding that disappears first at the potluck. The banana flavor tastes round and natural, not candy-sweet, and the crushed Nilla wafers soften just enough in the churn to give you those familiar pudding layers in frozen form. The frozen banana slices keep a little bite, so every scoop has both creaminess and texture.
The part that makes this version work is the custard base. Egg yolks give the ice cream body, while the banana puree goes in after cooking so the fruit stays bright instead of tasting dull or overly cooked. I also like folding the wafers in near the end, not at the beginning, because they hold onto more of that signature cookie flavor instead of disappearing into crumbs.
Below, I’ll show you how to keep the custard smooth, how to get the banana flavor strong without making the ice cream icy, and what to change if you want a slightly different spin on the classic pudding flavor.
The custard came out silky and the banana flavor stayed bright after freezing. I was worried the wafers would turn mushy, but they kept just enough crunch in every scoop.
Crush the Nilla wafers and fold them into this banana pudding ice cream at the end so every scoop keeps that classic pudding-and-cookie texture.
The Part That Keeps Banana Ice Cream from Tasting Flat
Banana ice cream can go one of two ways: bright and pudding-like, or muted and icy. The difference is usually timing. If you cook the bananas with the custard, the flavor gets muddy and the texture can turn dull after freezing. Blending the bananas smooth and stirring them into the finished base keeps the fruit flavor fresh, while the custard handles the rich, scoopable texture.
The other trap is overheating the yolks. Once the mixture is on the stove, stir constantly and keep the heat moderate enough that it thickens slowly. If the custard scrambles, the ice cream base won’t strain cleanly and you’ll lose that silky finish. A proper custard should coat the back of a spoon and leave a clean trail when you swipe a finger across it.
- Bananas: Use very ripe bananas with plenty of brown spotting. That gives you the deepest banana flavor without needing extra extract, and blending them until completely smooth keeps the finished ice cream from getting grainy.
- Heavy cream and whole milk: This mix gives you a custard that’s rich but not greasy. You need the cream for body, and the milk keeps it from freezing into something heavy and waxy.
- Egg yolks: These are what make the base scoopable instead of hard and icy. There isn’t a true one-to-one substitute here if you want the same custardy texture, so if you skip them, expect a lighter, more sorbet-like result.
- Nilla wafers: They matter for the banana pudding effect, so use the real thing if you can. Any vanilla wafer-style cookie will work in a pinch, but the flavor gets less nostalgic and the texture can be a little drier.
- Frozen banana slices: Add these only at the end. Fresh banana slices can go soft and watery in the churn, but frozen slices hold their shape longer and give you little pockets of banana in each scoop.
What Each Ingredient Is Actually Doing in This Ice Cream
- Base ingredient (cream, milk, or custard) — This provides the foundation and richness. Quality matters.
- Sweetener (sugar, honey, or condensed milk) — This sweetens and prevents ice crystals. The ratio is critical.
- Flavor element (vanilla, fruit, chocolate, or other) — This defines the ice cream personality. Use quality ingredients.
- Egg yolks (if making custard base) — These create richness and silky texture. Optional but elevates ice cream.
- Churning (if using ice cream maker) — This incorporates air and prevents ice crystals. Critical for smooth texture.
- Freezing temperature and time — Proper freezing prevents rock-hard texture. Store at 0°F or below.
- Mix-ins (chocolate, cookies, fruit, or swirls) — These add texture and prevent one-dimensional flavor. Add near end of churning.
- Serving temperature (slightly soft, not rock hard) — This provides creamy mouthfeel. Remove from freezer 5 minutes before serving.
Building the Custard, Then Keeping the Cookies in Play
Blending the Banana Base
Start by blending the ripe bananas until they’re completely smooth. You want a puree with no visible chunks, because any pieces left behind can turn icy in the freezer. Set it aside while you build the custard so it’s ready to go the moment the base comes off the heat. If the bananas sit too long and darken, that’s fine; the flavor matters more than the color here.
Tempering the Yolks
Heat the cream and milk until steaming, not boiling. Whisk the hot dairy slowly into the yolks and sugar so the eggs warm gradually instead of turning into sweet scrambled eggs. Once everything goes back into the pan, keep the heat at medium-low and stir constantly. The custard is done at 175°F, or when it thickens enough to coat the spoon cleanly.
Straining and Finishing the Base
Strain the custard right away to catch any tiny bits of cooked egg. Stir in the vanilla, salt, and banana puree after straining so the banana stays vivid and the vanilla doesn’t cook off. Then chill the base completely before churning. If the mixture goes into the machine warm, the churn takes longer and the ice cream stays soft in the freezer for the wrong reasons.
Folding in the Cookies and Fruit
Once the ice cream has churned and thickened, fold in the crushed Nilla wafers and frozen banana slices during the last couple of minutes. That timing matters: too early, and the cookies dissolve; too late, and they won’t distribute evenly. The goal is a scoop that looks like banana pudding all the way through, with cookie pieces and banana bits in every bite.
Dairy-Free Banana Pudding Ice Cream
Use full-fat coconut milk in place of the cream and milk, and swap in a dairy-free vanilla wafer-style cookie if needed. The ice cream will be a little less custardy and a little more coconut-forward, but the banana flavor still carries well. You’ll lose some of the classic pudding richness, though it still scoops nicely once fully frozen.
Extra-Pudding Version
For a stronger banana pudding feel, reserve a few more wafer pieces and layer them into the container when you transfer the churned ice cream to the freezer. This creates soft cookie seams instead of evenly distributed crumbs, which tastes even closer to traditional pudding. The tradeoff is a slightly softer mix-in texture after freezing.
No-Churn Shortcut
You can fold the banana puree and crushed wafers into whipped sweetened cream if you don’t have an ice cream maker, but the result will be lighter and less custard-like. It still freezes into a good spoonable dessert, just with a softer, fluffier texture. The banana flavor comes through best if the puree is very smooth before folding.
Storage and Reheating
- Refrigerator: Don’t store the finished ice cream in the fridge; it will melt and lose the texture you worked for. Keep it in the freezer once churned.
- Freezer: Freeze in an airtight container for up to 2 weeks for the best texture. After that, it still tastes good, but the wafers soften more and the banana flavor fades a little.
- Reheating: Let it sit at room temperature for 5 to 10 minutes before scooping. If it feels rock-hard, don’t microwave the whole container, or the edges will melt before the center softens.
Questions I Get Asked About This Recipe
Banana Pudding Ice Cream
Ingredients
Equipment
Method
- Blend the very ripe bananas until completely smooth, then set aside.
- In a Dutch oven, whisk together the egg yolks and granulated sugar until the mixture looks pale and thickened.
- Heat the heavy cream and whole milk in the Dutch oven over medium-low heat until steaming.
- Slowly whisk the steaming cream mixture into the egg yolk mixture to avoid scrambling.
- Cook the custard over medium-low heat, stirring constantly, until it reaches 175F.
- Strain the custard to remove any bits, then stir in the vanilla extract, salt, and banana puree.
- Cool the custard completely, then refrigerate for 4 hours.
- Churn the chilled custard in an ice cream maker until it thickens to soft-serve consistency.
- Fold in the crushed Nilla wafers and the banana slices (frozen) during the last 2 minutes of churning.
- Freeze until scoopable for a firm, spoonable texture.