Apple sour cream cake lands in that sweet spot between coffee cake and a proper dessert: tender, moist, and finished with a cinnamon-sugar top that bakes into a crisp, crumbly layer. The apples soften just enough in the oven to turn juicy without disappearing, and the sour cream keeps the crumb plush for days instead of drying out after the first slice.
What makes this version work is the balance. The batter is rich, but not heavy, because the sour cream adds moisture and a gentle tang that keeps the sweetness in check. A little baking soda works with that acidity, giving the cake lift and preventing the texture from turning dense. The topping stays separate from the batter instead of melting in, which is what gives each bite a little crunch against the soft cake.
Below, I’ll walk through the one step that matters most if you want that tall, even crumb topping and the best apple texture. I’ve also included a few swaps that keep the cake just as dependable if you’re short on a specific ingredient.
The cake baked up so moist and the topping stayed crumbly instead of sinking in. I made it in a springform pan and the apple pieces stayed tender without turning mushy.
Save this apple sour cream cake for the days when you want a moist apple dessert with a cinnamon crumb topping that slices beautifully.
The Difference Between Tender Crumb and Dense Cake Here
The biggest risk with apple sour cream cake is overmixing after the flour goes in. Once the dry ingredients hit the wet mixture, the batter only needs a few turns to come together. Stirring until it looks perfectly smooth builds too much gluten and steals the soft, tender crumb that makes this cake worth baking.
The other thing that matters is how the apples are cut. Dice them small enough to soften in the bake, but not so small that they melt into the batter. You want little pockets of fruit, not apple puree. If your apples are especially juicy, toss them with a spoonful of the flour from the recipe before folding them in so they don’t sink as easily.
- Sour cream — This is the ingredient that gives the cake its rich, plush texture. Full-fat sour cream works best, but plain Greek yogurt can stand in if you want a sharper tang and don’t mind a slightly tighter crumb.
- Apples — Use a firm baking apple that keeps some shape, like Granny Smith, Honeycrisp, or Pink Lady. Softer apples can work, but they’ll collapse more during baking and make the cake wetter in the center.
- Brown sugar topping — The packed brown sugar and cold butter create the crumbly lid that bakes into a crisp, cinnamon-heavy finish. Cold butter matters here; softened butter turns the topping greasy instead of sandy.
- Cinnamon — There’s cinnamon in both the batter and the topping for a layered, warm spice flavor. Fresh cinnamon makes a noticeable difference because the topping is simple and every ingredient shows up clearly.
How to Keep the Cinnamon Topping Crumbly Instead of Melting In
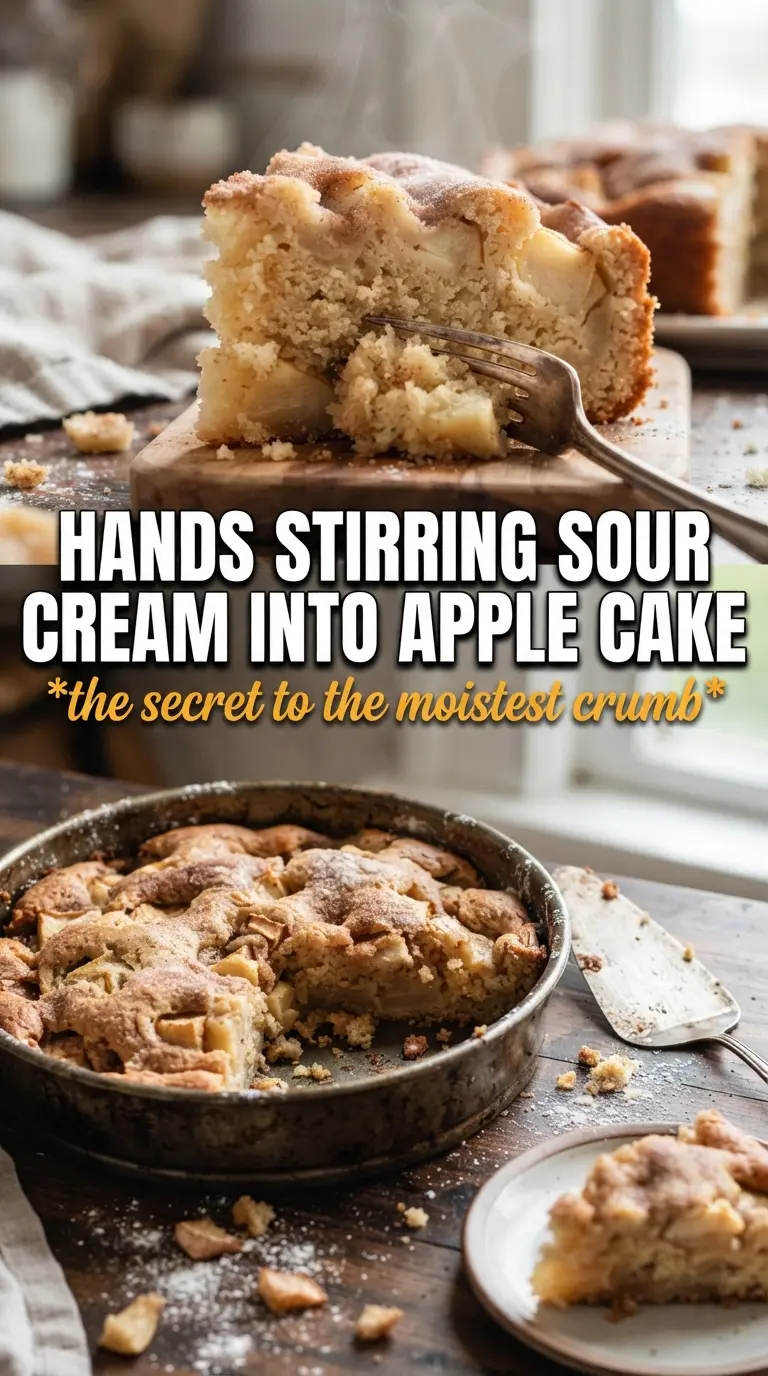
- Butter and sugar are first mixed dry — Cut the cold butter into the brown sugar, cinnamon, and flour until the pieces look like damp sand with a few pea-sized clumps. If you keep going until it forms a paste, the topping will bake into a flat sheet instead of a crumb.
- The batter should look just combined — Cream the butter and sugar until fluffy, then add the eggs, vanilla, and sour cream before folding in the dry ingredients. Stop as soon as the flour disappears. Overbeating at this point makes the cake tough and pushes the apples into a gummy layer.
- Scatter, don’t press — Once the batter is in the pan, sprinkle the topping evenly over the surface and leave it alone. Pressing it down drives the topping into the batter, and it won’t stay crisp on top.
The Mixing Order That Gives This Cake Its Soft Center
Building the Base
Start by beating the butter and sugar until the mixture looks pale and fluffy, not just blended. That step traps air, which helps the cake rise without feeling heavy. Add the eggs one at a time so the batter stays smooth, then mix in the vanilla and sour cream. If the mixture looks slightly curdled at this stage, that’s fine; the flour will pull it back together.
Folding in the Dry Ingredients
Whisk the dry ingredients separately, then add them to the wet mixture in one go or in two additions. Fold with a spatula until you no longer see streaks of flour, then stop. The batter will be thick, and that’s what you want. If you keep stirring because it still looks lumpy, you’ll end up with a tighter cake than necessary.
Adding the Apples
Fold in the diced apples at the very end so they stay evenly distributed. The batter should be heavy enough to hold them up, but if your apples are extra juicy, the cake may need the full bake time plus a few more minutes in the center. A toothpick should come out with a few moist crumbs, not wet batter.
Baking Until the Top Springs Back
Bake at 350°F until the topping is set and golden and the center gives just a slight spring when touched. If the top is browning too fast before the middle is done, lay a loose piece of foil over it for the last 10 to 15 minutes. Let the cake cool before slicing, because that rest time finishes the crumb and keeps the slices clean.
How to Adapt This Cake for a Smaller Pantry or Different Diet
Dairy-Free Version
Use plant-based butter and a thick dairy-free yogurt in place of the sour cream. The cake will still bake up moist, but the crumb will be a little less rich and the tang will be softer. Pick an unsweetened yogurt so the topping and batter stay balanced.
Gluten-Free Swap
A good 1:1 gluten-free baking blend works here, especially one that already includes xanthan gum. The cake will be a little more delicate when warm, so let it cool fully before slicing. The topping still works well with the same swap.
Walnut Apple Cake
Fold in 1/2 cup chopped toasted walnuts with the apples if you want more texture. The nuts add a little bitterness and crunch that plays well against the soft crumb and sweet topping.
Storage and Reheating
- Refrigerator: Store covered for 4 days. The crumb stays moist, though the topping softens a little after the first day.
- Freezer: This cake freezes well. Wrap individual slices tightly and freeze for up to 2 months, then thaw in the refrigerator.
- Reheating: Warm slices in a 300°F oven for 8 to 10 minutes or microwave briefly. Don’t overheat it, or the apples can turn mushy and the topping loses its texture.
Answers to the Questions Worth Asking
Apple Sour Cream Cake
Ingredients
Equipment
Method
- Preheat oven to 350F, then grease a 9-inch springform or 9x13 pan. Make sure the pan surface is fully coated so the cake releases cleanly.
- Make cinnamon topping by combining brown sugar, cinnamon, and flour, then cut in cold butter until crumbly. Set aside so it stays cool and forms a thicker top layer.
- Whisk flour, baking powder, baking soda, cinnamon, and salt until evenly combined. This distributes the leaveners and spices so the crumb rises uniformly.
- Beat butter and sugar until fluffy, then add eggs and vanilla and continue beating. Mix just until smooth so the batter has a lighter texture.
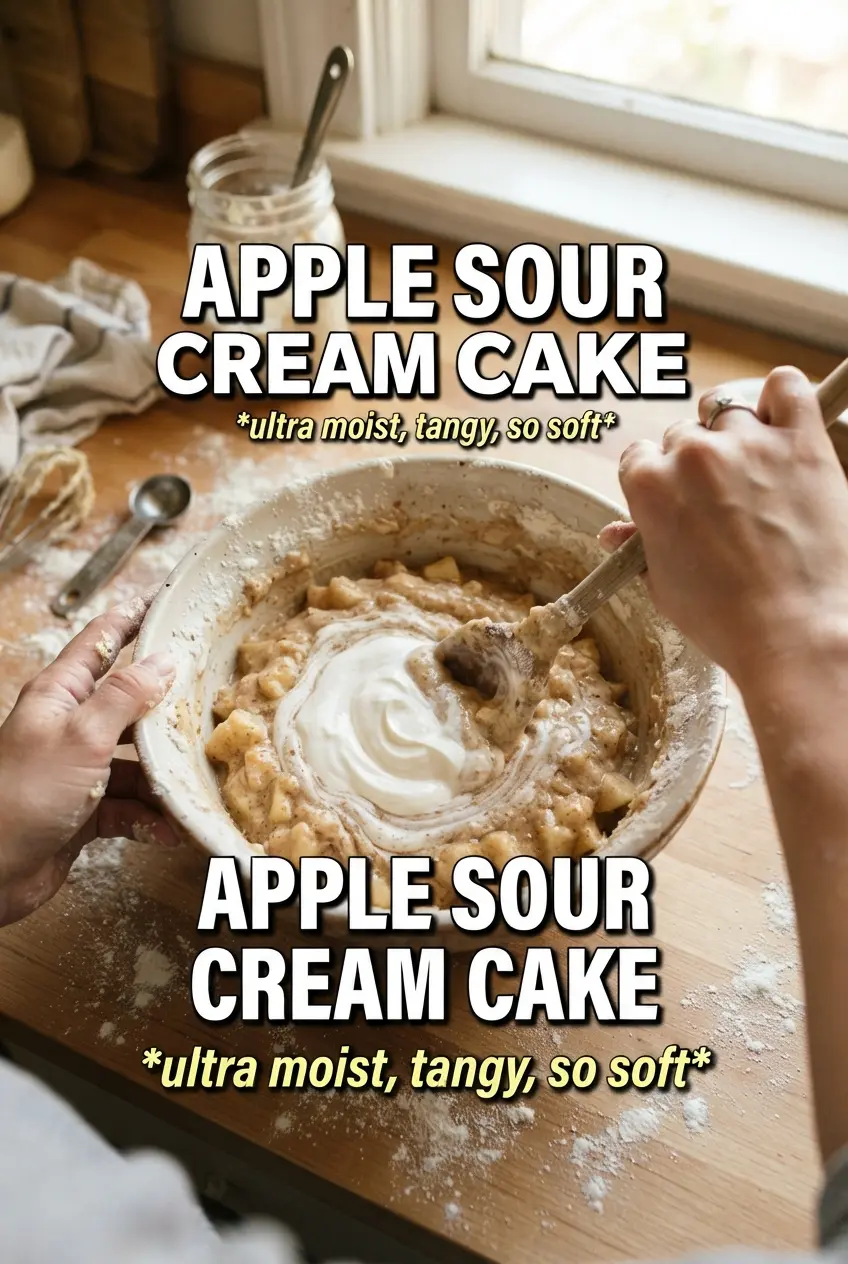
- Beat in sour cream until fully incorporated. The batter should look thick and cohesive before adding dry ingredients.
- Fold in the flour mixture until just combined. Stop mixing as soon as you no longer see dry streaks.
- Fold in diced apples to distribute evenly through the batter. Fold gently so the apples stay intact and the cake bakes moist.
- Spread batter into the prepared pan, then scatter cinnamon topping over the surface. Cover as evenly as possible so every slice has a crumb layer.
- Bake at 350F for 50-55 minutes until a toothpick comes out clean. If the top browns quickly, loosely tent with foil during the last 10 minutes.
- Cool the cake before slicing. This sets the crumb and helps the topping stay crisp instead of sinking.