Apple slices bar cookies bake into neat, flaky rectangles with a soft spiced filling and a pastry crust that actually holds its shape when you cut it. The bottom stays tender instead of turning wet, the top turns golden and crisp, and the glaze settles into clean stripes that make each piece look bakery-made without any fuss.
What makes this version work is the layer of crushed cornflakes under the apples. That little barrier keeps the bottom crust from going gummy while the apples release their juices in the oven. Cold butter matters here too, because the dough needs those pockets of butter to steam and separate into flaky layers instead of baking up dense like a sugar cookie.
Below, you’ll find the trick for keeping the dough manageable, how to keep the filling from slipping around, and the one thing that helps these bars cut cleanly after baking. Once you’ve made them this way, they’re the kind of dessert people ask for again because they’re easy to serve and even easier to pack up for later.
The cornflakes underneath kept the bottom from getting soggy, and the glaze set up just enough that the bars cut into perfect squares after cooling.
Save these apple slices bars for the days when you want flaky pastry, spiced apples, and a clean-cut dessert that serves like a dream.
The Trick That Keeps Apple Bars from Turning Soggy
The filling in apple slices bars is juicy by nature, which means the bottom crust is always fighting moisture. The cornflakes in this recipe are the quiet fix. They soak up the first wave of apple juice before it reaches the pastry, so the base bakes through instead of steaming itself soft.
Cold dough matters just as much. If the butter softens too far while you’re mixing or rolling, the crust loses those flaky layers and starts baking up heavy. Keep the dough chilled enough that it rolls without sticking but still feels pliable. If it tears, patch it. Don’t keep working it until it warms up.
- Crushed cornflakes — These create a thin barrier between the apples and the pastry. Plain crushed cereal works best here because it stays crisp long enough to protect the crust without adding sweetness.
- Cornstarch — This thickens the apple juices as the bars bake. Without it, the filling can run and pool under the top crust.
- Cold butter — This is what gives the pastry its flaky lift. Soft butter blends in too smoothly and the crust turns more biscuit-like.
- Thinly sliced apples — Thin slices cook evenly and tuck into a compact layer. Thick slices can leave gaps and make the bars harder to slice cleanly.
What Each Ingredient Is Actually Doing in These Apple Slices
- All-purpose flour — This gives the pastry enough structure to lift and hold the filling. A lower-protein flour can work, but it may bake a little more fragile.
- Egg yolk and milk — The yolk adds tenderness and richness, while the milk brings the dough together without making it sticky. Add the milk gradually; too much liquid makes the dough slack and harder to roll.
- Apples — Use a firm baking apple or a mix of tart and sweet apples so the filling softens without collapsing into applesauce. Very soft apples lose their shape before the bars finish baking.
- Cinnamon and nutmeg — These give the filling warmth without overpowering the fruit. If your cinnamon is old and dull, the bars will taste flat no matter how good the apples are.
- Powdered sugar glaze — This finishes the bars with sweetness and a light sheen. Keep it thick enough to drizzle, not pour, or it will disappear into the crust instead of sitting on top.
Building the Layers So the Bars Bake Evenly
Pressing the Base First
Divide the dough in half and press one portion into the prepared pan in an even layer. Use your fingertips and the heel of your hand to push it all the way to the corners, because thin spots will bake faster and turn brittle. A light dusting of flour on your hands helps if the dough starts sticking. The base should look smooth and compact, not loose or shaggy.
Spreading the Apple Filling
Toss the apple slices with sugar, cinnamon, nutmeg, and cornstarch until every piece is lightly coated. The cornstarch needs to cling to the fruit before baking, or it won’t thicken the juices properly. Spread the apples in an even layer over the cornflakes and press them down gently so the top crust has something stable to sit on. If the pile looks too high in the center, the middle won’t bake as evenly as the edges.
Sealing and Baking
Roll the remaining dough and lay it over the apples, then press the edges to seal. A few small cracks are fine, but big gaps let steam escape and dry out the filling. Bake until the top is deeply golden and the edges pull slightly from the pan. If the top is pale, the crust underneath usually needs a few more minutes too.
Cooling Before the Glaze
Let the bars cool completely before you drizzle on the glaze. Warm bars will melt it into a thin, sticky layer instead of leaving those neat white stripes across the top. Cooling also gives the filling time to set, which is what lets you cut clean rectangles instead of fruit-filled wedges that fall apart. If you’re in a hurry, set the pan on a rack and give it the full time anyway.
Make Them Less Sweet
Cut the sugar in the filling back by a few tablespoons and use a tart apple like Granny Smith. You’ll get a sharper apple flavor and a little less syrup in the middle, which is a nice move if you don’t want the glaze to be the only sweet note.
Gluten-Free Version
Use a 1:1 gluten-free baking flour for the pastry and swap the cornflakes for a certified gluten-free version. The texture stays close to the original, though the crust may be a touch more delicate when you slice it.
Dairy-Free Pastry
Replace the butter with a solid plant-based baking stick and use a dairy-free milk for the dough and glaze. Choose a buttery-style substitute that stays firm when cold, since soft spreads don’t create the same flaky layers.
Storage and Reheating
- Refrigerator: Store covered for up to 4 days. The crust will soften a little after the first day, but the bars still slice well.
- Freezer: These freeze well without the glaze. Wrap individual bars tightly and freeze for up to 2 months, then glaze after thawing for the cleanest finish.
- Reheating: Warm bars in a 300F oven for about 8 minutes. The oven brings back some crispness; the microwave makes the pastry limp and the filling overly soft.
Questions I Get Asked About This Recipe
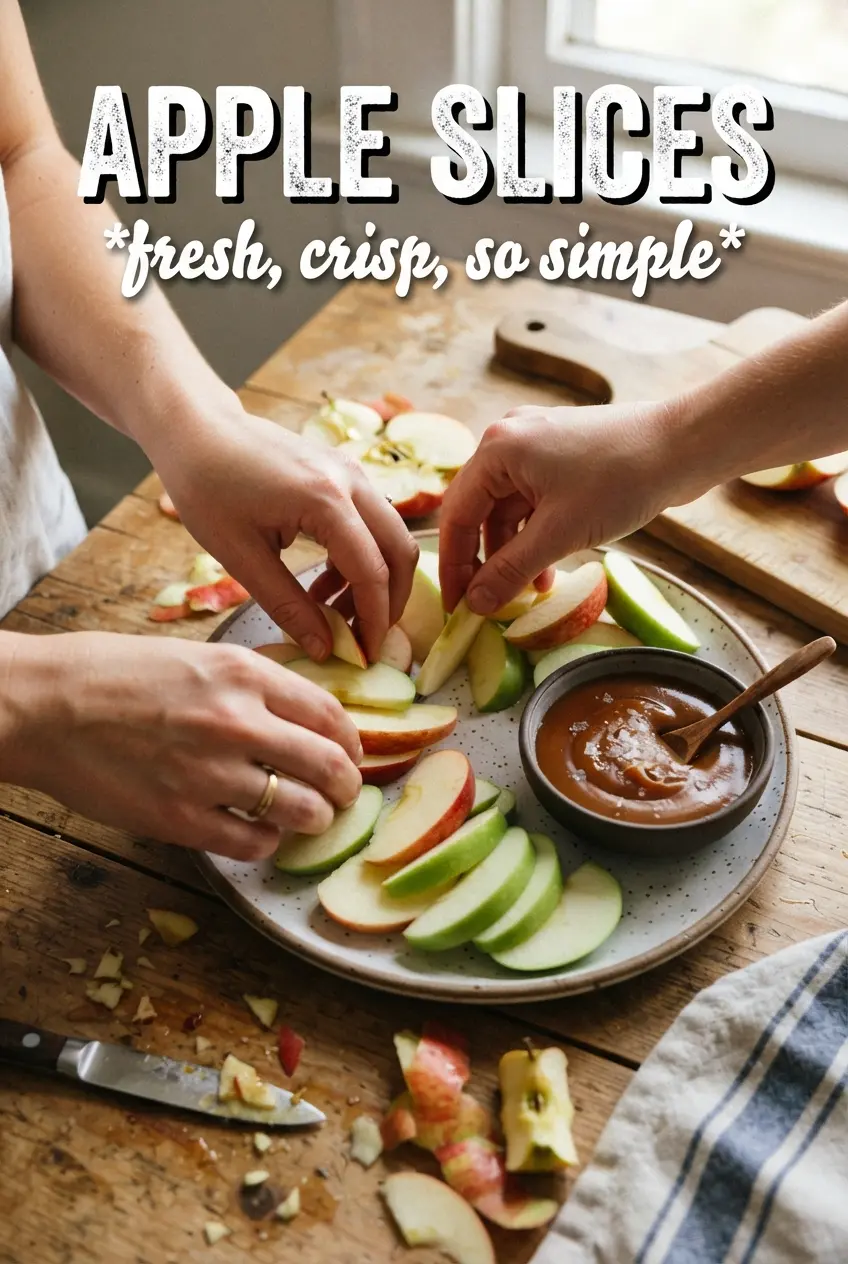
Apple Slices
Ingredients
Equipment
Method
- Preheat the oven to 375°F and grease a 15x10 rimmed baking sheet so the bars release cleanly after baking.
- Mix the all-purpose flour, salt, and sugar, then cut in the cold butter until the mixture looks crumbly.
- Add the egg yolk plus enough milk to make 2/3 cup, then mix until the dough just comes together without overworking it.
- Divide the dough in half and press one half into the bottom of the prepared baking sheet to form an even crust layer.
- Spread the crushed cornflakes over the dough in a thin, consistent layer to help prevent a soggy bottom.
- Toss the apple slices with granulated sugar, cinnamon, nutmeg, and cornstarch, then spread the apples over the cornflakes.
- Roll the remaining dough and lay it over the apples, then press the edges to seal so filling stays contained.
- Bake for 30-35 minutes at 375°F until the top is golden and the pastry looks set.
- Cool completely before cutting so the layers hold their shape.
- Drizzle the powdered sugar glaze over the cooled bars, then cut into rectangles.