Apple slab pie gives you everything people love about a classic apple pie, just in a form that actually serves a crowd without the fuss of slicing a tall wedge pie at the table. The crust bakes up crisp and flaky on the edges, the filling settles into a thick, cinnamon-spiced layer, and every piece gets enough pastry to feel like a real dessert instead of an afterthought.
What makes this version work is the balance between the filling and the crust. The apples are sliced thin so they cook through before the pastry overbakes, and the cornstarch thickens the juices enough to keep the bottom from turning soggy. A sheet pan also gives you more surface area for browning, which means more of those crackly, golden edges everyone reaches for first.
Below you’ll find the small details that matter most: how to keep the crust sealed, how to know when the filling is bubbling enough to be done, and how to drizzle the glaze so it looks neat instead of messy.
The filling baked up thick instead of runny, and the bottom crust stayed crisp even after it cooled. I brought it to a potluck and the pan was empty in minutes.
Save this apple slab pie for the dessert that feeds a crowd with flaky crust, tender apples, and a neat drizzle on top.
The Part That Keeps the Bottom Crust Crisp
Apple slab pie can turn soggy fast if the filling leaks before the crust has time to set. The fix is in the thickness of the fruit layer and the way the juices are managed. Thin apple slices cook evenly, and cornstarch catches the moisture that comes out as the pie bakes, turning it into a glossy filling instead of a puddle.
Pressing two crusts together for the bottom gives you enough strength to hold the fruit without tearing. Pricking the base helps prevent big bubbles under the pastry, but don’t overdo it or the filling will find too many escape routes. The goal is a sturdy base that still bakes up flaky, not a crust that turns dense from being handled too much.
- Thinly sliced apples cook through in the bake time and settle into an even layer. Thick chunks stay crunchy and create uneven pockets in the filling.
- Cornstarch thickens the apple juices as they bubble. Flour works in a pinch, but it gives a cloudier, less clean filling.
- Lemon juice keeps the apples from tasting flat and helps them hold their color. It doesn’t make the pie sour; it brightens the whole pan.
What Each Ingredient Is Doing in the Pan
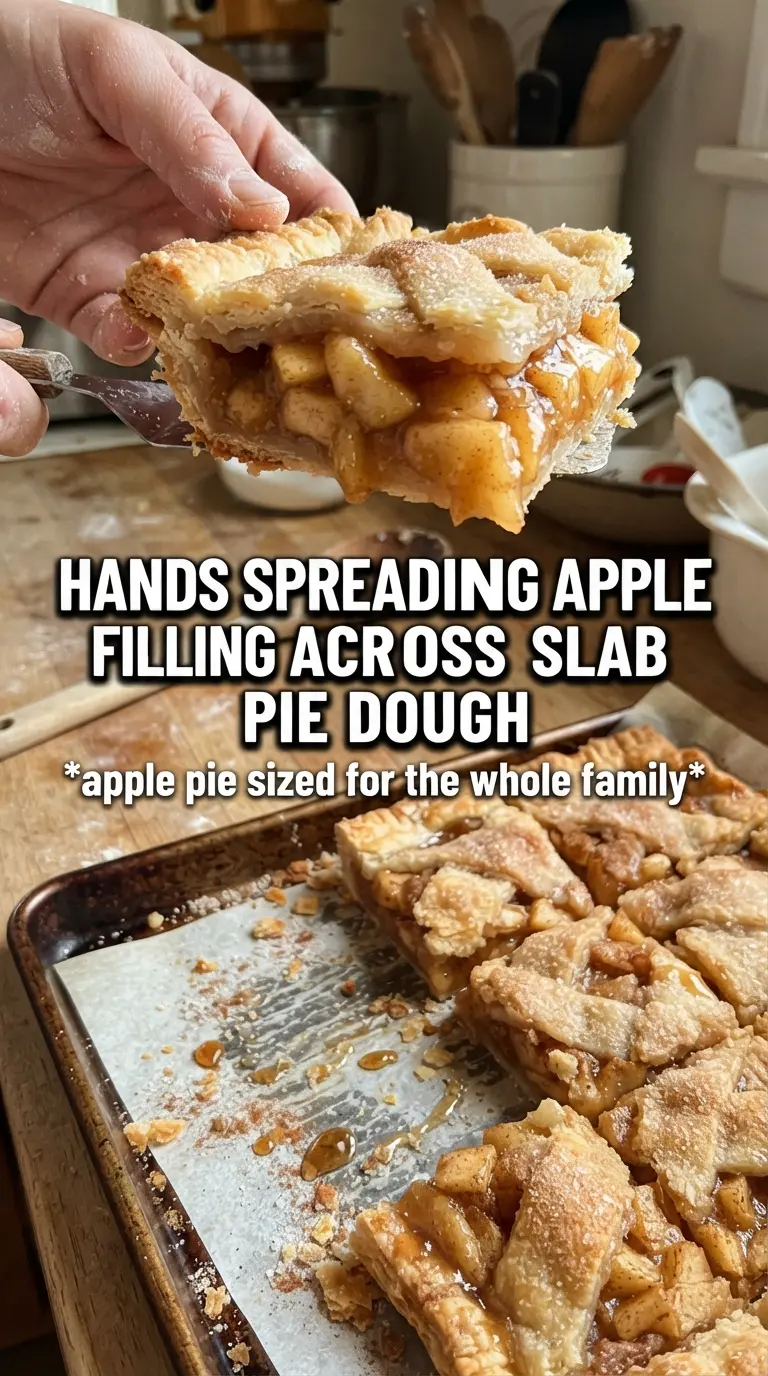
- Refrigerated pie crusts keep this recipe fast and still bake up tender if they stay cold. Homemade crust works too, but it needs to be rolled thin enough to cover the full sheet pan without shrinking back.
- Brown sugar adds a deeper note to the filling that plain white sugar can’t match. The small amount is enough to round out the tart apples without making the pie taste heavy.
- Cinnamon, nutmeg, and allspice give the filling warmth without making it taste like spice cake. Nutmeg and allspice are easy to overdo, so measure them carefully.
- Butter melts into the filling and keeps the texture rich. Those little diced pieces create pockets of flavor as the pie bakes.
- Egg wash and cinnamon sugar are what give the top crust its shine and crunch. Skip them and the pie will still bake, but it won’t have the same bakery-style finish.
- Powdered sugar glaze is best drizzled once the pie has cooled a bit so it stays visible on top instead of soaking in. Use cider for a sharper apple note or milk for a softer, sweeter finish.
Building a Sheet Pan Pie That Bakes Evenly
Make the Bottom Crust Strong Enough First
Press the first two crusts together directly in the prepared rimmed baking sheet, then smooth them into the corners without stretching the dough. If the dough gets pulled thin in one spot, that area will bake faster and can split under the filling. A light hand matters here more than perfect speed.
Season the Apples Before They Hit the Pan
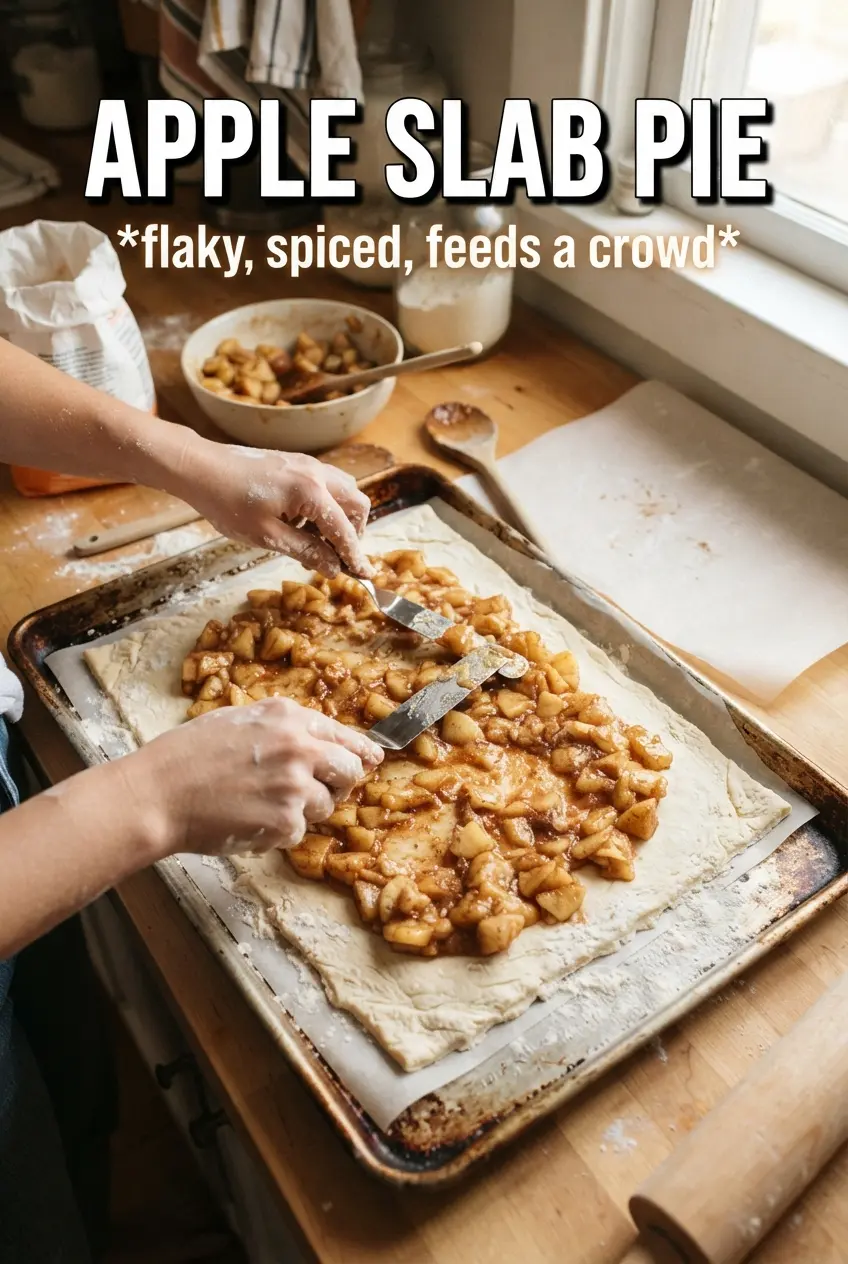
Toss the sliced apples with both sugars, spices, cornstarch, and lemon juice until every piece looks lightly coated. You want the cornstarch spread evenly, not clumped in one corner, or you’ll get pockets of thick filling and pockets of loose juice. Spread the fruit all the way to the edges so the pie bakes in an even layer.
Seal, Vent, and Bake Until the Filling Bubbles
Lay the top crust over the apples, press the seams together, and crimp the edges well so the juices stay inside. Cut steam vents before the pie goes into the oven, or the top can balloon and split. Bake until the crust is deeply golden and the filling is visibly bubbling through the vents; that bubbling is your sign the cornstarch has fully activated and the center is cooked through.
Cool Before You Drizzle
Let the pie cool until warm, not hot, before adding the glaze. If you drizzle too soon, the icing melts and disappears into the crust instead of sitting in clean lines on top. A slightly cooled pie slices more neatly too, which matters when you’re cutting a full pan into rectangles.
Make It More Tart
Use a mix of tart and sweet apples, like Granny Smith with Honeycrisp or Fuji. The sharper apples keep the filling lively, while the sweeter ones soften the edges and help the pie taste balanced instead of flat.
Gluten-Free Version
Use a gluten-free pie crust that bakes well in a sheet pan and keep the dough cold while you work. Gluten-free crusts can be more fragile, so press them gently into the corners and expect a slightly more tender, less flaky result.
Dairy-Free Finish
Swap the butter in the filling for a plant-based butter and use cider or dairy-free milk in the glaze. The pie still sets the same way, but cider gives the drizzle a brighter apple note than milk.
Storage and Reheating
- Refrigerator: Store covered for up to 4 days. The crust softens a little as it sits, but the filling stays set.
- Freezer: Freeze baked slices well wrapped for up to 2 months. Thaw overnight in the refrigerator so the crust doesn’t turn soggy from rapid thawing.
- Reheating: Warm slices in a 325F oven until the edges crisp back up. The microwave will soften the pastry, which is the fastest way to lose the texture that makes this pie worth baking.
Answers to the Questions Worth Asking
Apple Slab Pie
Ingredients
Equipment
Method
- Preheat the oven to 400F so it’s fully ready for baking once assembled.
- Lightly grease a 15x10 rimmed baking sheet, then press two pie crusts together on the bottom and prick the bottom all over with a fork.
- Toss the apple slices with granulated sugar, brown sugar, cinnamon, nutmeg, allspice, cornstarch, and lemon juice until evenly coated.
- Spread the apple filling over the crust, then dot with diced butter.
- Press the remaining two pie crusts together to form the top, then place it over the filling and crimp the edges to seal.
- Brush the top with the beaten egg wash, then sprinkle with cinnamon sugar.
- Cut steam vents into the top so steam can escape during baking.
- Bake for 40-45 minutes at 400F until the crust is golden and the filling is bubbling.
- Let the pie cool, then drizzle with the powdered sugar glaze.