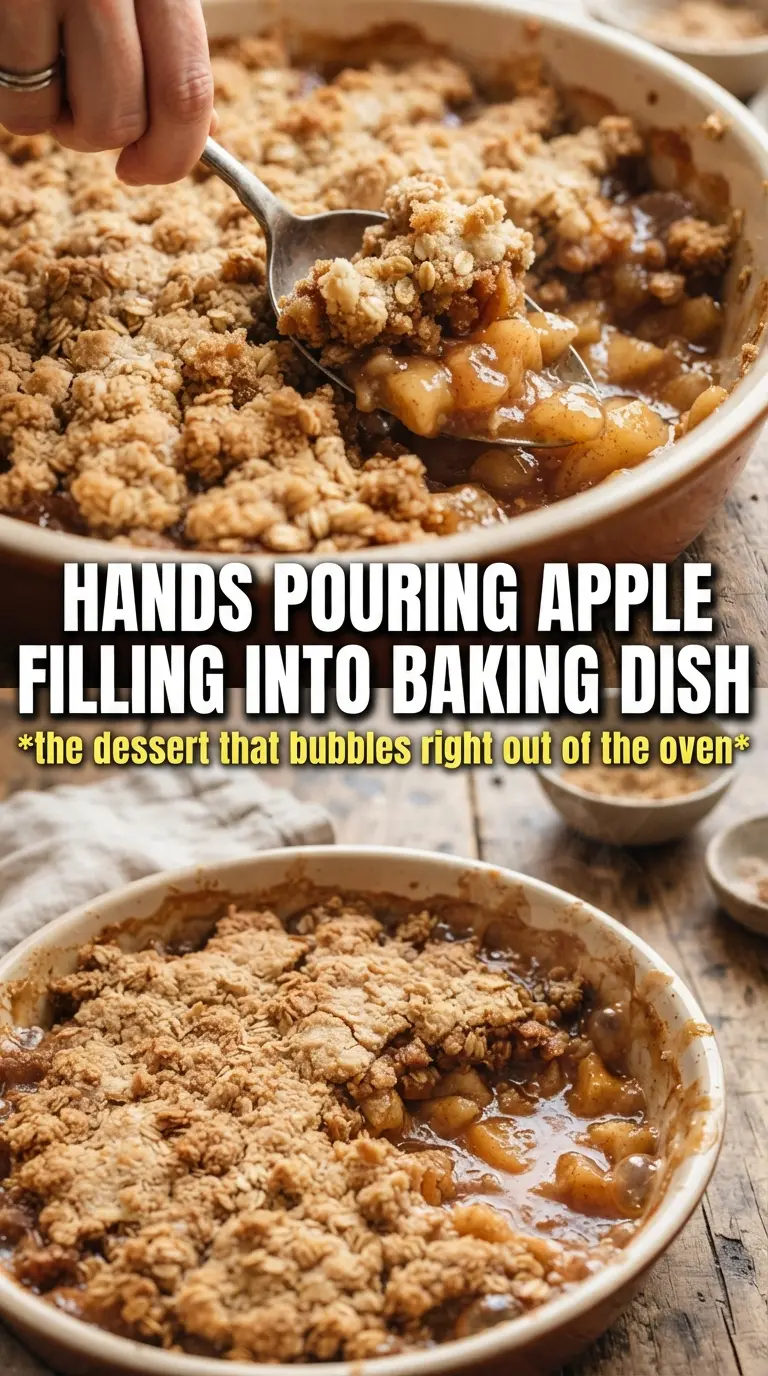
Apple pie bake lands somewhere between a classic crisp and a bakery-style slab pie, and that’s exactly why it disappears fast. The apples turn soft and spoonable underneath a buttery oat topping that bakes up golden at the edges and a little nubby in the middle. Every bite gives you warm cinnamon apples, a hint of nutmeg, and enough crunch to keep it from feeling heavy.
The filling works because the apples are coated with cornstarch before they hit the oven, which keeps the juices from turning watery. Lemon juice sharpens the sweetness and keeps the flavor bright, while the cold butter in the topping creates little pockets that melt and crisp as it bakes. I’ve made versions that tasted good but came out loose or soggy on the bottom; this one stays neatly spoonable.
Below you’ll find the trick for getting the topping crumbly instead of pasty, plus a few ways to adapt this for different apples or a dairy-free table.
The topping stayed crisp even after sitting for a bit, and the apple layer thickened into that perfect pie filling texture instead of running all over the dish.
Save this apple pie bake for the nights when you want bubbling cinnamon apples and a crisp oat crumble with almost no fuss.
The Trick to Keeping the Bottom Apple Layer Spoonable, Not Watery
The biggest mistake with an apple bake is treating the fruit like it can sit in its own juice and sort itself out in the oven. Apples release a lot of liquid as they heat, and without a thickener, that juice stays thin and slides right through the topping. Cornstarch changes that. It binds the fruit juices as they bubble so the filling turns glossy and soft instead of soupy.
The other thing that matters is the apple cut. Thin, even slices cook at the same pace, which keeps some pieces from collapsing while others are still firm. If your apples are cut too thick, the top will look done before the filling has fully softened. If they’re sliced unevenly, you’ll taste the difference in every spoonful.
- Cornstarch — This is what gives the filling body. Flour can work in a pinch, but it leaves a cloudier, heavier texture. Cornstarch sets cleaner and keeps the filling glossy.
- Lemon juice — It won’t make the dessert taste lemony. It keeps the apples bright and stops the sweetness from flattening out.
- Brown sugar in the topping — Granulated sugar won’t give you the same caramel note or slightly chewy edges. Brown sugar helps the crumble taste deeper and bake into a richer crust.
What Each Ingredient Is Doing in the Pan
- Apples — Use a baking apple that can hold its shape, like Granny Smith, Honeycrisp, or a mix. Softer apples can work, but they collapse faster and make the filling mushier.
- Rolled oats — They give the topping texture and that old-fashioned crumble feel. Quick oats will work, but the topping will be finer and less crisp.
- Cold butter — This is nonnegotiable for the topping texture. Cold butter rubbed or cut into the dry ingredients melts slowly in the oven, which is what creates those crumbly pockets and golden bits.
- Flour and oats together — Flour binds the crumble while oats keep it loose and rustic. That combination is what makes this bake feel like apple pie without the work of a full crust.
Building the Layers So the Top Stays Crisp
Season the Apples First
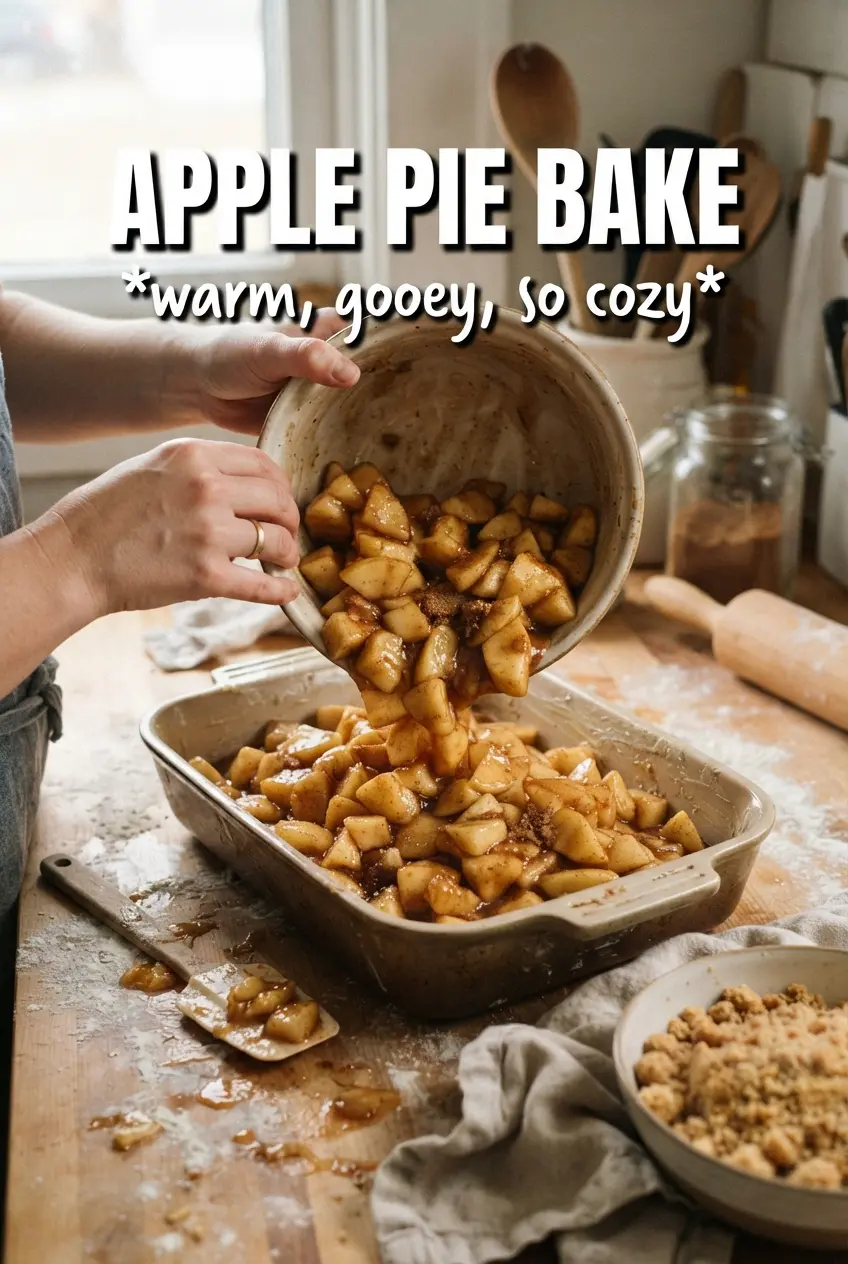
Start by tossing the sliced apples with sugar, cinnamon, nutmeg, cornstarch, and lemon juice until every slice looks lightly coated. The cornstarch needs to be evenly distributed or you’ll end up with pockets of thick paste and pockets of runny filling. Spread the apples in the dish in an even layer so they cook at the same pace. If the mound is too high in the center, the middle takes longer to bubble and the edges can overcook.
Cut the Butter Into the Topping
Mix the flour, oats, brown sugar, cinnamon, and salt, then work in the cold butter until the mixture looks like rough crumbs with some pea-sized bits left. Those larger bits matter; they melt into crisp, golden clusters. If the topping turns pasty, the butter was too warm or worked in too long. Stop as soon as the dry flour disappears and the mixture holds together when squeezed.
Bake Until the Filling Bubbles Through
Scatter the topping over the apples and bake until the top is deep golden and the fruit is bubbling around the edges. That bubbling is your cue that the cornstarch has activated and the filling is thickening properly. Pull it too early and the apples can taste underdone and loose. Let the bake rest for 15 minutes before serving so the juices settle instead of running everywhere.
Make It Gluten-Free Without Losing the Crumble
Swap the all-purpose flour for a 1:1 gluten-free baking blend that contains xanthan gum, or use almond flour for a looser, nuttier topping. The texture changes a little — almond flour browns faster and won’t clump quite the same way — but the bake still holds together well.
Dairy-Free Version
Use a plant-based butter block instead of regular butter. Tub-style spreads can be too soft and the topping can turn greasy instead of crumbly, so choose one that stays firm when cold.
Mix the Apples for Better Flavor
Use a blend of tart and sweet apples if you can. Granny Smith gives structure and brightness, while Honeycrisp or Fuji softens the sharp edges and makes the filling taste fuller.
Storage and Reheating
- Refrigerator: Cover and refrigerate for up to 4 days. The topping softens a little, but the flavor holds up well.
- Freezer: Freeze baked portions tightly wrapped for up to 2 months. Thaw in the fridge before reheating so the filling warms evenly.
- Reheating: Warm in a 325F oven until the filling is hot and the top re-crisps. The microwave will soften the crumble, so use it only if you don’t mind losing the texture.
Answers to the Questions Worth Asking
Apple Pie Bake
Ingredients
Equipment
Method
- Preheat oven to 375F, then grease a 9x13 baking dish. (Visual cue: oven reaches temperature before you start assembling.)
- Toss the sliced apples with granulated sugar, cinnamon, nutmeg, cornstarch, and lemon juice until evenly coated. (Visual cue: apples look glossy and the cornstarch is evenly distributed.)
- Spread the apple mixture in the prepared dish in an even layer. (Visual cue: the surface is level with no large gaps.)
- Combine all-purpose flour, rolled oats, brown sugar, cinnamon, and salt in a bowl. (Visual cue: the dry mixture is uniform in color.)
- Cut in the cold cubed unsalted butter until crumbly. (Visual cue: you see small pea-to-sand sized butter clumps throughout.)
- Scatter the topping evenly over the apple filling. (Visual cue: no bare apple spots remain.)
- Bake for 35-40 minutes at 375F until the top is golden and the filling is bubbling. (Visual cue: you’ll see active bubbles around the edges and the crumble looks toasted.)
- Rest for 15 minutes to let the filling thicken slightly. (Visual cue: bubbles subside and the crumble sets.)
- Serve warm with vanilla ice cream or whipped cream. (Visual cue: a spoon pulls through to reveal spiced apple filling beneath the crumble.)