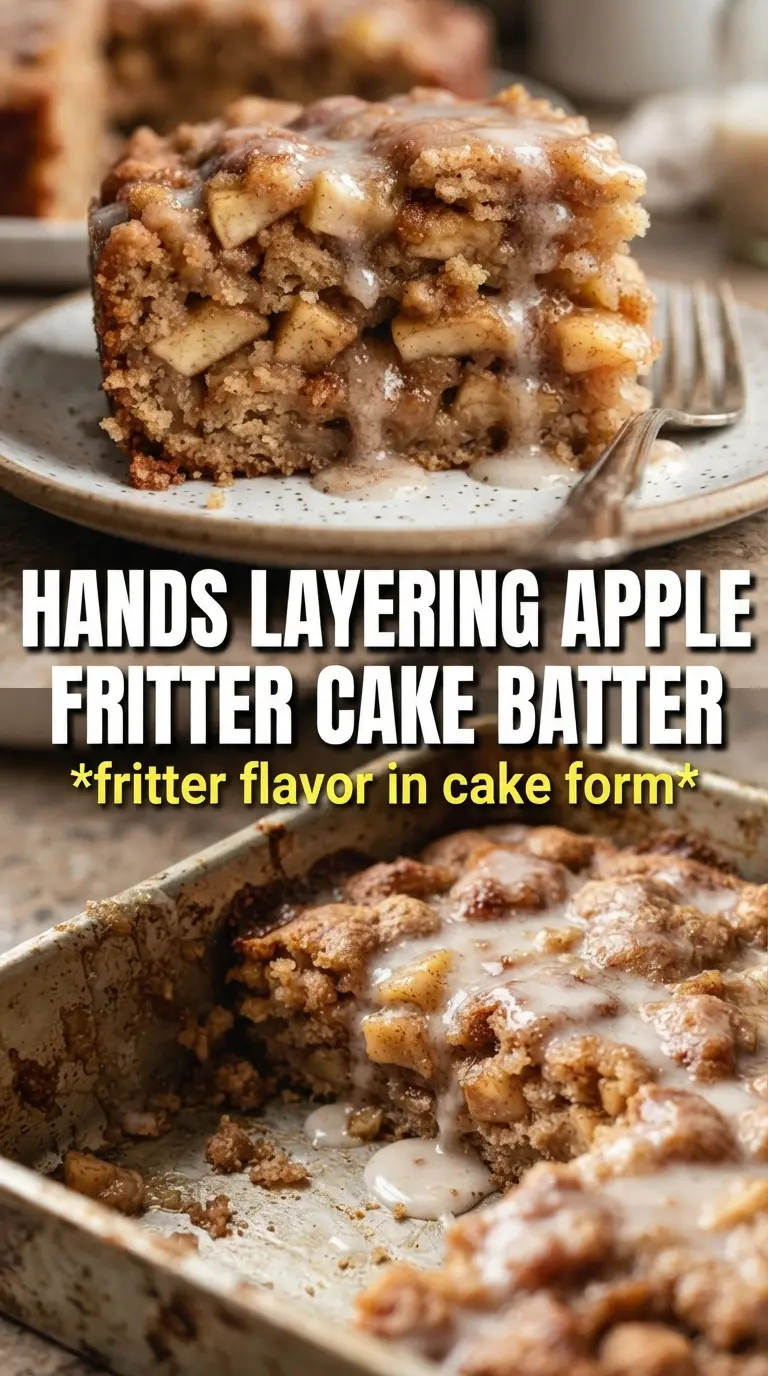
Apple fritter cake brings the cinnamon-sugar bakery feel home without the mess of frying. The crumb stays soft and buttery, the apples soften into little pockets of jammy sweetness, and the glaze settles into the warm top in a way that makes every slice taste like it came from a good corner bakery case.
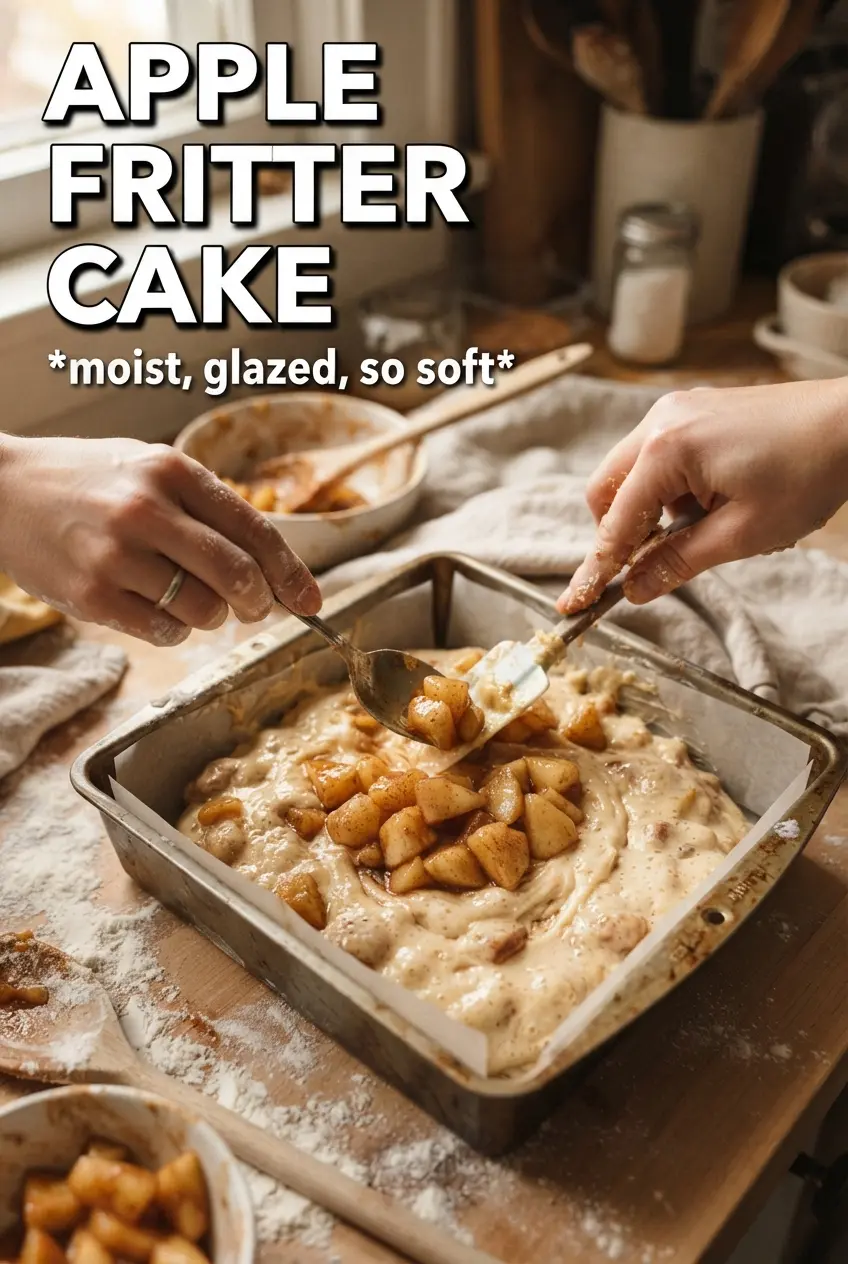
What makes this version work is the layering. A portion of the batter goes down first, then the cinnamon apples, then the rest of the batter and more apples on top. That keeps the fruit from sinking and gives you the same swirled effect people love in a fritter, just in cake form. The brown sugar and spice on the apples also pull out enough juice to make the cake taste even more tender where the layers meet.
Below, I’ve included the small details that matter most: how to keep the batter from getting dense, how to tell when the center is baked through, and the easiest way to get that thick glaze to drip instead of disappear.
The apples stayed in their layers and the glaze set up just enough that each square cut cleanly. Mine baked right at 44 minutes, and the cinnamon swirl tasted like an old-fashioned fritter without any frying.
Like this apple fritter cake? Save it to Pinterest for the next time you want a cinnamon-apple dessert with bakery-style layers and a thick vanilla glaze.
The Trick to Keeping the Apples in Distinct Layers
Apple fritter cake can turn heavy fast if the apples dump moisture into the batter all at once. Tossing them with brown sugar and spice first helps draw out just enough juice to create that sticky cinnamon coating, but not so much that the cake turns soggy. The key is to spread the batter in thin, even layers and keep the apple mixture scattered instead of piled in one spot.
If you’ve ever had a fruit cake collapse in the center, the usual problem is too much fruit in the middle or overmixing the batter after the flour goes in. This batter should look smooth but not whipped. Once the flour is in, stop as soon as it comes together so the cake stays tender instead of bready.
- Layering the batter — half the batter first, then half the apples, then repeat. That creates the swirled look without burying the fruit.
- Spiced apples — the brown sugar, cinnamon, and nutmeg do more than season the fruit; they pull out a little syrup that flavors the crumb around it.
- Gentle mixing — overbeating after the flour goes in builds too much gluten and makes the cake dense.
What Each Ingredient Is Actually Doing in This Cake
- Apples — use a firm baking apple that holds its shape. Softer apples can turn mushy before the cake finishes baking.
- Brown sugar — this gives the apple layer a deeper caramel note than white sugar alone and helps create the sticky fritter-like pockets.
- Butter and sugar — creaming them well adds air, which gives the cake a lighter crumb. If this mixture stays dense, the cake will bake up flat.
- Milk — whole milk gives the richest texture here. Lower-fat milk works, but the crumb won’t taste as plush.
- Glaze — keep it thick enough to sit on top of the cake. If it’s too thin, it soaks in and disappears instead of giving you that bakery finish.
Building the Cake So It Bakes Up Soft, Not Heavy
Creaming the Base
Beat the butter and sugar until the mixture looks pale and fluffy, not just combined. That step traps air and gives the cake its lift. Add the eggs one at a time so the batter stays smooth; if the mixture looks a little curdled after the eggs go in, it usually comes back together once the flour and milk are added.
Alternating the Dry Ingredients and Milk
Whisk the flour, baking powder, and salt first, then add the dry ingredients and milk in alternating additions. This keeps the batter from tightening up and helps it stay silky. If you dump everything in at once, the batter gets overworked before it ever reaches the pan.
Layering and Swirling the Apples
Spread half the batter into the pan, then scatter on half the apples. Add the remaining batter in dollops and smooth it gently, then finish with the rest of the apples. Drag a knife through once or twice for a light swirl; too much swirling mixes the layers together and turns the top muddy instead of marbled.
Knowing When It’s Done
Bake until the top is golden and a toothpick comes out clean or with just a few moist crumbs. The center should spring back lightly when touched. If the top browns too quickly before the middle is set, cover it loosely with foil for the last 10 minutes.
Three Ways to Adapt It Without Losing the Bakery Feel
Use a Different Apple for a Sharper Bite
Granny Smith gives a brighter, firmer bite, while Honeycrisp or Braeburn land in the sweet-tart middle. Softer apples still taste good, but they break down more and give you less of that distinct apple layer.
Make It Dairy-Free
Use a good plant-based butter and unsweetened non-dairy milk. The cake will still bake up tender, though the flavor loses a little of the classic buttery richness. Keep the glaze on the thicker side so it still drizzles instead of running off.
Turn It into a Coffee Cake Style Slice
Skip the glaze and add a light streusel made from flour, brown sugar, cinnamon, and cold butter over the top before baking. You’ll get more crunch and less sweetness, which works well if you want this for brunch instead of dessert.
Storage and Reheating
- Refrigerator: Store covered for up to 4 days. The apples keep softening a little, and the glaze will sink in more by day two.
- Freezer: Freeze unfrosted squares tightly wrapped for up to 2 months. Glaze after thawing for the cleanest finish.
- Reheating: Warm slices in the microwave for 15 to 20 seconds or in a low oven. If you overheat it, the cake dries out and the glaze melts away completely.