Apple dump cake bakes into one of those old-school desserts that disappears fast because the contrast is exactly right: soft, spiced apple filling underneath and a crisp, buttery topping on top. The best part is that it looks like you spent more time on it than you did, which is why it keeps showing up for weeknights, potlucks, and last-minute dessert needs.
The trick is in the layering. The apples need to sit in an even layer so they bubble up instead of drying out at the edges, and the cake mix has to stay dry until the butter melts through it in the oven. That melted butter is what turns the powdery top into a golden crumble instead of a pasty layer. Cinnamon and nutmeg help the filling taste homemade, even when you start with canned pie filling.
Below, I’ll walk through the one step people mess up most, the ingredient swap that changes the texture, and how to keep the topping crisp if you’re serving it later.
I was worried the top would stay dry, but the butter slices melted through perfectly and gave me that crisp, golden crumble on top. The apples were bubbling around the edges at 45 minutes and the whole pan smelled like apple pie.
Like this apple dump cake? Save it to Pinterest for the nights when you want warm spiced apples and a crisp buttery topping with almost no prep.
The Butter Needs to Cover the Cake Mix, Not Just Sit on Top
This is where most dump cakes go wrong. If the butter is scattered in big gaps, dry pockets of cake mix stay powdery after baking, and the top comes out dusty instead of crisp. Thin slices work better than chunks because they melt evenly and soak through the whole surface before the edges overbake.
The other thing worth knowing is that the filling has to bubble at the edges before you pull the pan. That bubbling tells you the apples are hot all the way through and the topping has had enough time to set into a crust. If the center still looks pale and floury, give it a few more minutes; the difference between finished and underbaked is obvious in this dessert.
What the Cake Mix and Butter Are Each Doing Here
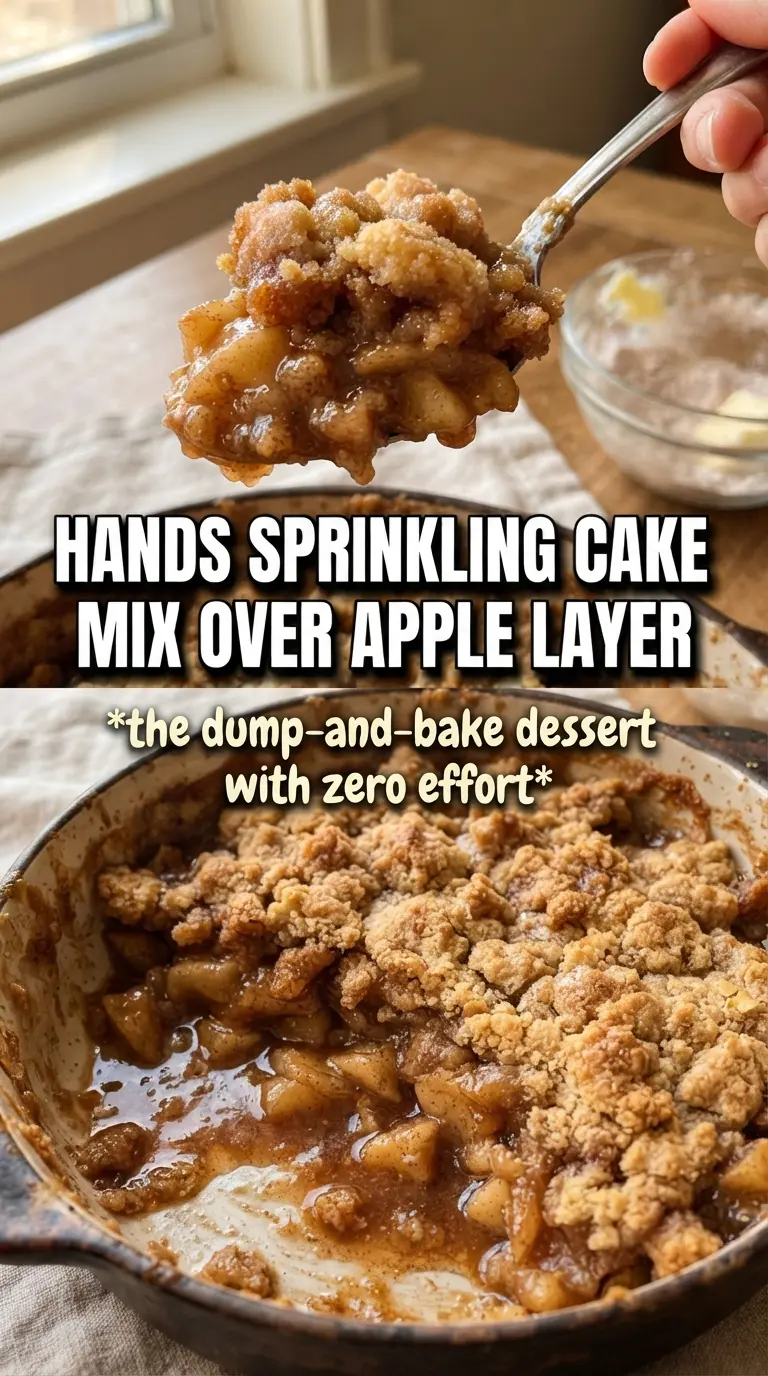
- Apple pie filling — Canned filling keeps this fast, but it also brings the right thick, syrupy base. If you use homemade apples instead, they need sugar and a little cornstarch or the dessert turns watery.
- Yellow or spice cake mix — This is the shortcut that gives you the crumbly top. Spice cake adds a little more warmth, while yellow cake stays more neutral and lets the apples lead.
- Butter — This is not optional in spirit, even if you change the flavor. The butter melts into the dry mix and creates the crispy top; margarine won’t brown the same way and often leaves a softer finish.
- Pecans or walnuts — These add crunch and a toasted note that works well with the apples, but they stay optional. If you skip them, the cake still bakes up with a good crust.
- Cinnamon and nutmeg — The pie filling already has sweetness, but these keep it from tasting flat. A small amount is enough; too much nutmeg can take over fast.
How to Layer It So the Top Bakes Crisp Instead of Powdery
Start with the fruit layer
Spread the apple pie filling all the way to the corners of a greased 9×13 dish, then stir in the cinnamon and nutmeg before anything else goes on top. That seasoning belongs in the fruit, not on the dry mix, because it distributes evenly there. If the filling is piled unevenly, the edges dry out before the center heats through.
Add the cake mix without stirring
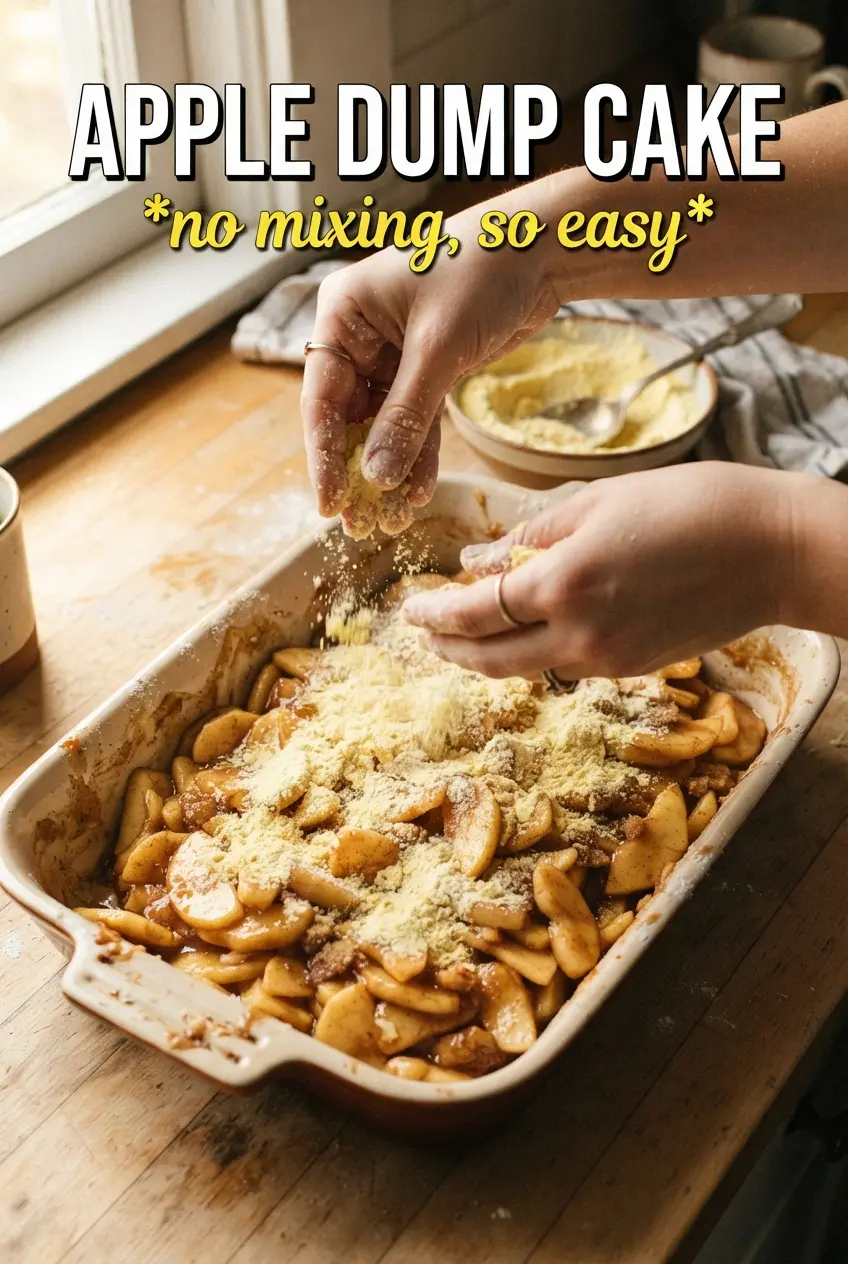
Pour the dry cake mix over the apples and spread it into an even blanket. Do not mix it in. Stirring turns the topping into paste, and then you lose the crumbly texture that makes dump cake worth baking in the first place.
Cover every dry spot with butter
Lay the butter slices across the surface in a single layer so most of the mix gets hit with melted fat. A few tiny gaps are fine, but big dry patches turn into raw floury spots. If you want the most even browning, keep the slices thin and leave no large open sections.
Bake until the edges bubble and the top turns deep gold
Bake at 350°F for 40 to 45 minutes until the top is deeply golden and you can see the filling bubbling around the perimeter. That bubbling is your cue that the apples are hot and the crust has had enough time to set. If the top browns too fast before the filling bubbles, tent it loosely with foil for the last part of baking.
How to Change the Cake Without Losing the Crunch
Make it gluten-free
Use a gluten-free yellow cake mix and keep the rest the same. The texture stays close to the original, though some gluten-free mixes brown a little less deeply, so look for bubbling edges instead of relying on color alone.
Add nuts for a more bakery-style top
Scatter chopped pecans or walnuts over the butter before baking. They toast as the cake bakes and give the soft apples a sharper, richer finish. Skip them if you want a cleaner crumble or if you’re serving someone with a nut allergy.
Use spice cake for a stronger fall spice note
Spice cake mix gives the dessert more cinnamon-clove character and makes the whole pan taste a little warmer. Yellow cake is milder and lets the apples stay front and center, so pick based on how much spice you want in the finished dessert.
Storage and Reheating
- Refrigerator: Cover and refrigerate for up to 4 days. The topping softens as it sits, but the flavor stays good.
- Freezer: It freezes, but the crumble loses some of its crispness after thawing. Freeze in airtight portions for up to 2 months if you don’t mind a softer topping.
- Reheating: Warm individual servings in the oven at 325°F or in the microwave for a quick bowl. The oven brings back more texture; the microwave is fine if you plan to add ice cream and eat right away.
Answers to the Questions Worth Asking
Apple Dump Cake
Ingredients
Equipment
Method
- Preheat the oven to 350F and grease a 9x13 baking dish. Use the overhead view cue: clean, greased dish ready to fill.
- Spread the apple pie filling across the bottom of the dish and stir in the cinnamon and nutmeg. Visual cue: an even, spiced apple layer covering the base.
- Dump the dry cake mix evenly over the apple filling and do not stir. Visual cue: a dry, level layer with no apple showing through.
- Arrange the thin slices of unsalted butter in a single layer over the entire surface of the dry cake mix. Cover every inch so the top looks dotted with butter.
- Scatter the chopped pecans or walnuts over the top if using. Visual cue: a light, even sprinkle across the buttered surface.
- Bake for 40-45 minutes at 350F until the top is deeply golden and crispy and the apple filling is bubbling around the edges. Visual cue: caramelized crumbs with visible bubbling at the perimeter.
- Serve warm with vanilla ice cream. Visual cue: a scoop melting beside the cake as the spoon reveals tender apples underneath.